› RC AIRCRAFT › BUILDS › Electric Powered › Another Wing for the collection
- This topic has 9 replies, 2 voices, and was last updated July 13, 2023 at 7:36 pm by
 Stephen.
-
AuthorPosts
-
-
8 July 2023 at 15:31 #14334
It’s another wet & “orrible” weekend so given the success of Kermit’s Wild Wing that we recently sorted out & got flying last Thursday,
I thought that I may as well build myself one, given that I had another unbuilt kit for the Wild Wing (from a recent Deceased Estate purchase) and enough electronics laying around at home to fit it out.
The unbuilt kit parts


First job was to epoxy the Carbon fibre wing spars & the timber trailing edges into place.
Weighting the wing down to ensure the epoxy sets with the wing flat


The only thing missing from the kit was the Packing Tape to wrap the EPP foam with for strength, rigidity & protection (after all they were designed as “combat wings”).
Opted for some 50mm wide clear packing tape (as its strong, light & I had several rolls).
After cleaning the wing & coating with spray adhesive (to assist the tape in staying stuck) the packing tape was applied starting at the rear & overlapping each tape strip about 10mm working back towards the nose.


After a bit of Fluoro Pink striping over the clear packing tape the underside of the wing is finished. Now to start on the top with similar treatment.
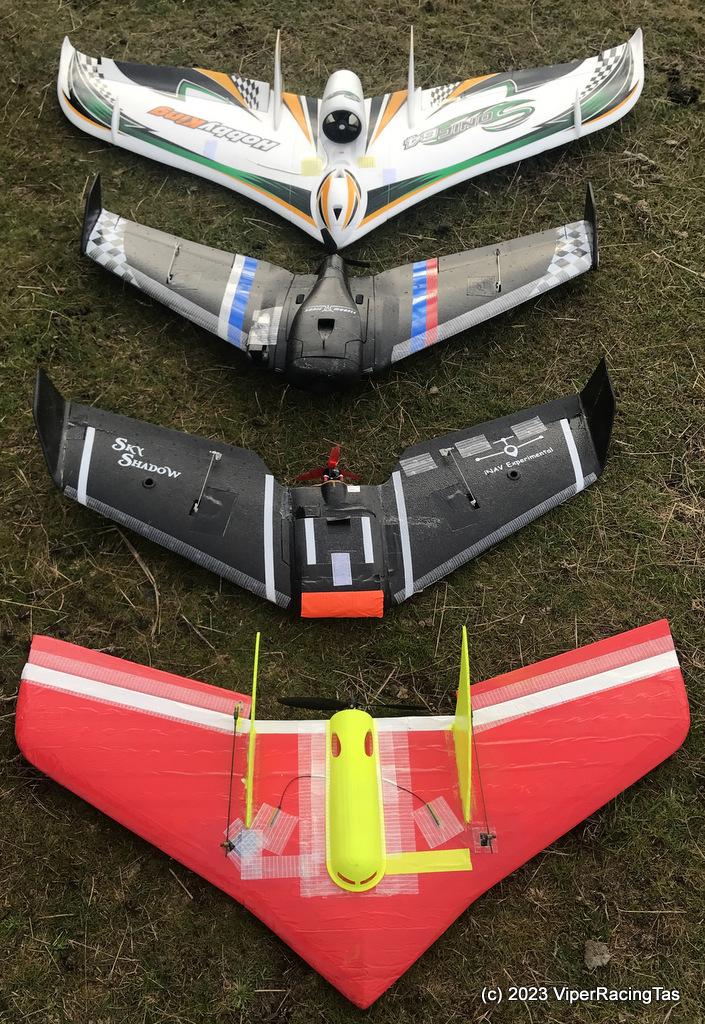
The FlightLine gang wing collection is growing bigger every day !!
Note: Not shown are the wings of Gerald, Ron & Scott so that is another 3 to add to the round-up
+ my in-progress build bringing our total to 8
-
9 July 2023 at 11:34 #14339
Another less than nice day outside so another perfect opportunity to do some more building on the Wild Wing.
Servos installed, tested & centred and the top of the wing now covered in packing tape as per the bottom.

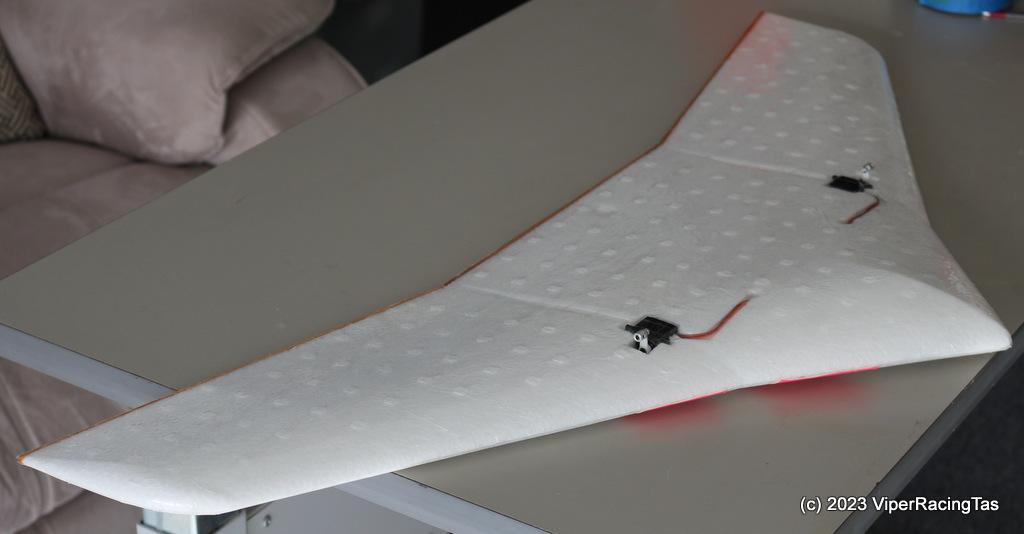
Now the fiddley job of the edge protection tape & then the elevons need covering & installing.
-
10 July 2023 at 12:10 #14341
Still plodding along, edge protection tape installed & also got the elevons covered & fitted along with the control arms.
Centred position
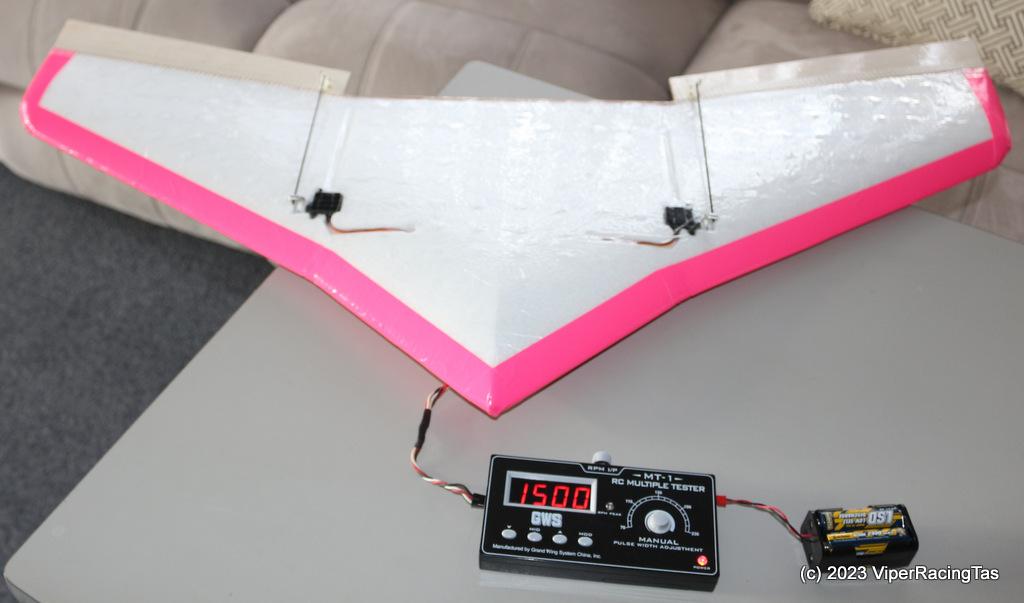
Hard Right
Hard Left

Now to fit the motor.
I’ll be installing the same size “Bell” motor (2408-21T 1750KV?) as fitted to Kermit’s Wild Wing along with a 30A Esc & 8 x 3.8 Prop so the performance should be similar.
-
10 July 2023 at 12:38 #14342
Looking good. With the weather the way it is you will have time to finish it for the next fly day.
I have been working on the Boomerang – made the ailerons work in the right direction – dismantled and soaked the carburettor in methanol overnight – adjusting the run and idle mixtures.
But the receiver started to turn on and off. It seems to be the switch, but now it’s out of the plane it’s working ok – more serious testing and maybe a replacement 🤔
Back to house maintenance now for a while 😁
-
10 July 2023 at 15:07 #14343
I reckon it is the switch, when I was first testing it wouldn’t work & I bypassed the switch and all was OK.
I lubricated the switch and it seemed to work OK, if its still playing up I would just bypass it & plug the Rx battery straight into the receiver. THe battery indicator will still work as that was connected straight to the Rx anyway.
As for the Wild Wing, just something to keep me amused during these rainy days. Motor mount completed, just need to make a backing plate for the other side of the wing then it cam all be put together & tuned up.
-
-
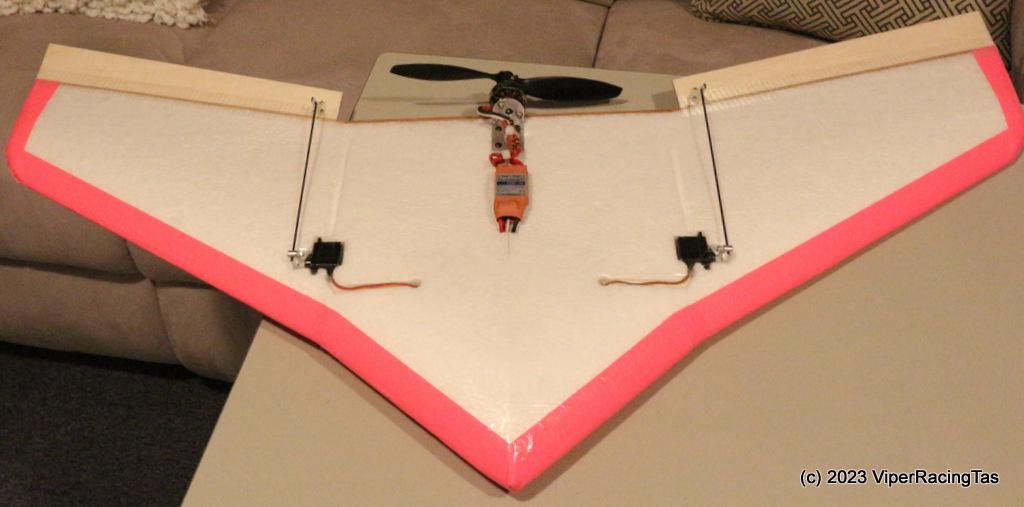
10 July 2023 at 17:28 #14346
Motor & ESC installed
-
11 July 2023 at 07:42 #14347
Nearly there 👍
-
11 July 2023 at 19:03 #14350
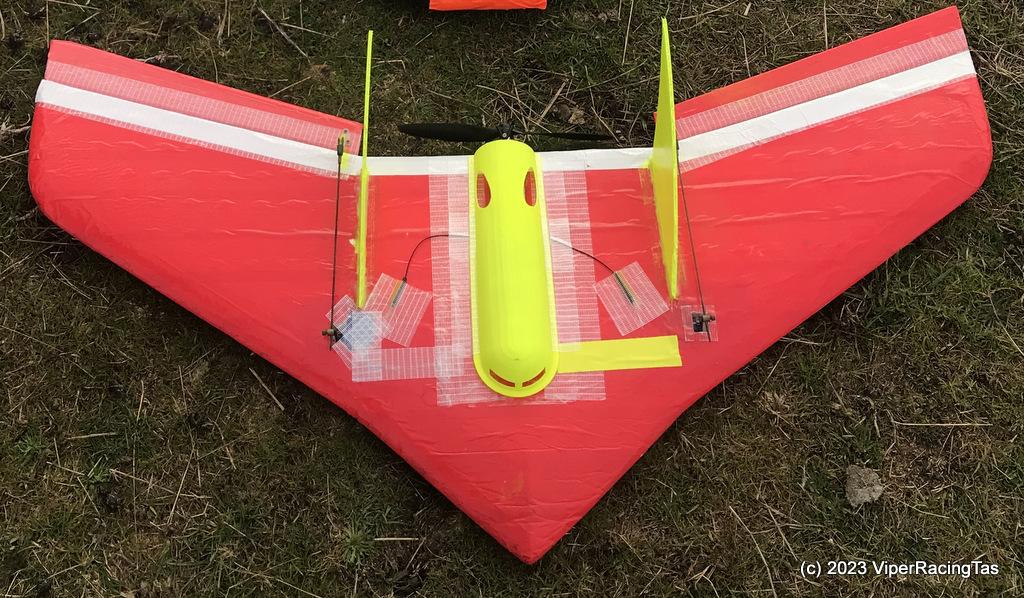
Finished mounting & testing the motor & ESC today & 3D printed the top cover to tidy it all up.
Found the “Original” Wild Wing logo on line so after a bit of tidying up managed to print (well cut actually) one with the Brother Vinyl Cutter.

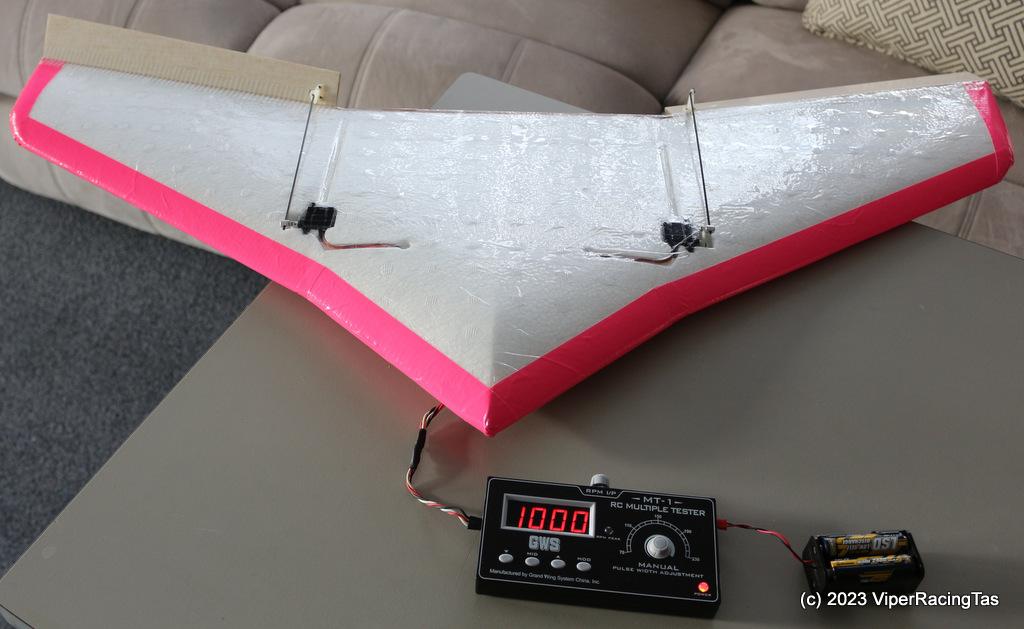
Also got the electronics finished & the stabiliser & Rx installed along with a test battery.
COG appears to be spot on according to the online measurements without any corrector weights.


Now just have to decide on how I’ll do the bottom hatch cover as I don’t particularly like the supplied yellow corflute one.
-
13 July 2023 at 15:11 #14354
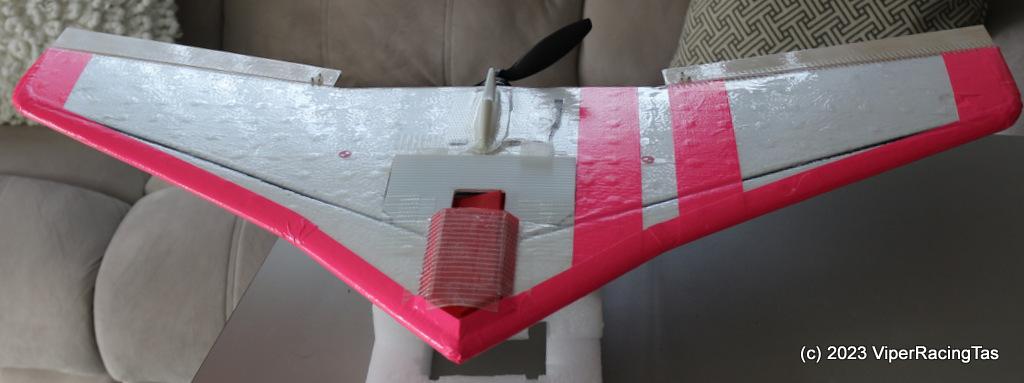
Today, just as the weather starts to improve the Wild Wing is finally completed.
Fitted the fins to finish the top.

and fitted a modified battery hatch to finish the bottom. I needed the battery slot to be deeper to accommodate some of my slightly larger 3S 2200mAh LiPos but I didn’t want to remove any material from the wing. especially round the nose area so I 3D printed a TPU Flex battery holder that hangs out of the bottom of the wing slightly then cut the hatch material to fit around it. All is protected & battery installation is easy.
Now all we need is a flying day to maiden her.
-
13 July 2023 at 19:36 #14357
Looking spectacular!
-
-
AuthorPosts
- You must be logged in to reply to this topic.