› RC BOATING › SCALE BOATS › Builds › Scale Boats Electric › Cougar Cat
- This topic has 45 replies, 5 voices, and was last updated October 5, 2022 at 2:49 pm by
 Sinker.
-
AuthorPosts
-
-
6 December 2021 at 14:29 #9919
My next long term project,
Well the time has come to upgrade my old camera boat.
She has served me well, started of with a petrol brush cutter engine, then converted to a brushless electric motor, and finally two brushless motors running on 6s

It’s always been an ugly boat but a very stable and reliable boat, ideal for a camera platform. She’s also very fast and manoeuvrable, great for getting out of the way of green yachts.
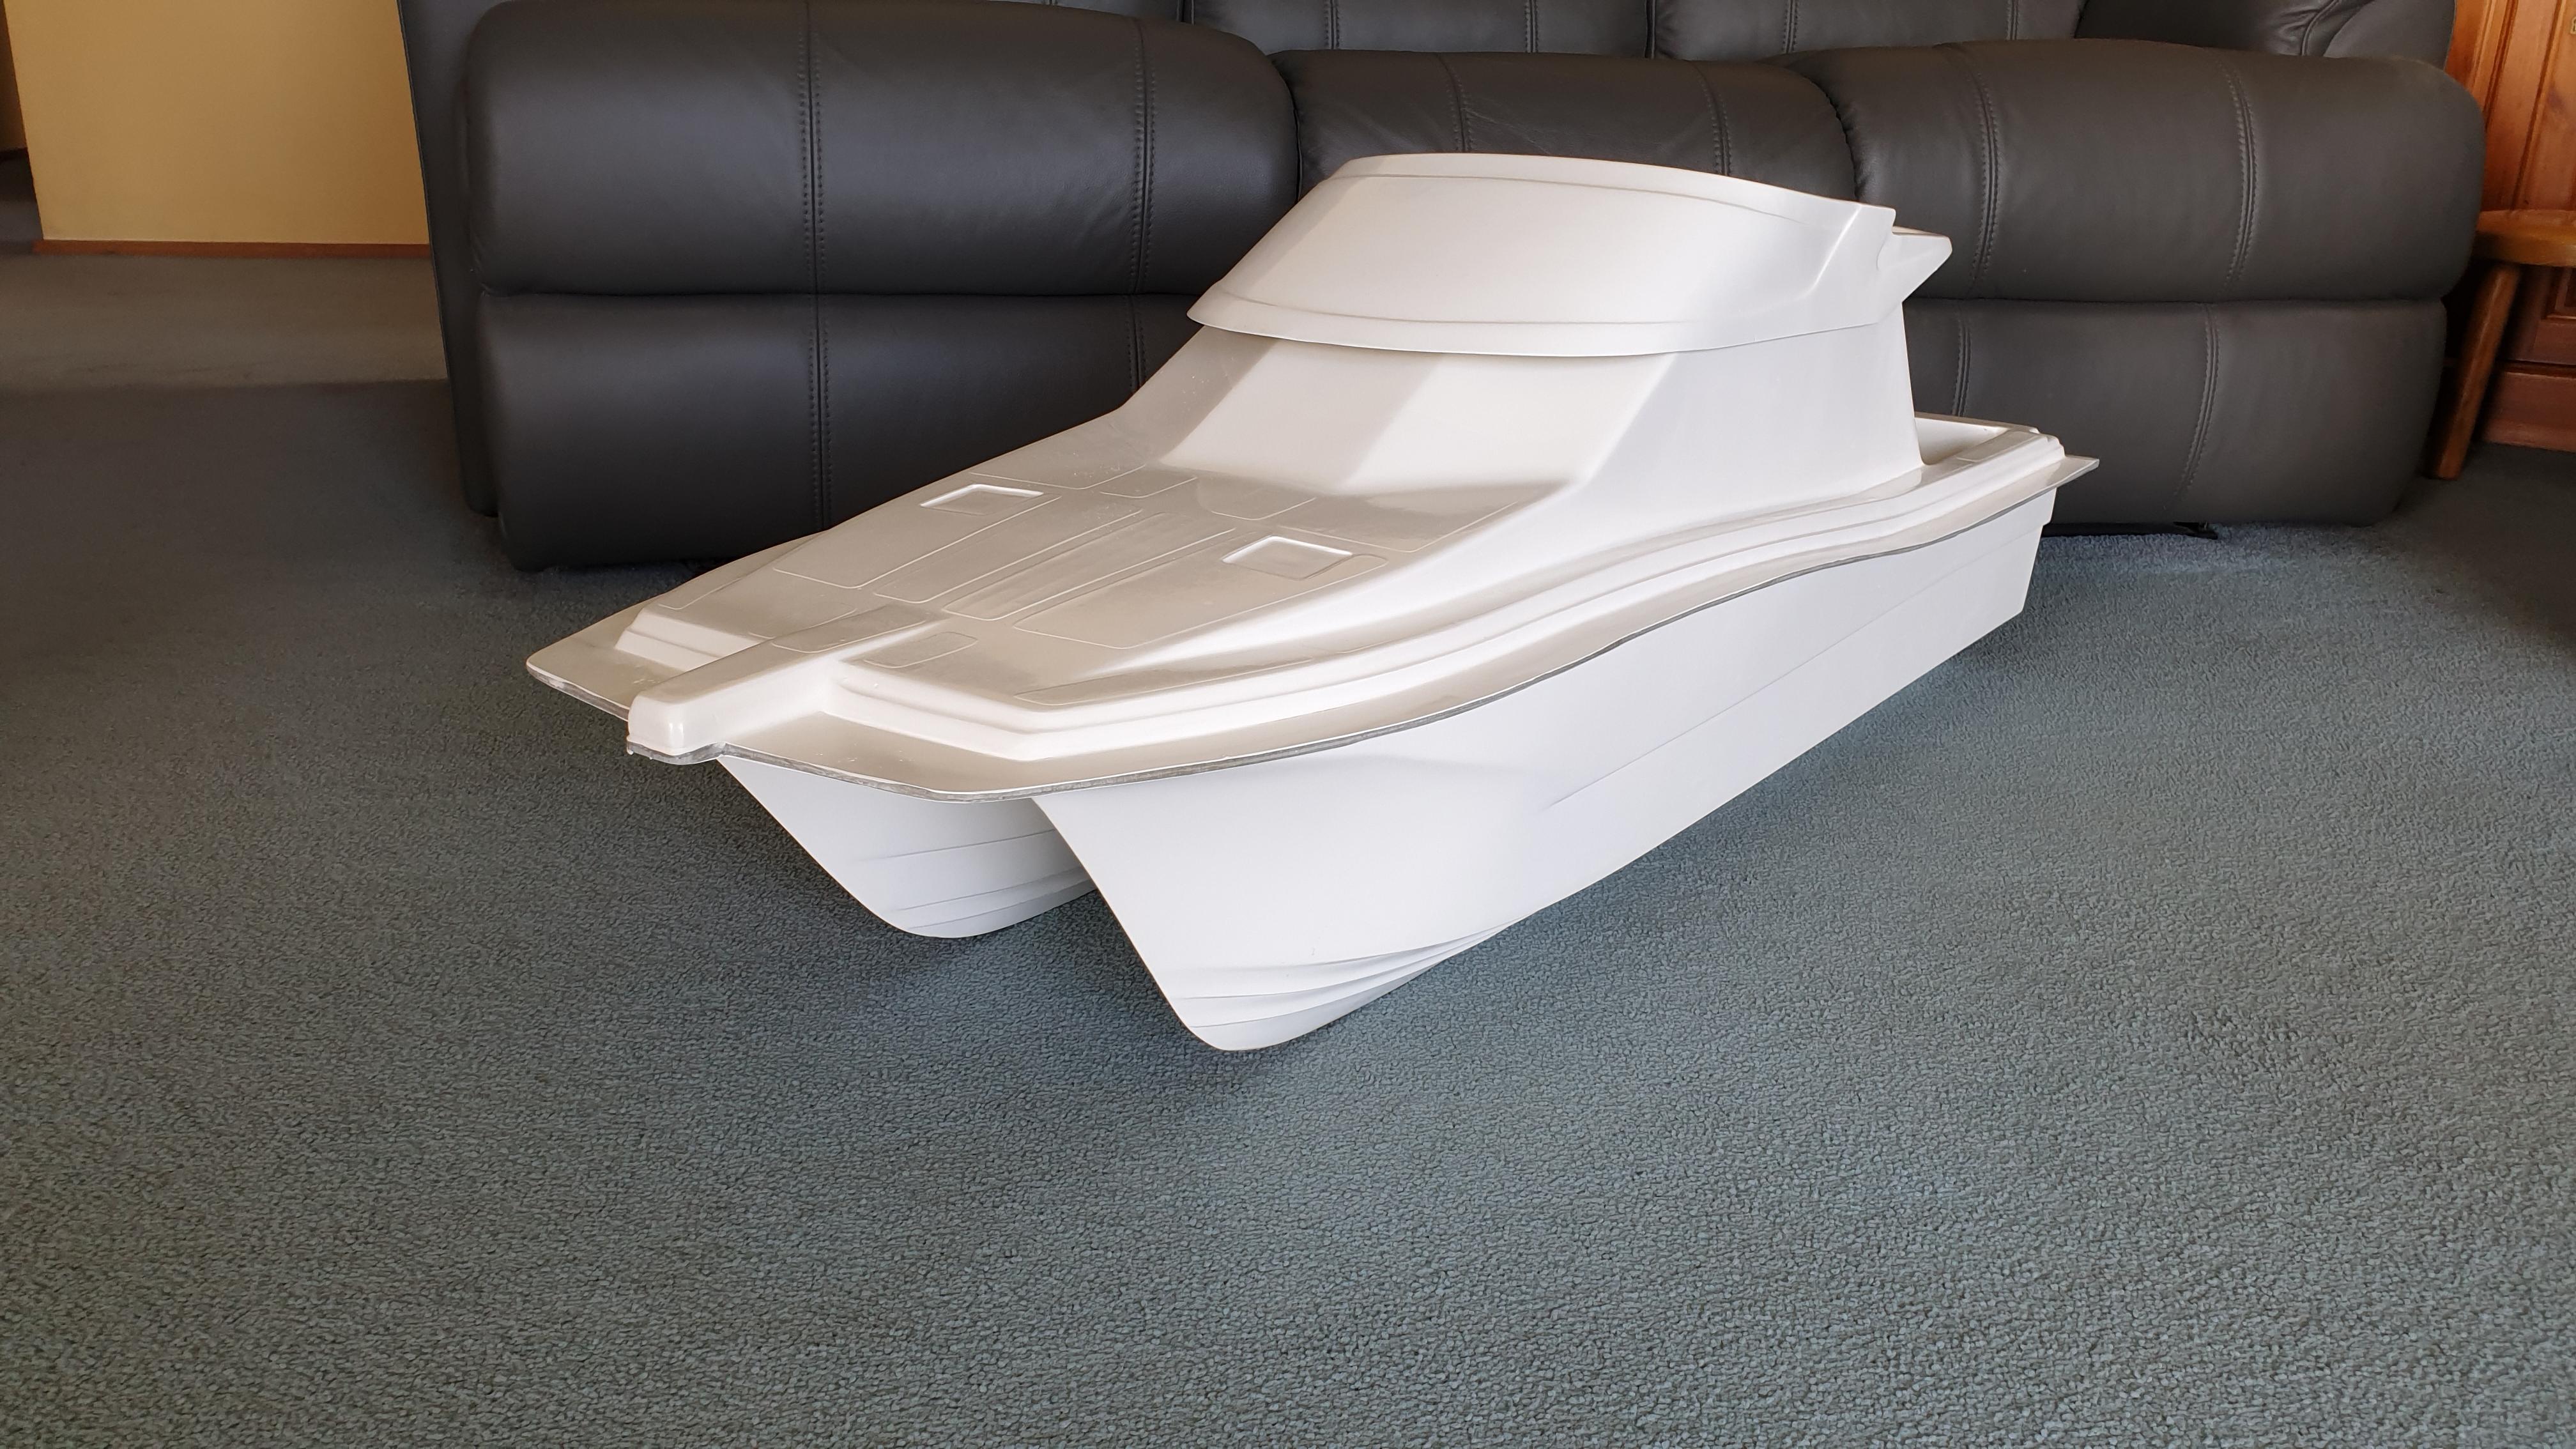
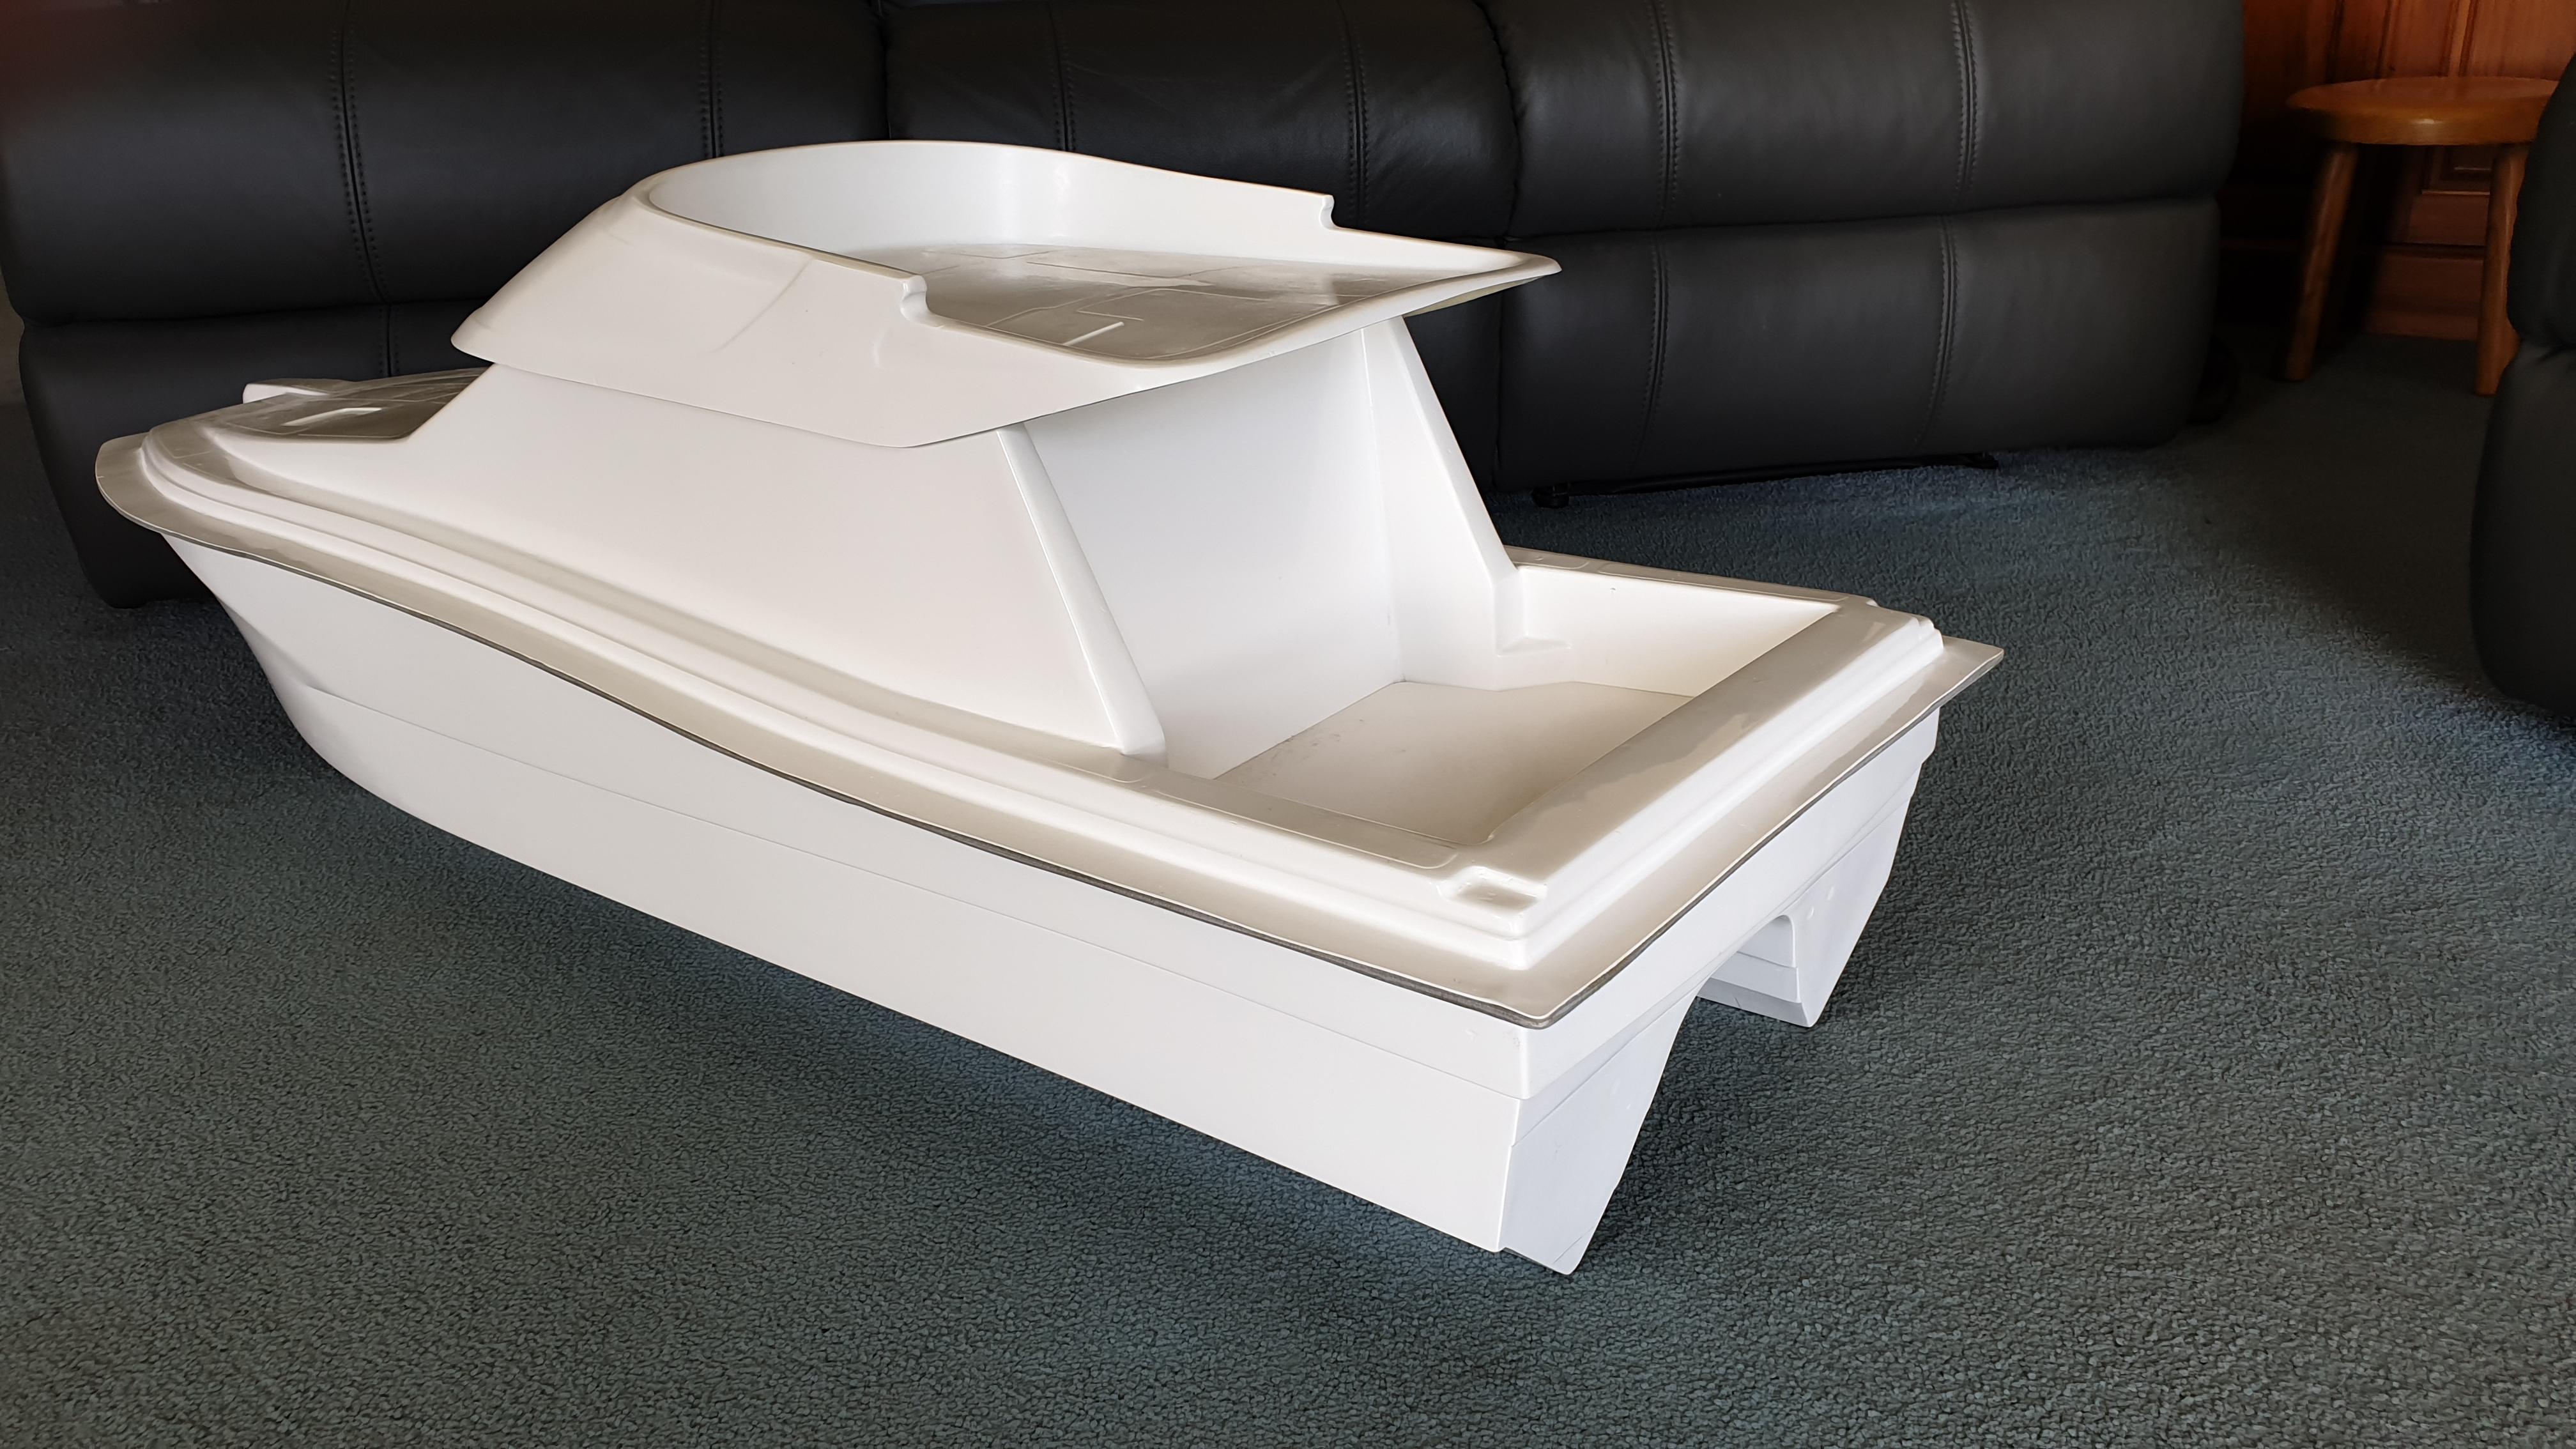
So here is the new model,
It’s a “Cougar Cat” The hull is made by Skipper Craft, the same place as Predators “Archer 650″came from.
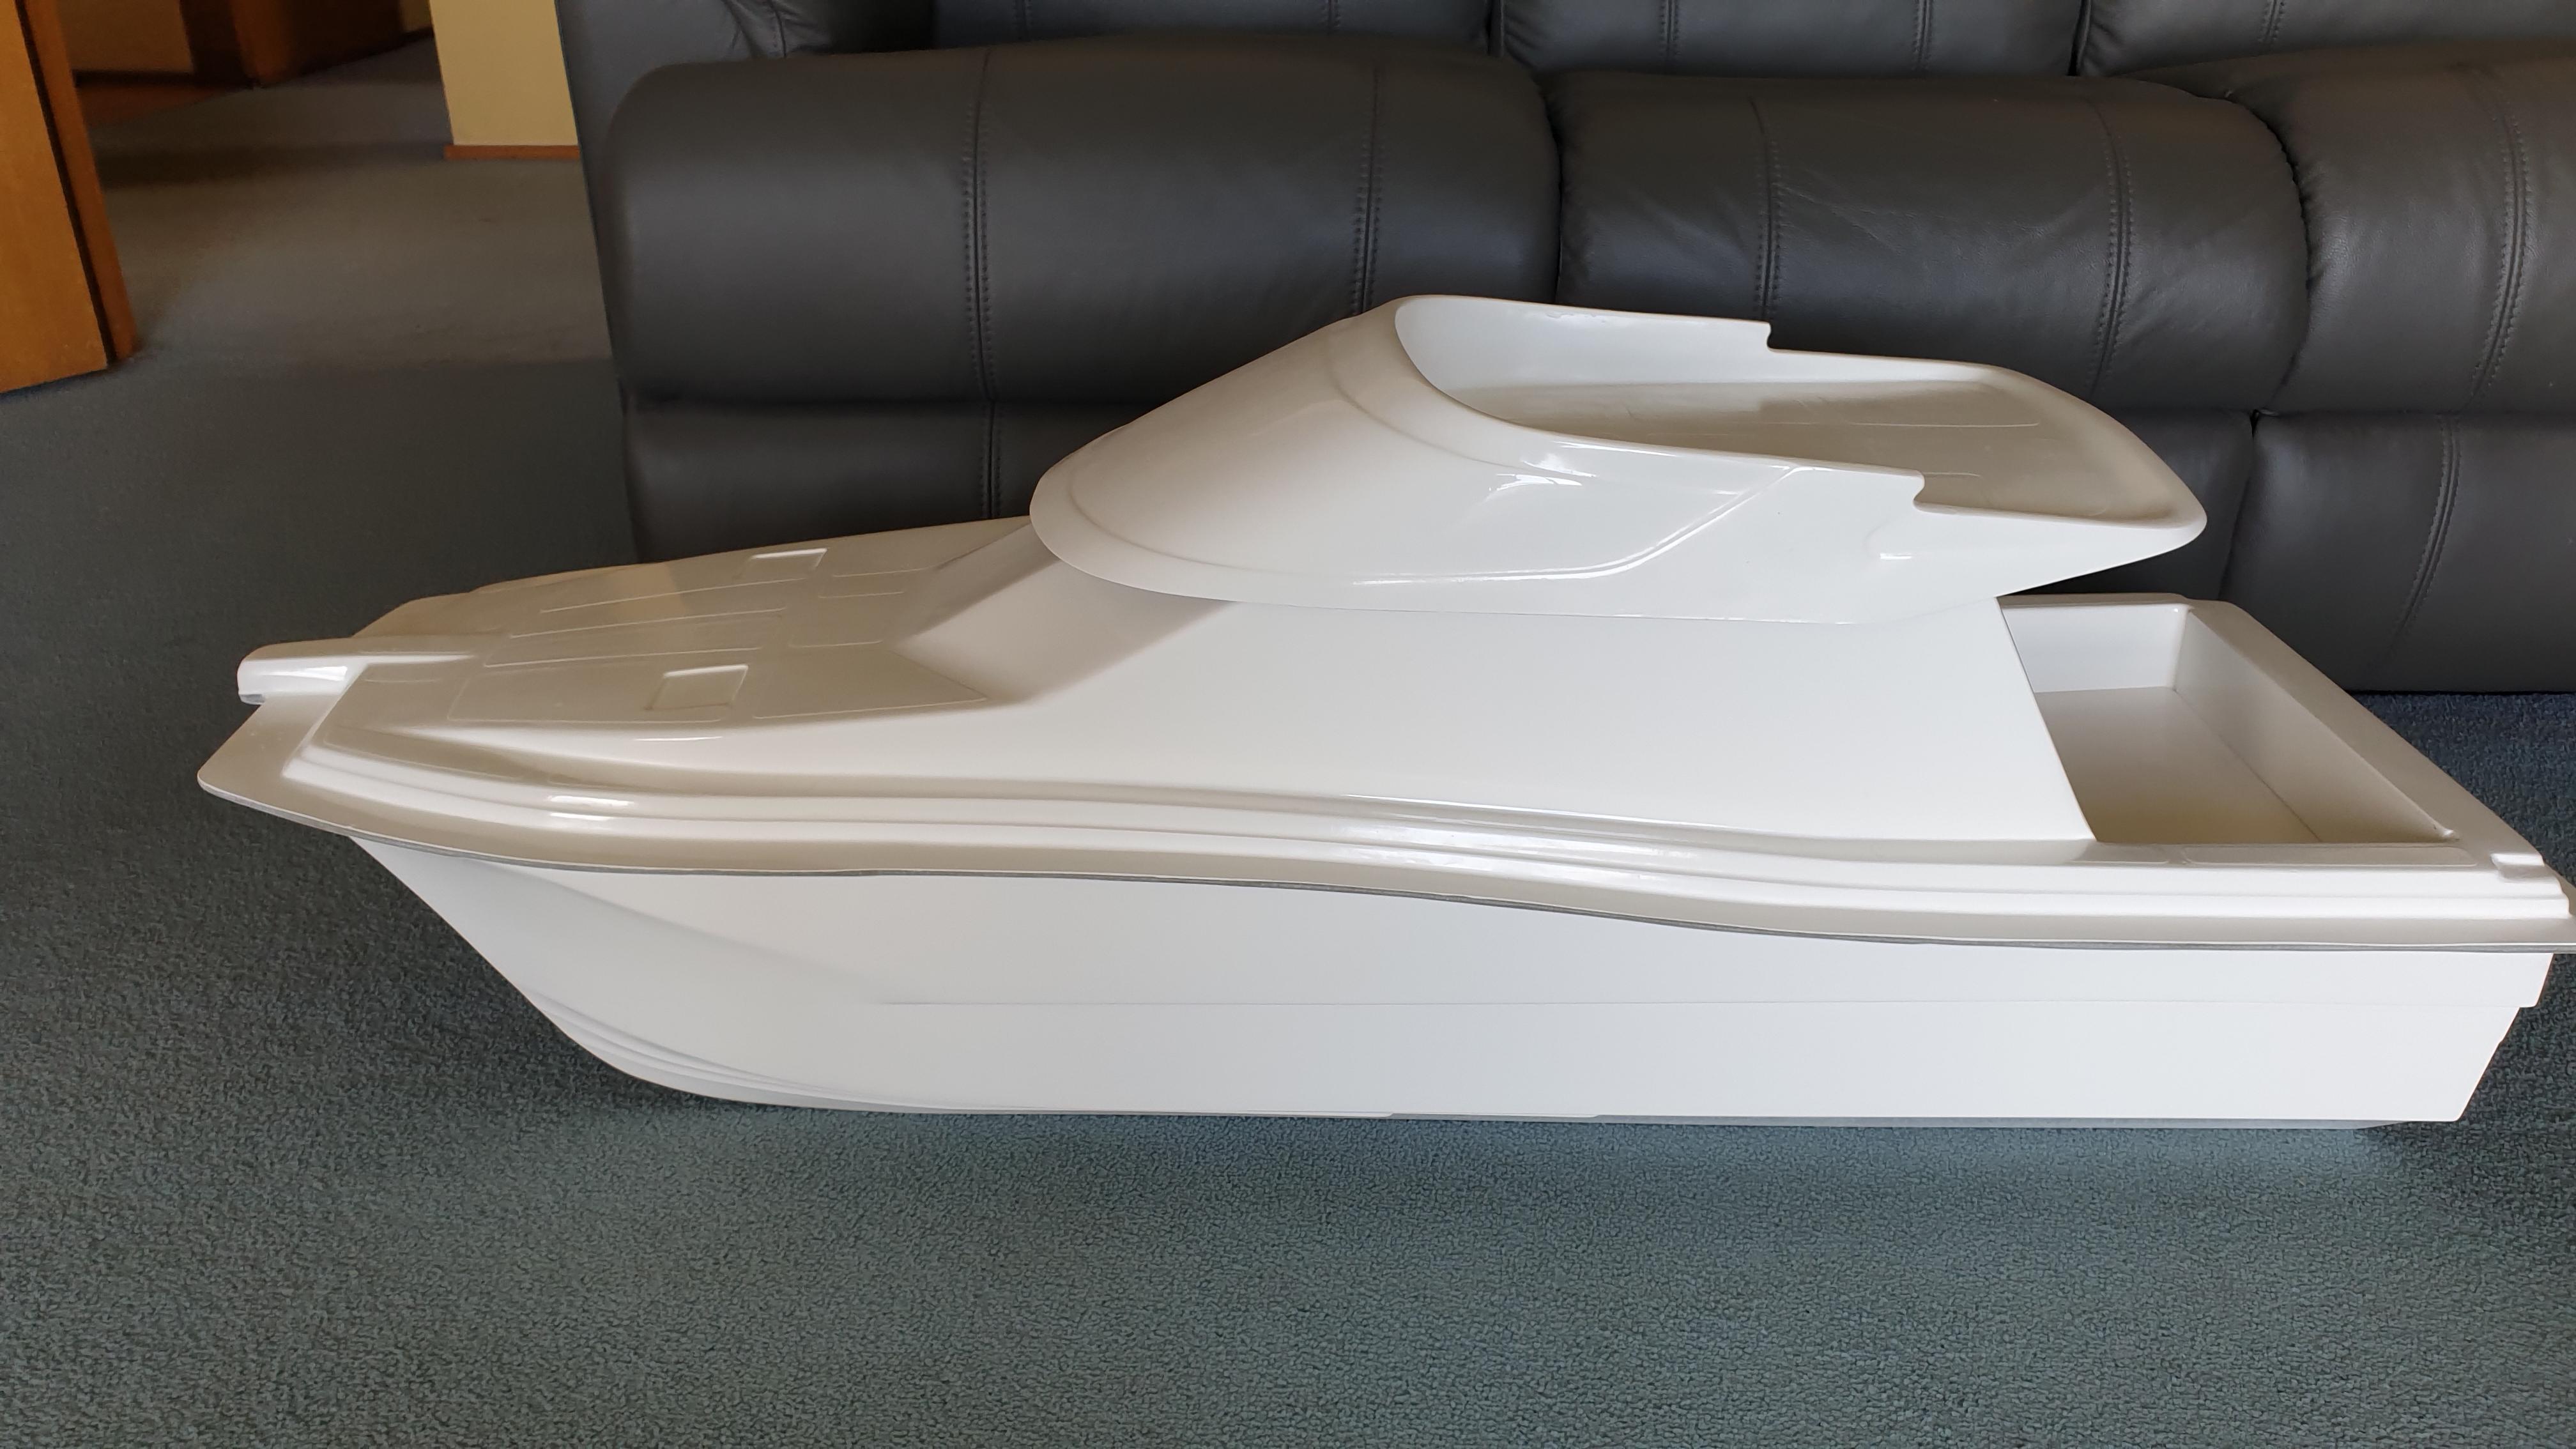
It’s 1410mm long with a 450mm beam
Very nicely moulded, solid construction. (DF’s won’t worry this)
The original plan was to fit two geared outboards, but decided against this and are going for inboard motors with conventional solid shafts.
This is for reliability and less maintenance. (Will have to find another project for the outboards)
So here we go!
-
6 December 2021 at 15:33 #9920
What’s that sticking out the front a ramming pole
-
6 December 2021 at 16:17 #9921
I suppose it could be used as that?
-
-
6 December 2021 at 16:23 #9922
Oh no, another duck slayer…
-
6 December 2021 at 21:05 #9923
Very nice Uncle G.
Good move not using OB motors. They would look great & perform well but oh the forever maintenance. That was why I removed them from “Double Trouble” and went to twin inboard motors.
Don’t forget to install lights as I’m sure we will eventually manage to organise another twilight mass sailing @ the canal.
-
6 December 2021 at 21:50 #9924
The Cartela is still waiting for that twilight sail. but yes the cat will also have lights
-
-
7 December 2021 at 08:51 #9928
That’s a great project and it should keep you out of trouble for a while.
-
8 December 2021 at 14:32 #9939
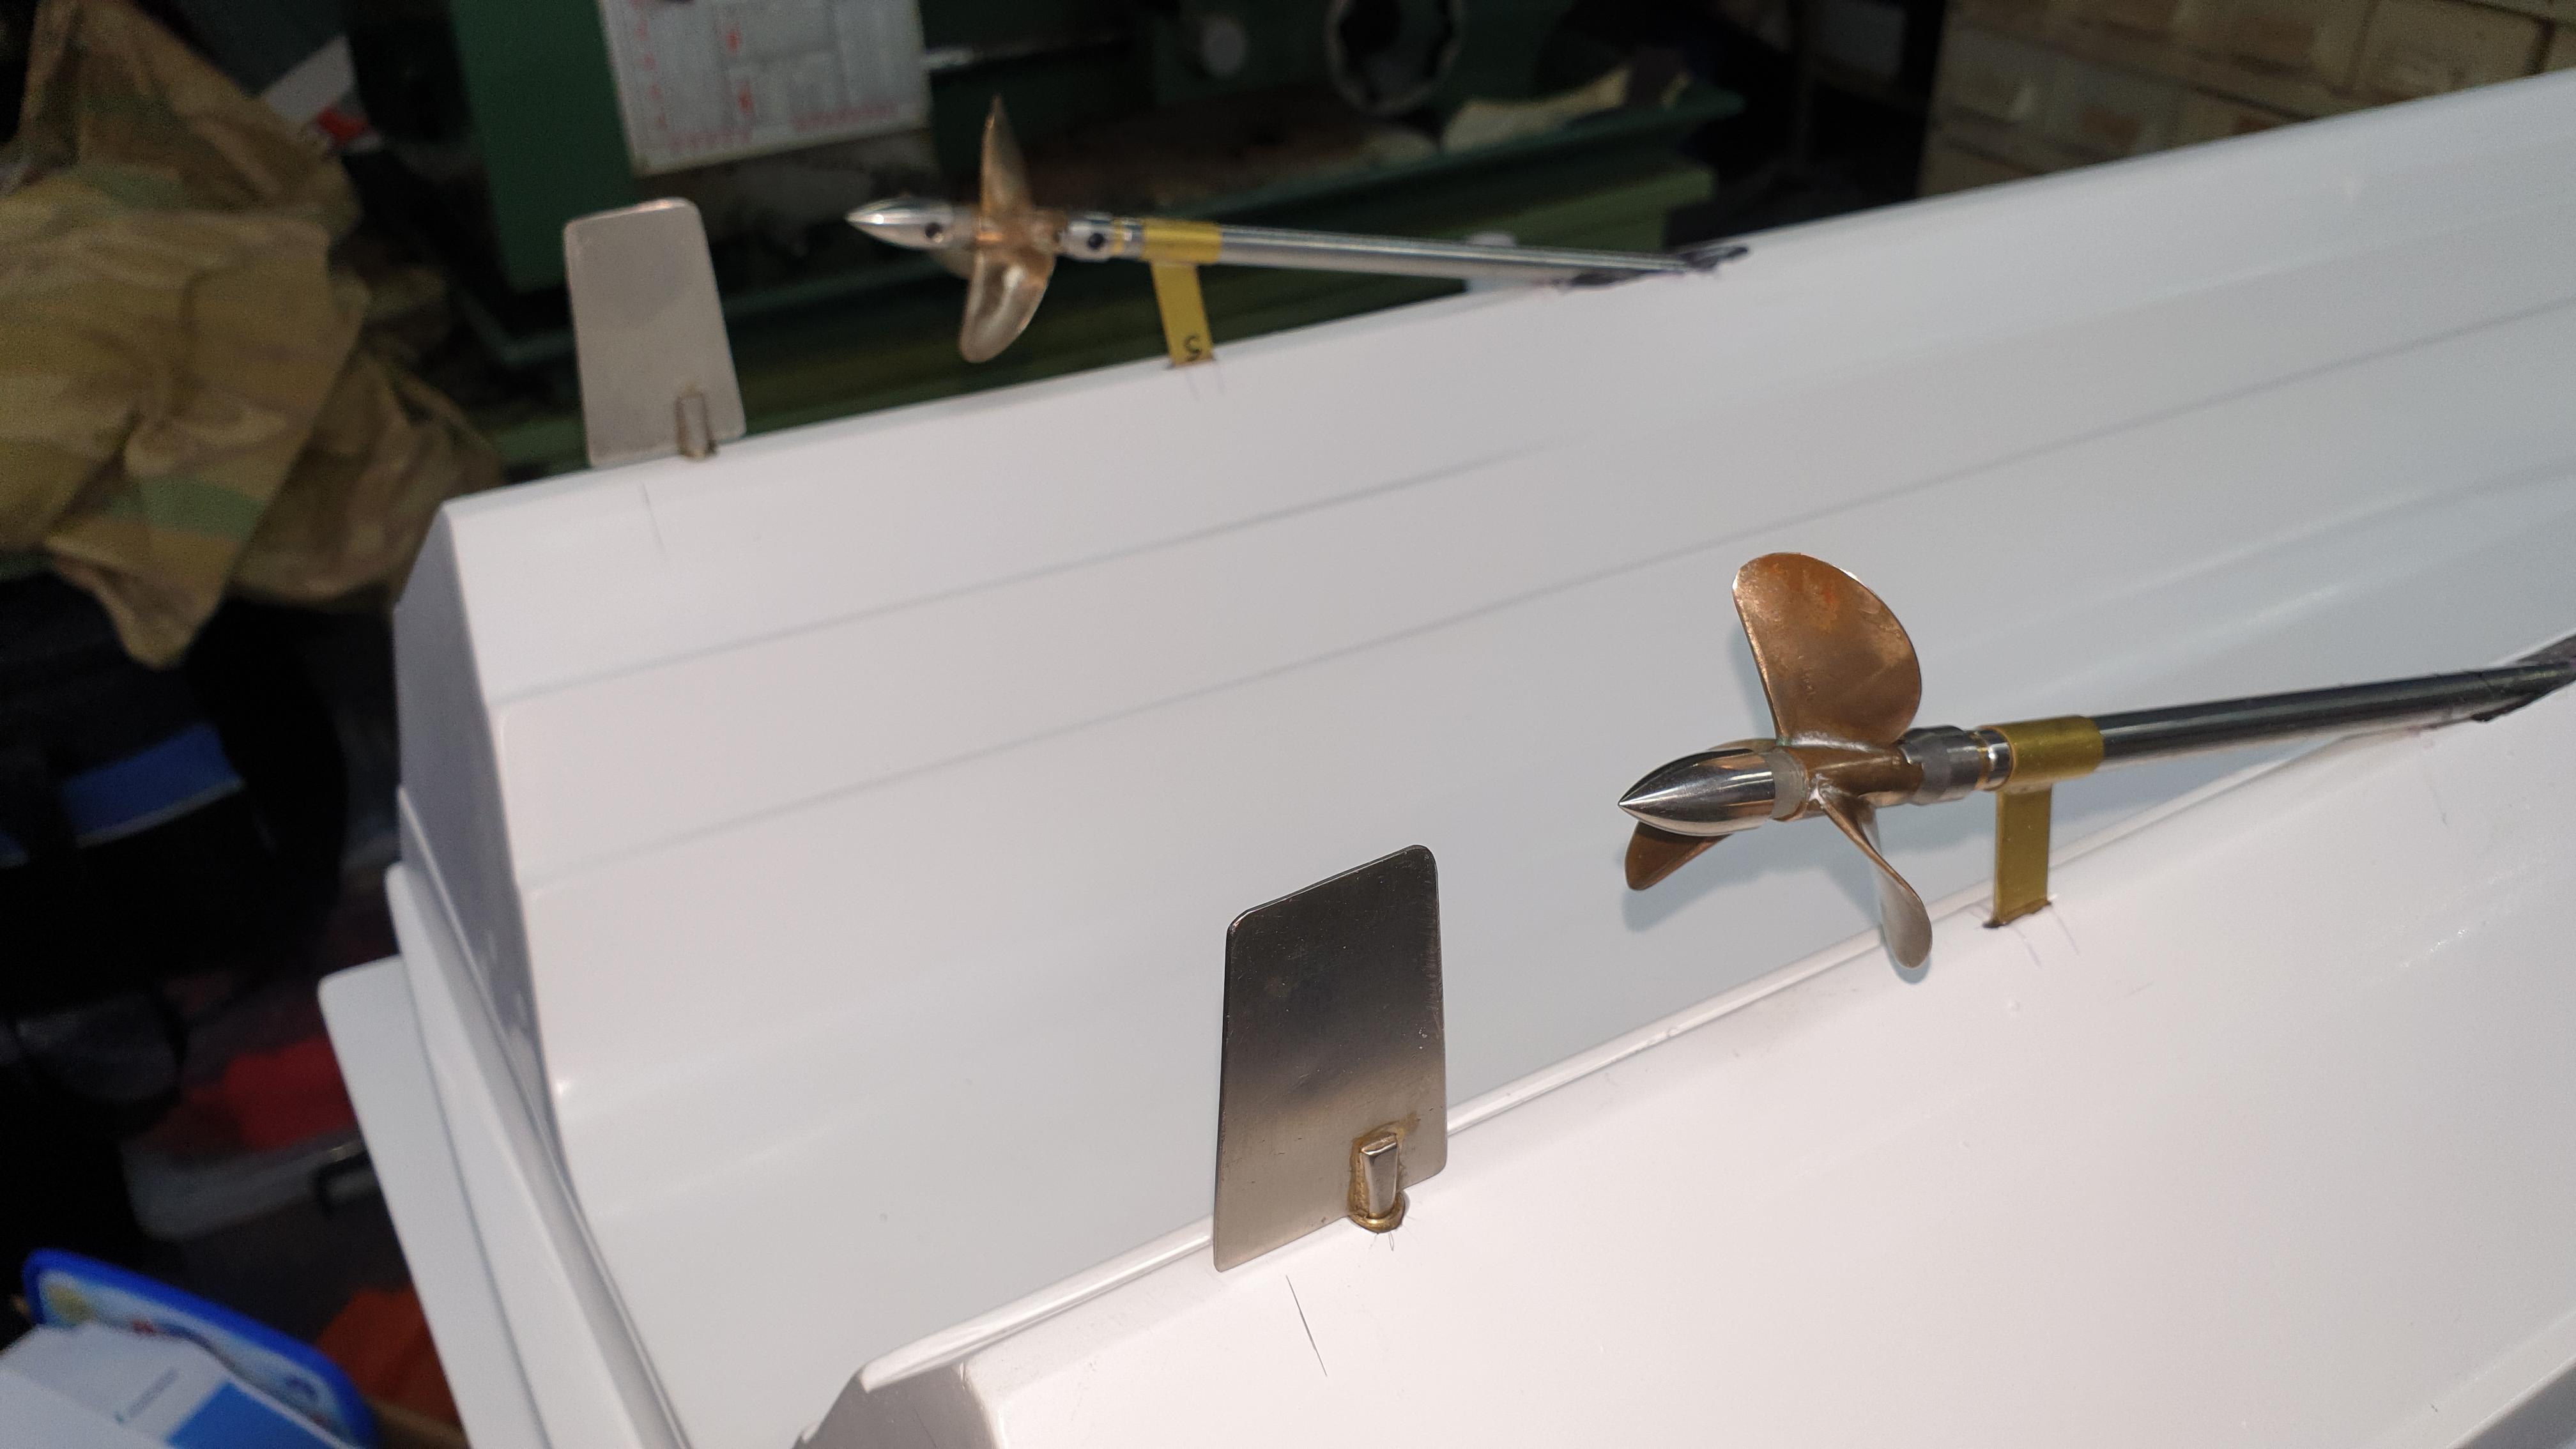
Next bits,
As this a large boat so I will use standard 3/16″ Props, as these a easy to get and come in lots of different sizes and pitches.
The only trouble is they are normally used on fast racing power boats and they tend to use flex shafts.
This makes it very hard to find a solid 3/16″ prop shaft, so the only option is to make them.
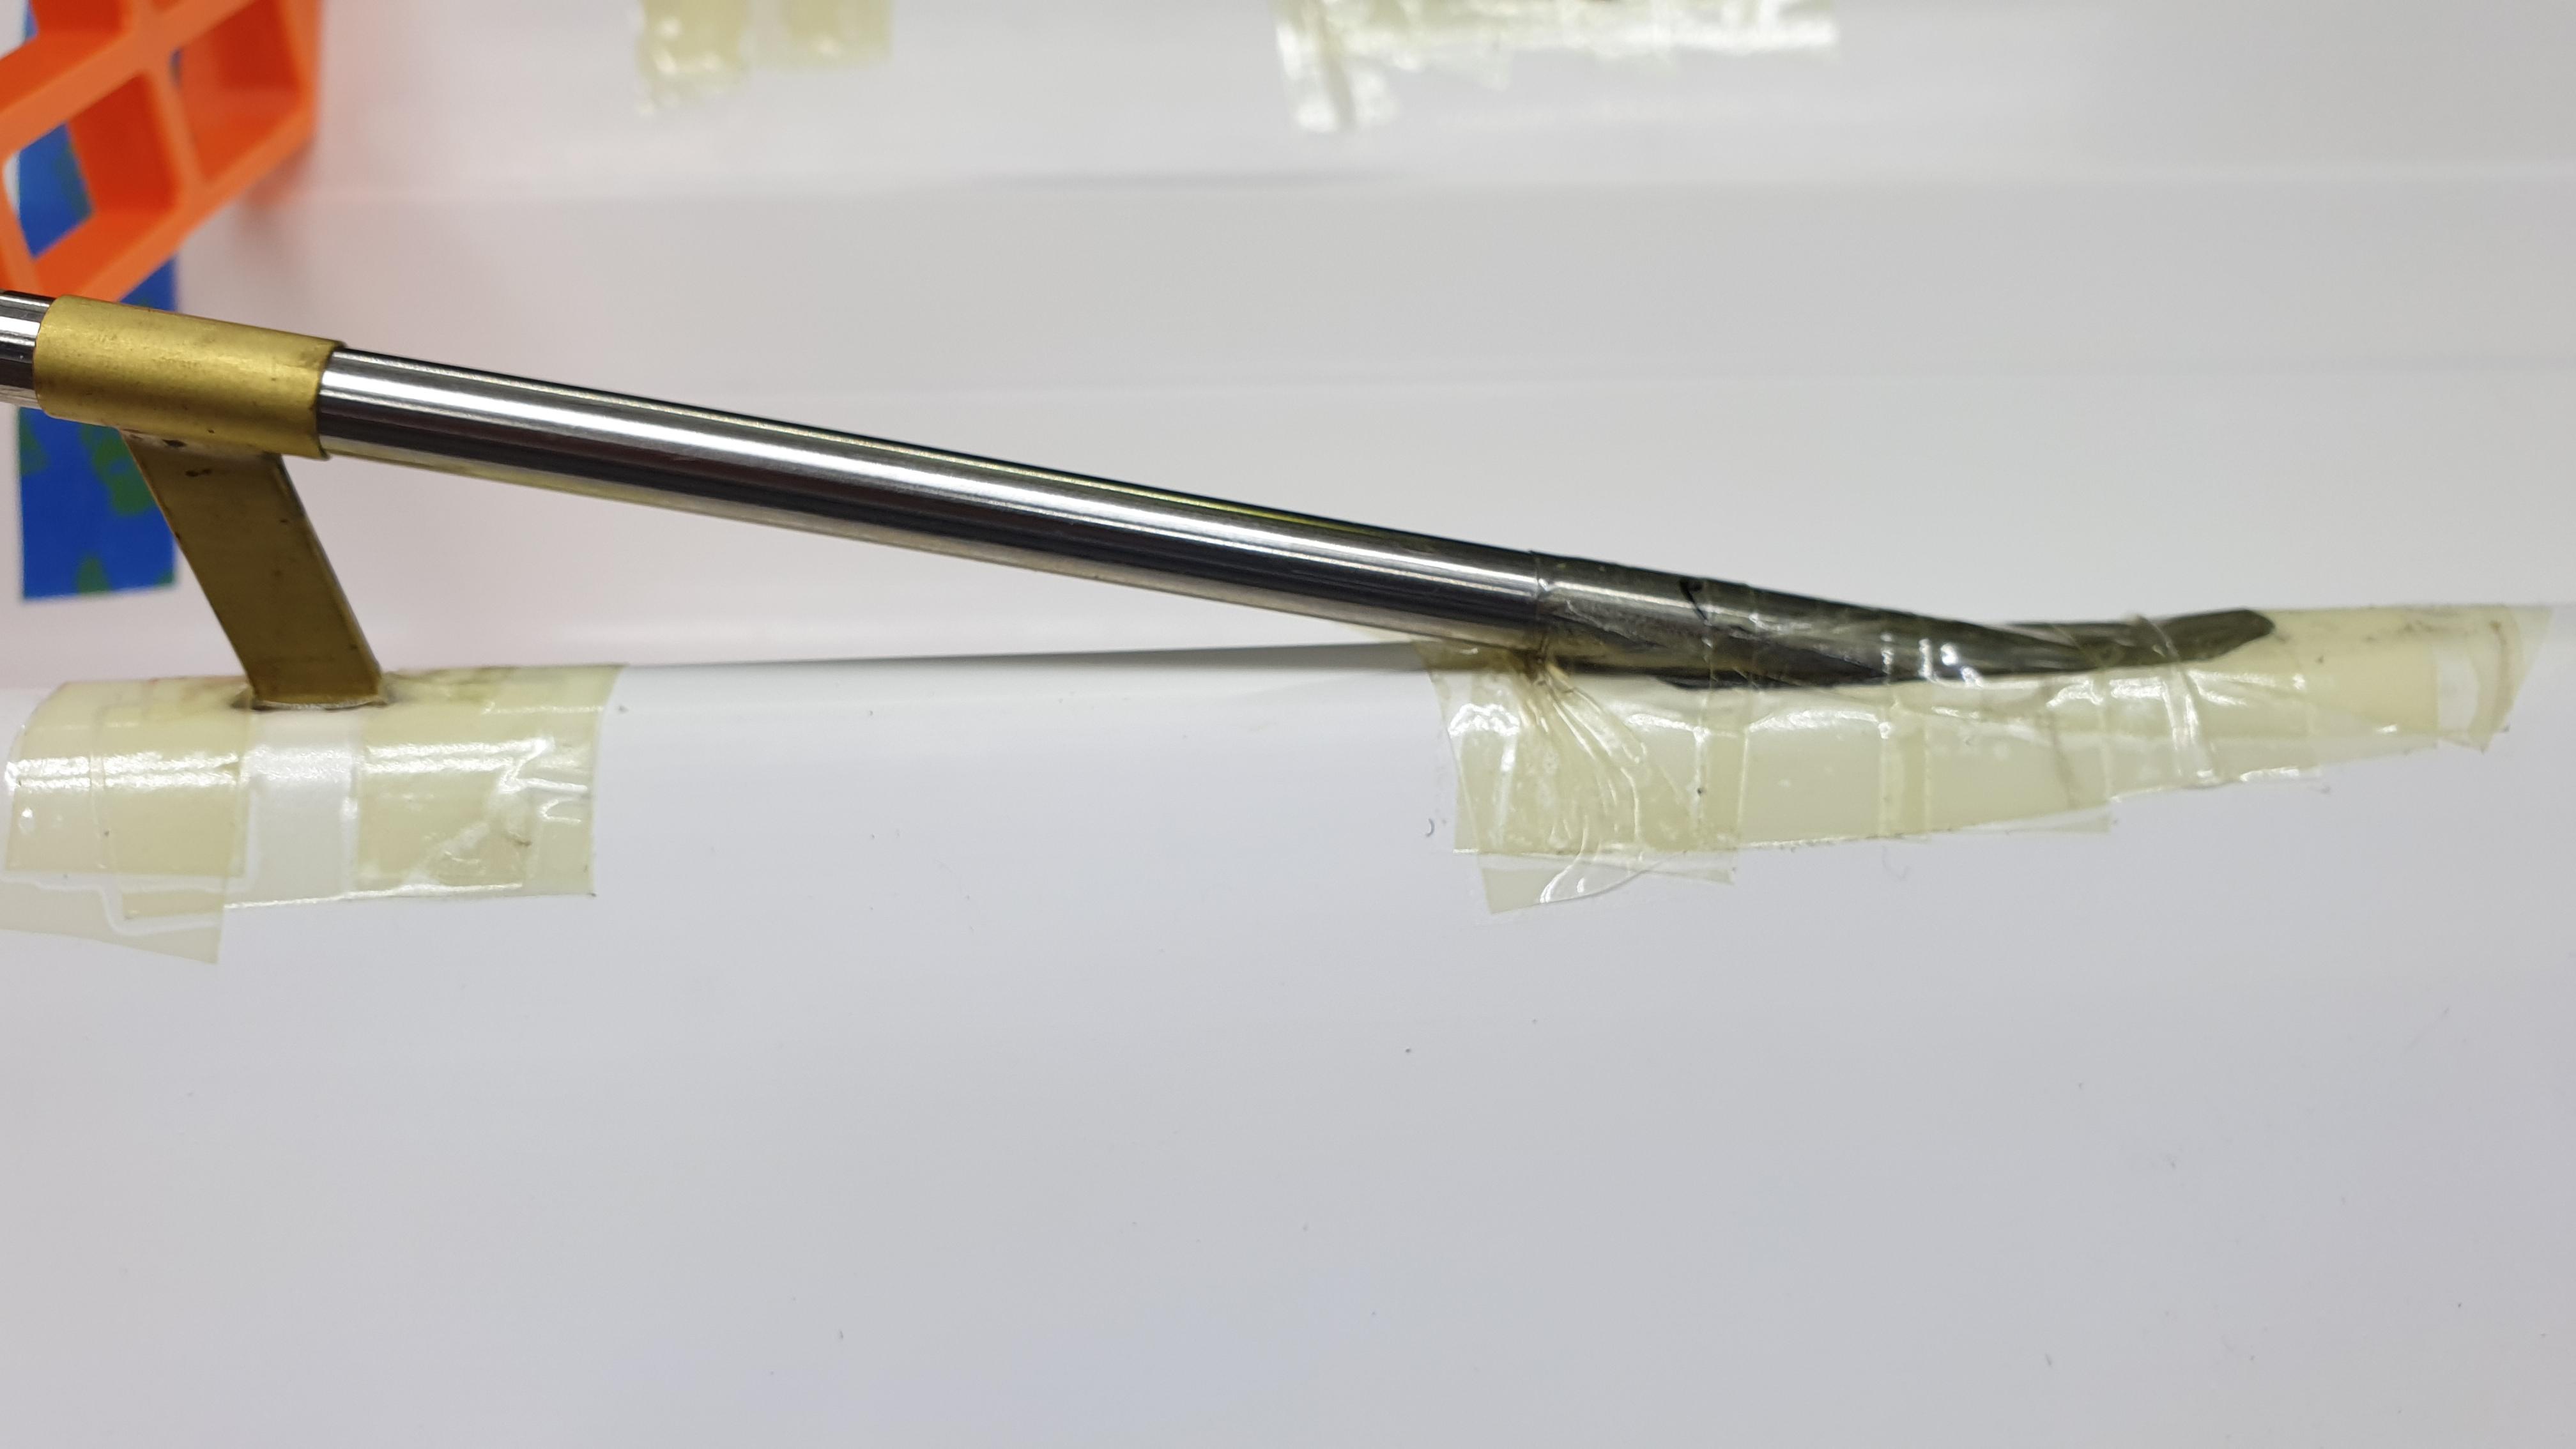
I used 5/16″ Stainless tube with a 3/16″ stainless shaft running in some brass bushes that I turned up on the lathe.
Made the support struts out of scrap brass & tube.

The couplings also needed bushes in them for the shafts.
Now all I need to do is fit them in the hull.
-
8 December 2021 at 15:28 #9940
What a clever little boy you are
I always new you could do it
if you need some expertise don’t be frighten to ask I will put you on to someone who knows everything

-
8 December 2021 at 16:14 #9942
Thanks Moose, but I should be OK.
-
-
8 December 2021 at 17:42 #9943
I thought so
-
10 December 2021 at 15:38 #9962
Rudders,
Again there is nothing commercially available, so for the tubes I used the same size stainless tubes as the prop shafts.
Brass bushes were turned up on the lathe and held together with Loctite.
The rudders are made out stainless sheet and some more of the 3/16″ shaft silver soldered together.
After a lot of shaping, cleaning and polishing they look like this.
-
10 December 2021 at 16:46 #9963
great job uncle G look like bought ones. whos a clever little boy
-
10 December 2021 at 20:38 #9964
Coming along nicely Uncle G
-
11 December 2021 at 07:13 #9970
They look like they were made for the job. Very neat work.
-
11 December 2021 at 07:31 #9971
Thanks all for the encouraging words.
Next job is to install all these parts.
-
13 December 2021 at 20:58 #9981
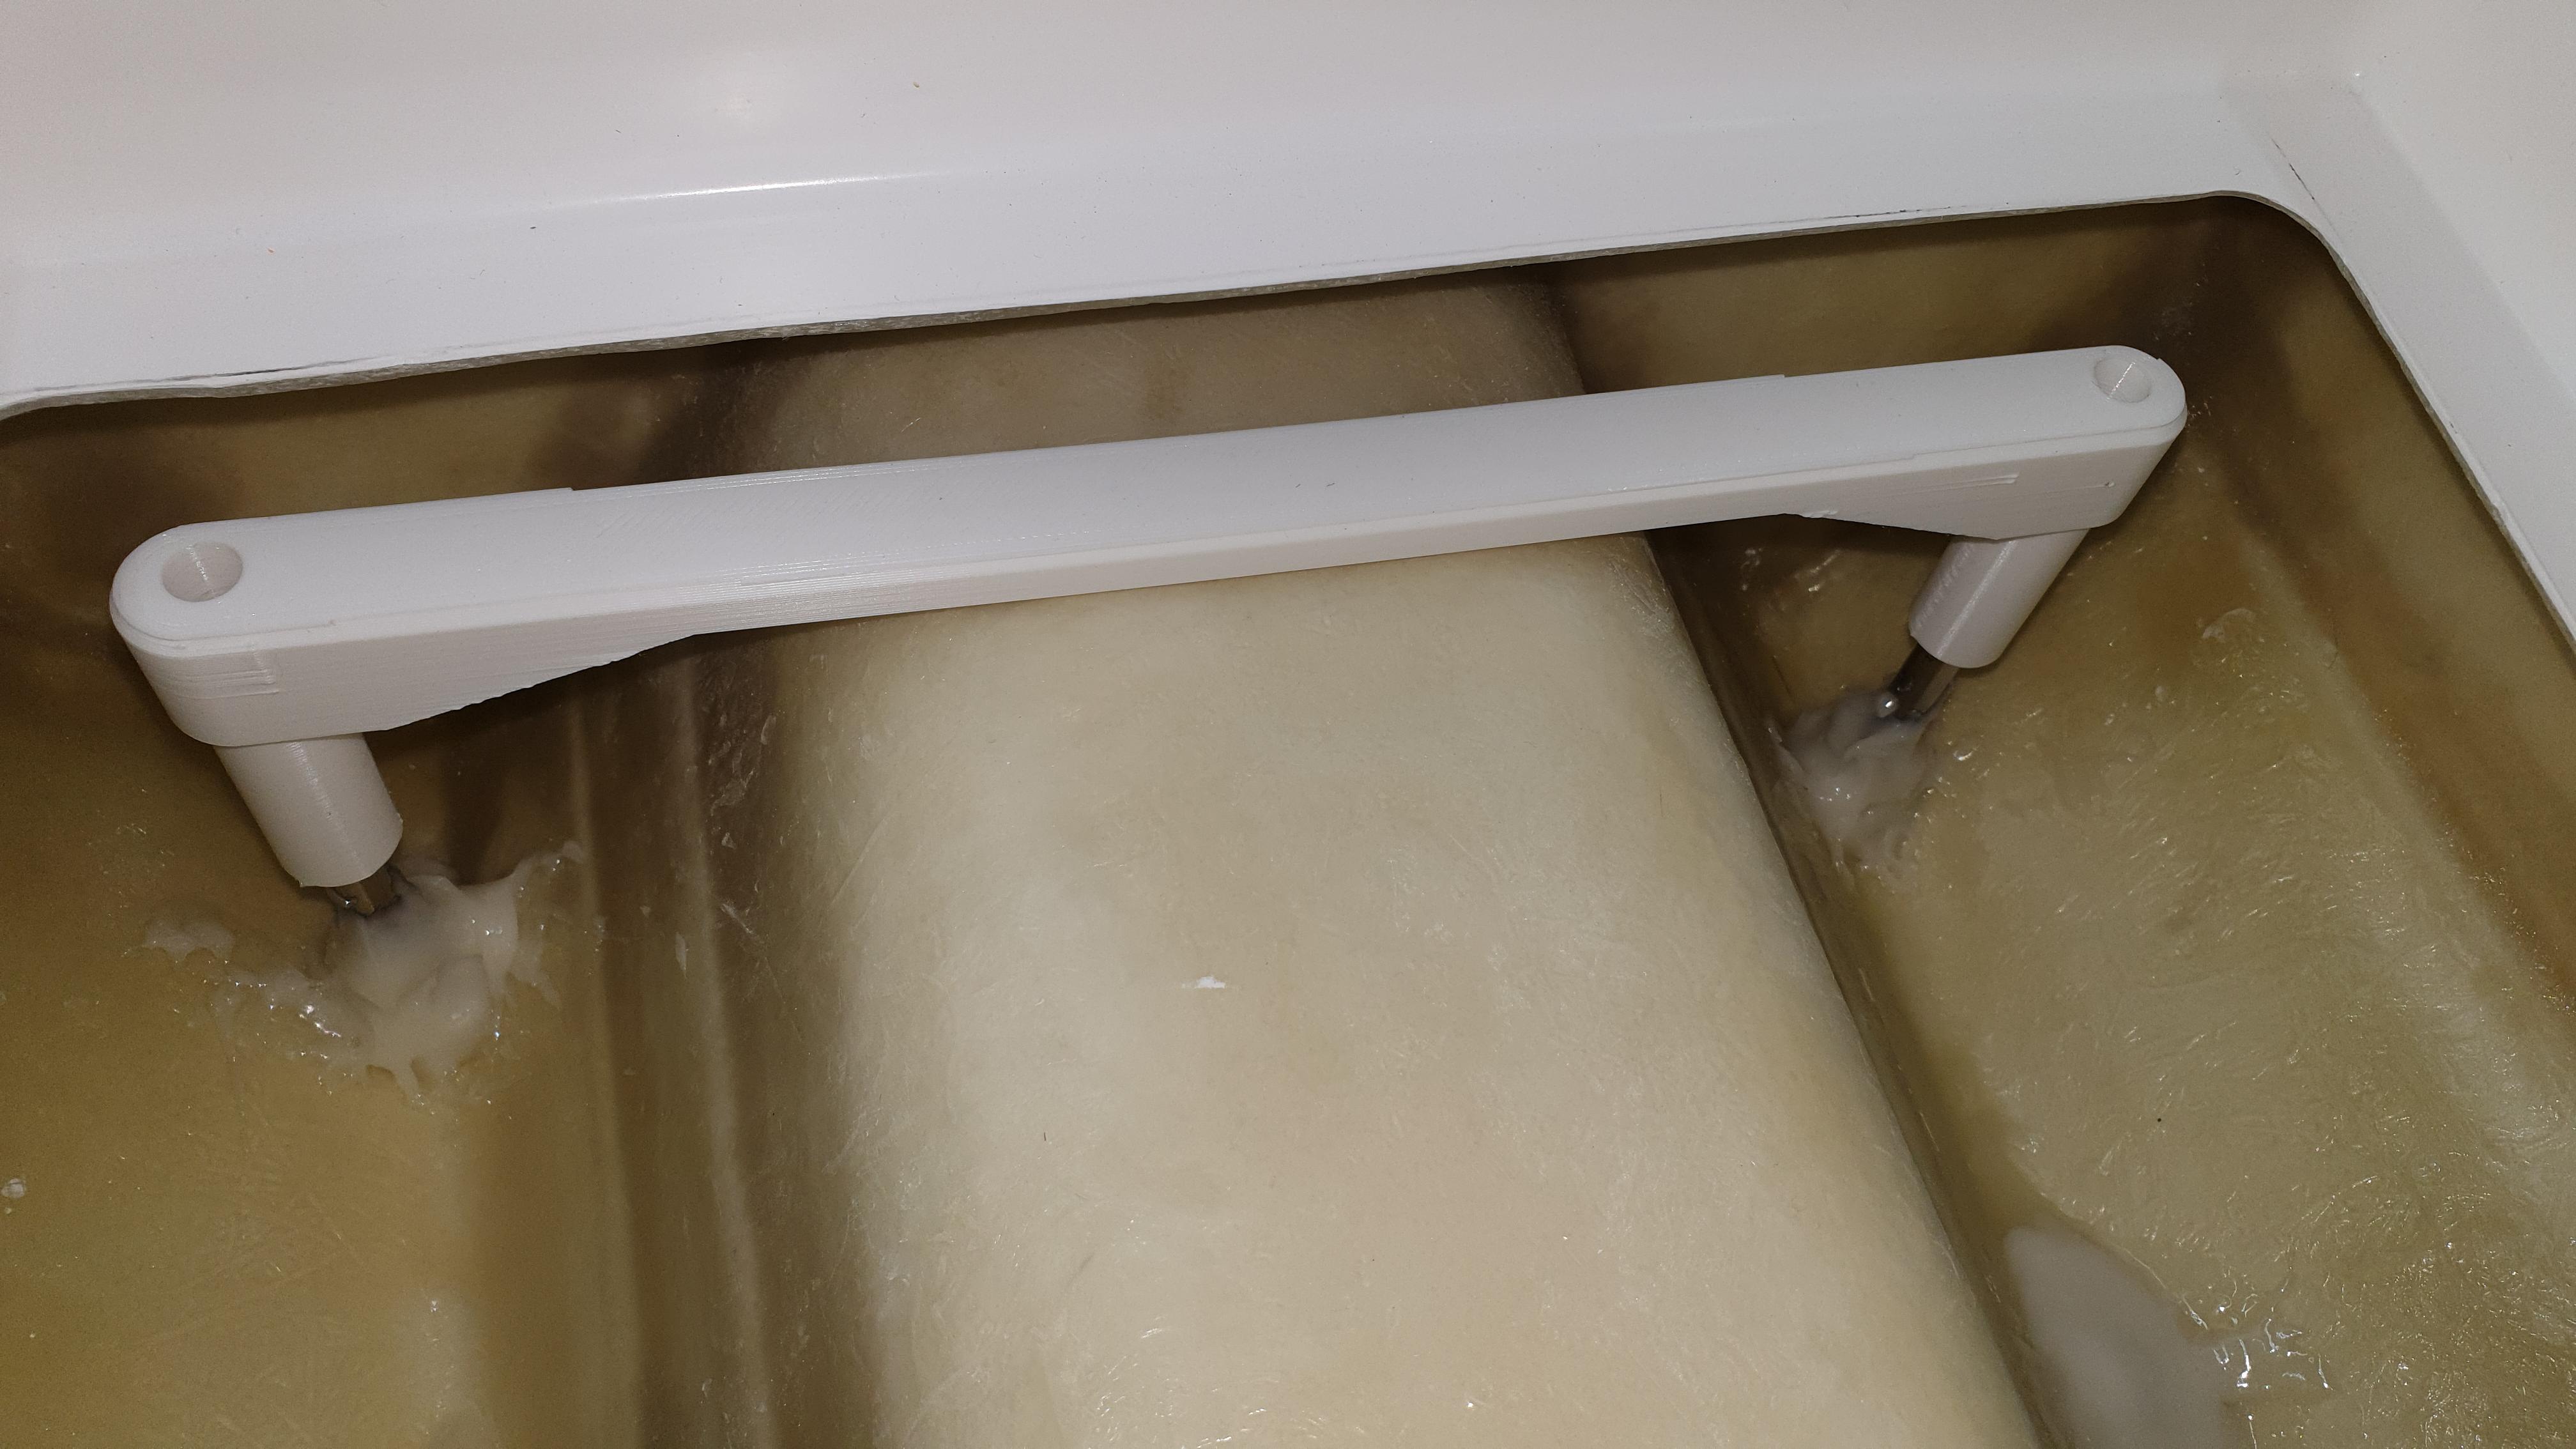
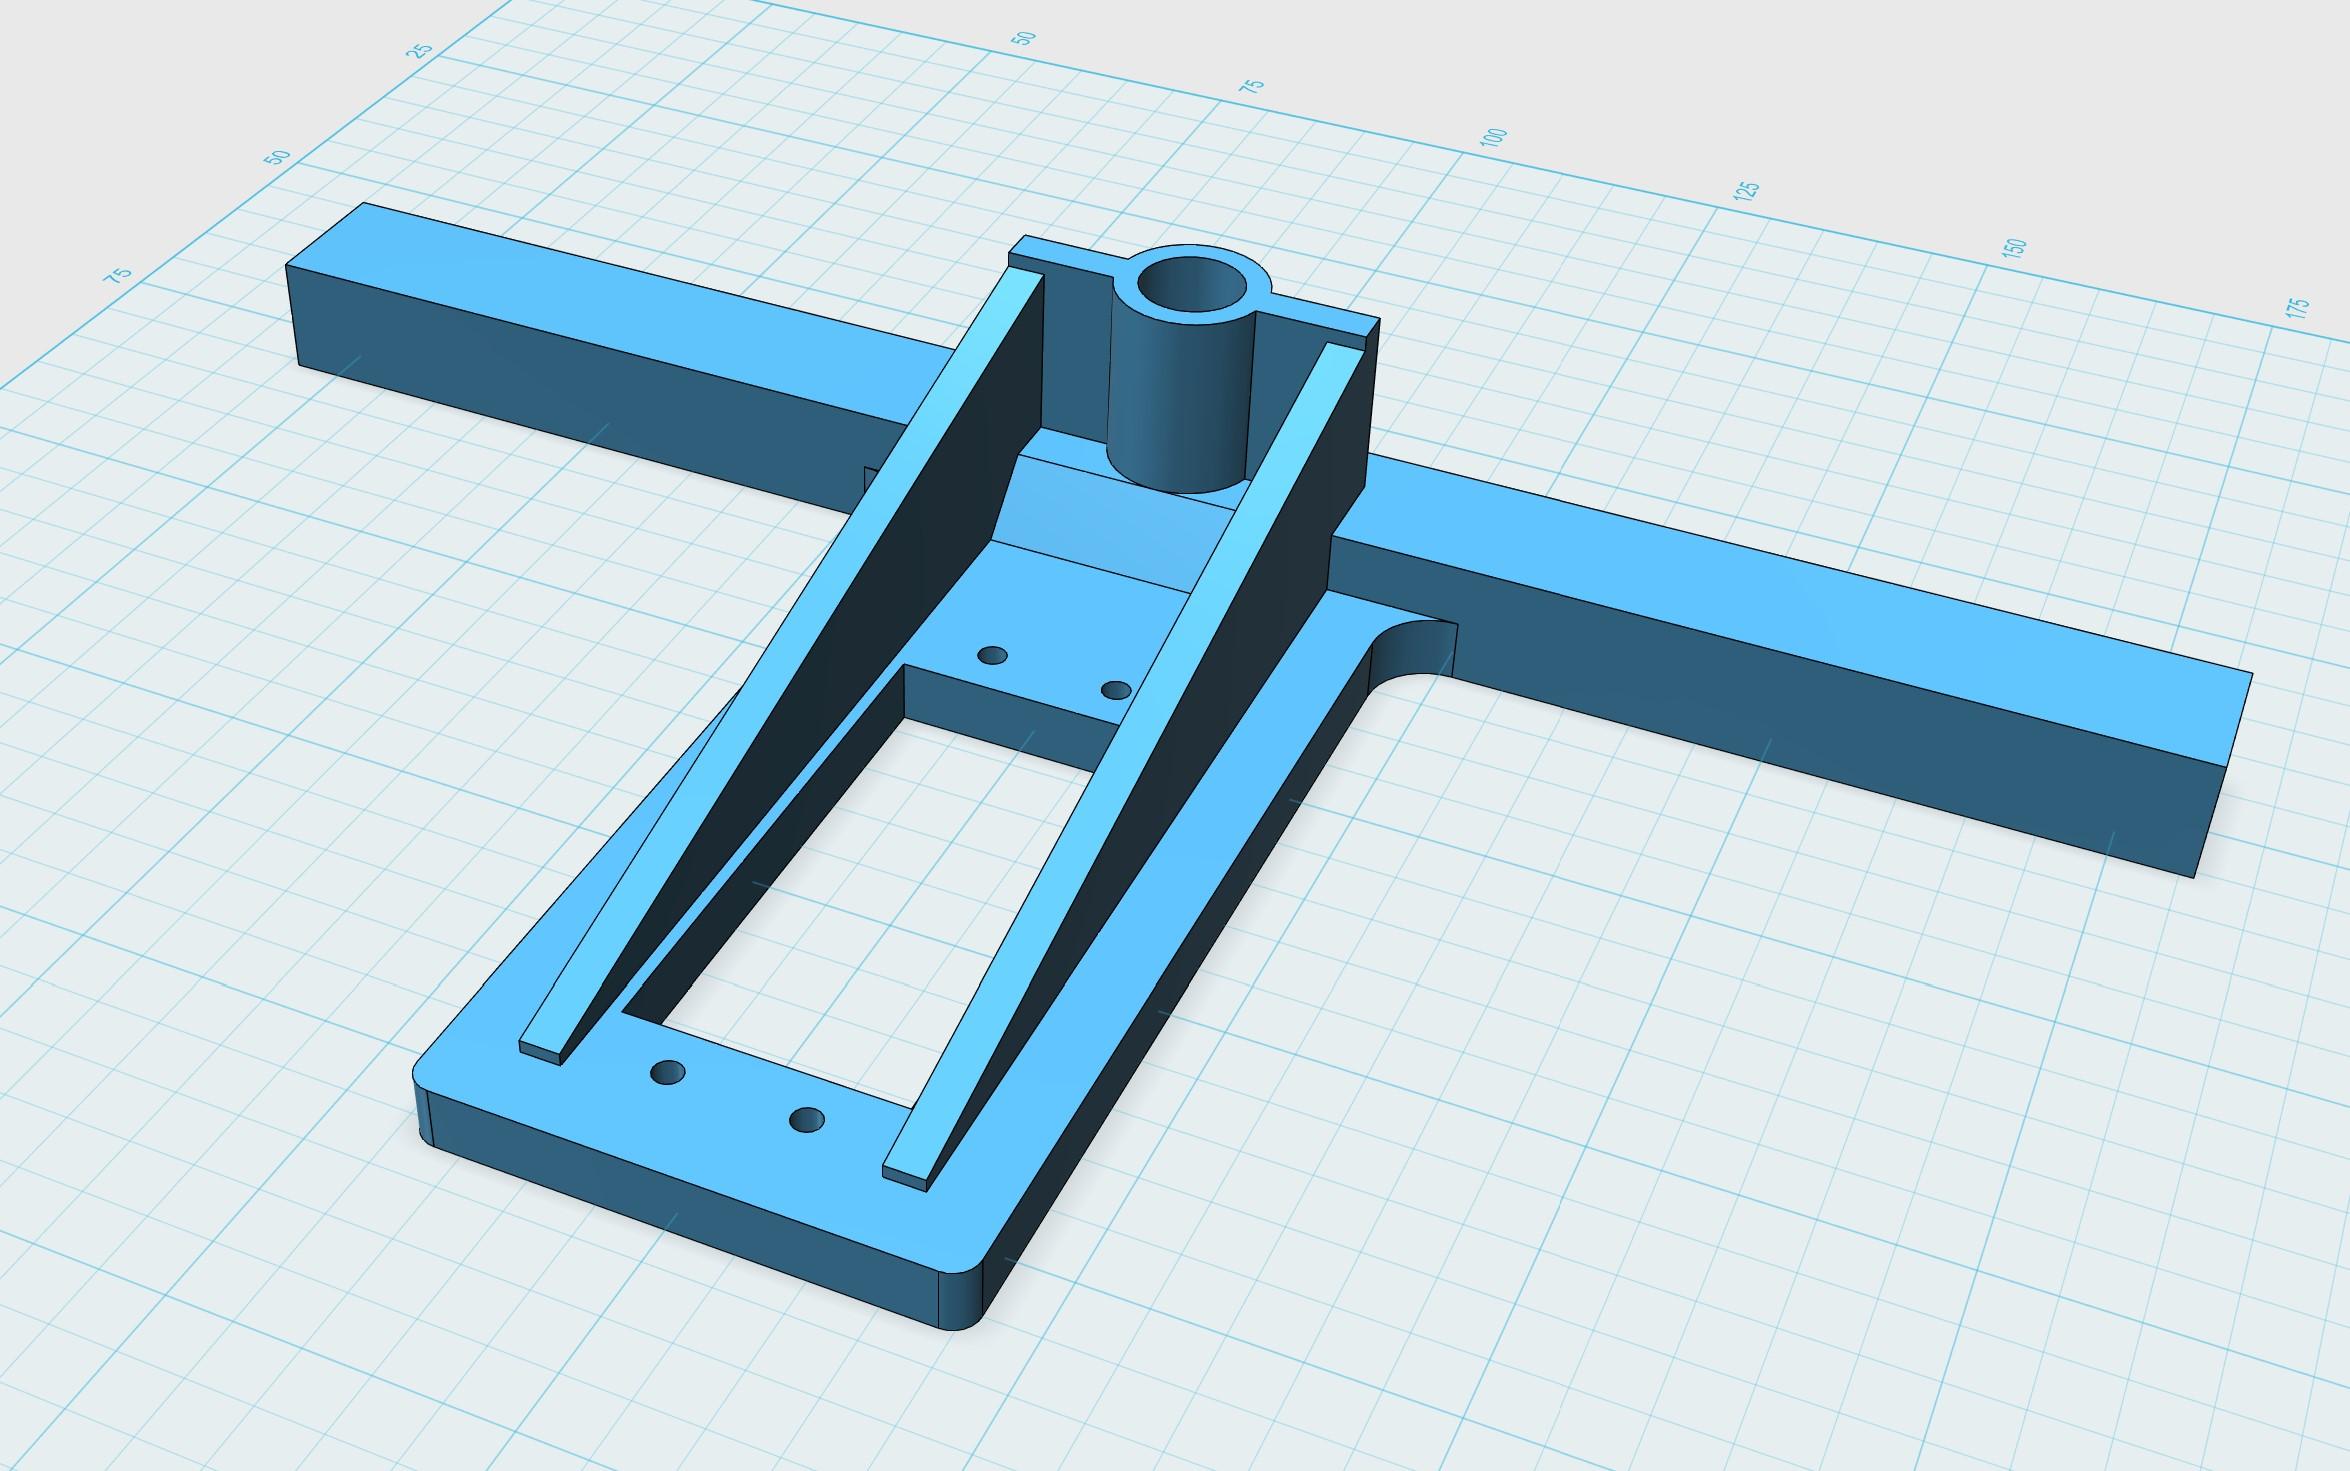
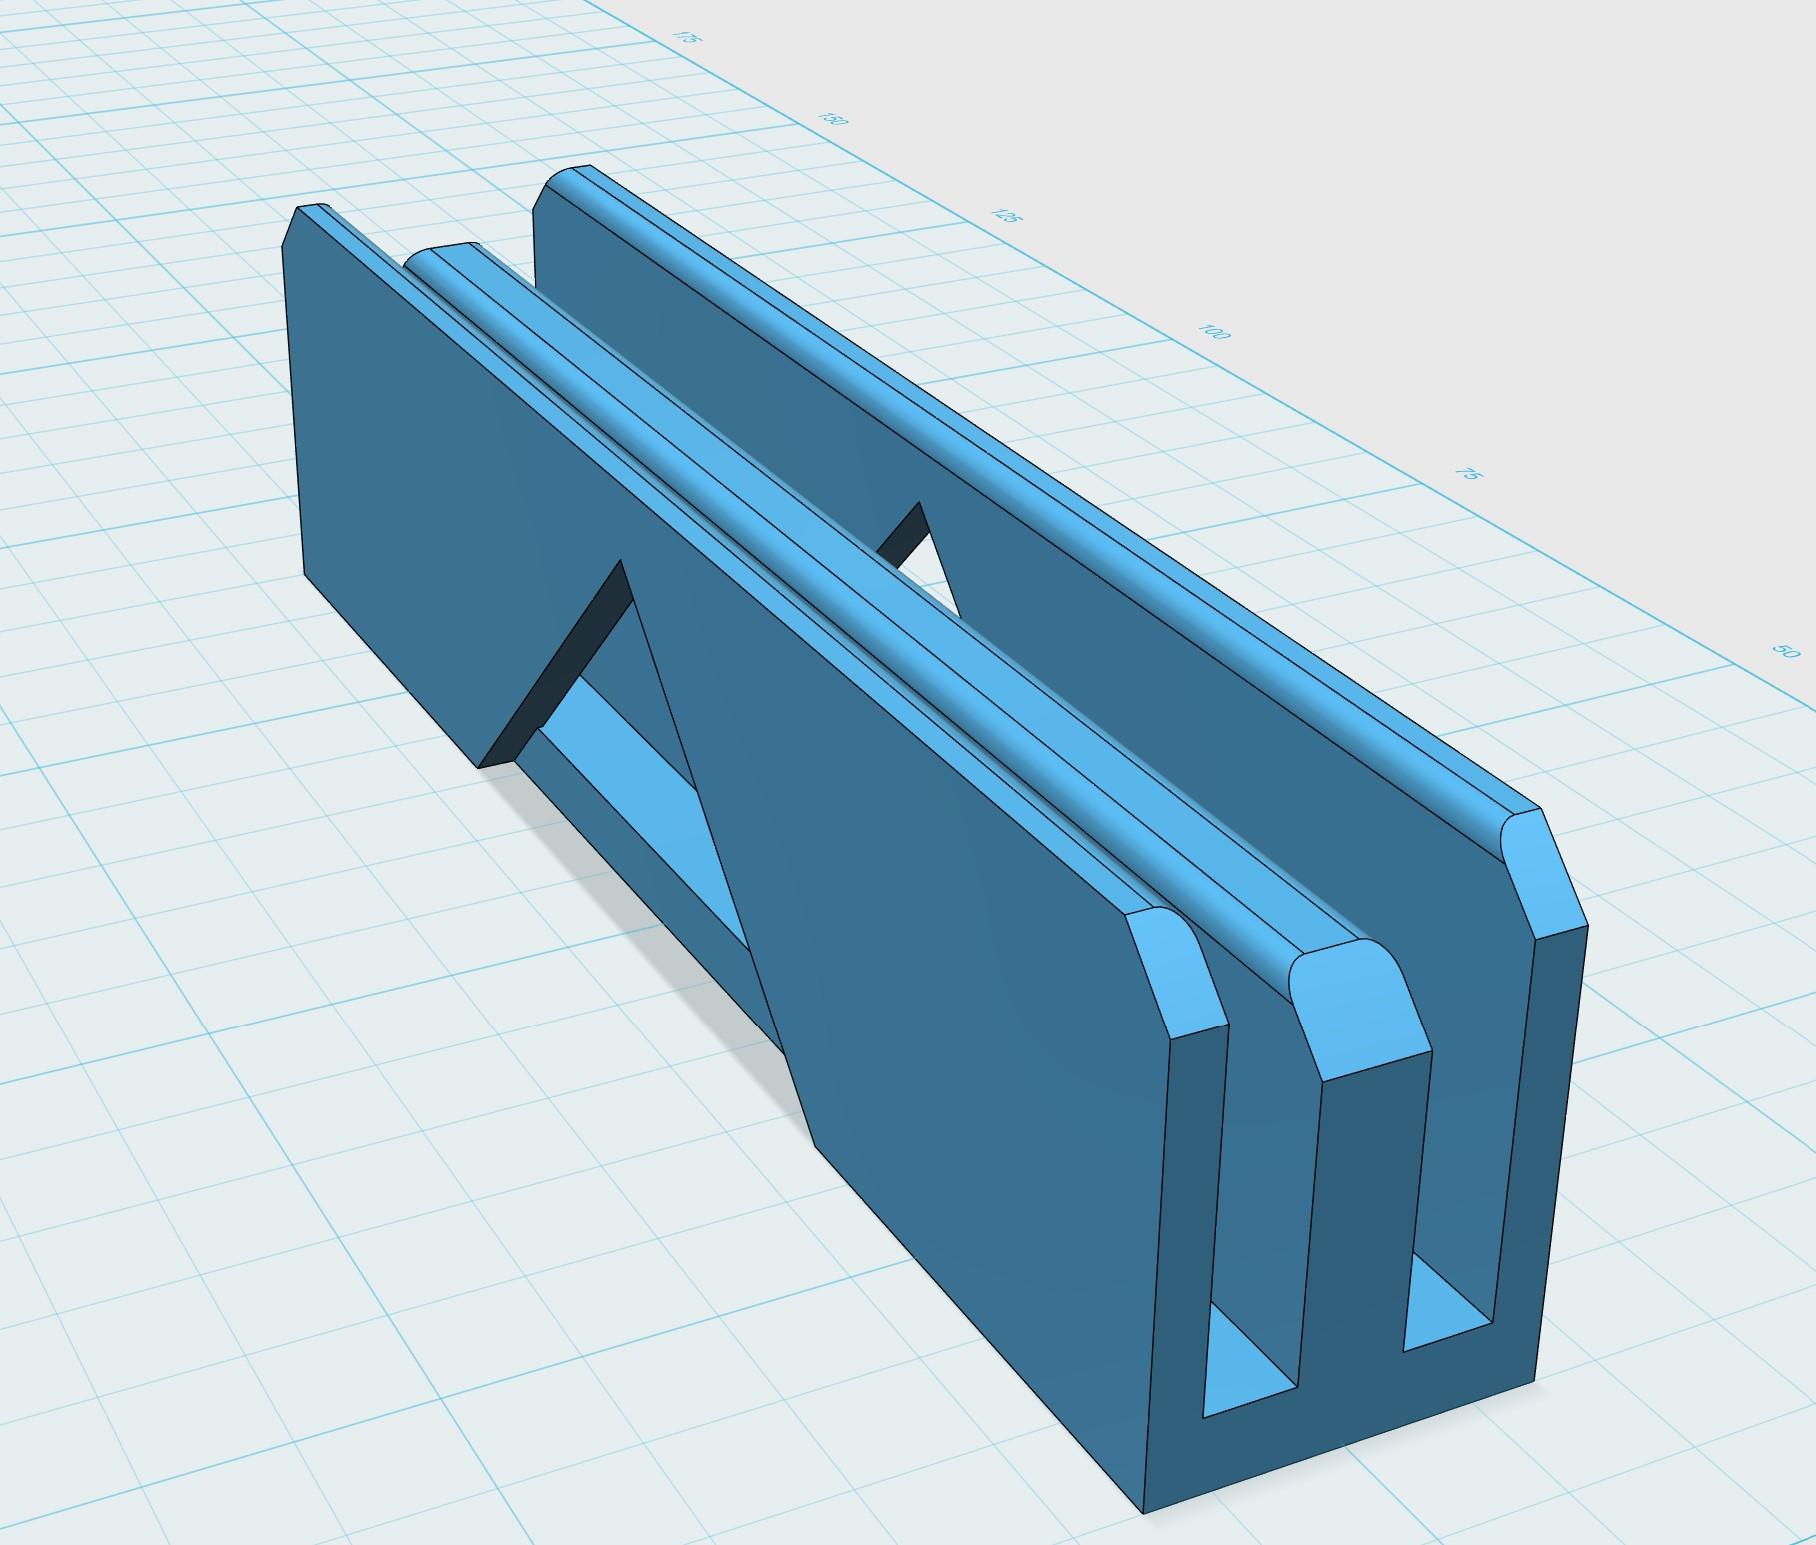
Shaft Install.
Next problem is to align and install the prop shafts into the hull, they are 235mm apart and are separated by the tunnel.
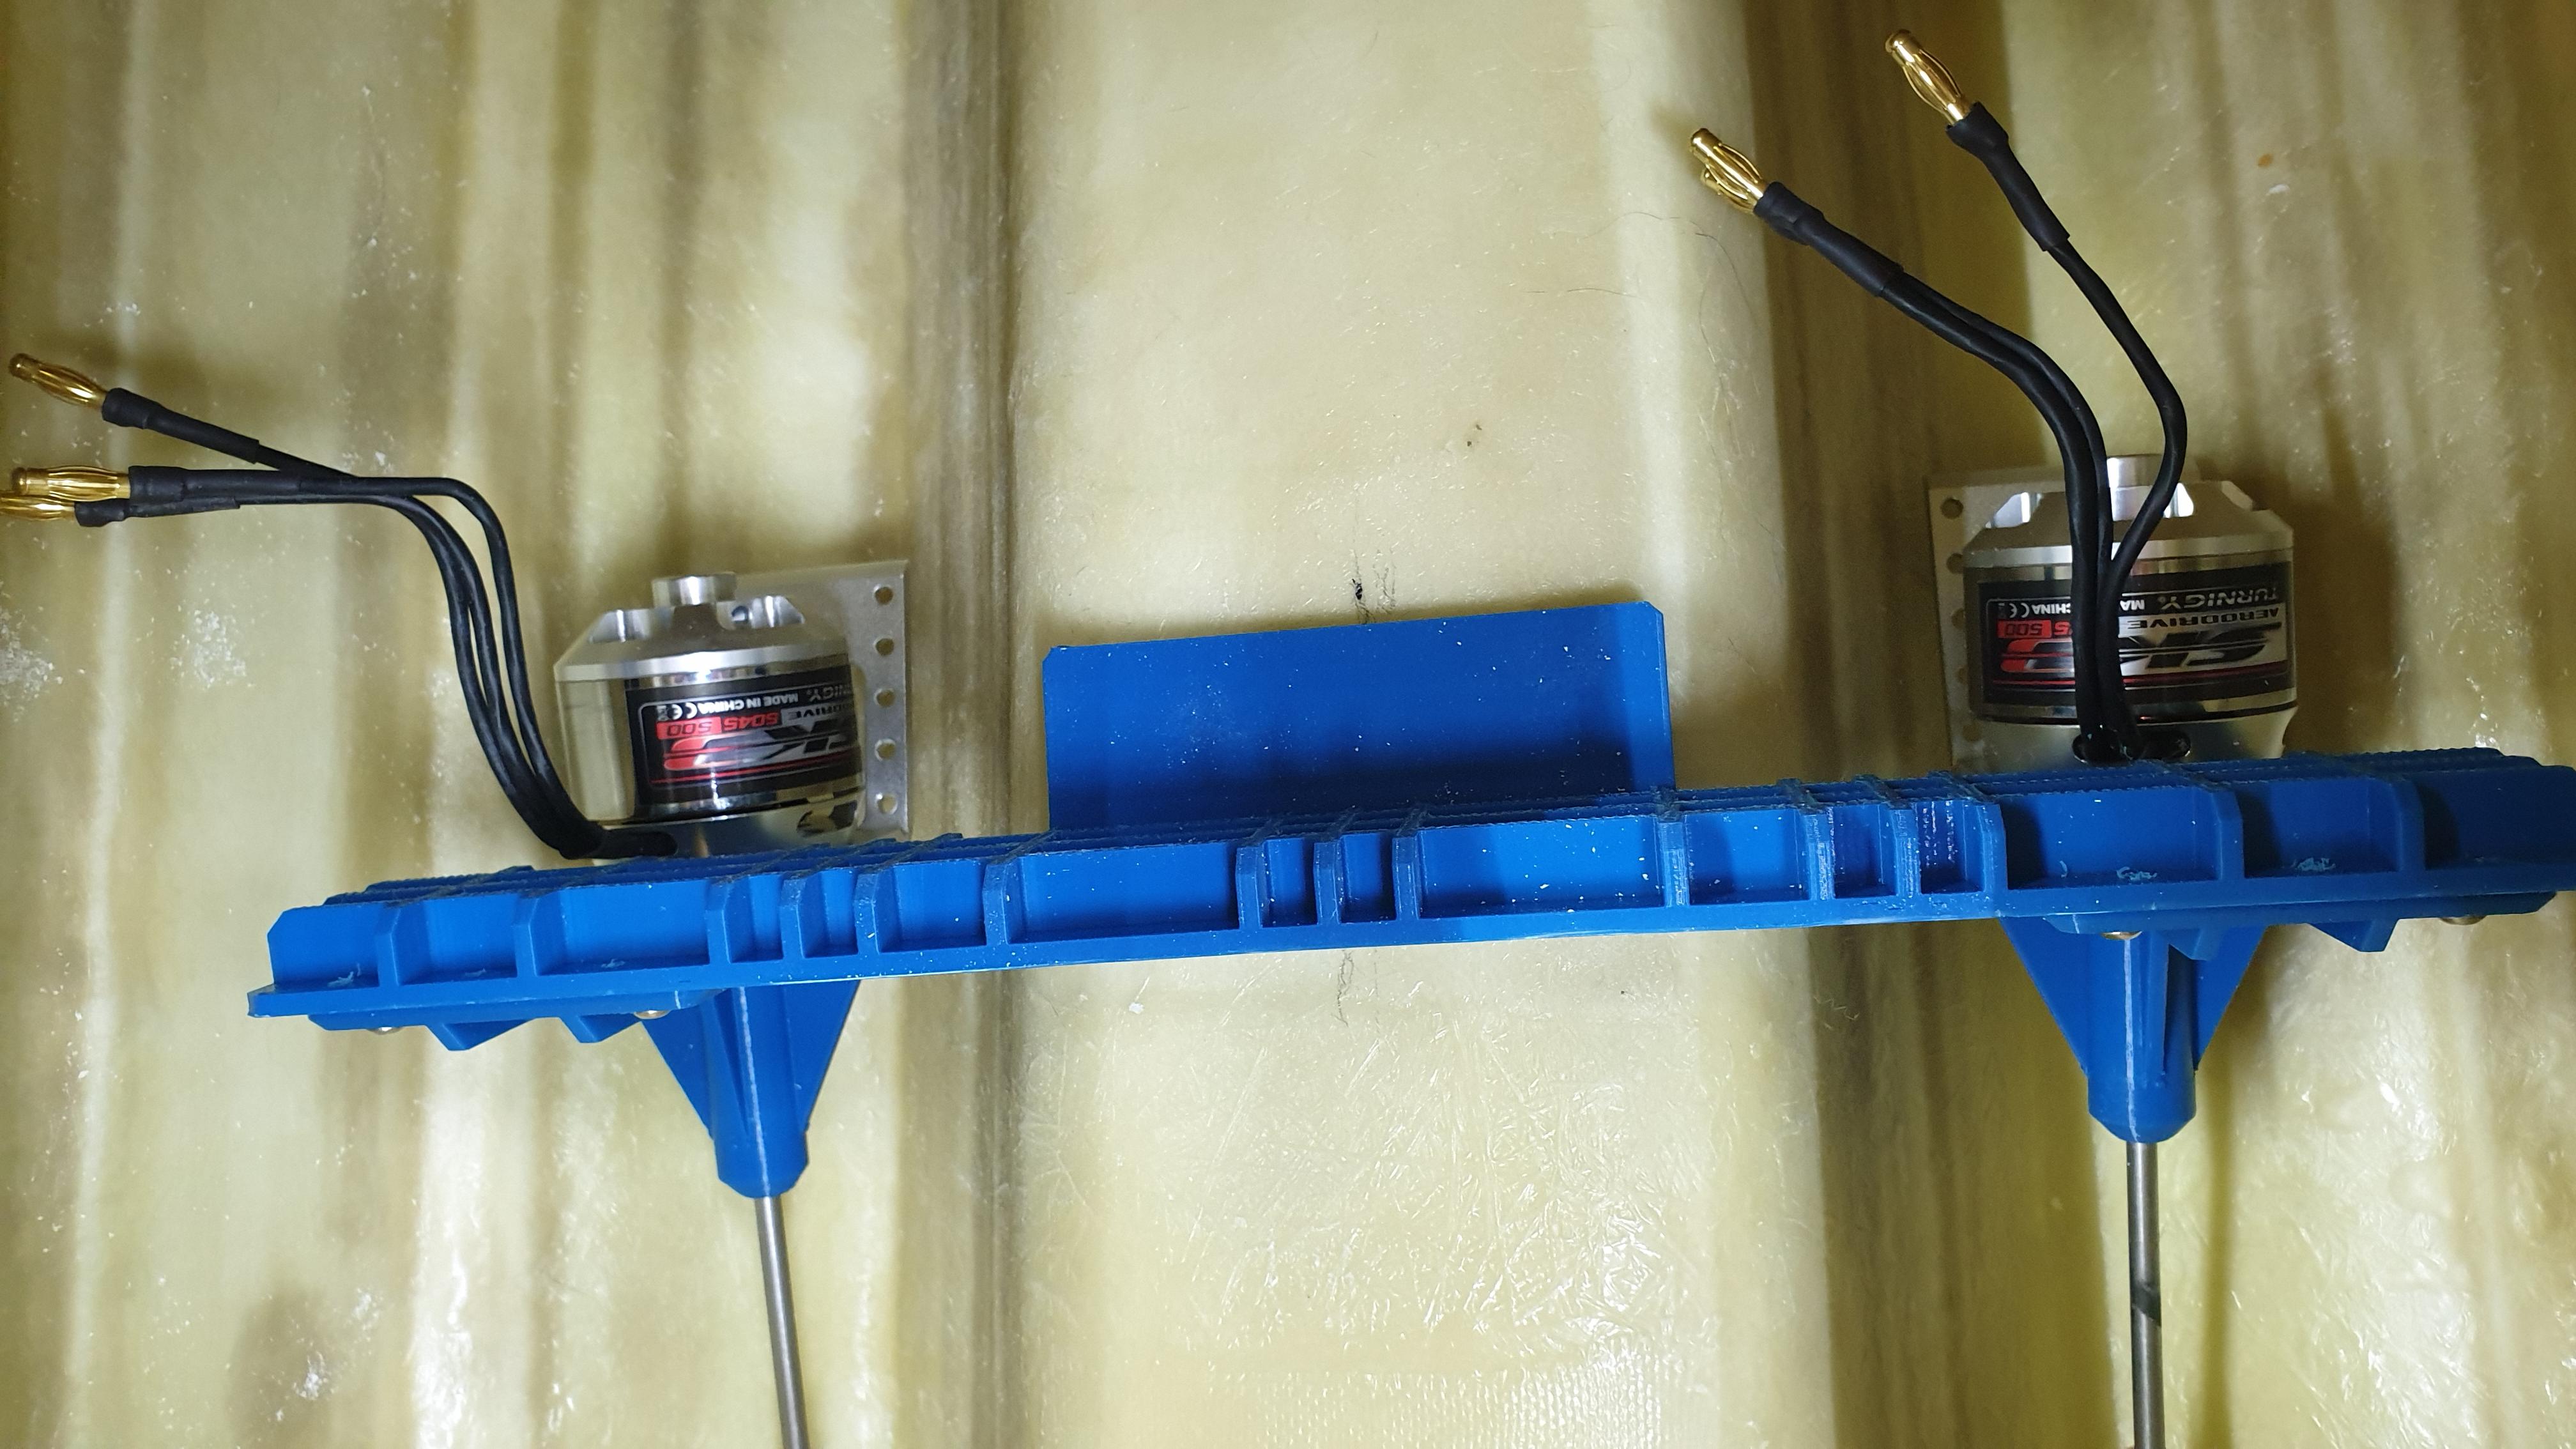
To keep them perfectly aligned I made some 3D printed jigs to hold them in place while glassing them in.
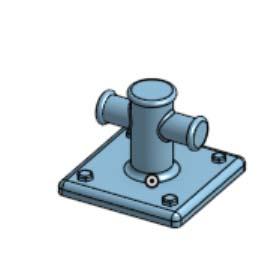
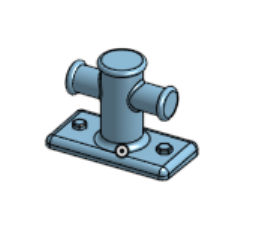
This one lines up the motor with the prop shaft.
To space them correctly and to be able to adjust the height, they are joined together with this part,
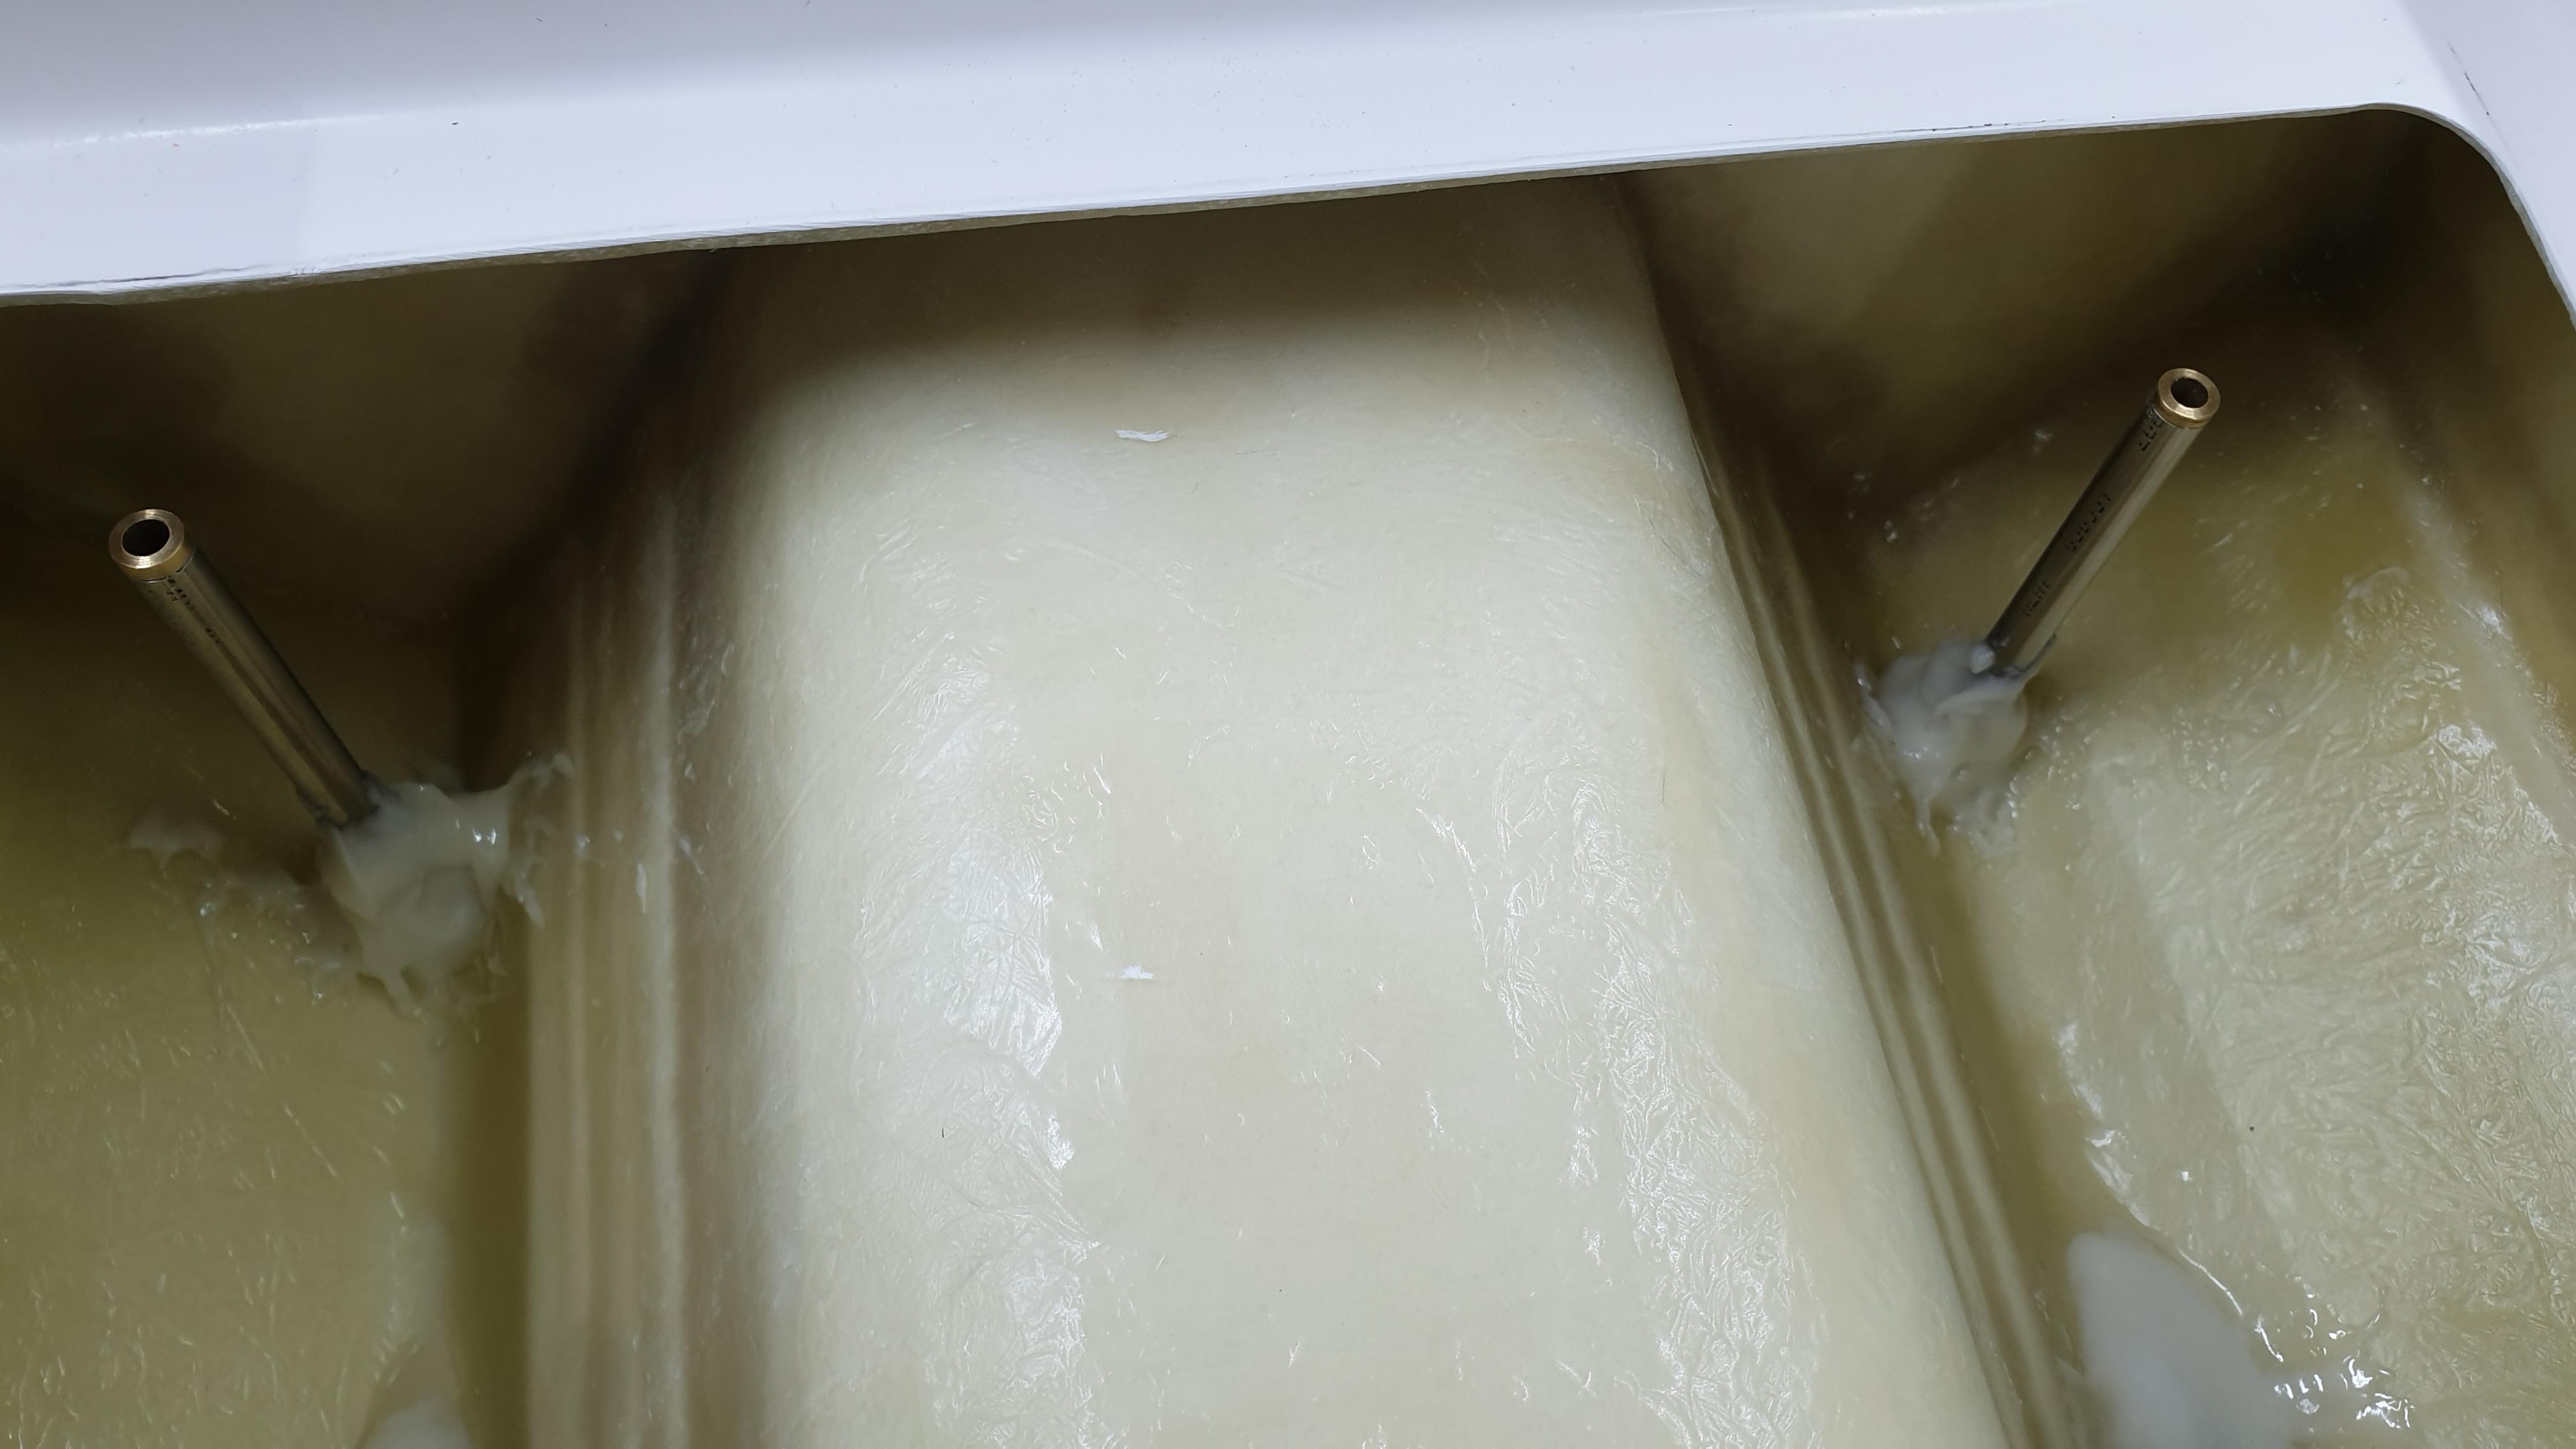
Next is this jig that holds the shafts on the outside of the hull,
Like this,
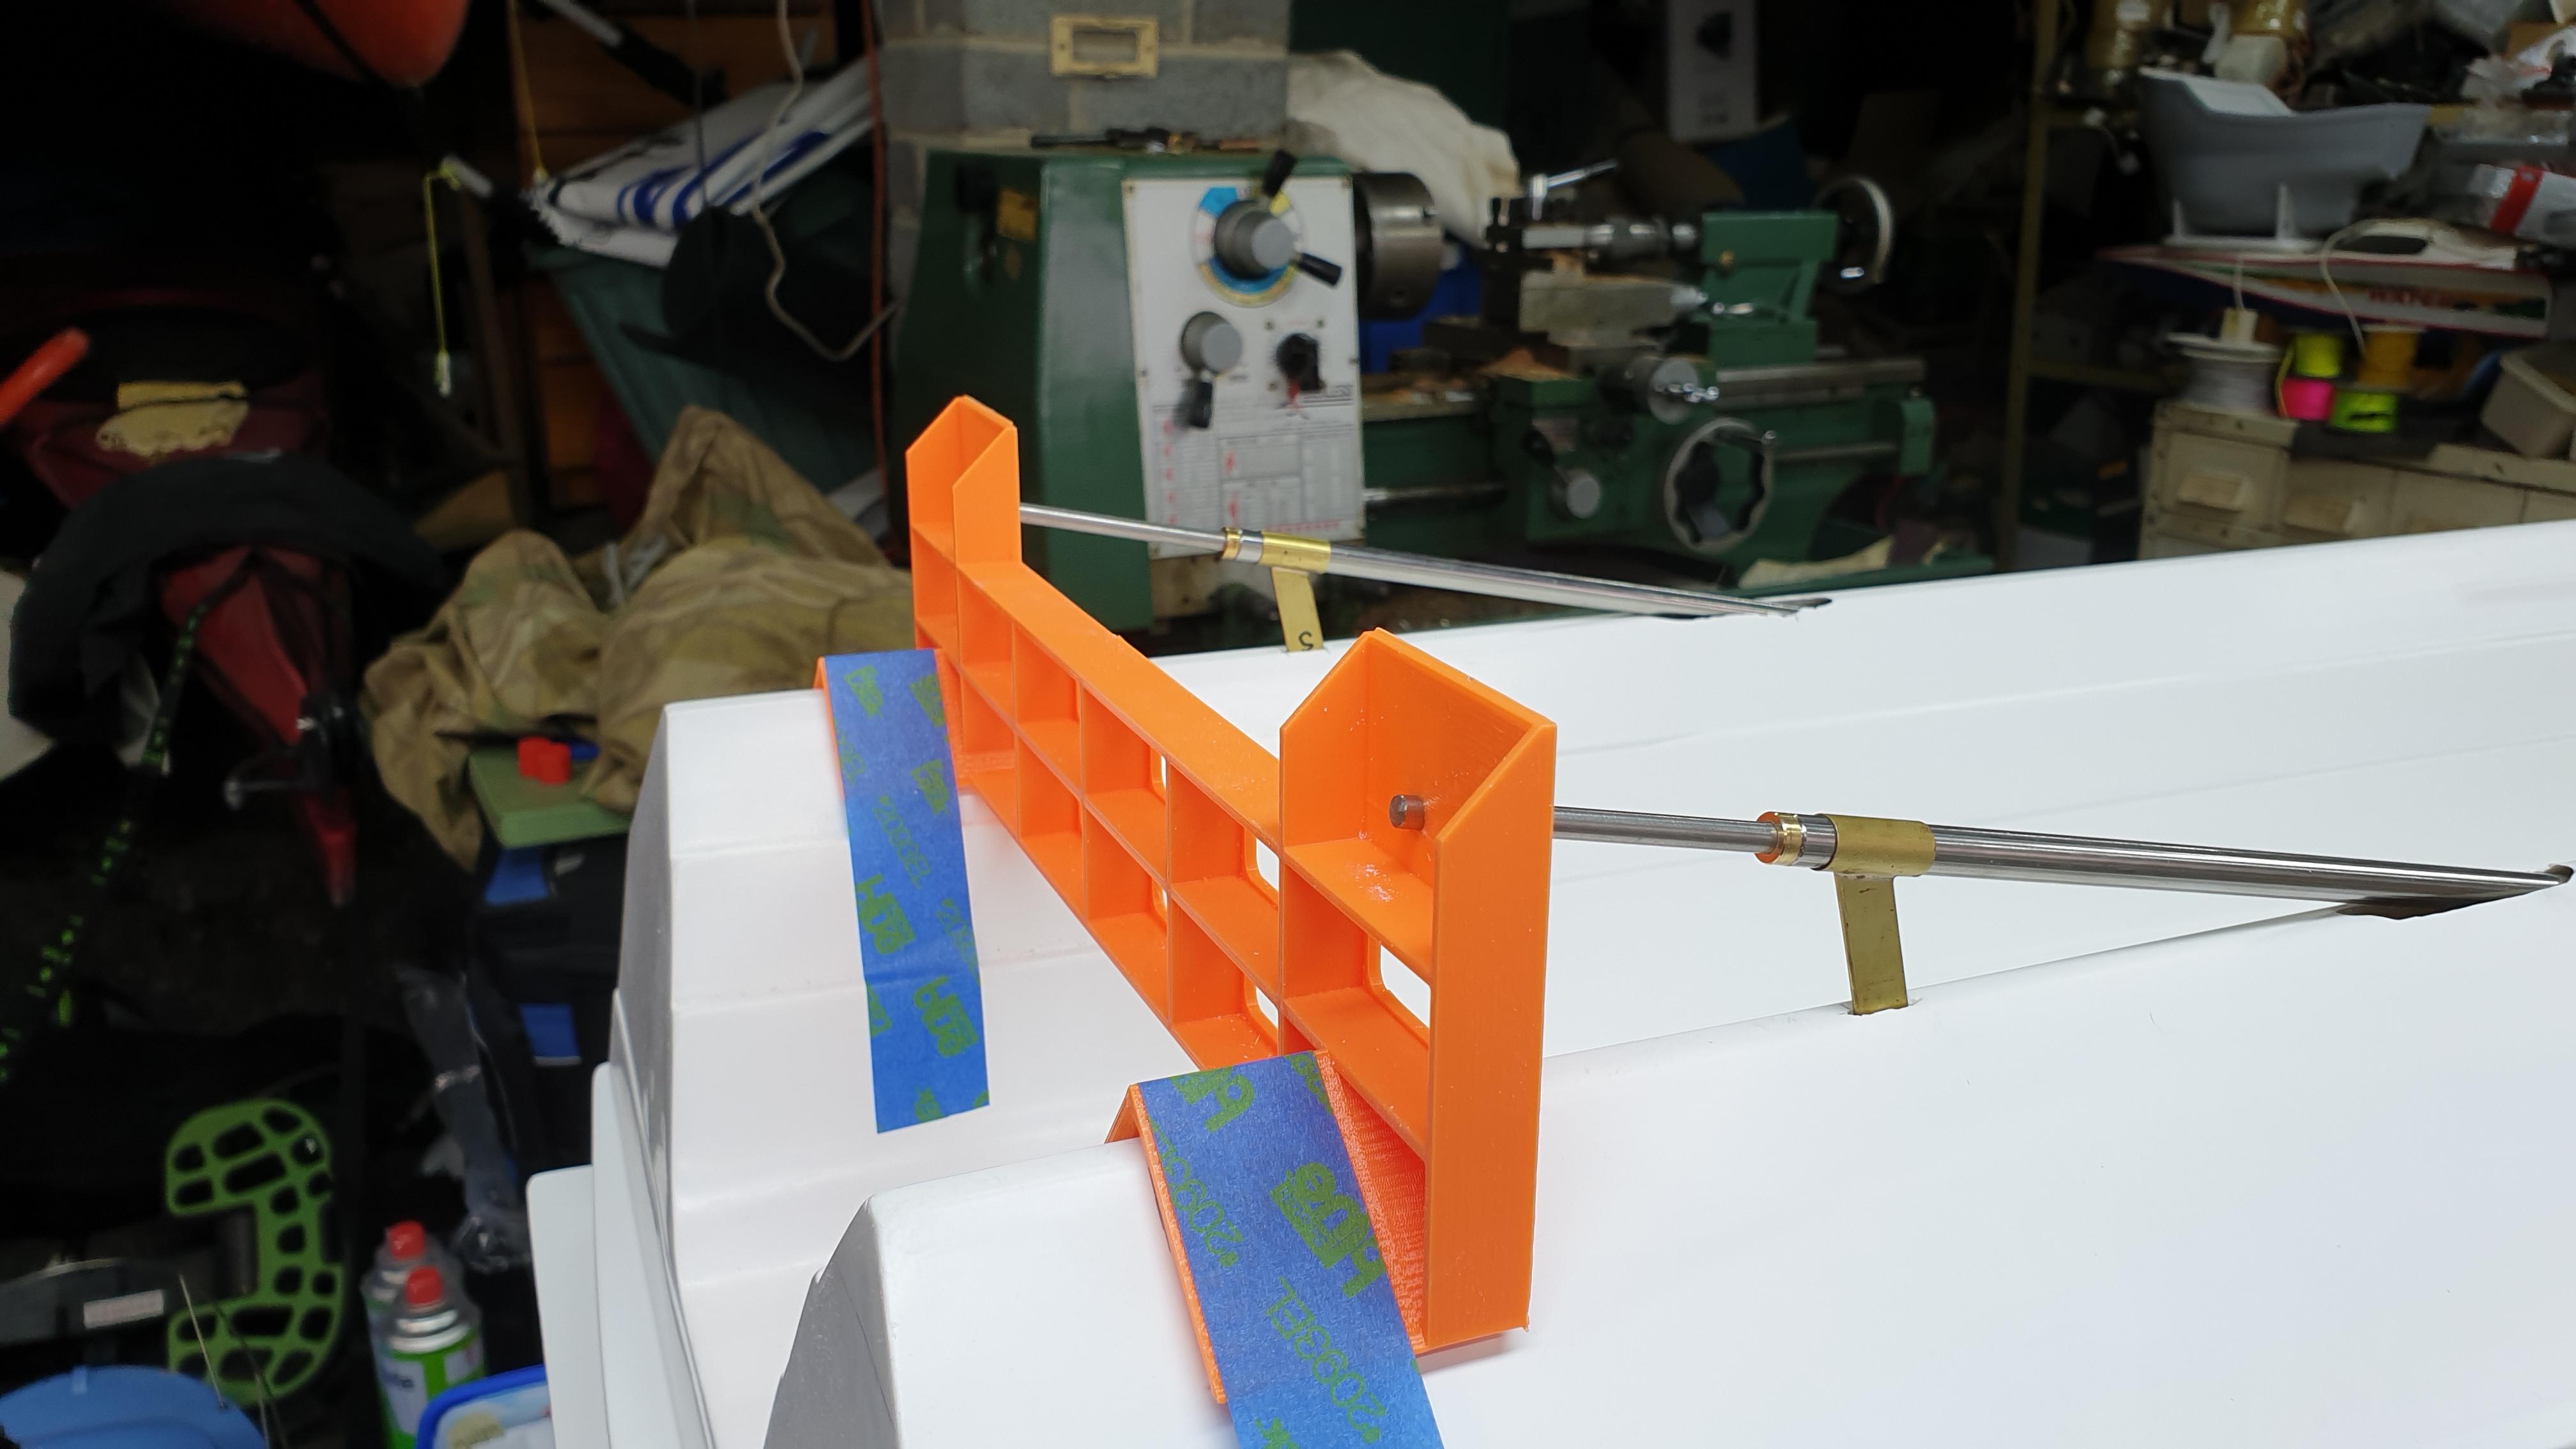
The inside jig in position
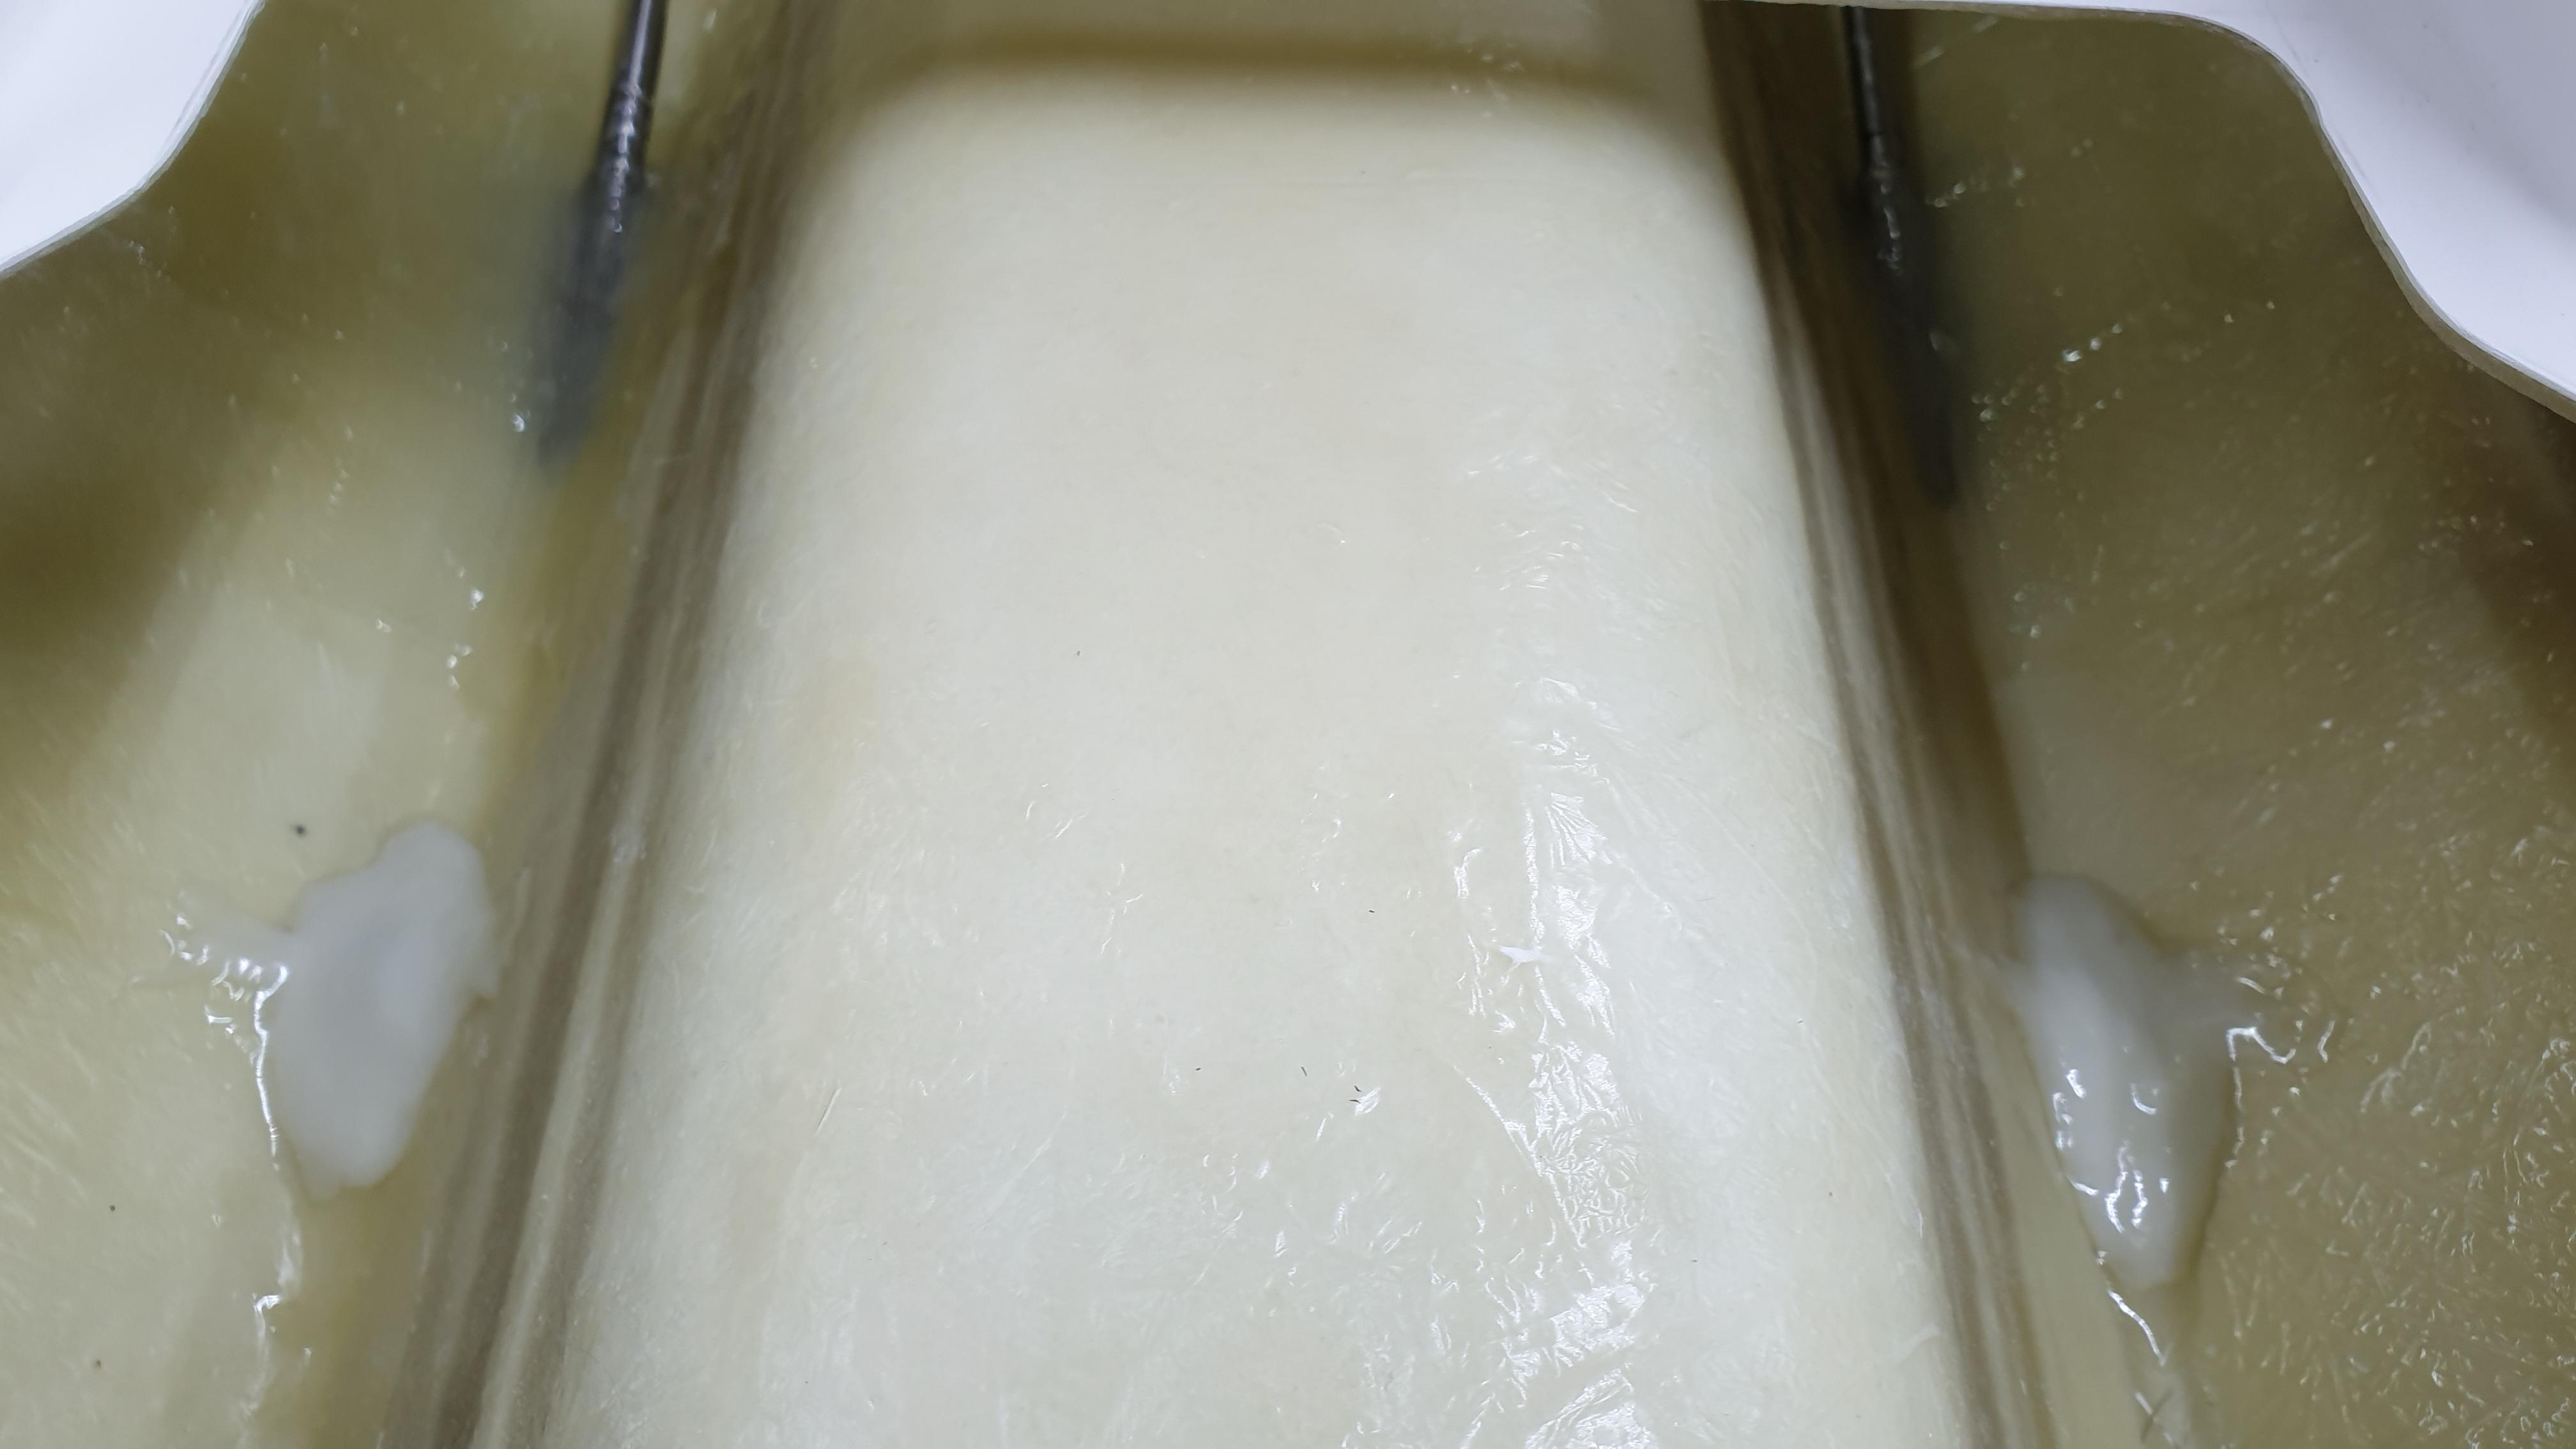
The tubes were roughened up with the Dremel and to seal the outside of the hull to stop any resin seeping through I used something that would never leak – Joysway’s Hatch Tape!
It was then just a simple task to glass the prop tubes to the hull,
-
14 December 2021 at 01:35 #9994
A great job Gerald
-
14 December 2021 at 11:01 #9995
Spectacular accuracy. It should run as straight as an arrow except for a bit of prop walk 😉
-
14 December 2021 at 11:20 #9996
Shouldn’t be any prop walk, counter rotating props!
-
-
15 December 2021 at 07:22 #10005
Too easy then.👏
-
15 December 2021 at 15:12 #10008
Rudder tubes installed, again using another 3D printed jig to hold them in place.
There will be a support added near the top of the tubes as well.
-
15 December 2021 at 19:08 #10010
Coming along nicely Gerald.
-
24 December 2021 at 15:22 #10059
Next Episode – Installing the motors,
3d printed out the motor mounts in PETG and used some 3 mm brass threaded inserts for screwing the motors down.
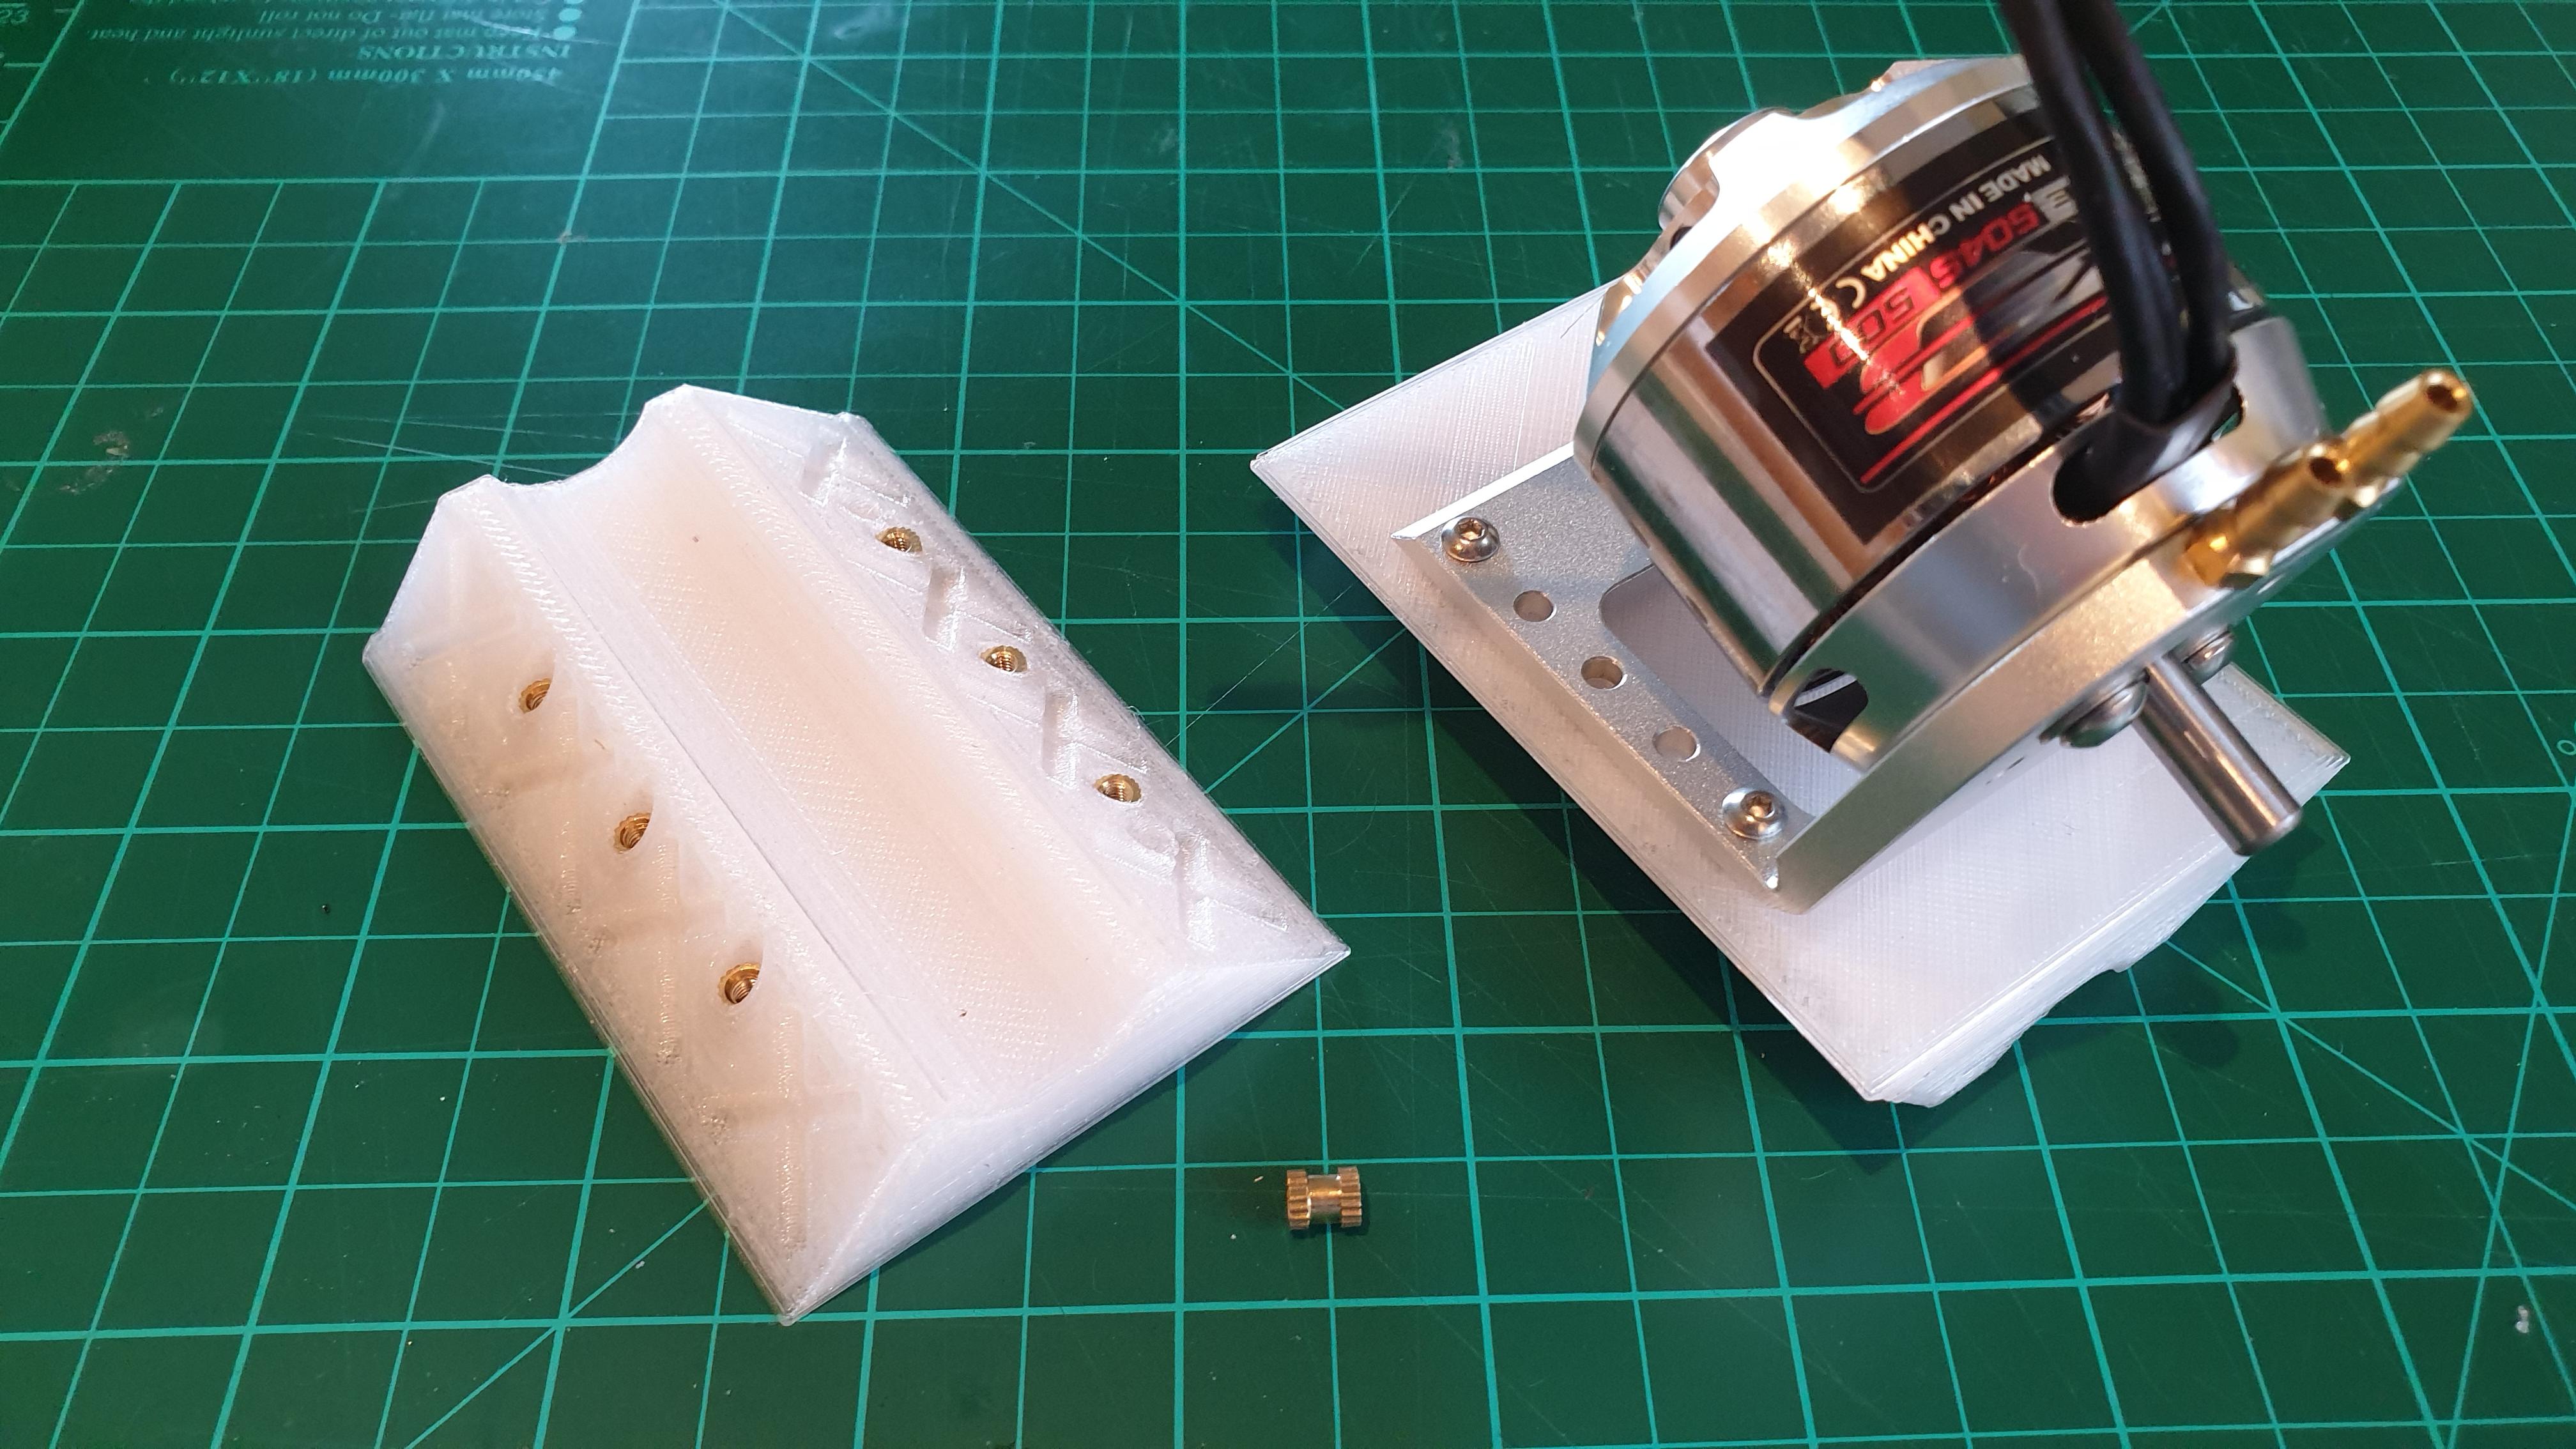
The mounts were then fixed in place using the 3d printed motor jigs, with epoxy resin thickened with microballons.
The prop shafts were cut to the right lengths. Flats were filed onto both the motor and prop shafts, and everything installed.
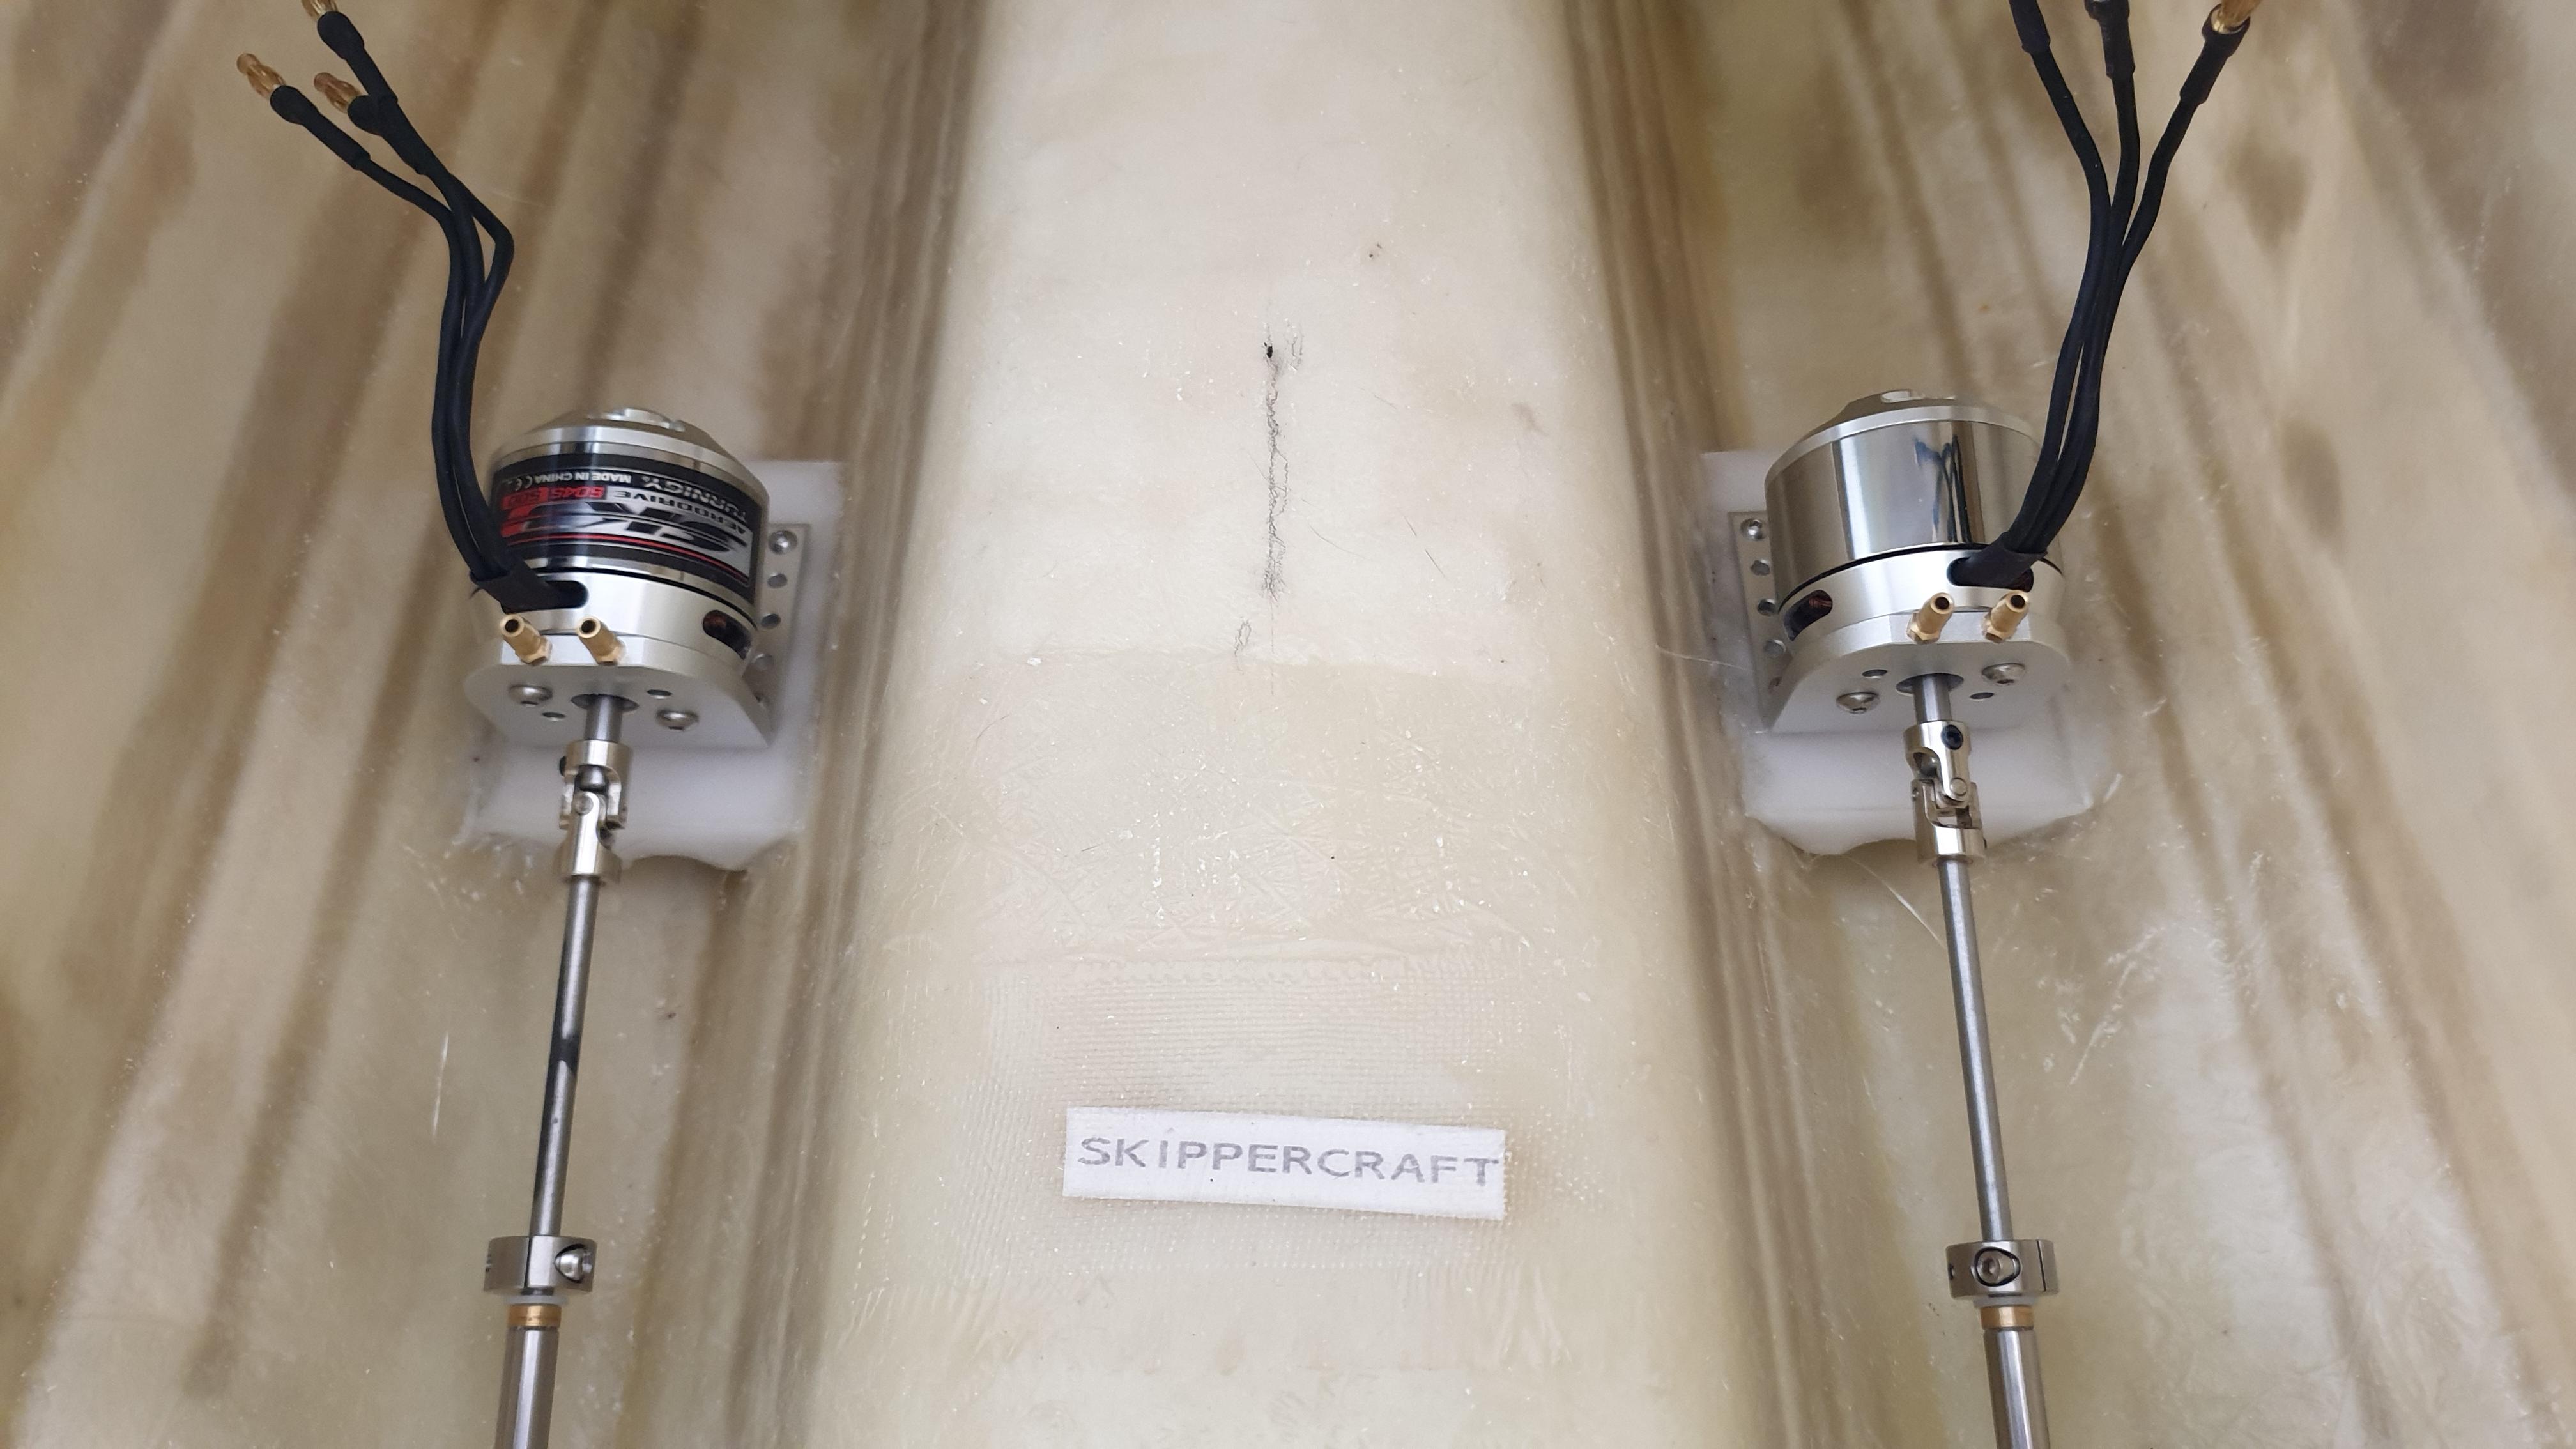
The prop shafts lined up perfectly with the motors
The view from the outside,
-
24 December 2021 at 16:50 #10060
Almost ready for a water test eh ?
-
24 December 2021 at 17:11 #10061
Almost,
Just got to mount the rudder servo’s
-
-
28 December 2021 at 08:11 #10070
Installing the rudder servo’s
A couple more brackets were drawn up and 3D printed for mounting the rudder servo’s.
Glued into place, servo’s bolted down and hooked up the linkages,
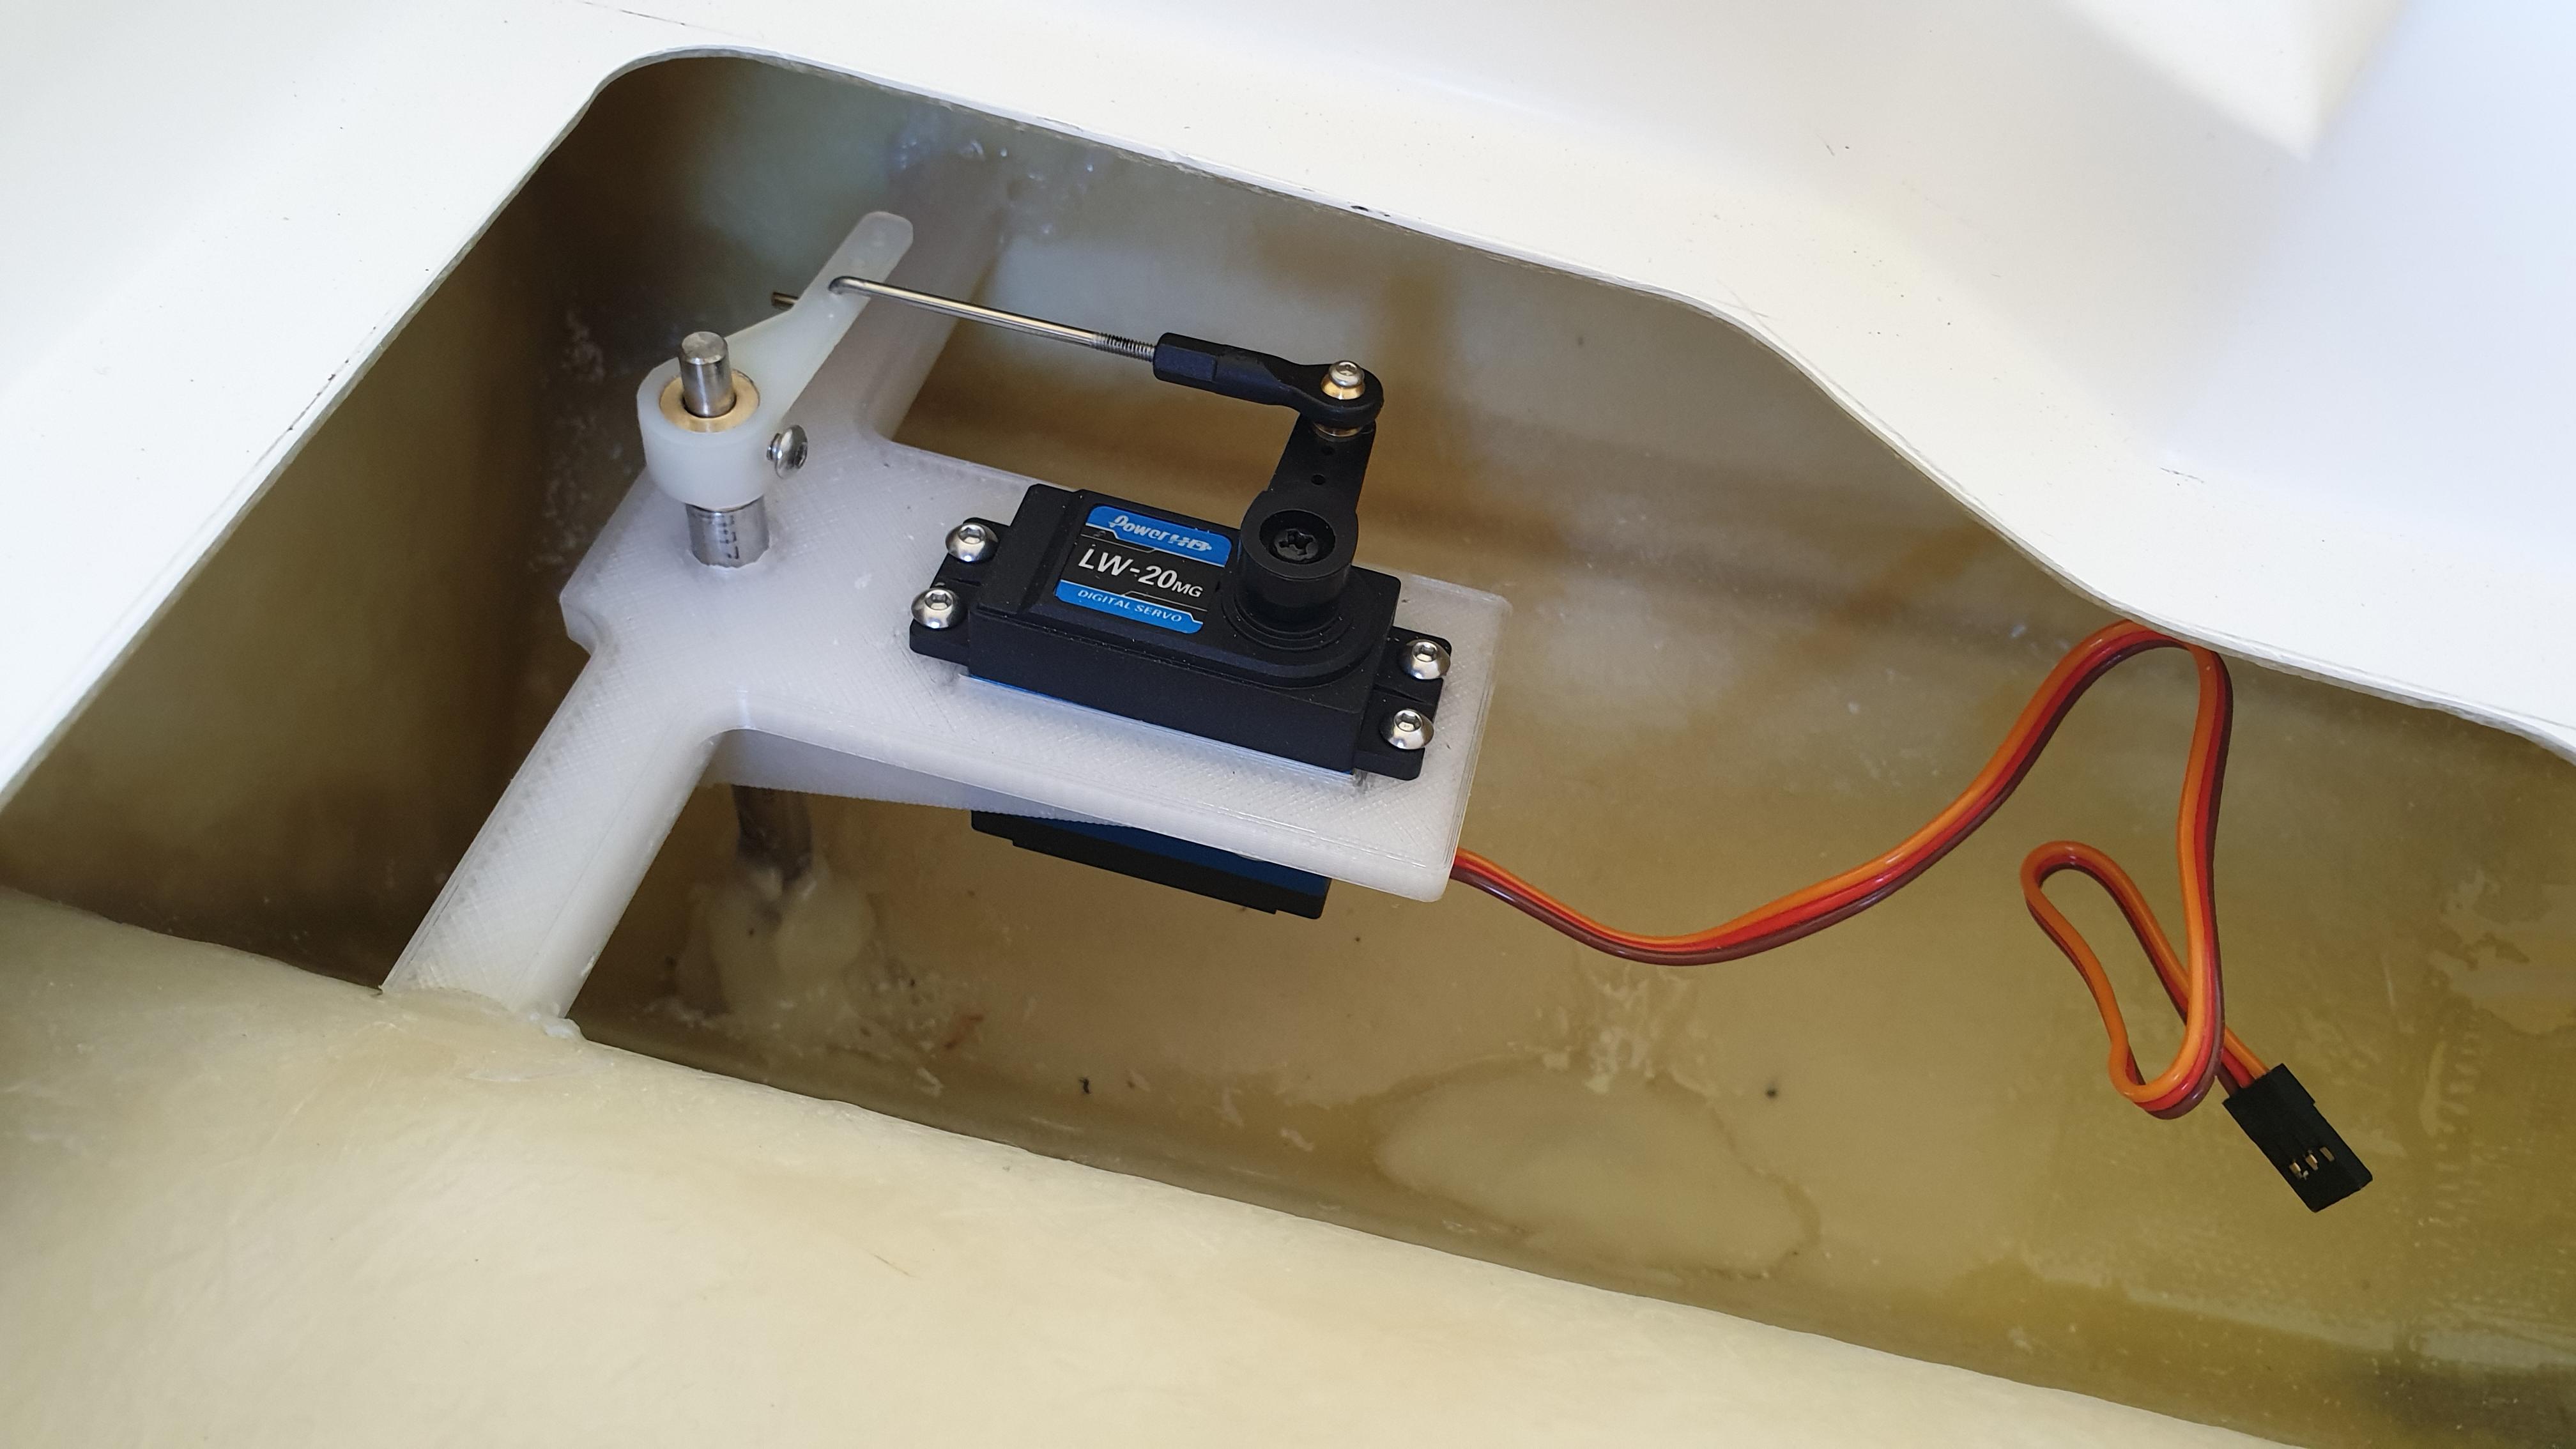

Just got to throw in some electronic bits and pieces and she is ready for a sea trial.
-
28 December 2021 at 10:44 #10071
Well done uncle G
I am very proud of my best friend
-
1 January 2022 at 07:43 #10085
Two 120 Amp ESC’s fitted.
Plumbing installed for the cooling system.
Covers printed to fit over the end of the shafts. (Stops water and grease flying around the boat)
All shafts greased and universals covered in heatshrink and lubricated.
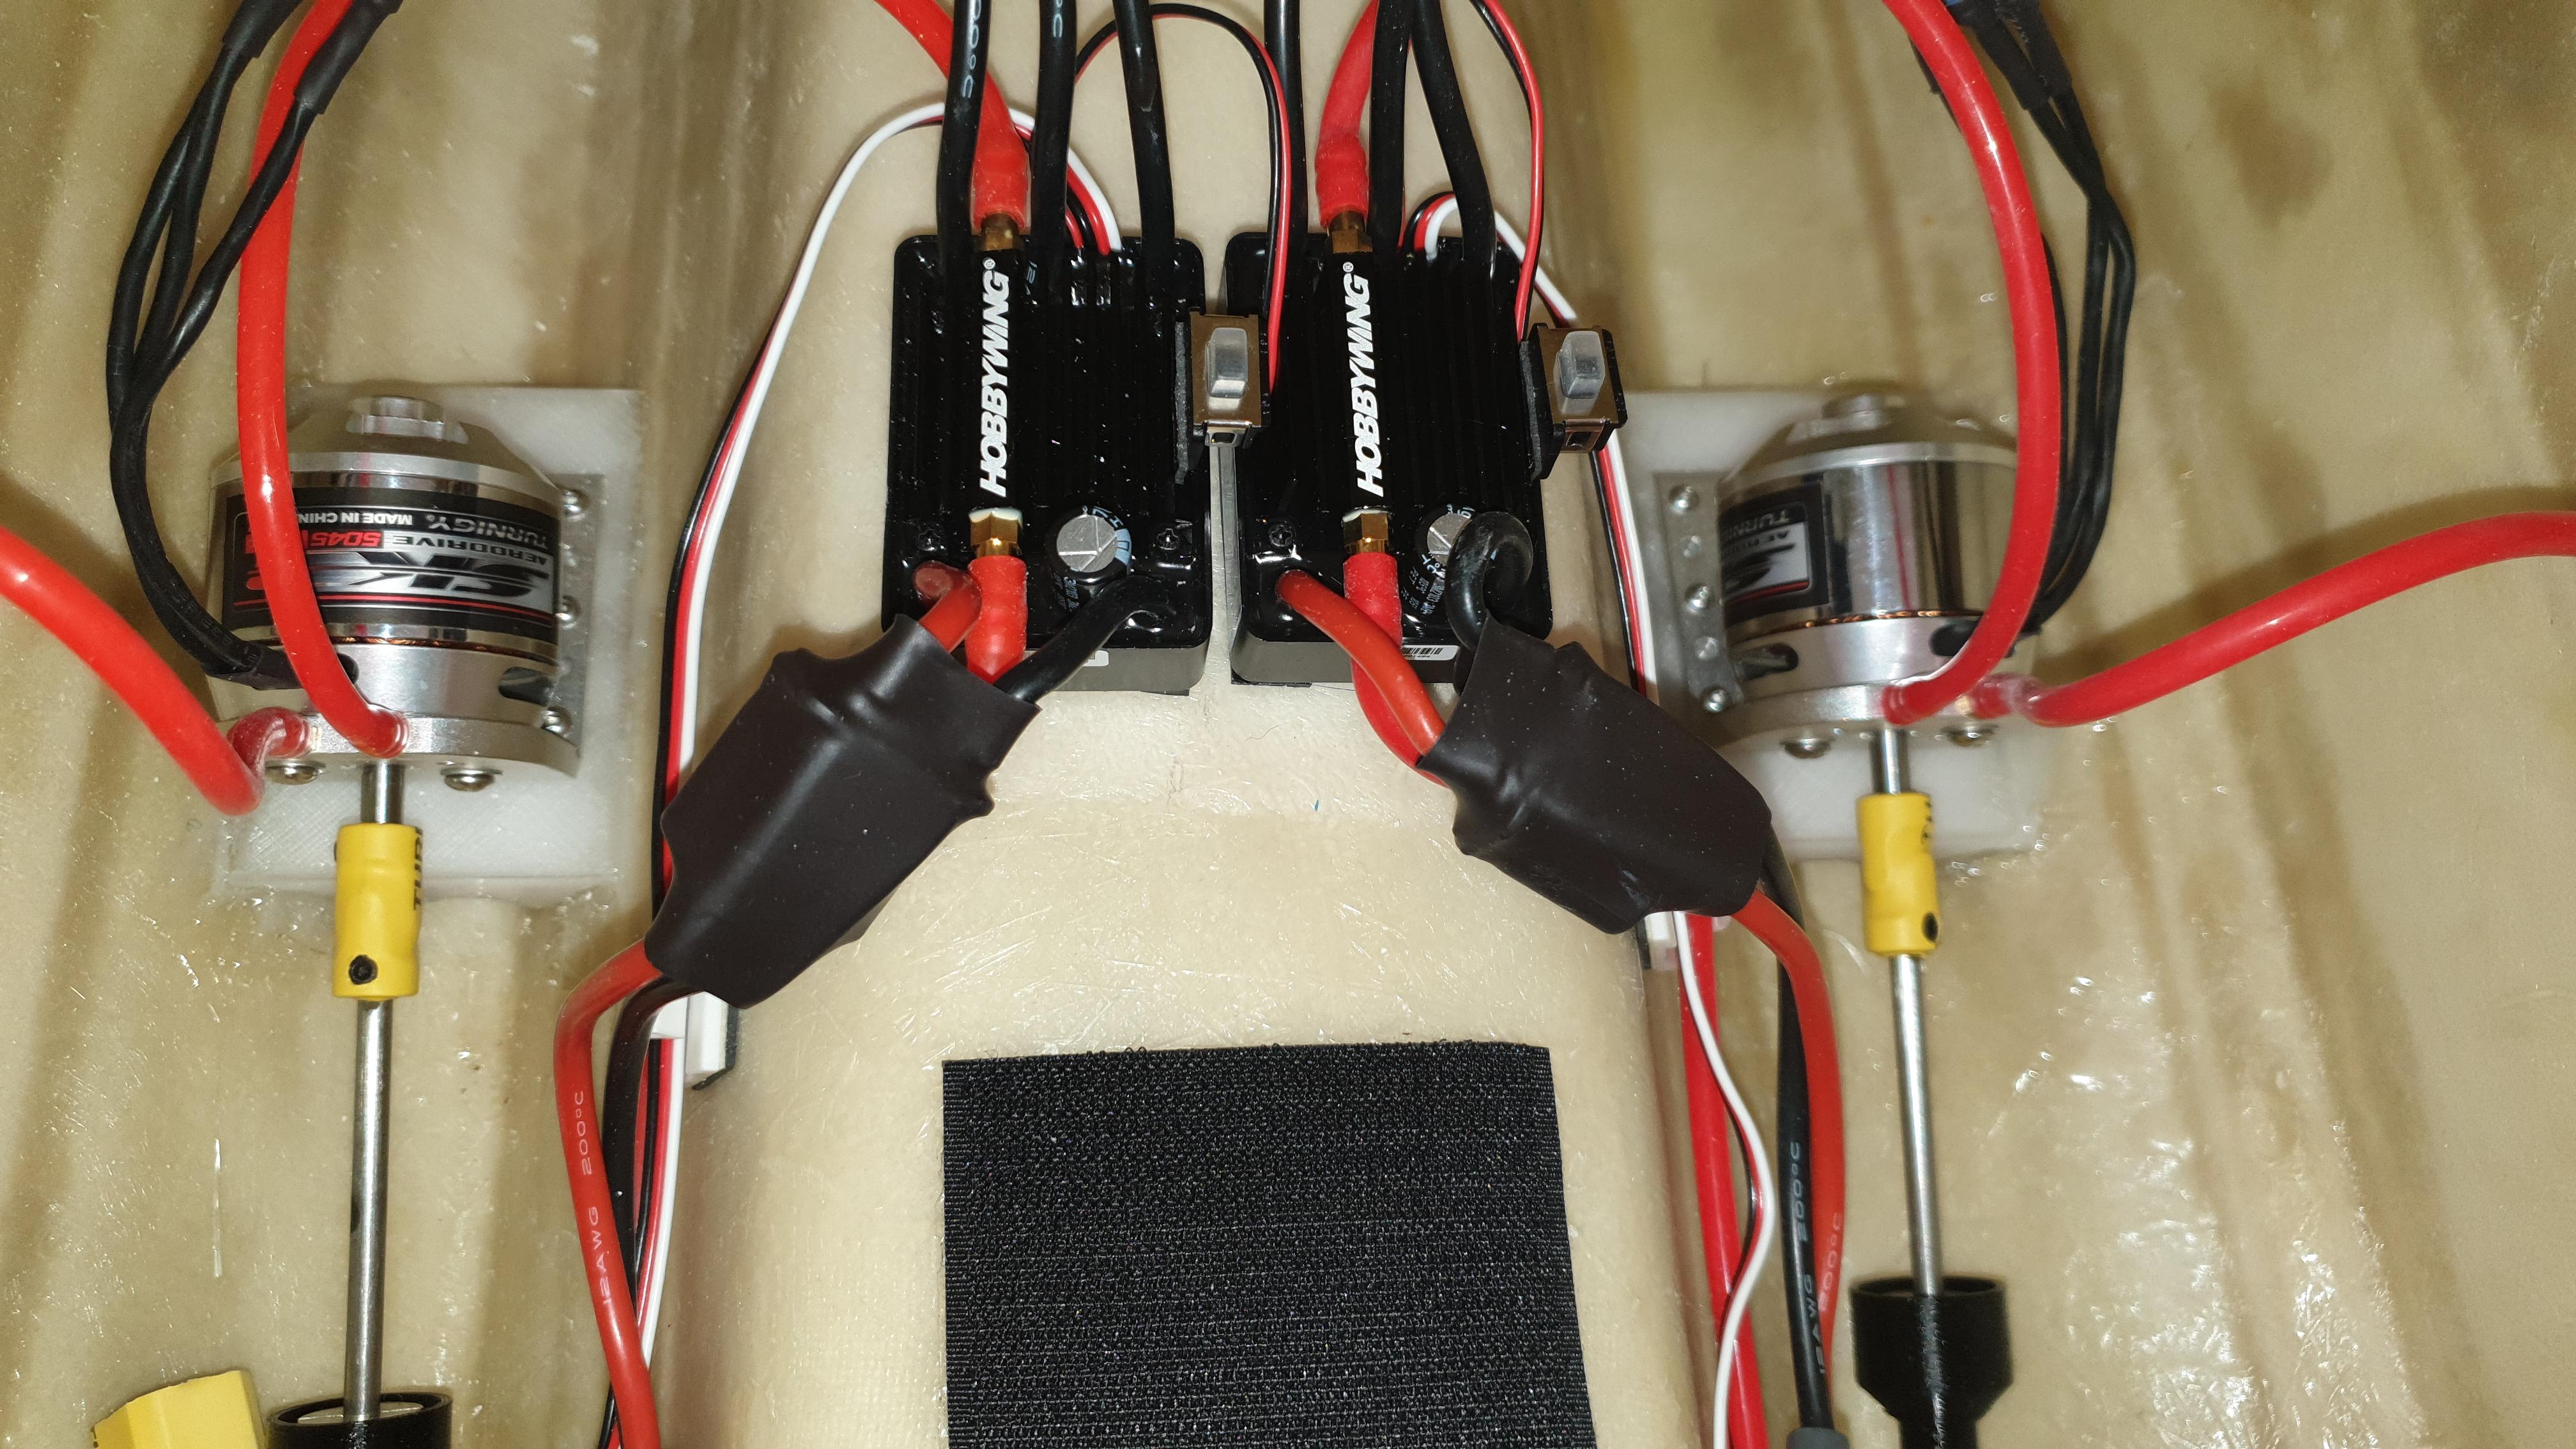
Rx, flight controller and GPS installed and programmed with INAV.
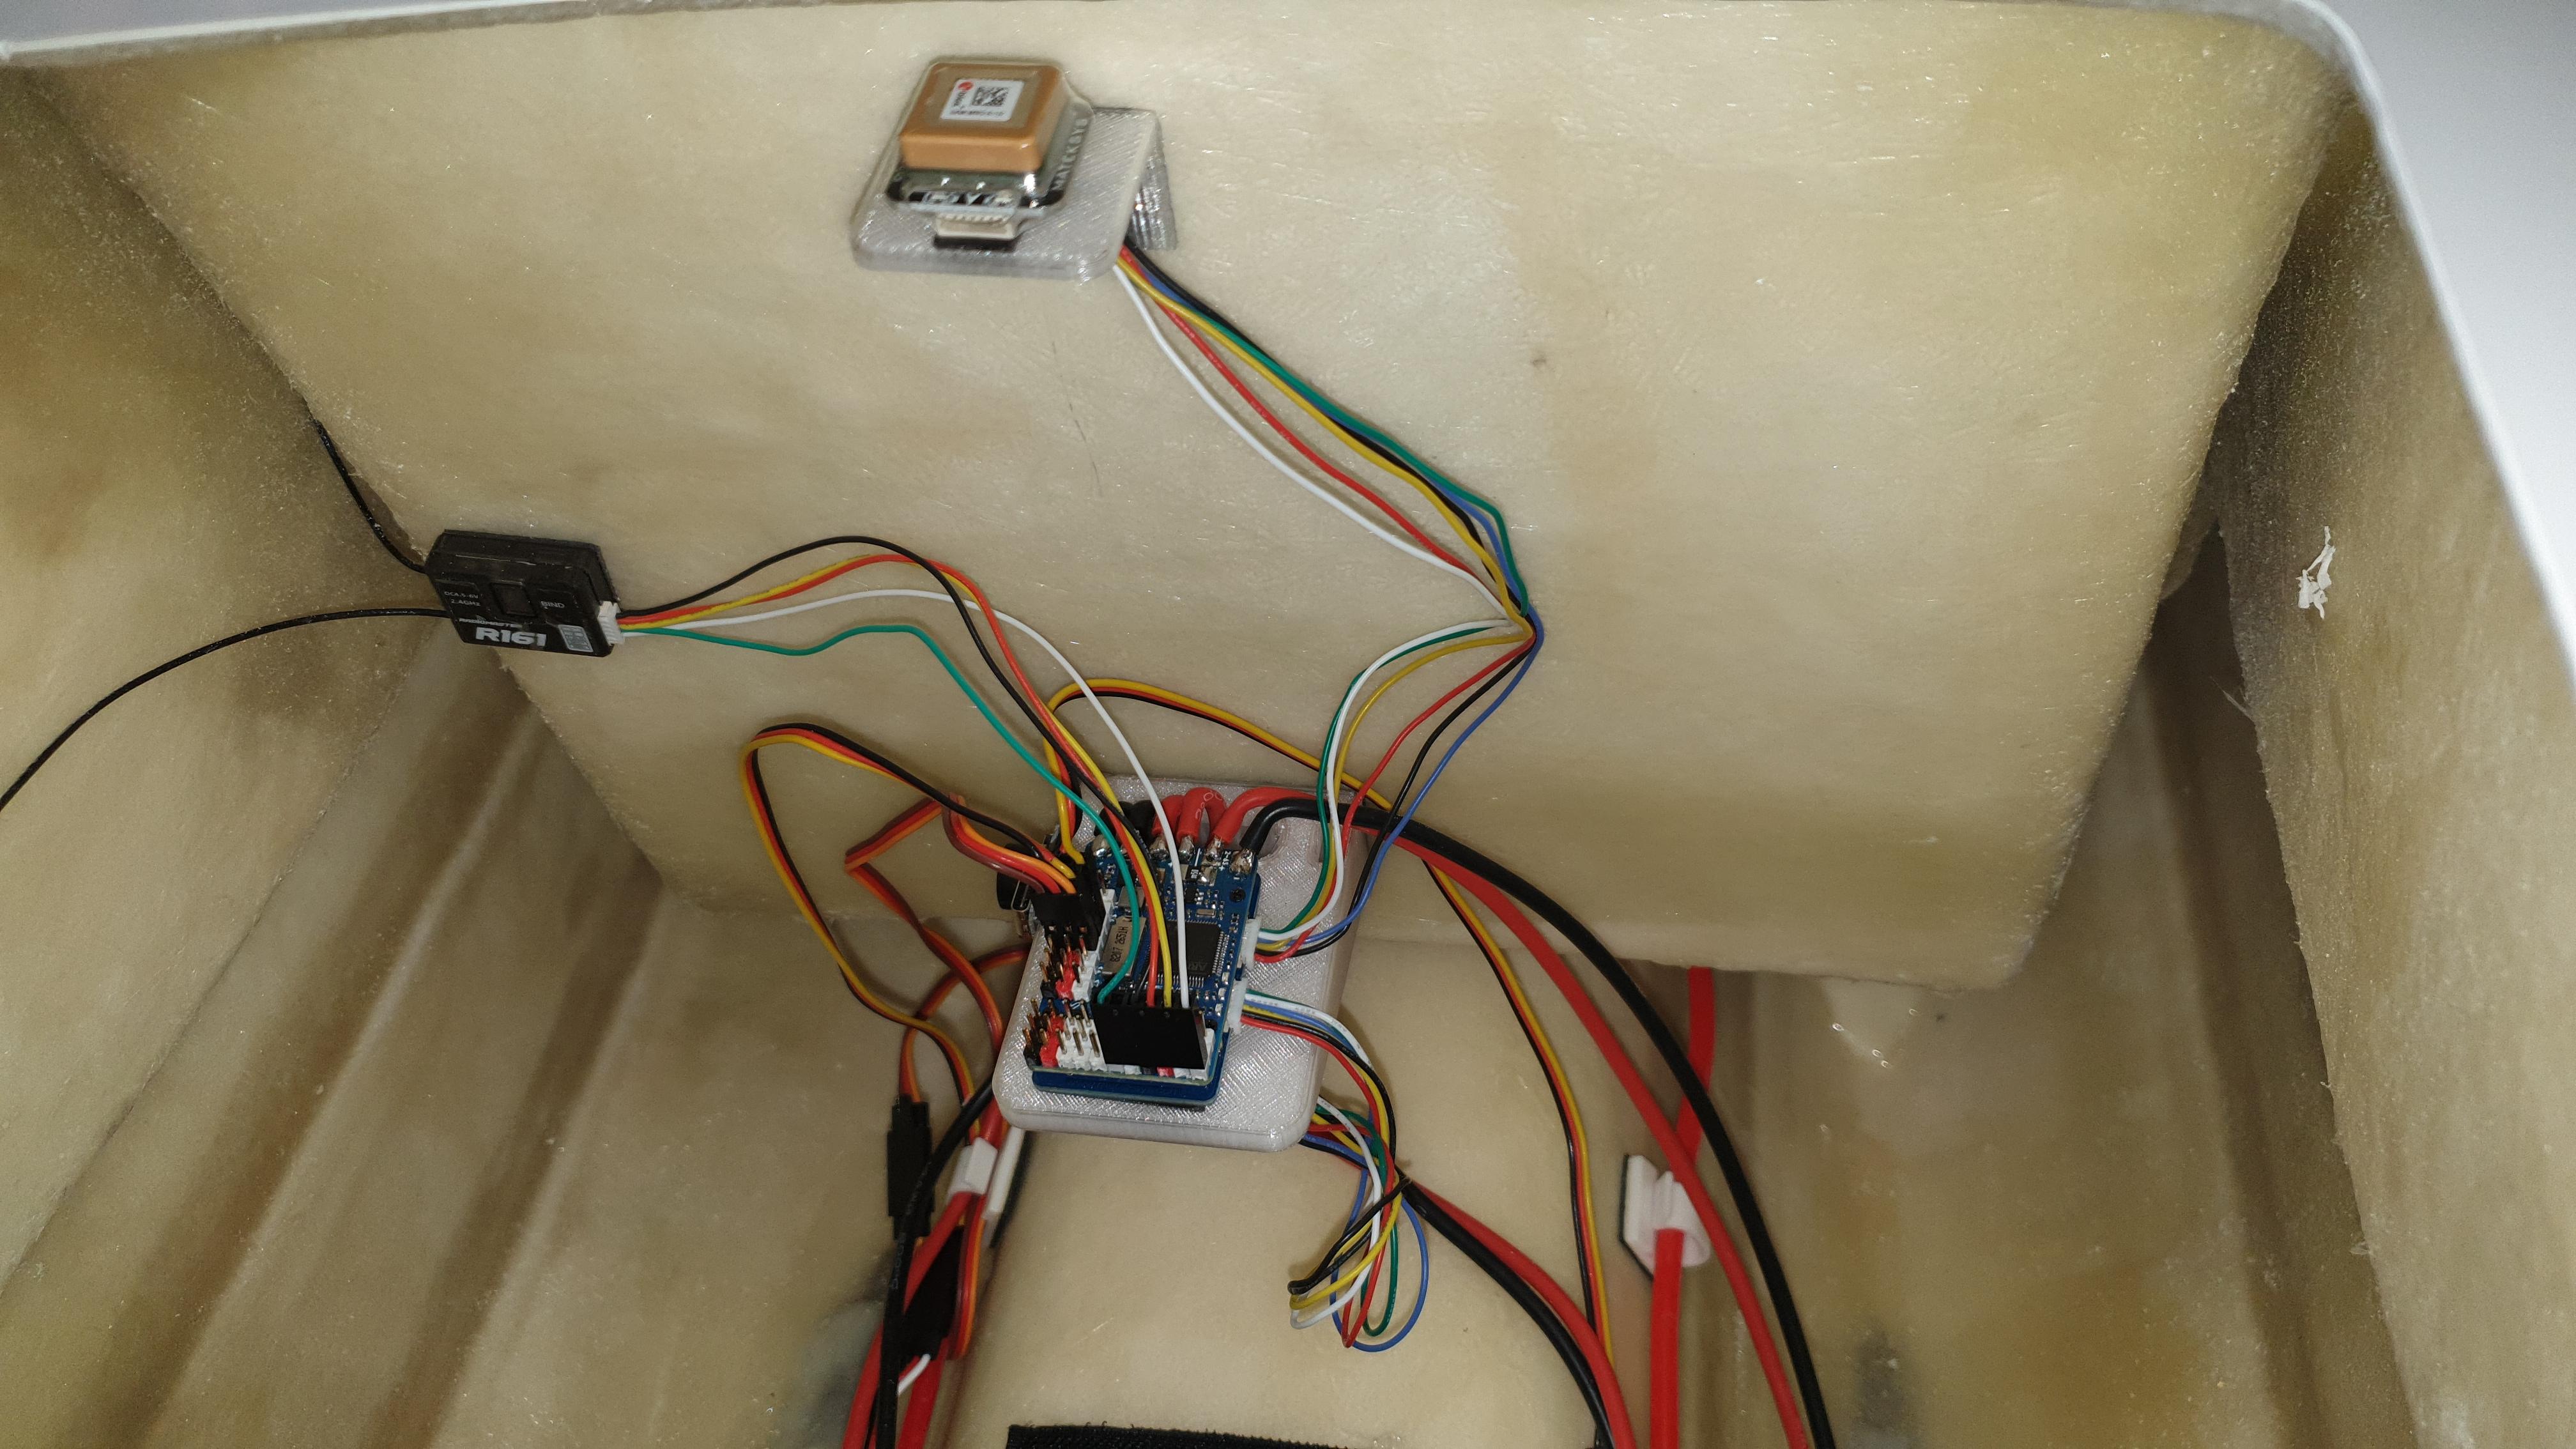
Just need some water to try it.
-
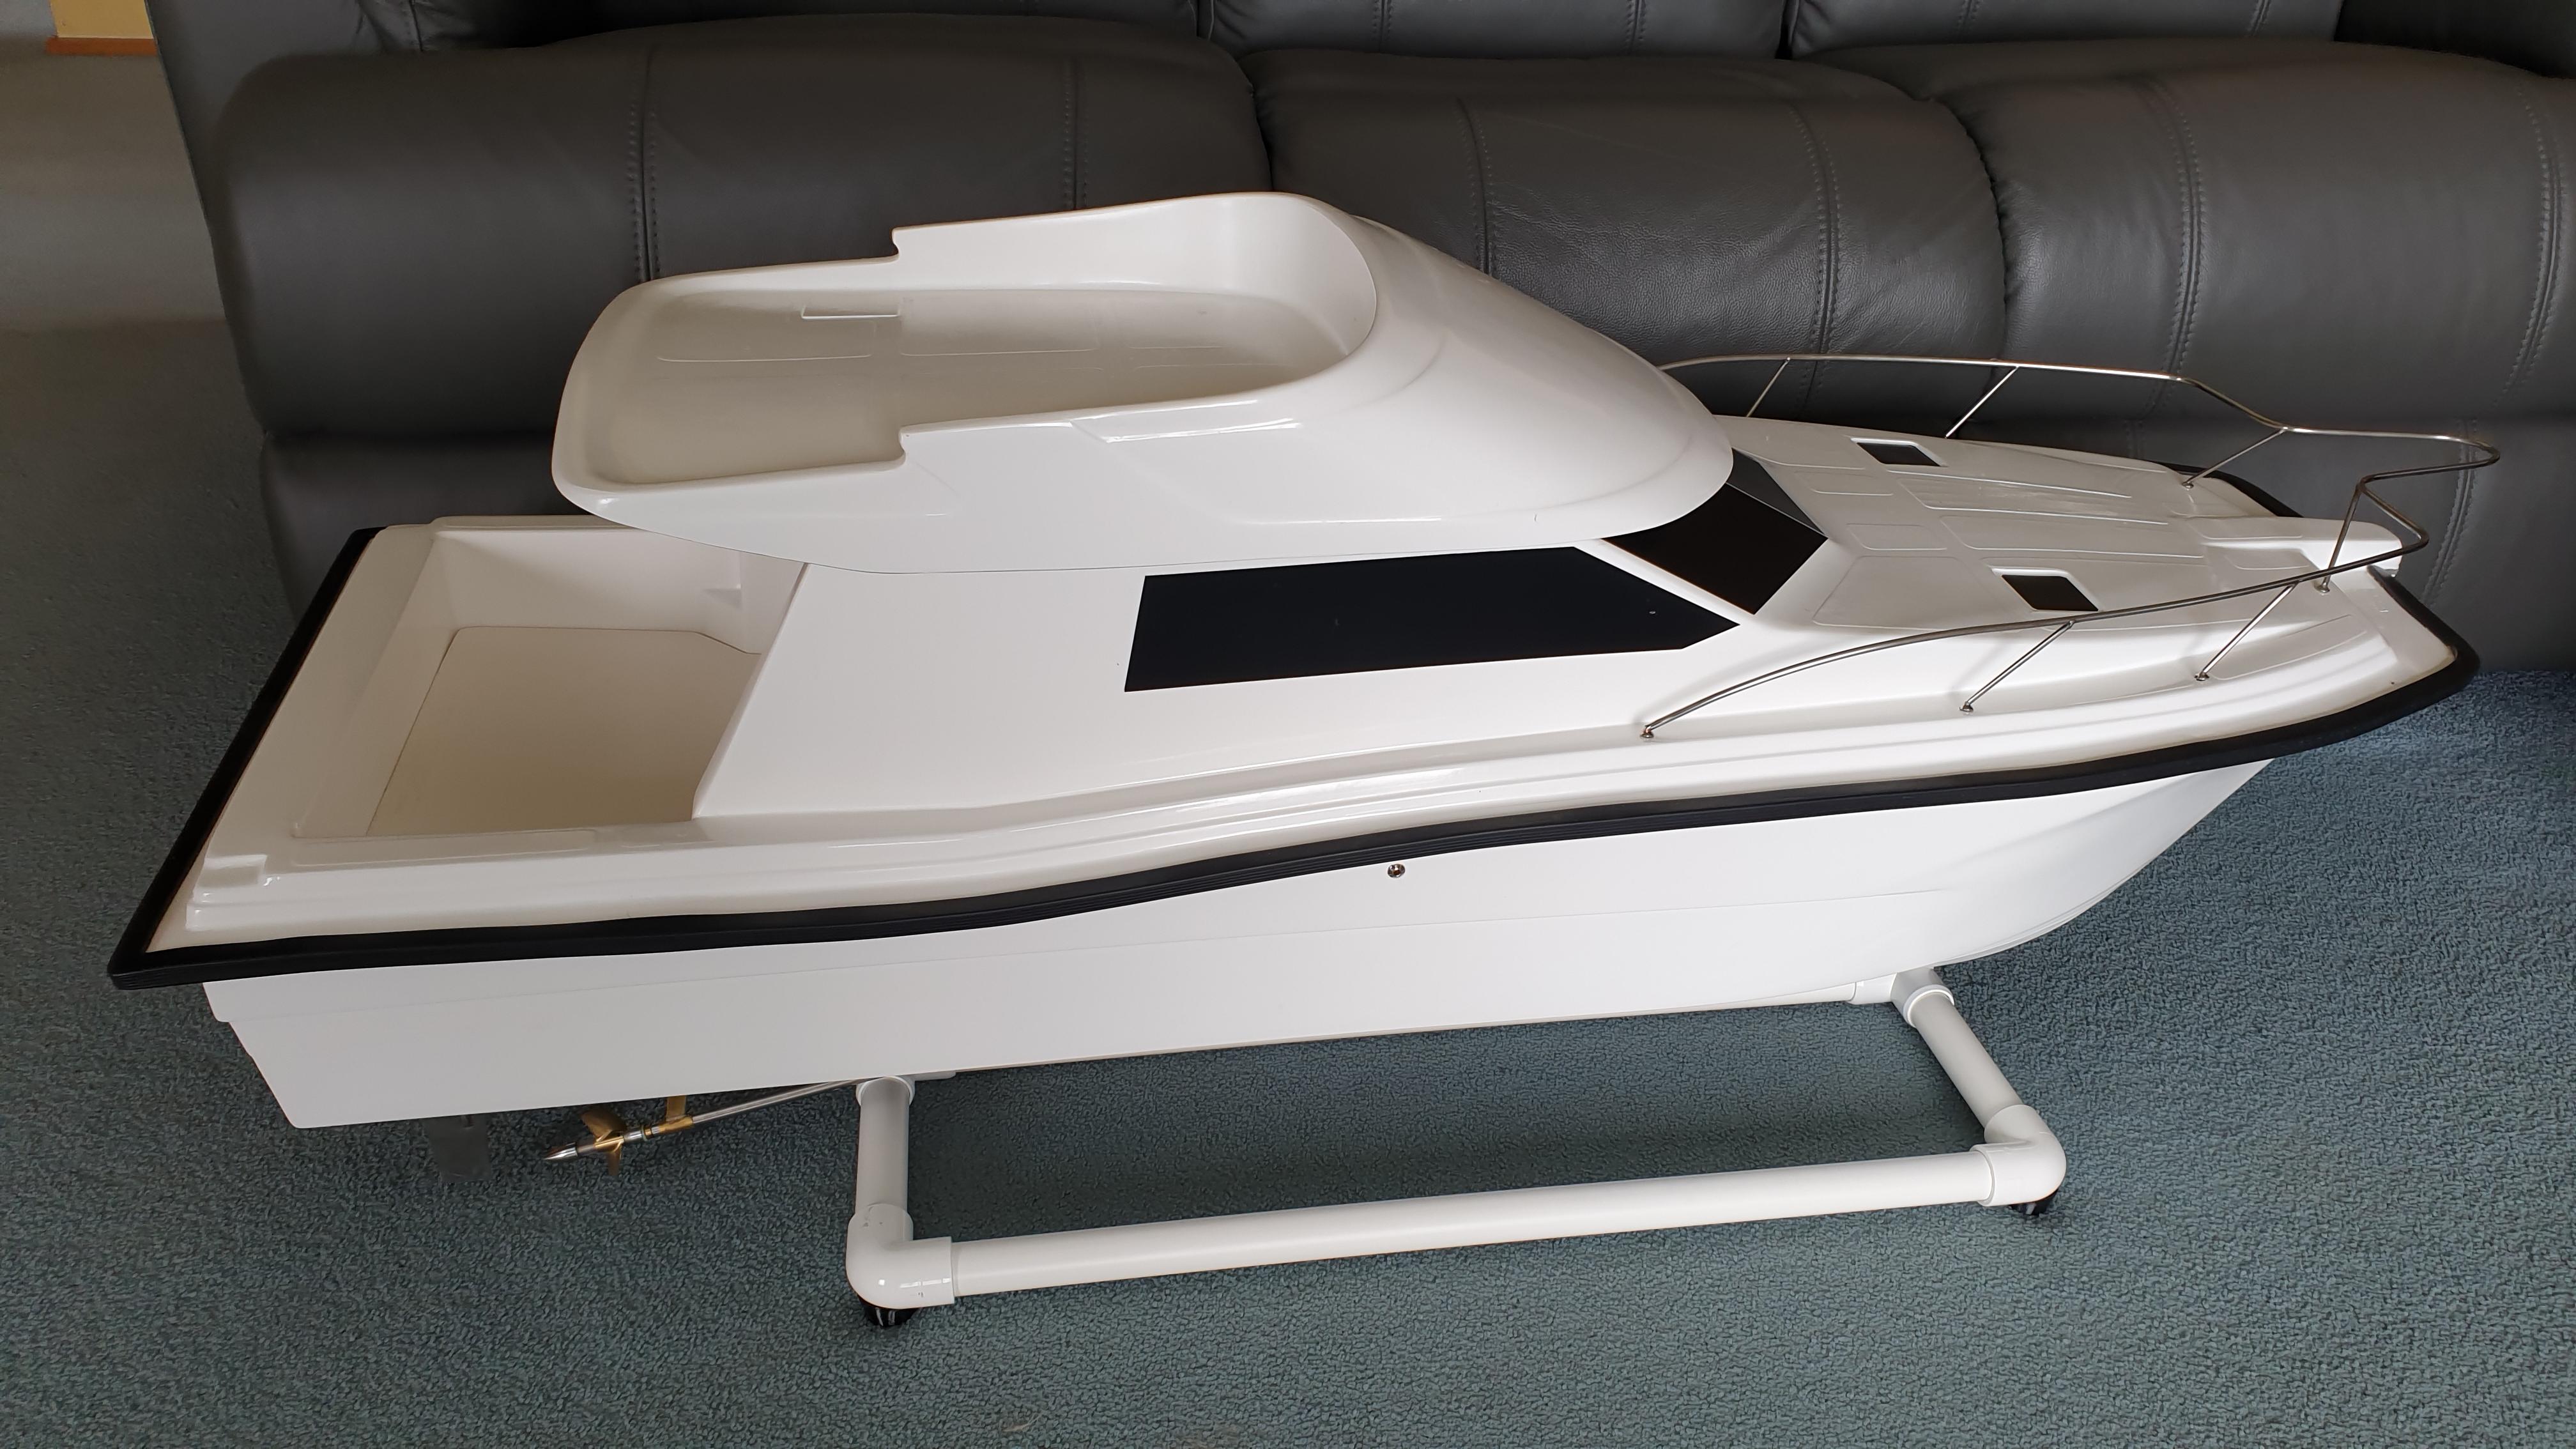
8 January 2022 at 10:42 #10140
The replacement flight controller turned up yesterday,
So after a lot of soldering and programming, it was installed in the boat and tested.
Hand rails and temporary windows were then installed.
Here she is sitting on her PVC pipe stand.
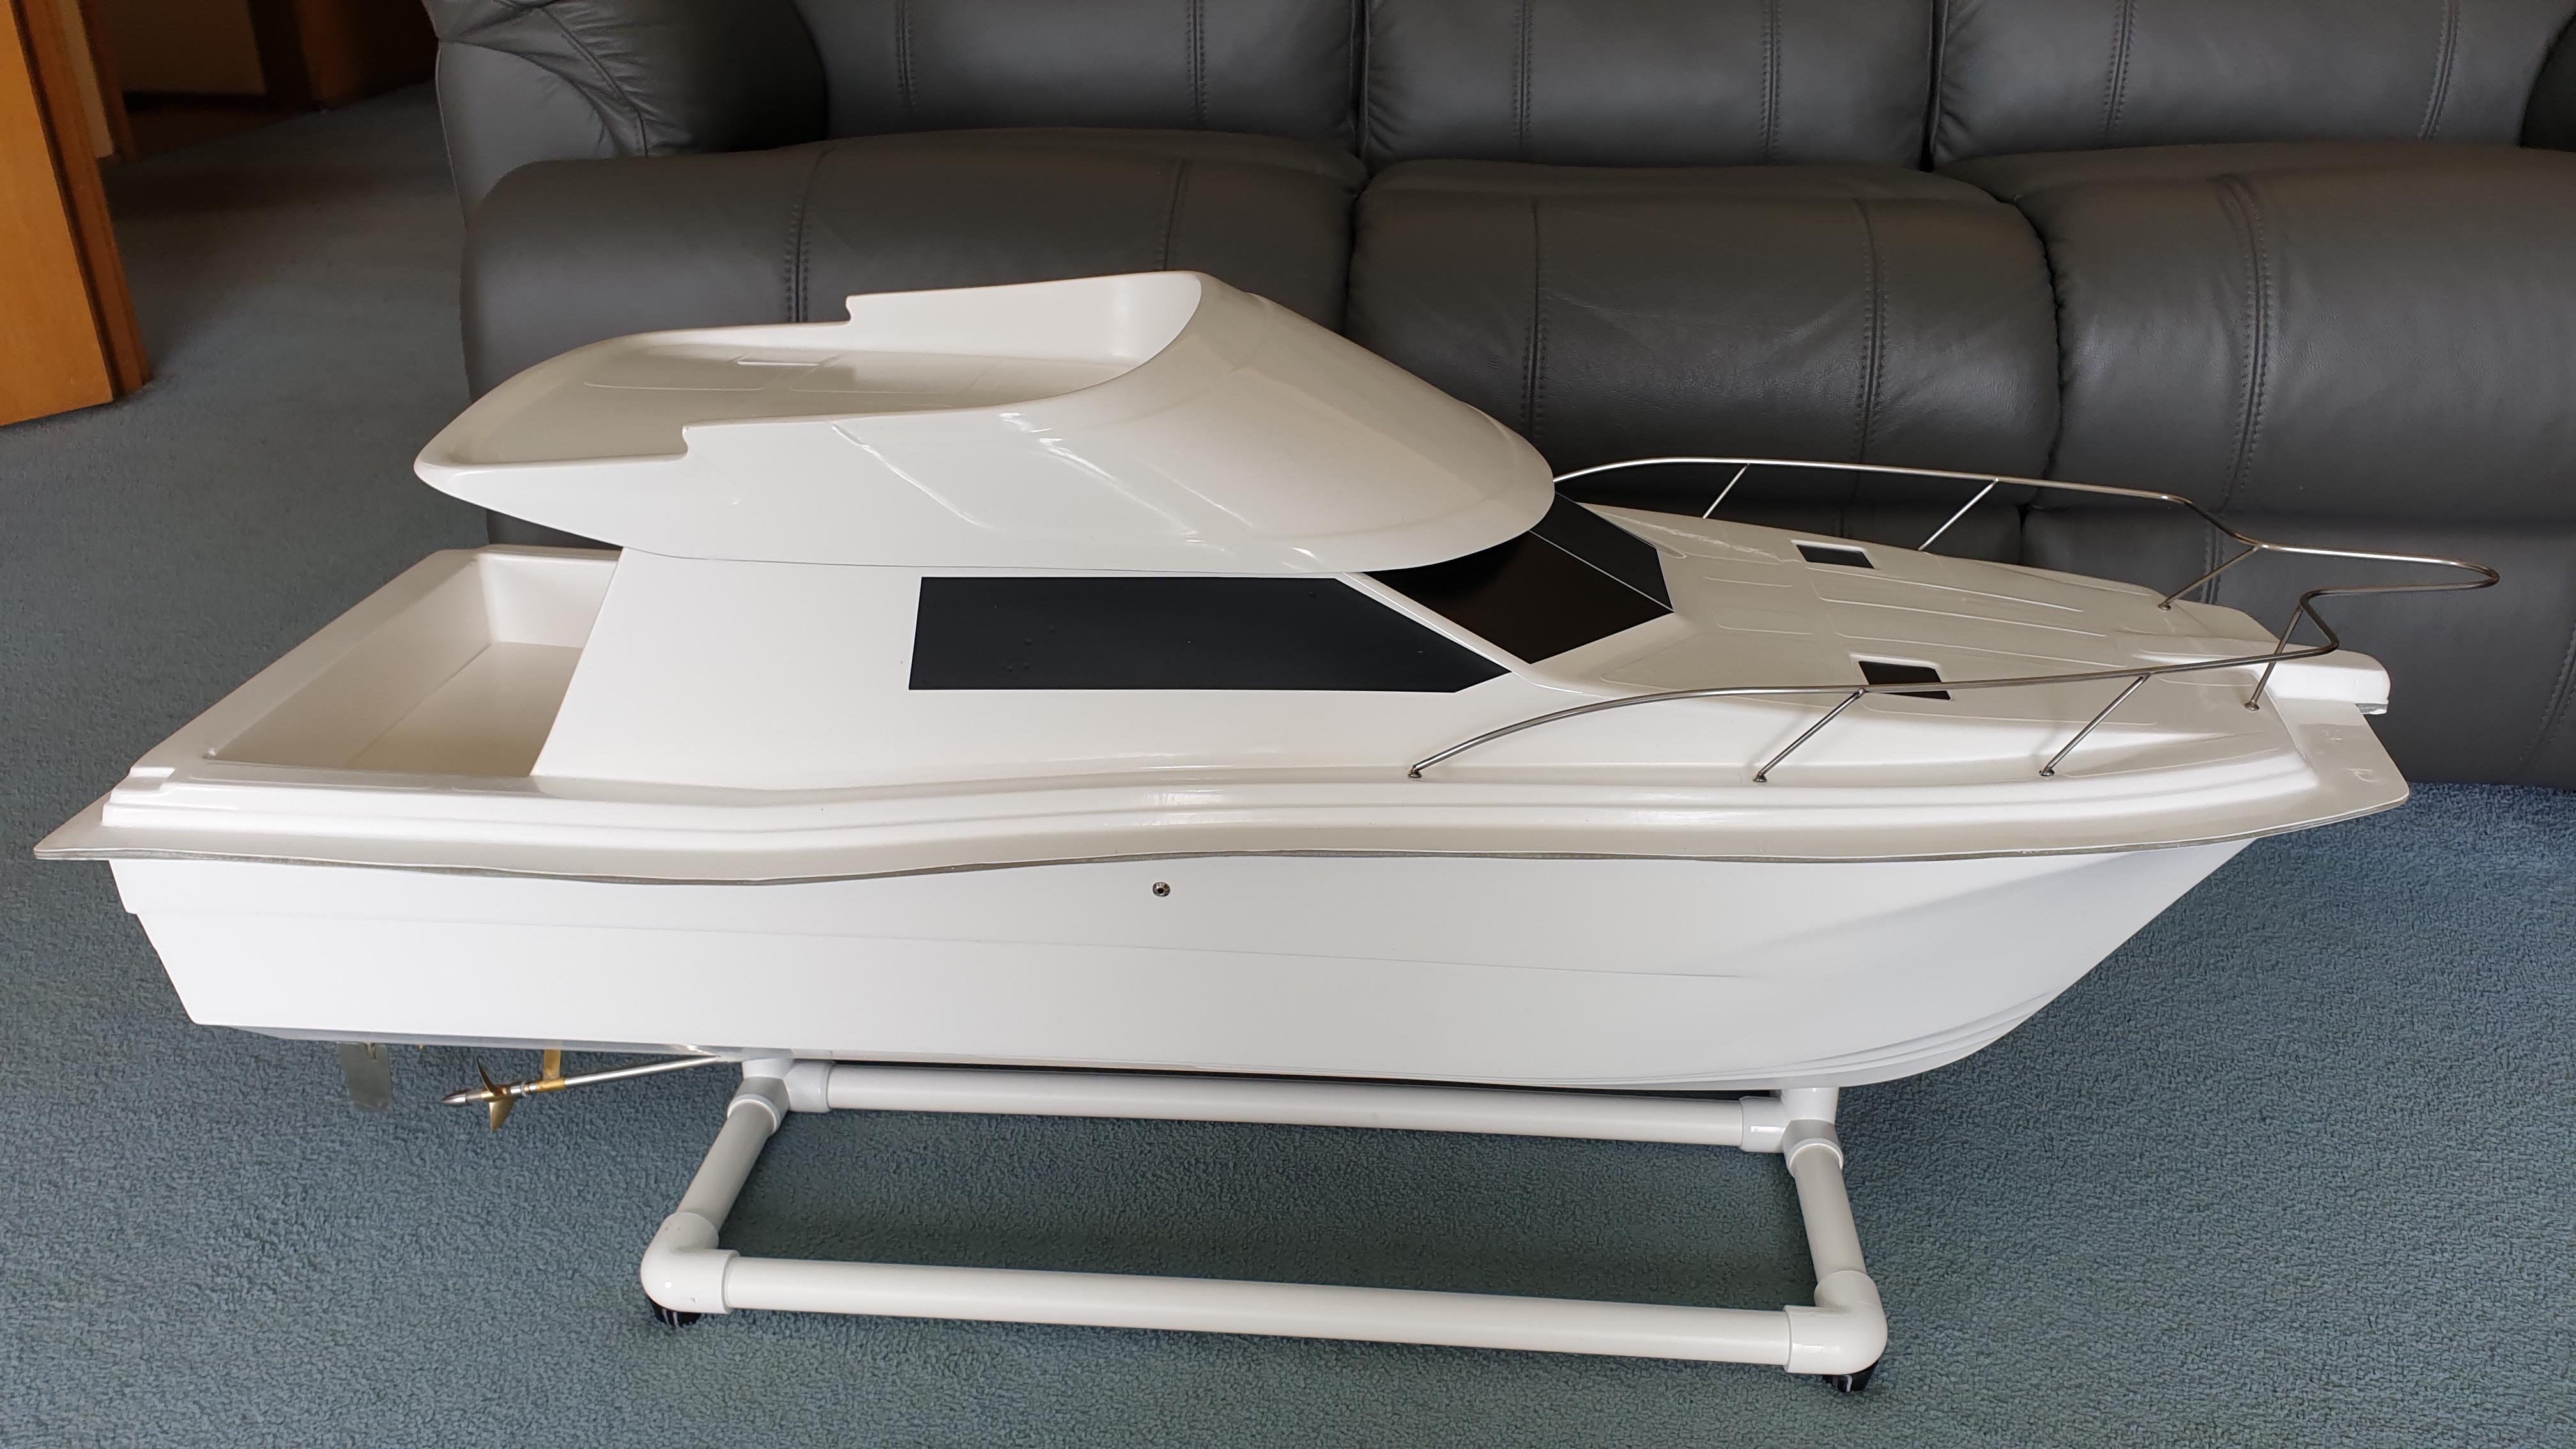
Next jobs are to fit the rubber strip around the gunwales and work out how to hold down the roof.
-
8 January 2022 at 11:54 #10141
Looking good uncle G nice to see it finished in a nice colour
-
8 January 2022 at 12:35 #10142
I was thinking a nice fluro slimy green colour.
-
-
8 January 2022 at 13:43 #10144
Very appropriate as it is the green boat killer extra camouflage would be ideal
-
26 January 2022 at 12:00 #10278
A bit more done.
The rubber strip installed around the gunwales.
Again using another 3D printed jig to cut the 90 deg. corners.
In the old boat I used to have radio issues if I went down to restaurant past the jetty, so I have fitted one of the new ExpressLRS radio systems to try out.
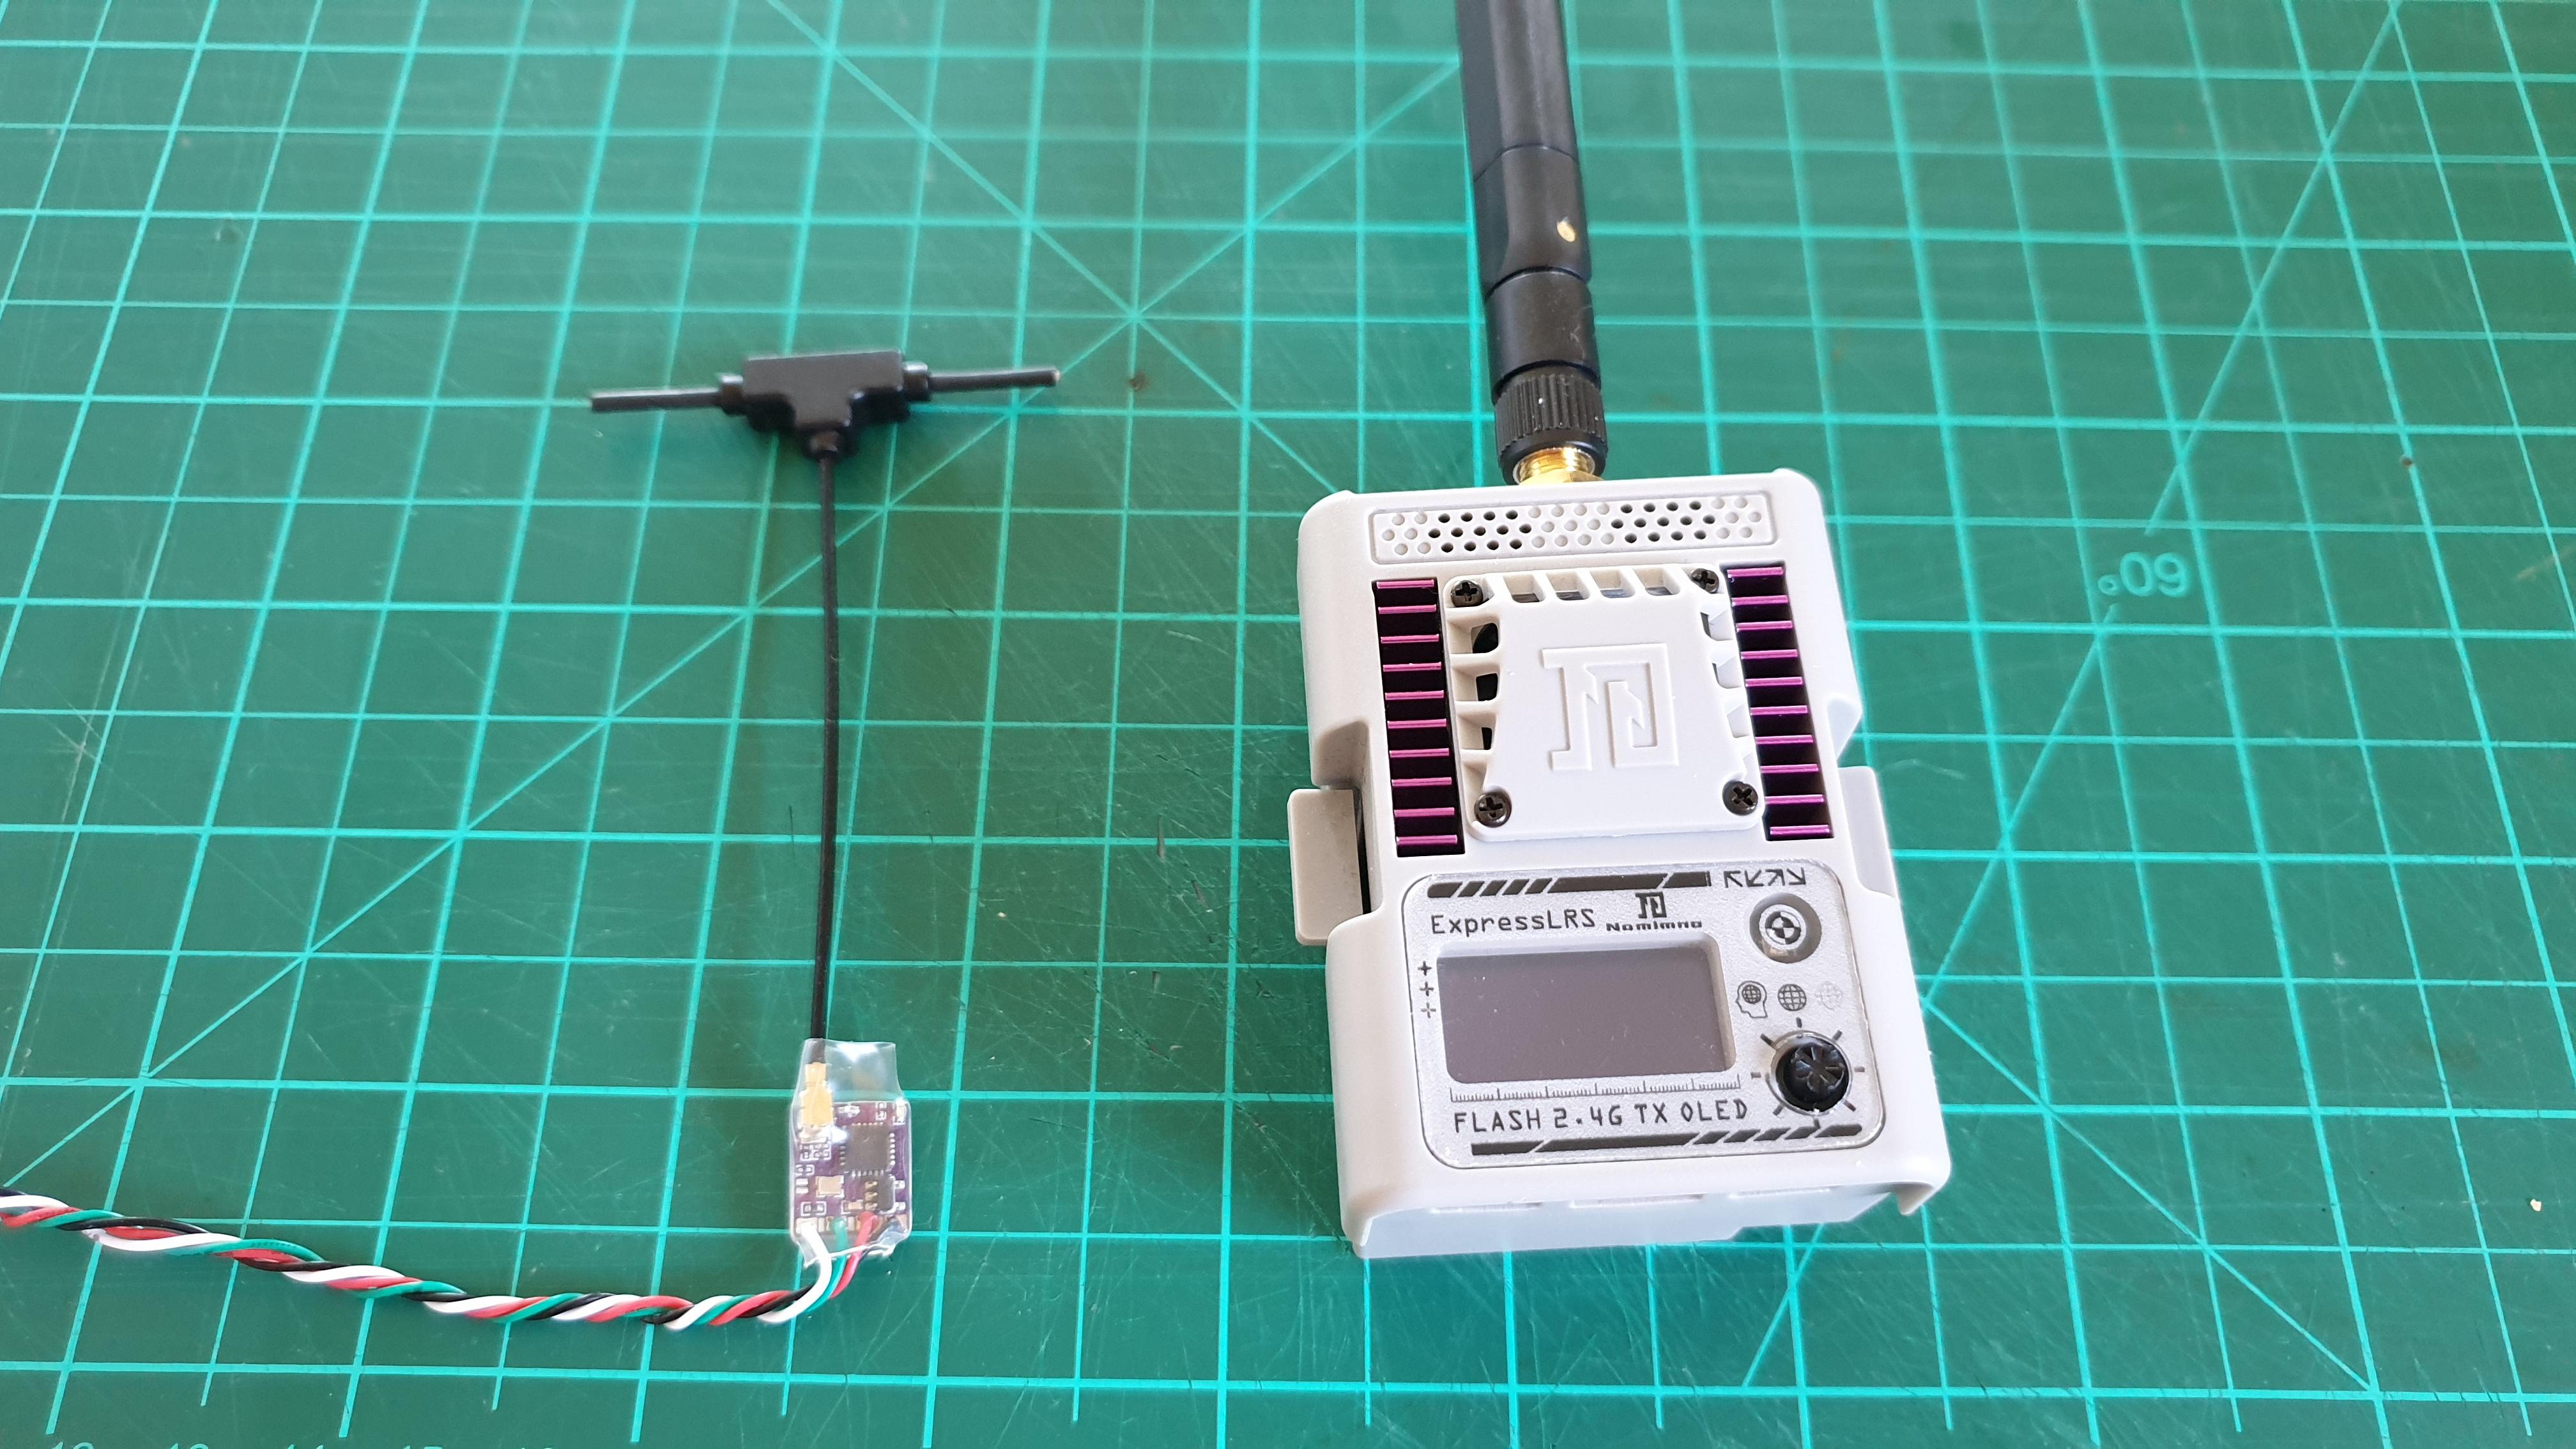
The receivers are tiny, use the same protocol as TBS Crossfire but the software is opensource, as in Open TX, there are a few different manufactures making the hardware.
They say up to 40Km is possible in ideal conditions. (in the air)
The Tx and Rx’s have Wi-Fi on them so you can flash / update them without removing them from the model.
-
26 January 2022 at 12:08 #10280
Gunwale strip sets it off nicely. I’ll need to put some on Double Trouble soon.
Be interesting to see how the new radio protocol works, certainly nice & small.
I remember in the early days (for me) when 10k range from a Taranis was considered a ridiculous range, now you are talking 40k. Will it never end ?
-
-
26 January 2022 at 12:07 #10279
lookin good Gerald next a splash of paint
-
26 January 2022 at 16:38 #10284
Looking great, and the radio sounds amazing if it comes to pass.
-
30 August 2022 at 16:21 #11957
After seeing the great fittings Mike has made for the opposition media boat ” Double Trouble” I thought it’s about time I did something for “Sinker Two”
Onto the computer and tried out a different 3D modelling software called “OnShape”. A few hours later I had some 3D drawings.
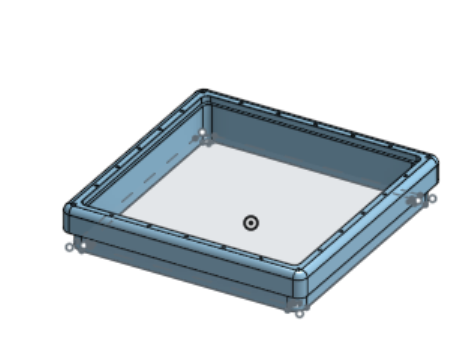
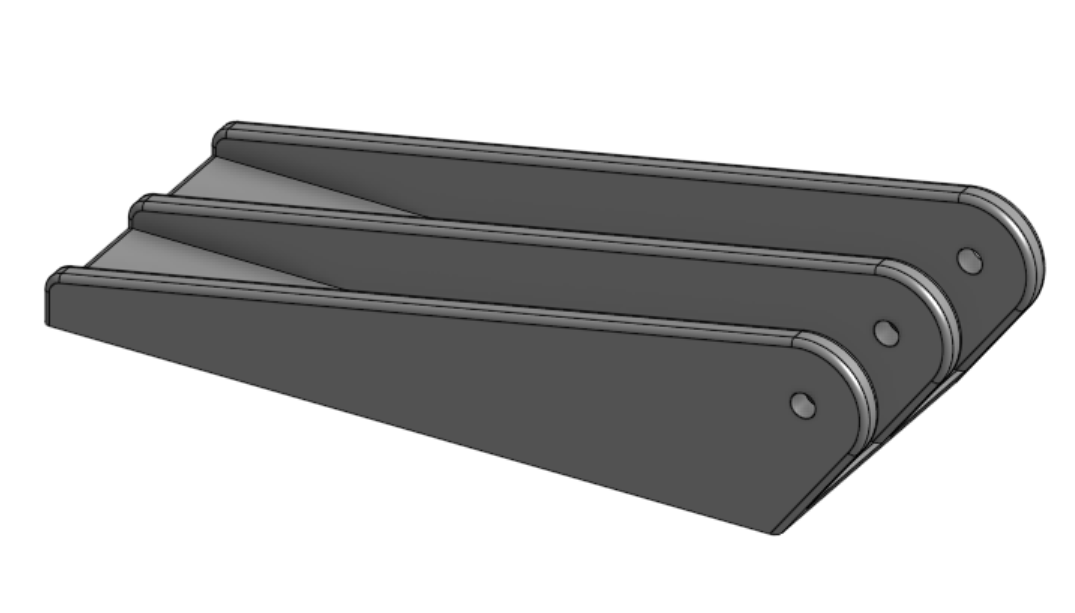
Got the Anycubic SLA printer ready with some black resin and a after a few more hours I had some parts to play with.
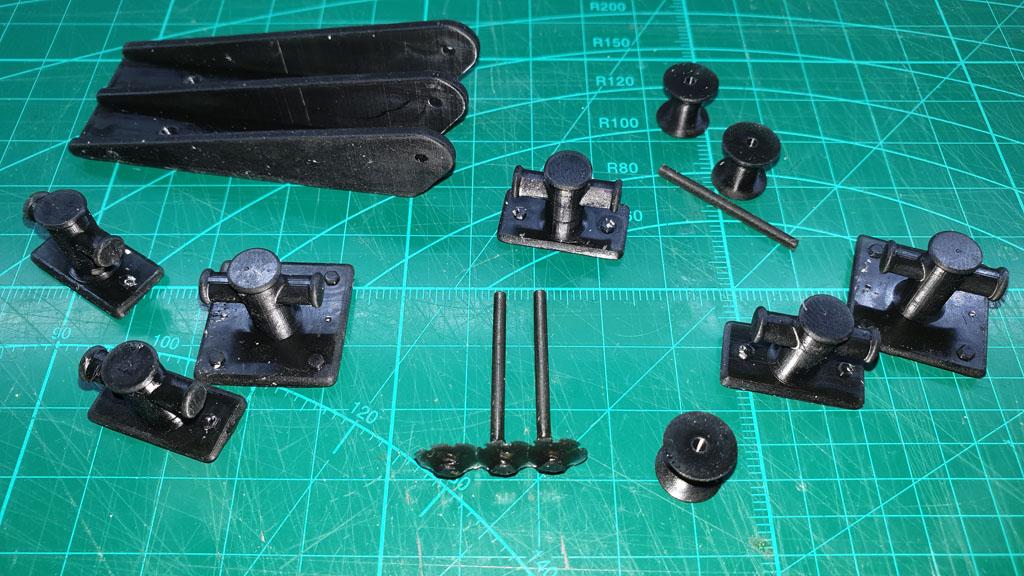
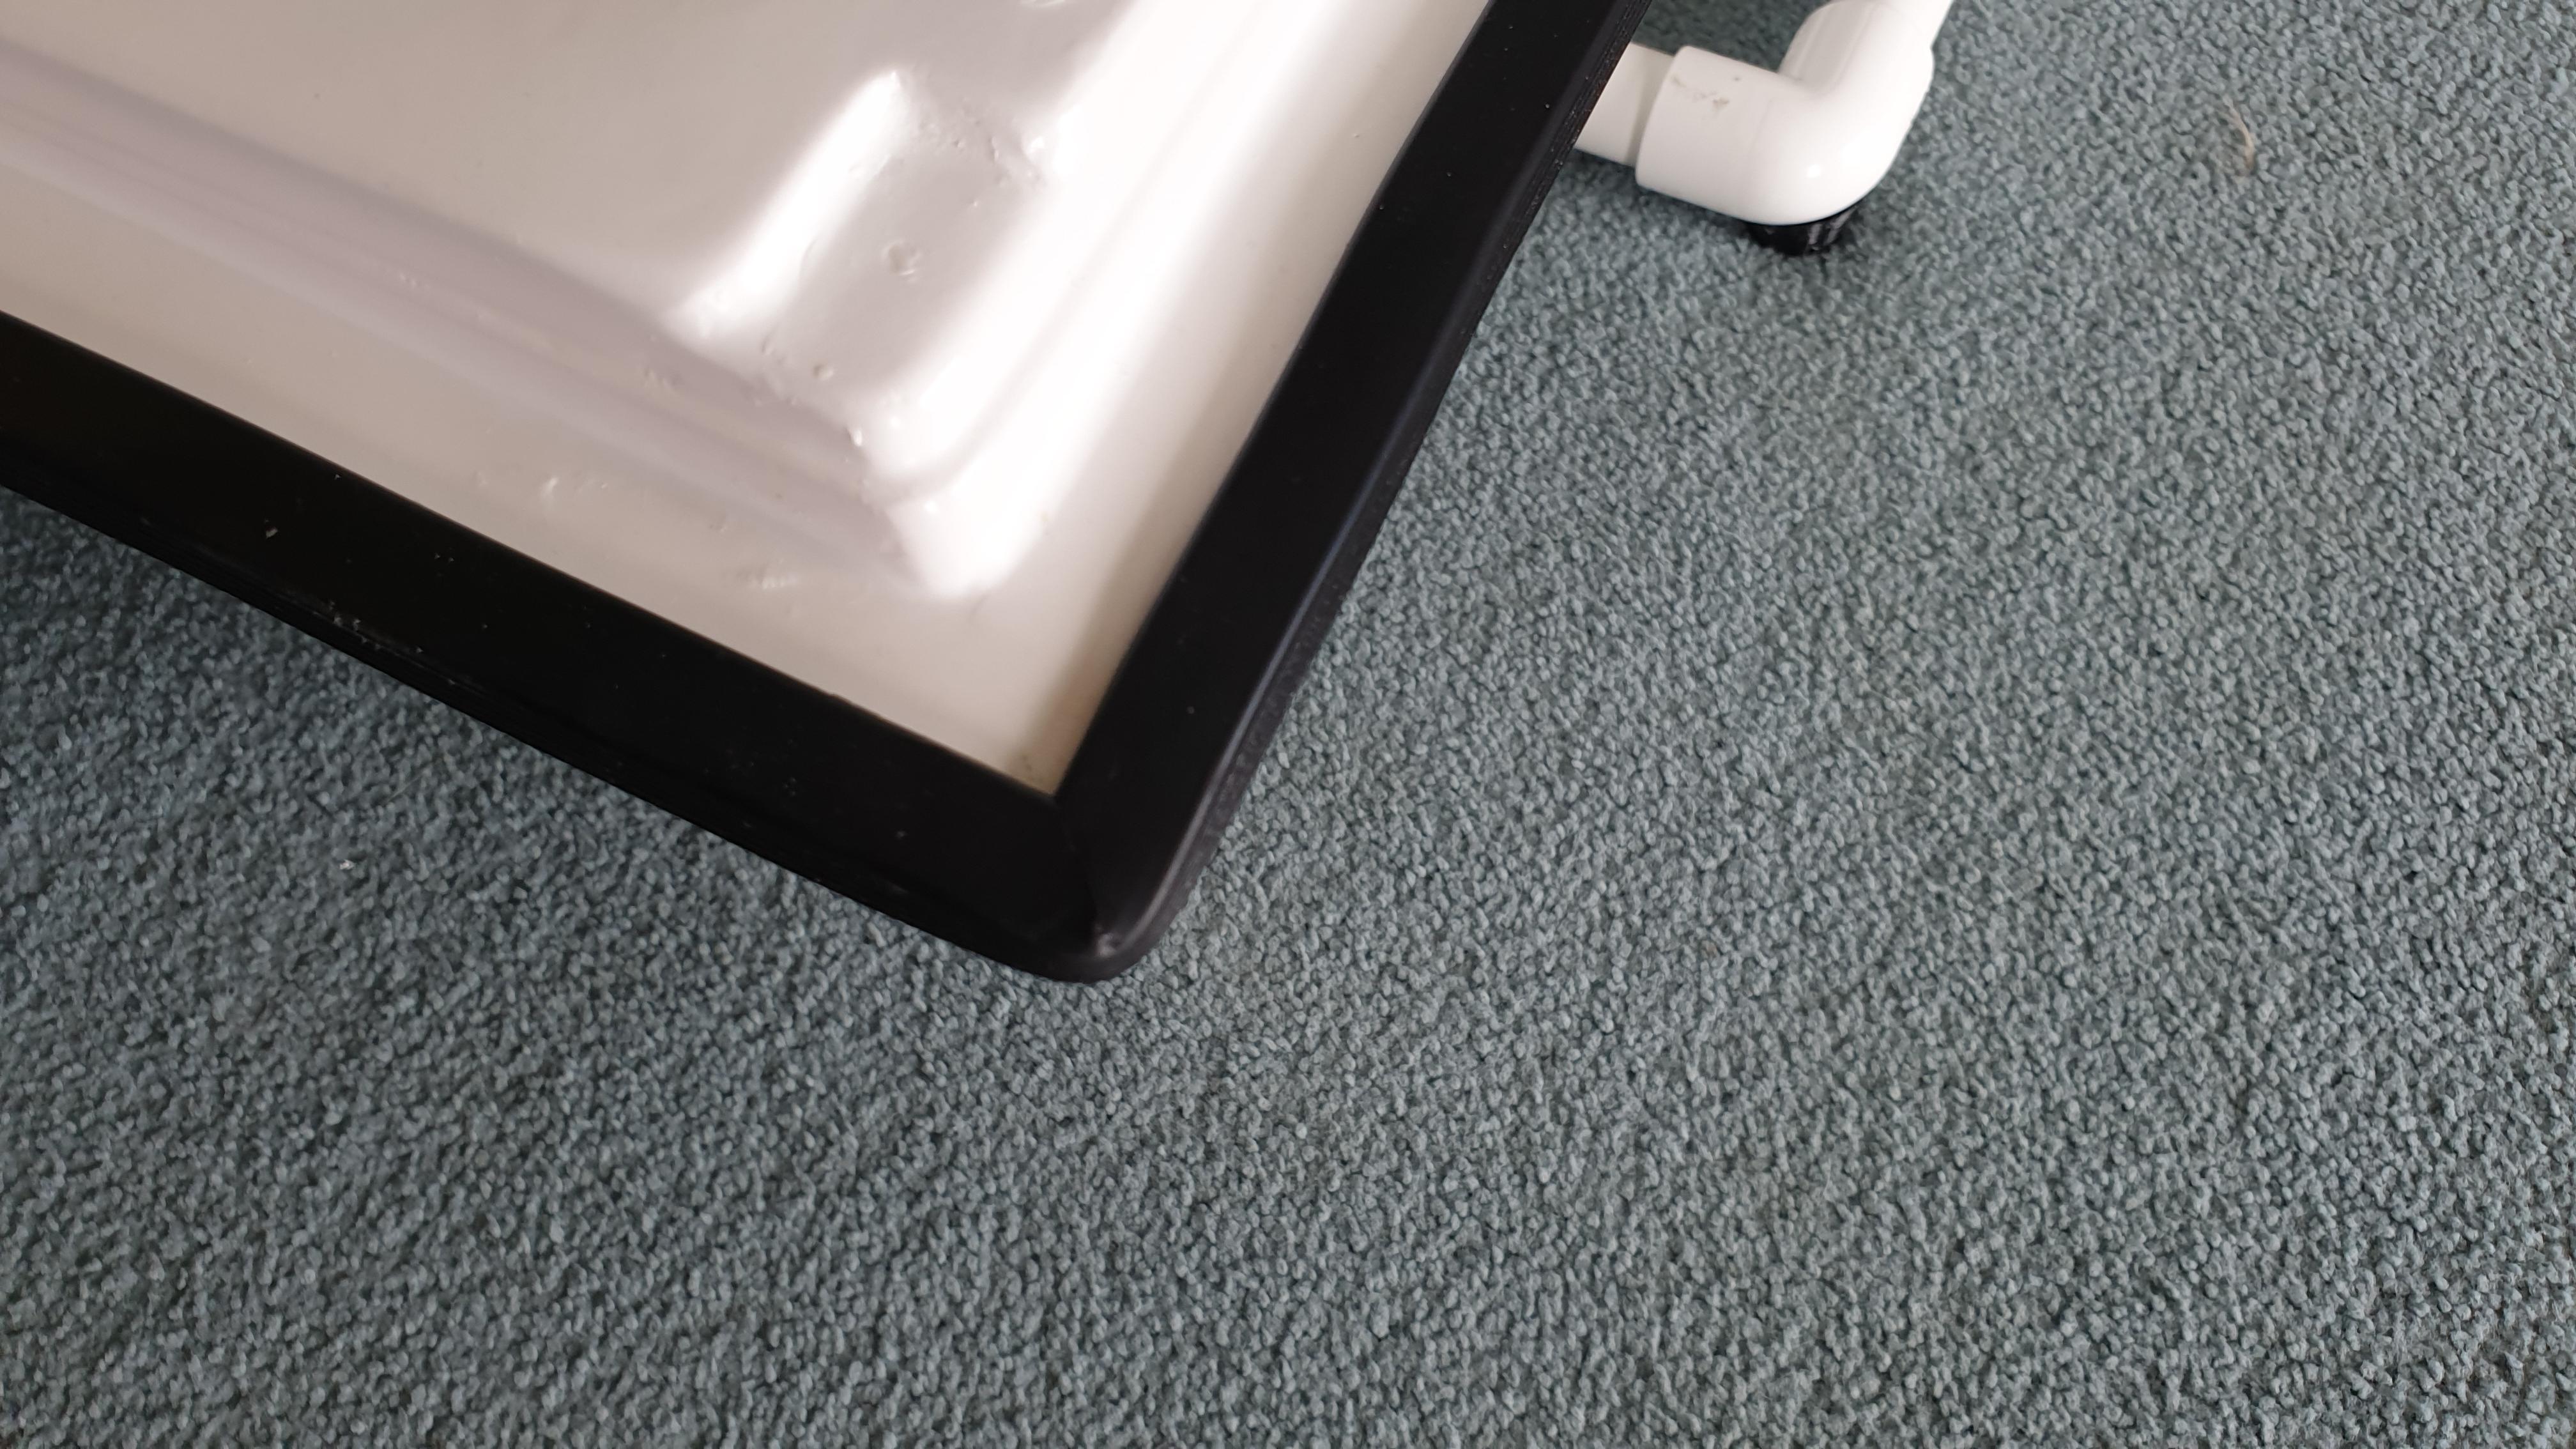
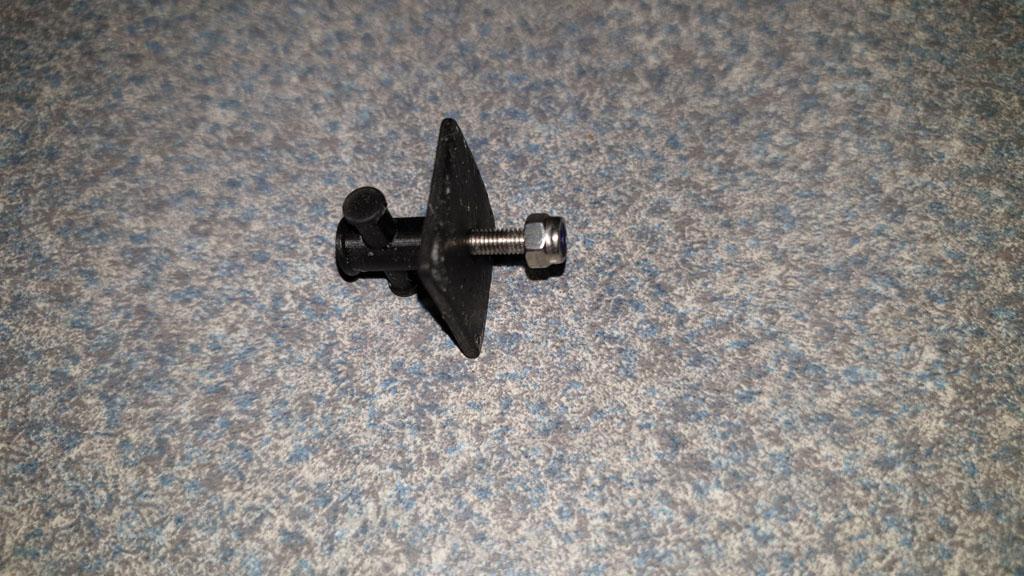
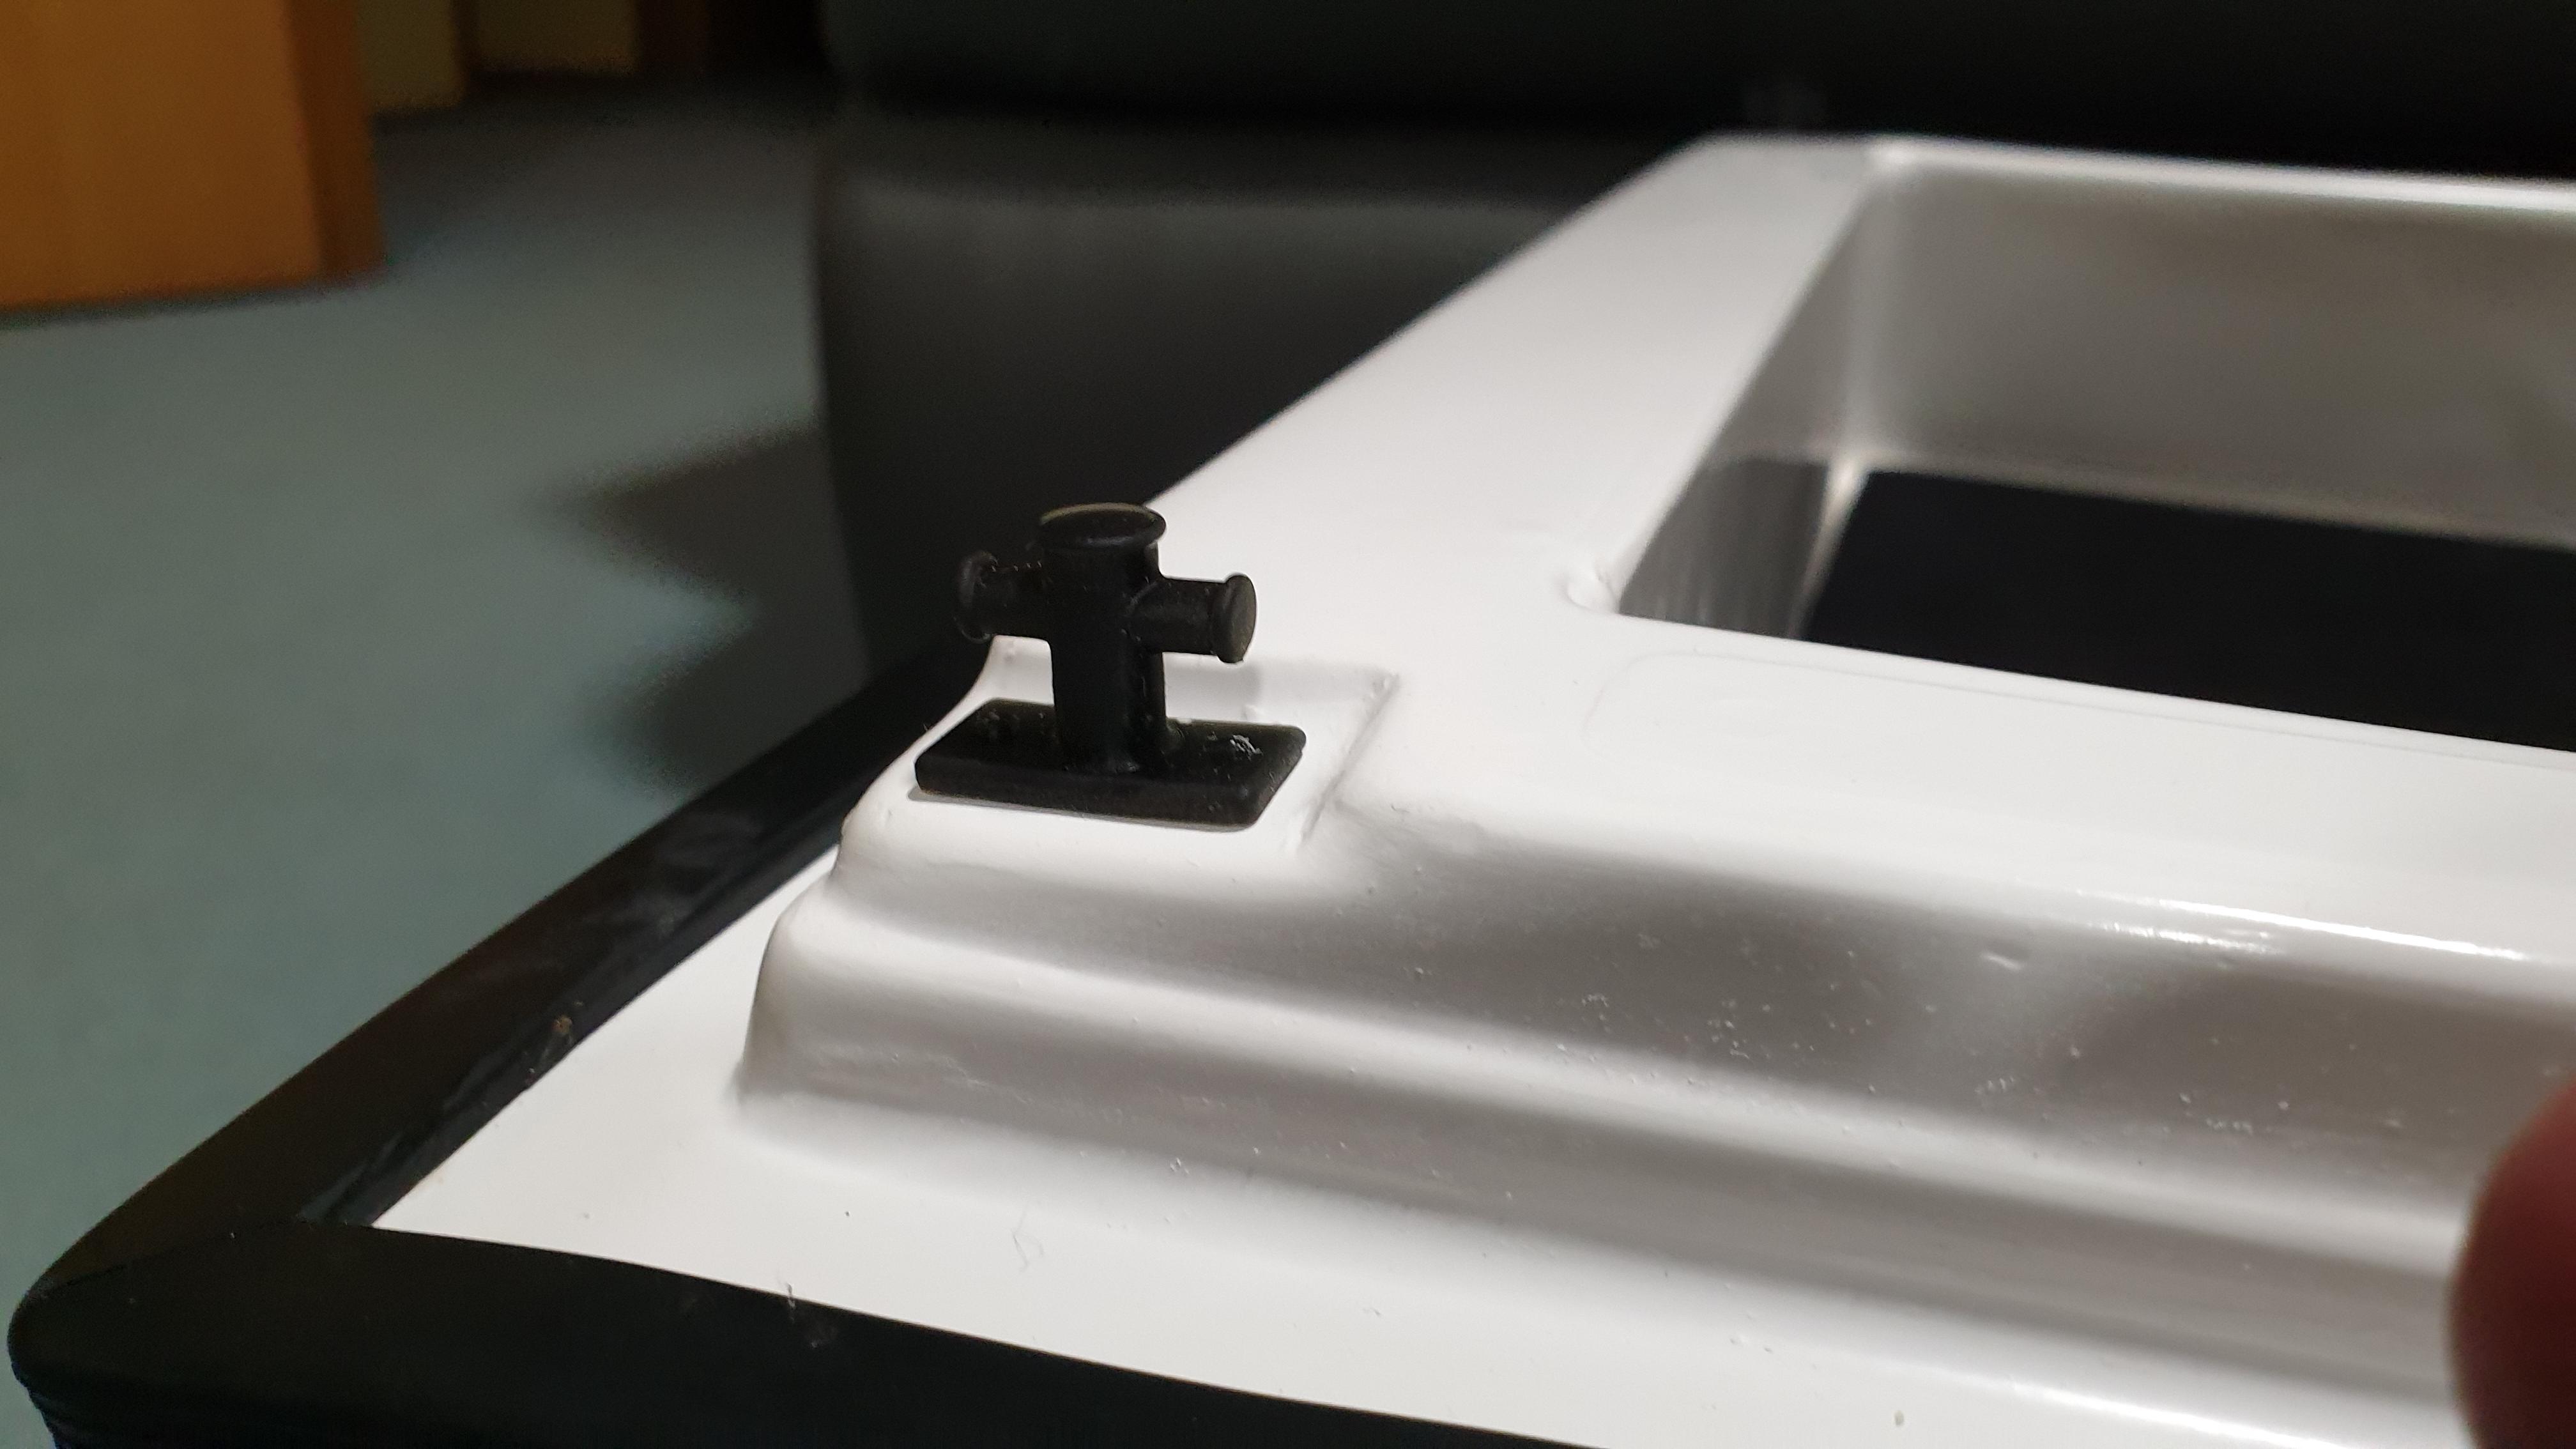
For the hatches I used some 1mm clear plastic covered with a dark window tint, and the bollards I taped out the hole in the bottom and glued in a 3mm stud.
Installed hatches using a laser cut plywood jig to align it with the depressions in the moulding.
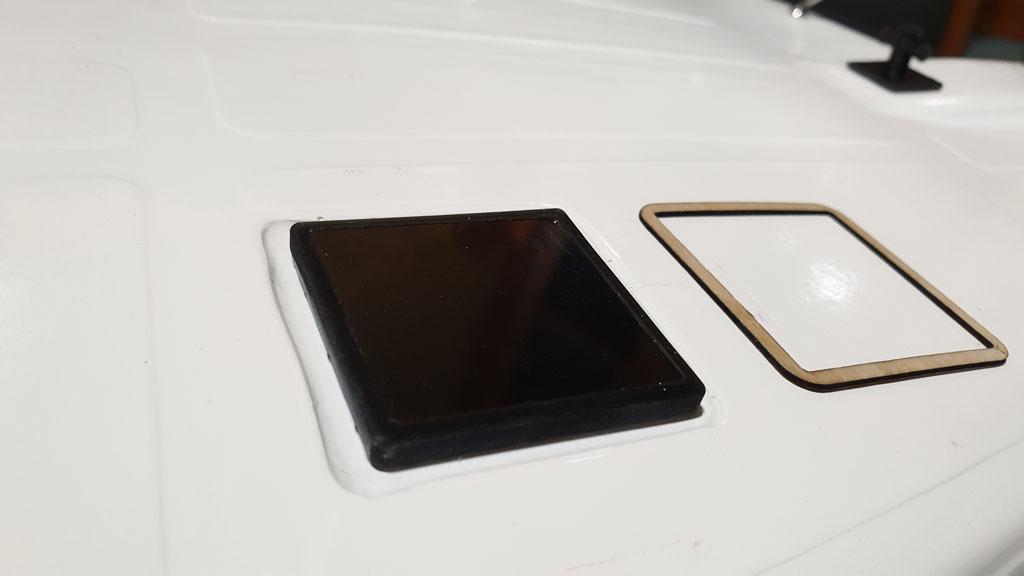
And bow roller and bollards installed.
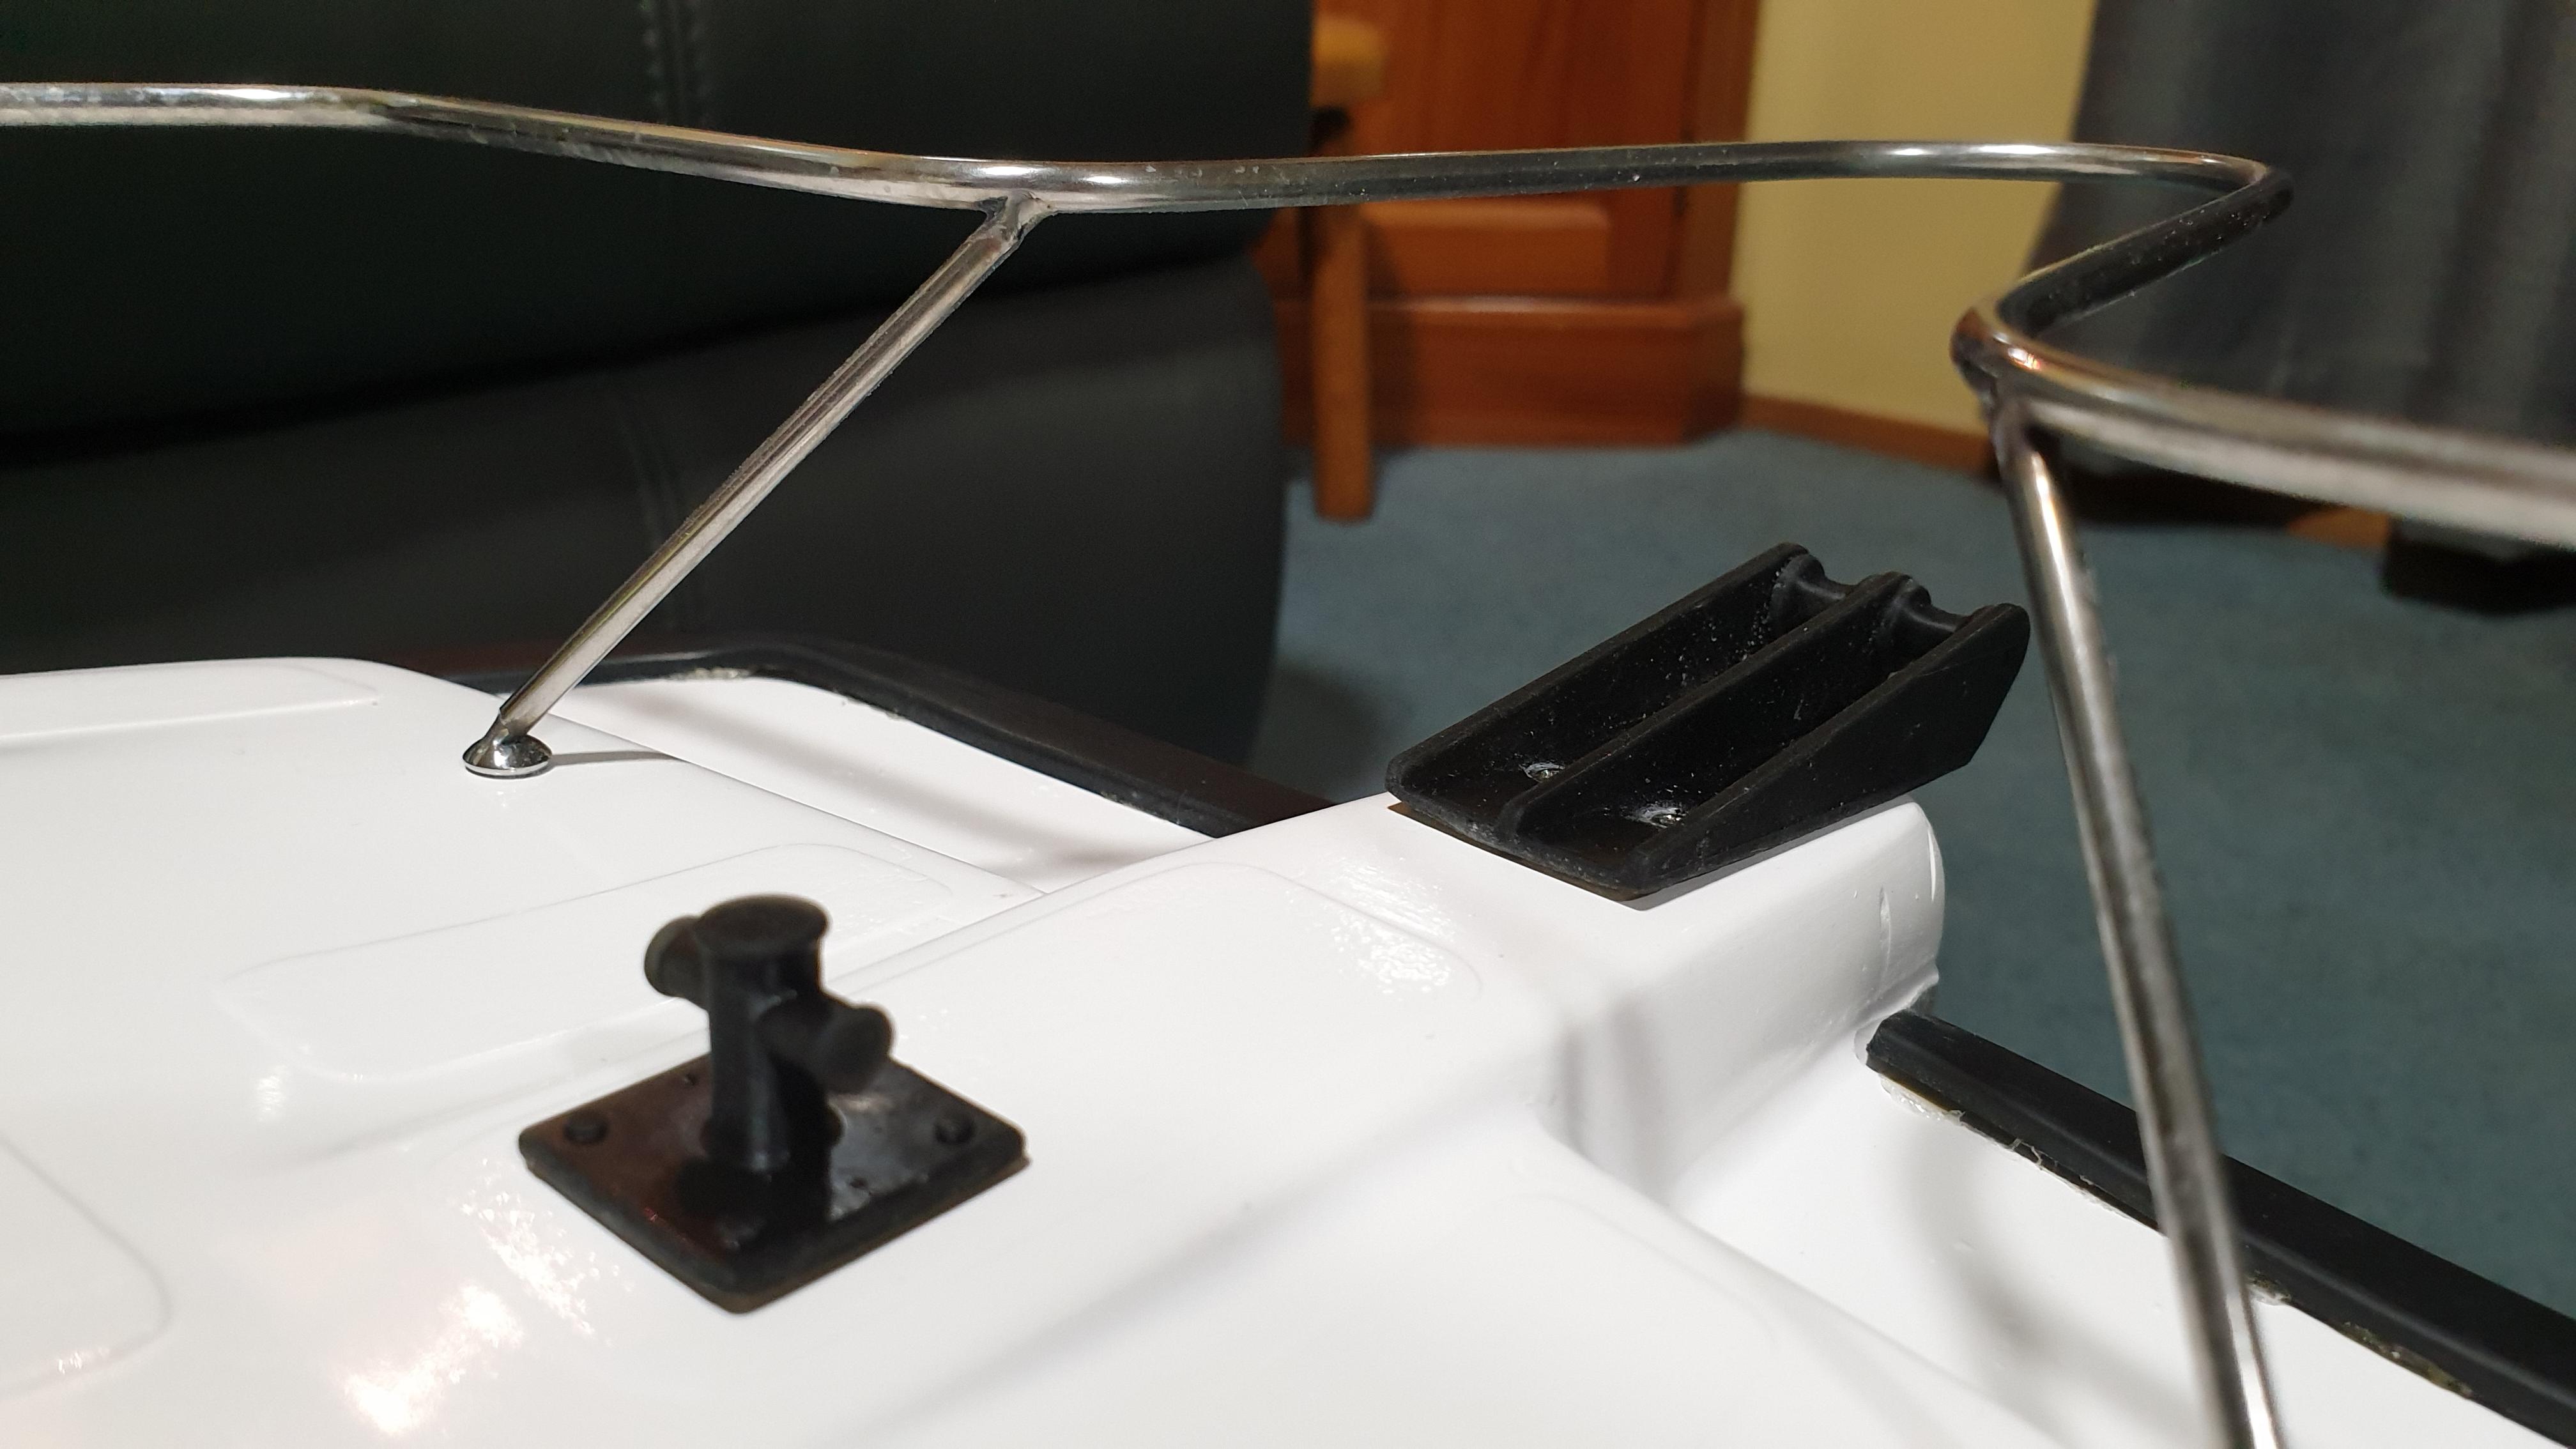
Next job will be the cabin windows.
-
30 August 2022 at 18:52 #12032
Looking good Gerald. It’s all the little details that really finish off the model.
The SLA 3D printer does a great job of the fine detail thats for sure.
-
30 August 2022 at 19:36 #12033
Yes Mike, the detail you can get is amazing,
Just messy stuff to play with.
-
-
31 August 2022 at 15:56 #12044
Wow, I love the details. It’s amazing what you are able to produce with a computer and printer these days.
-
31 August 2022 at 16:10 #12046
It’s certainly a completely different set of skills than the old days!
Now most of the work is in the design stage, and just let the printer do its thing.
Hope you are having a good time in Europe with Kermit
-
-
31 August 2022 at 16:09 #12045
<p style=”text-align: left;”>Wow, I love the details. It’s amazing what you are able to produce with a computer and printer these days.</p>
-
5 October 2022 at 14:37 #12434
HOW TO LAY A PLANKED DECK – The easy way
The rear deck on the Cougar Cat was a piece of white plastic board.
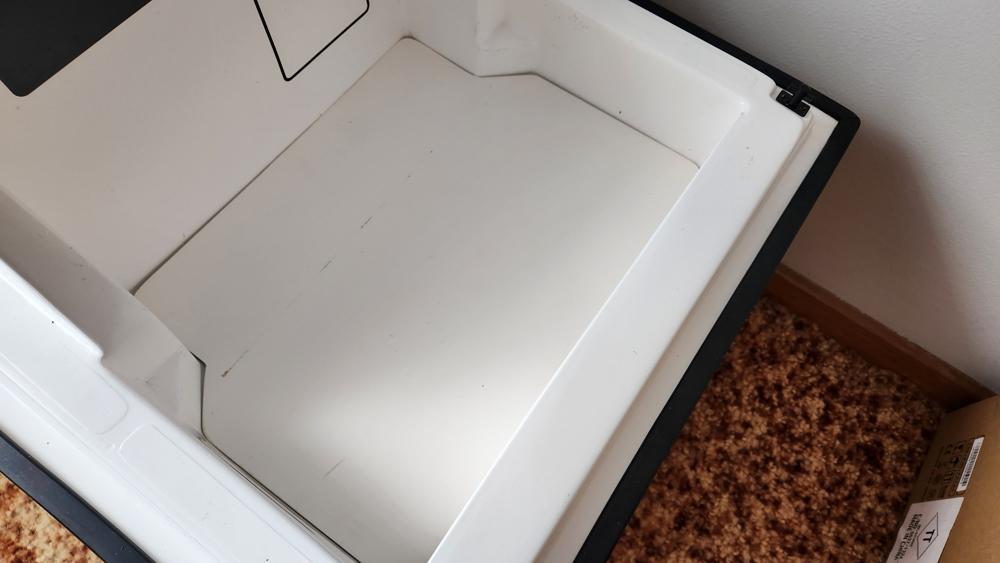
So, onto the computer, draw a few lines on the screen.
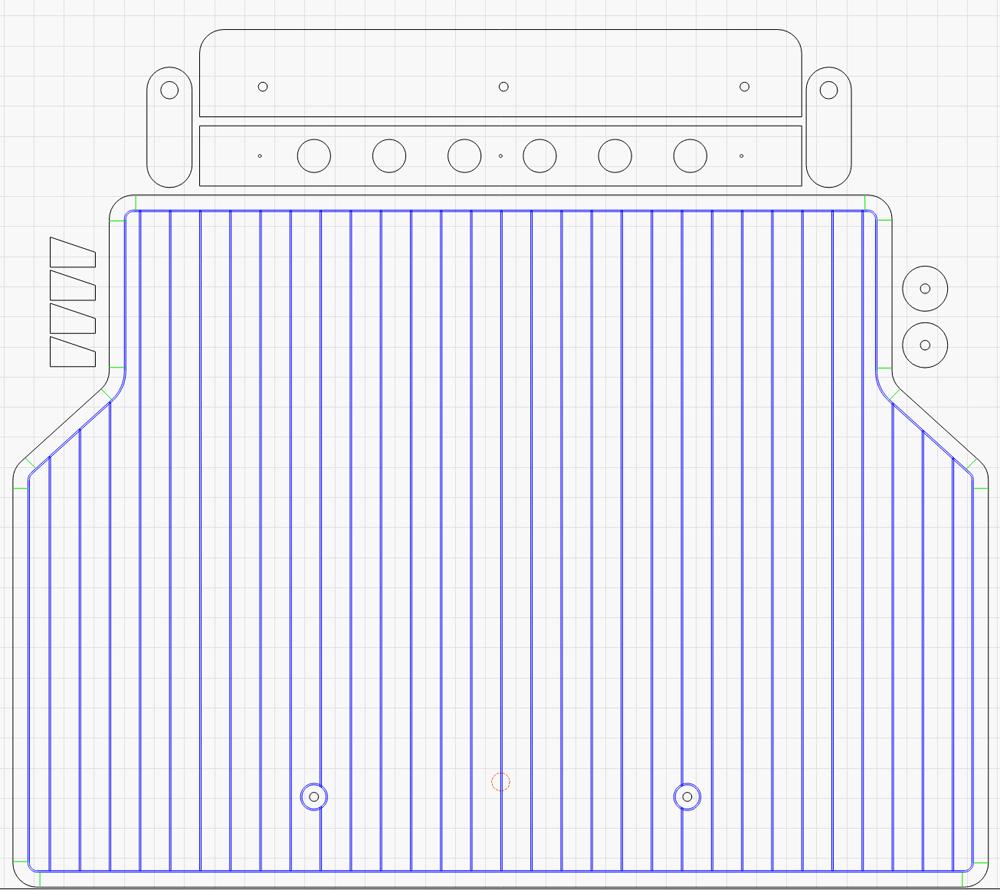
Then a short time later, out of the laser engraver / cutter I had a nice wooden deck.
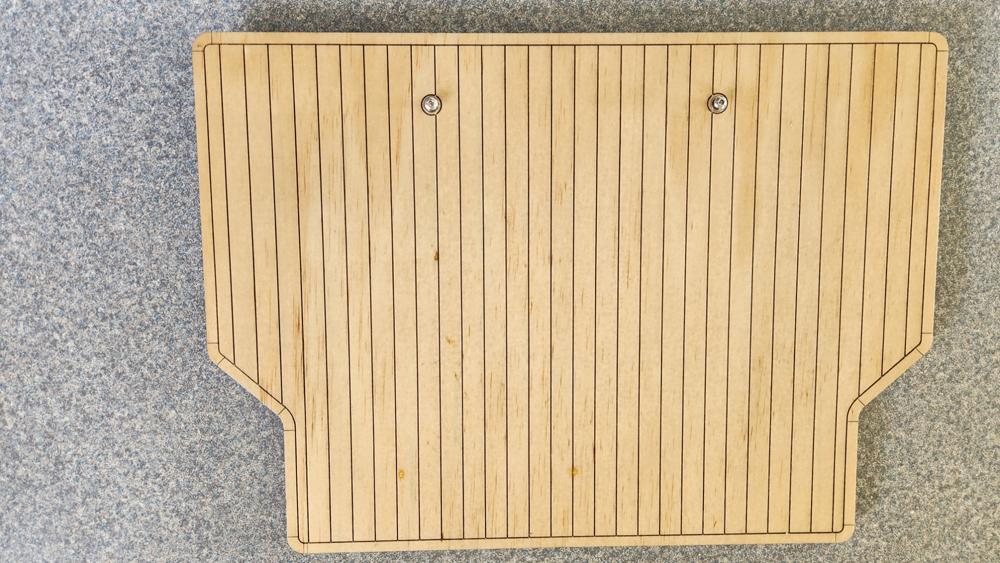
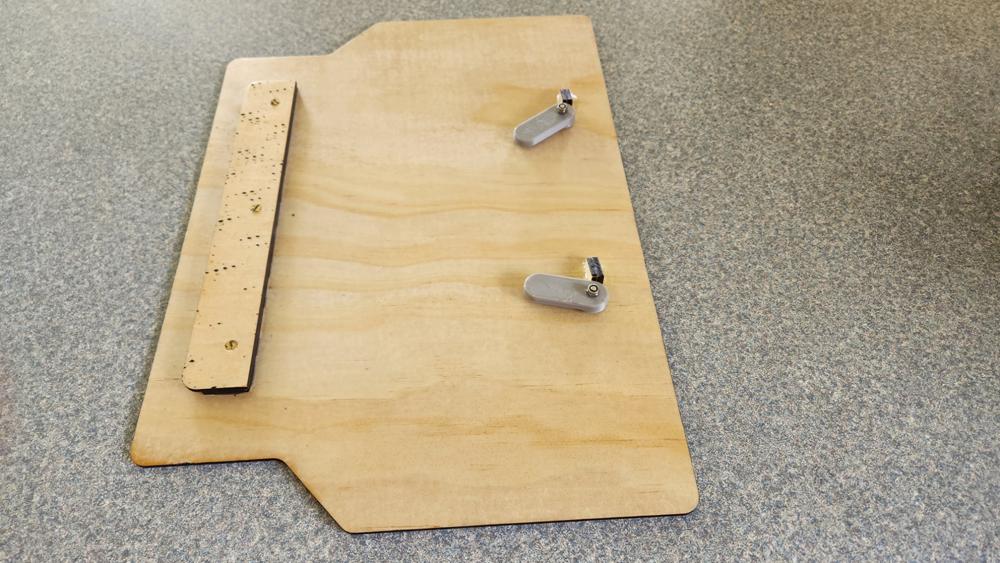
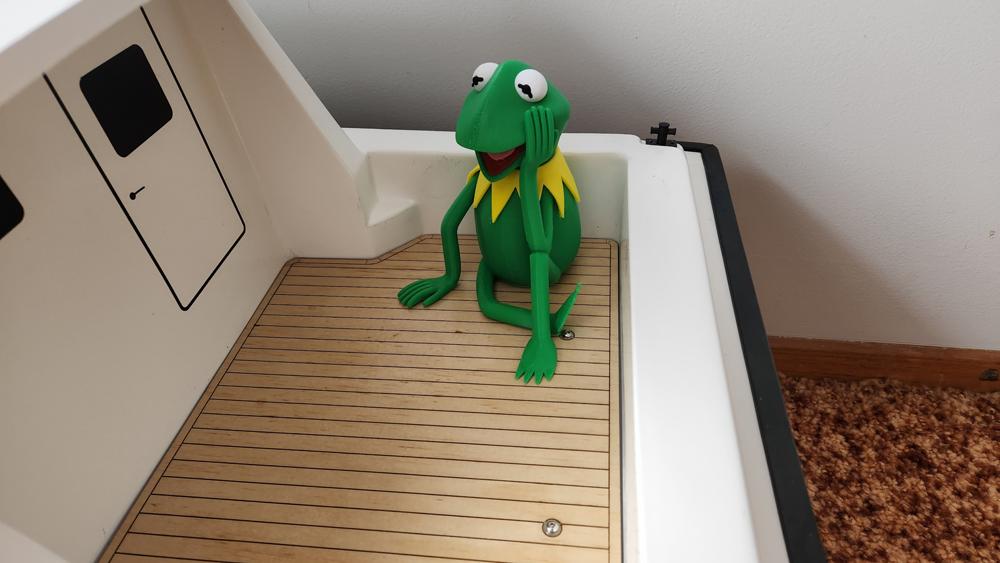
Sprayed a few coats of matt varnish on it and it’s done. (Even Kermit likes it)
-
-
AuthorPosts
- You must be logged in to reply to this topic.