› RC AIRCRAFT › FLYING › Flying @ “The Field” › Flying @ the Field 2023 › Monday Fly-In at the field.
Tagged: Monday Fly In
- This topic has 9 replies, 4 voices, and was last updated April 29, 2023 at 2:34 pm by
 Predator.
-
AuthorPosts
-
-
17 April 2023 at 15:45 #13662
Apart from being a bit windy today the three pilots that attended all enjoyed themselves.
I took over the “Walk of Shame” from Kermit today, first pranging my AR Wing due to Operator Error (aerobatics too close to the ground)
& then on a flight after lunch I had an engine (or esc) fail in the BumbleBee glider and that also came down a tad heavy. Both are fixable & will fly another day no doubt.
Kermit did have a couple of wonky landings but I don’t think any damage prevailed.
Gerald flew very conservatively in the wind today and suffered no mishaps.
As usual Kermit whipped up a fine BBQ for lunch & we all went home happy.
4K video from the TechPod (may take a while to upload).
-
17 April 2023 at 18:33 #13664
My view on today’s flying.
-
18 April 2023 at 08:36 #13665
-
18 April 2023 at 11:10 #13669
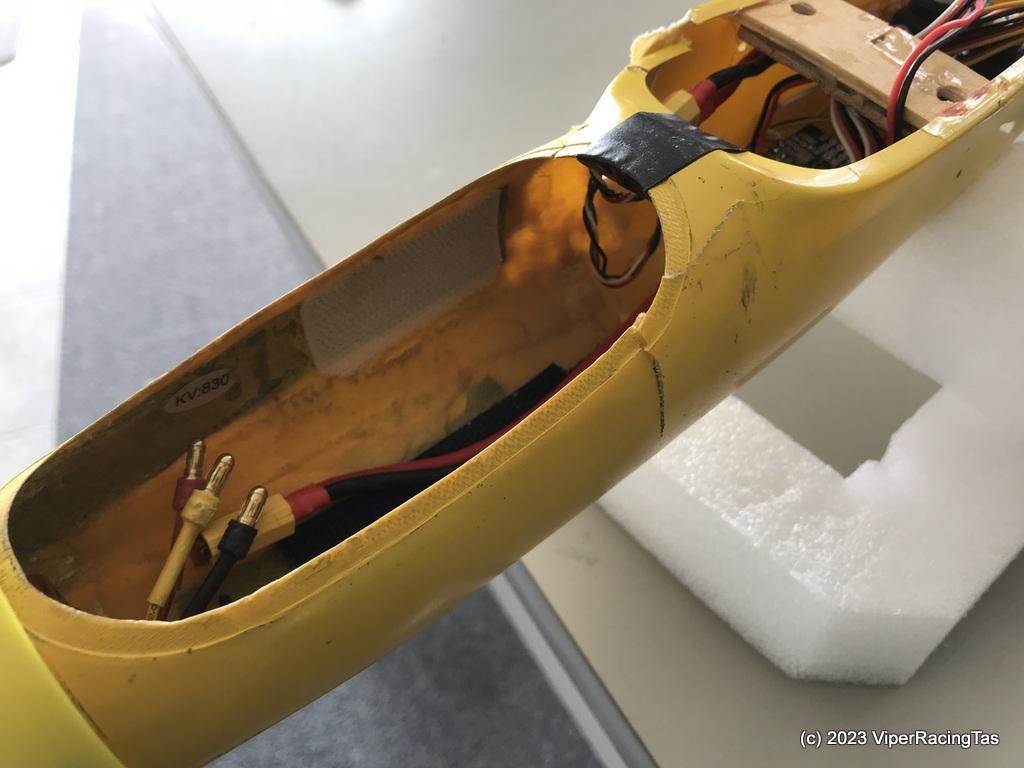
Today it’s time to start repairs on my “Walk of Shame” planes.
First off the rank is the BumbleBee.
Motor & ESC test fine but I noticed one of the 3 ESC connections was unplugged after the prang. Originally suspected it was caused by the impact but as everything tests OK I now suspect I knocked it loose when inserting the battery. It was connected OK to launch but failed within about 20 seconds after launch. Well thats my theory.
Fuse now stripped down for a bit of fibreglassing repair work.
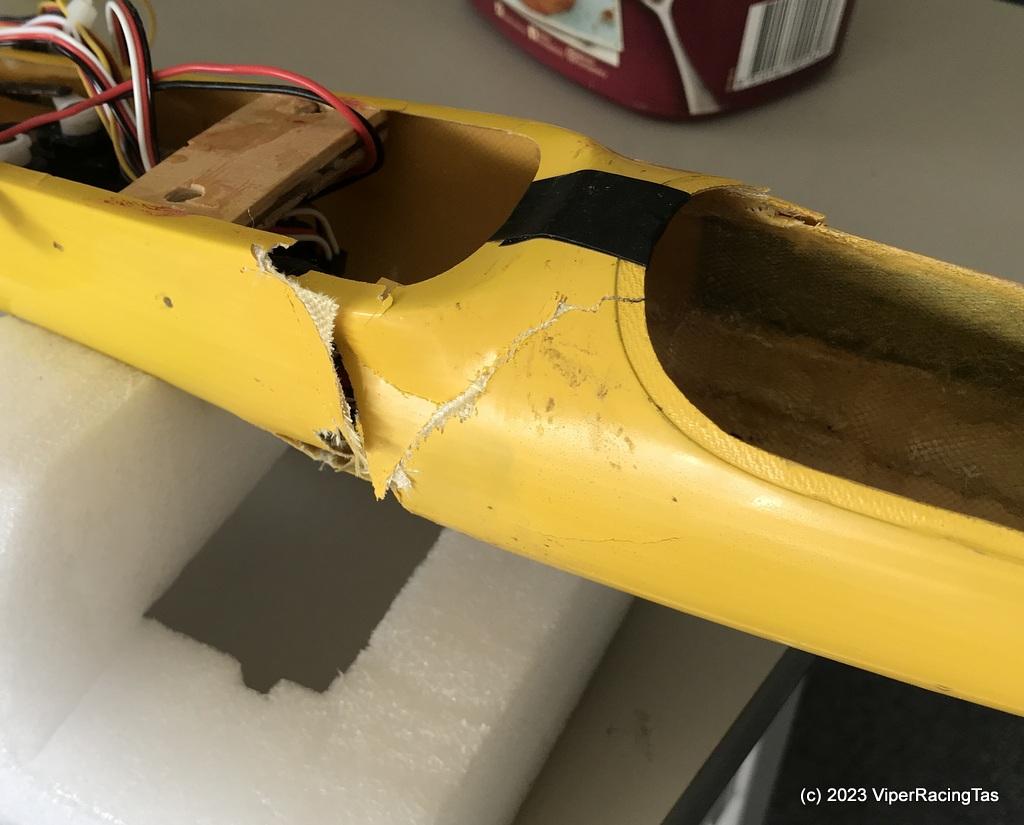
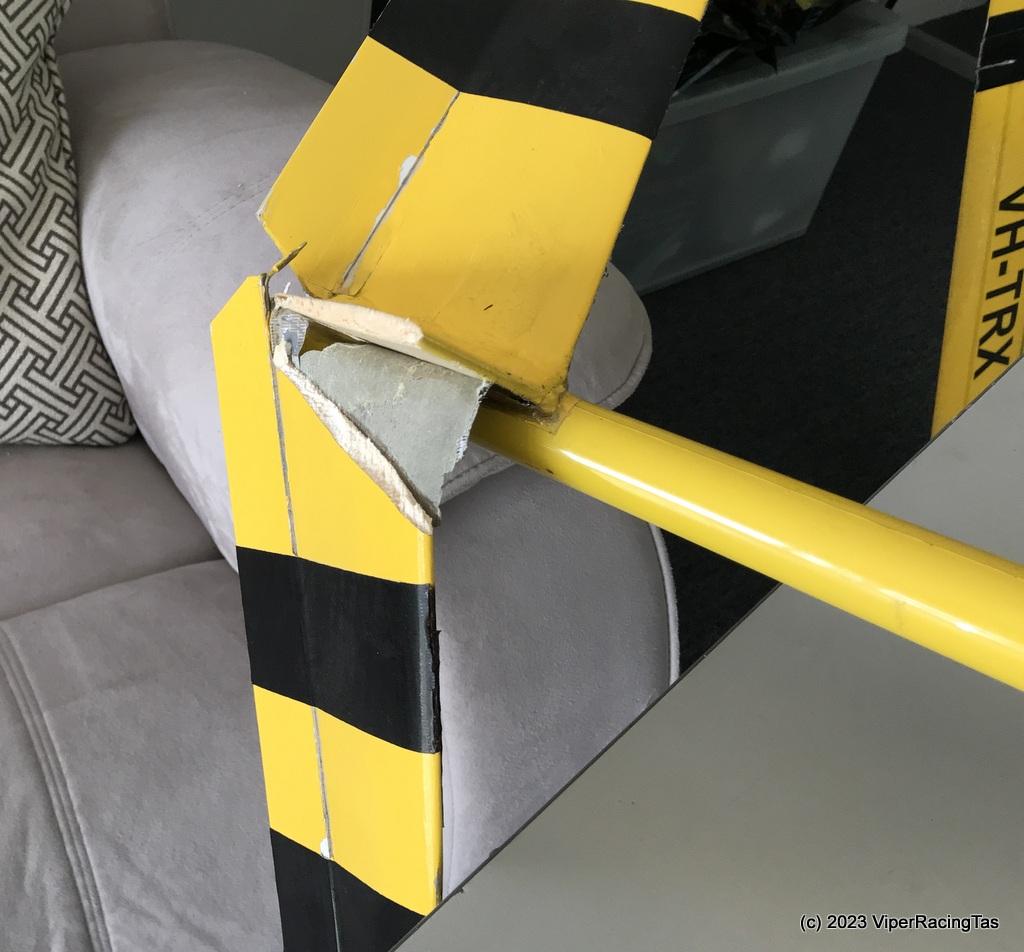
Also needs a minor repair on the V tail. I’ll do that first.
More to follow.
-
18 April 2023 at 16:24 #13671
Mike
Oh dear I know what you are going through. I’m still fixing my yellow graphite after the lipo fire.
-
18 April 2023 at 16:37 #13672
Well hopefully mine wont take quite so long.
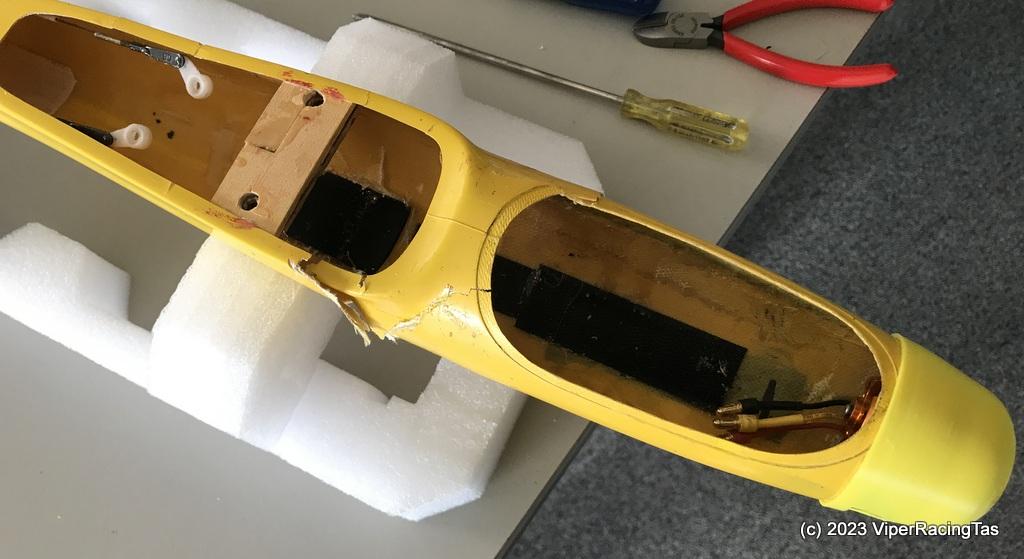
I got most of it epoxied back together today (with fibreglass mat reinforcing on the inside) so once it all cures over night I can start sanding the outside back into shape.
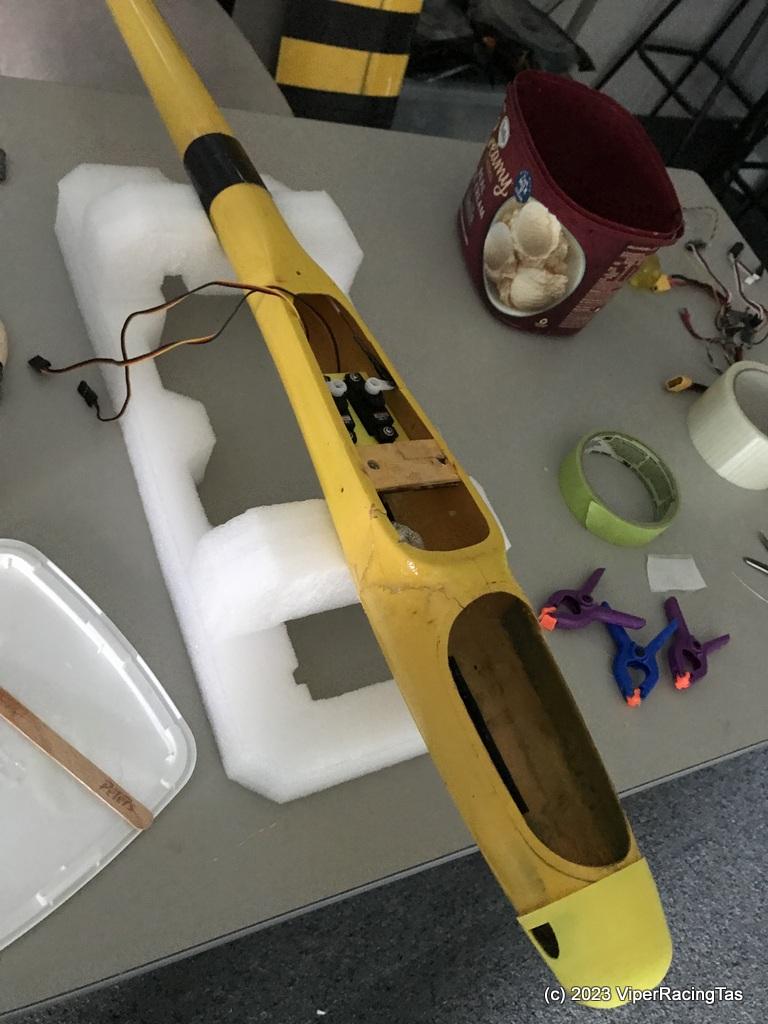
Also got a 3D printed servo tray designed & printed to replace the old heavy plywood one.

With a bit of luck the old BumbleBee could well be back in the air this Friday (maybe)
-
-
27 April 2023 at 18:56 #13726
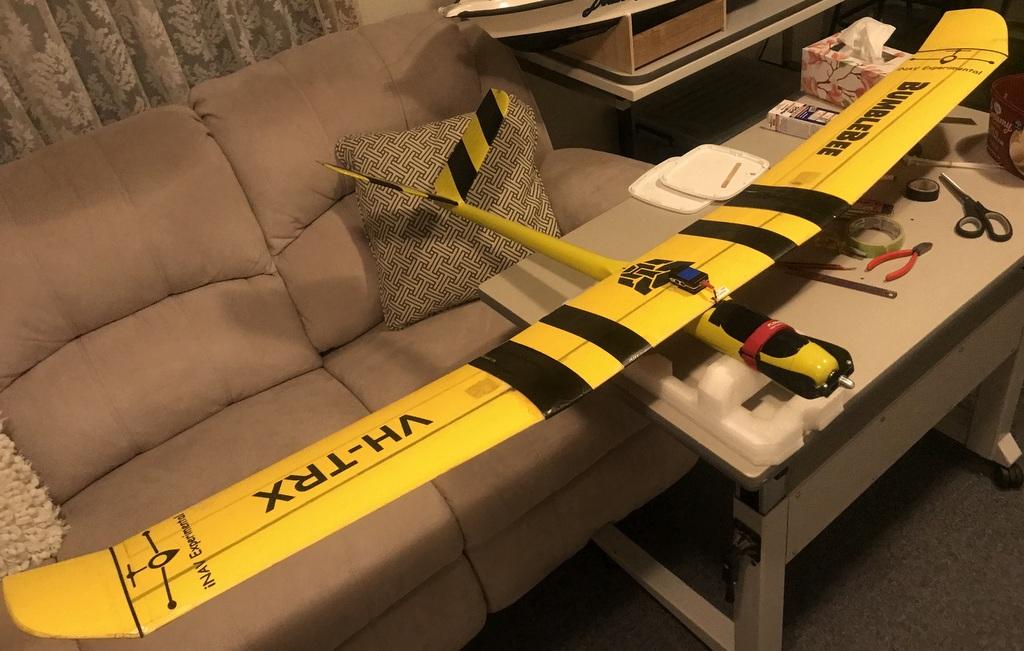
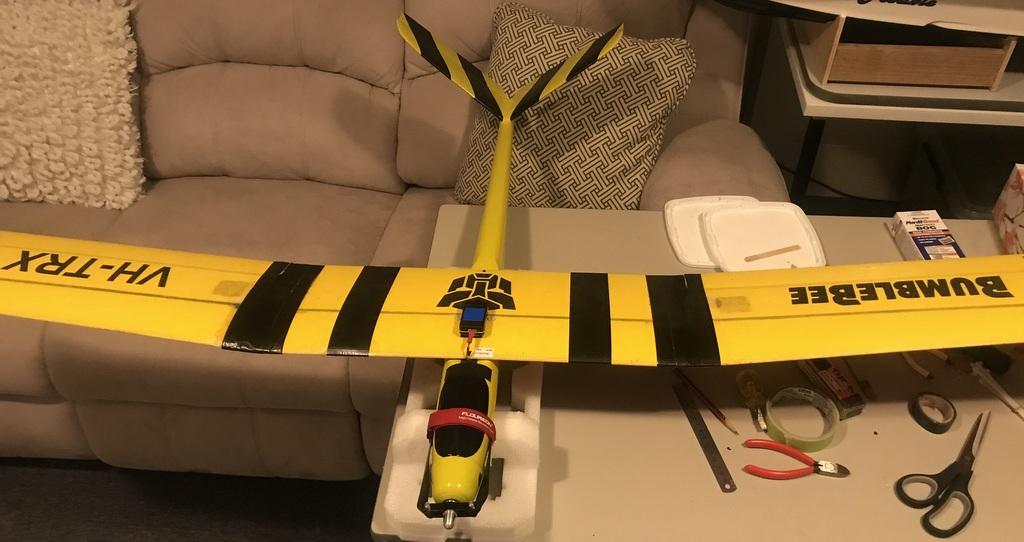
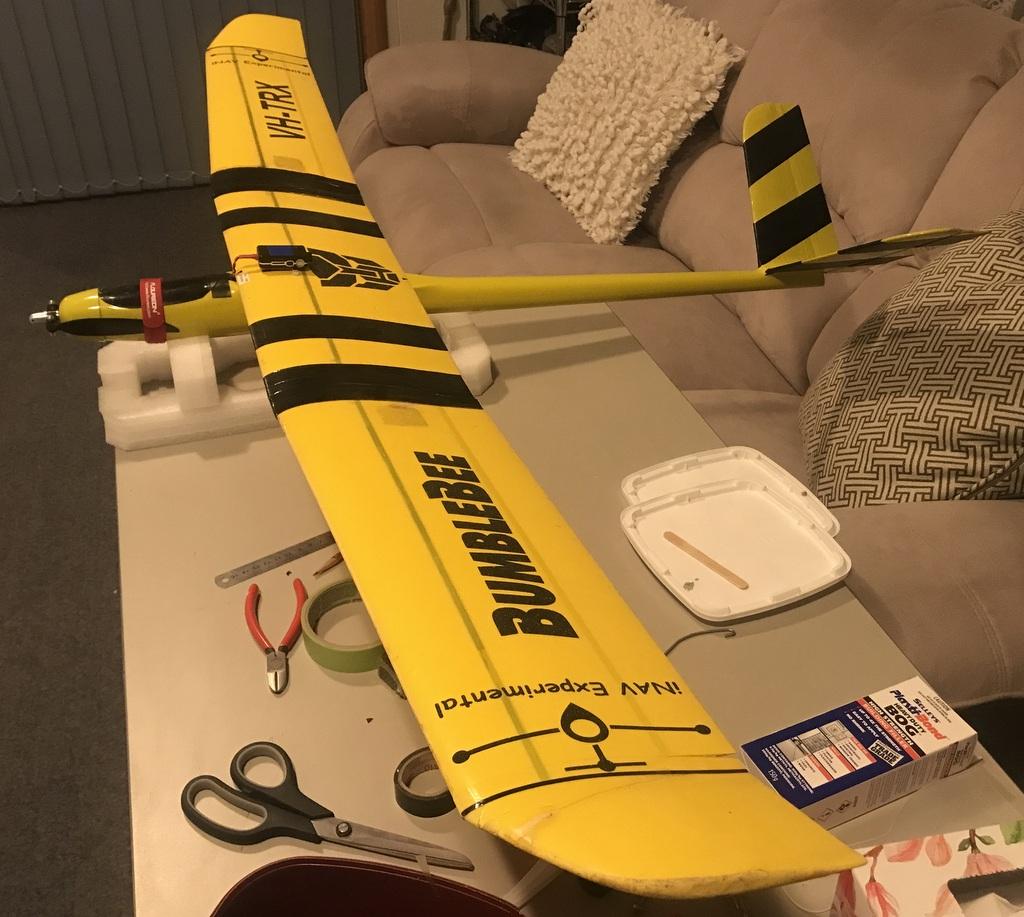
Well, after considerably longer than I anticipated the BumbleBee is finally repaired, back together & ready to fly again. When checking all the reinstalled electronics I noticed a bit of a vibration in the motor so the only thing left to do (hopefully) is re balance the prop.
It looks a little different as I have changed the stripes on the V tail and the fuselage yellow doesn’t quite match the wings. If it flies OK and the colour difference shows up too much I’ll get a can of Tamiya yellow spray as this matches perfectly (just costs 3 times as much for 1/3 of the amount).
-
29 April 2023 at 14:34 #13742
Now that the BumbleBee is all repaired it’s time to start on the AR Wing.
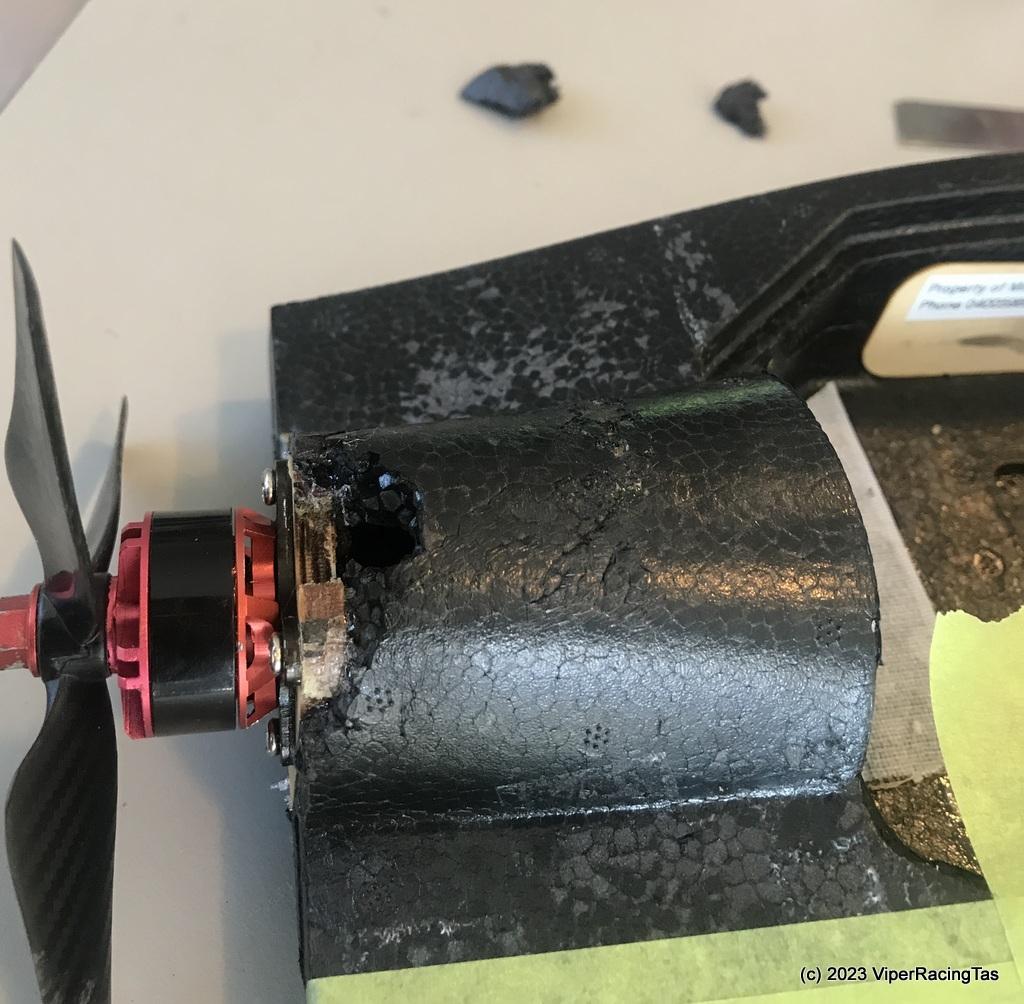
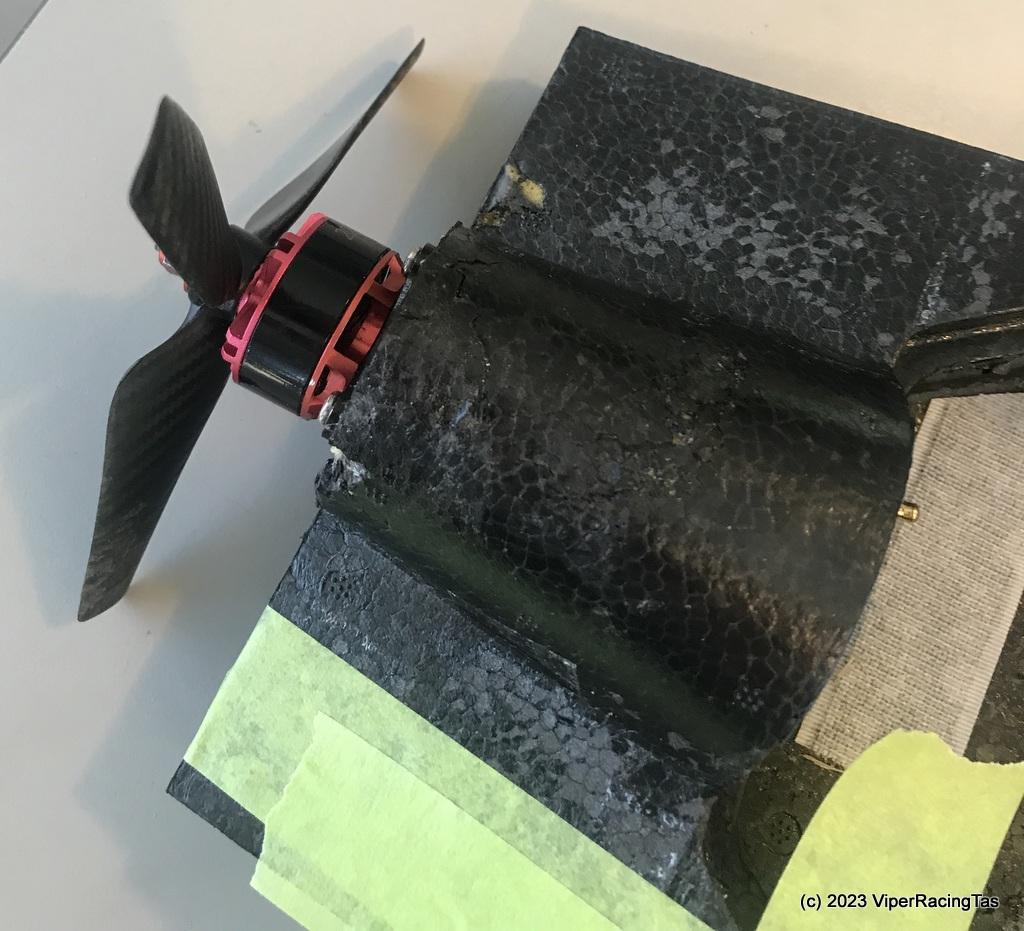
First off was to repair the motor as it was missing one of it’s power leads. This was a bit easier than I thought as the fly lead had simply pulled off the solder joint to the motor windings (this was the only bit I didn’t find after the crash) so a simple job of replacing the missing lead, soldering it back on & heatshrinking the joint.
Tested once complete and the motor & ESC are all OK. The GPS was also missing a lead but that had simply pulled from the connecting plug so another easy fix. The Matek F411 WSE flight controller appears undamaged (apart from a couple of bent connector pins) so with all the electronics now checked it’s time to try and glue the body back together.
After removing the two wings (screw held) they were both a fairly easy fix in that one needed the fin complete glued on and the other 1/2 the fin. Easy as the rest of the wings are virtually undamaged.
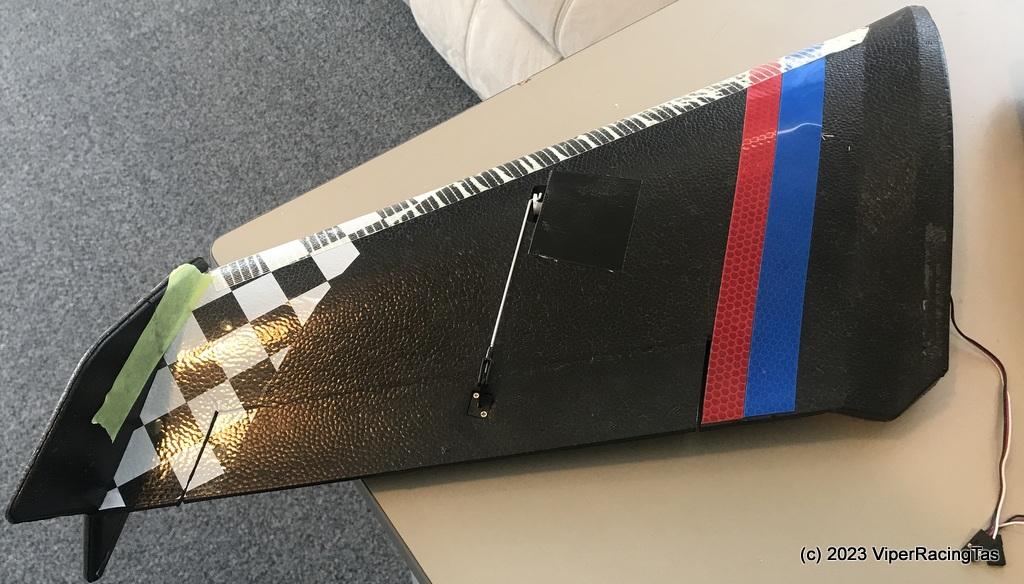
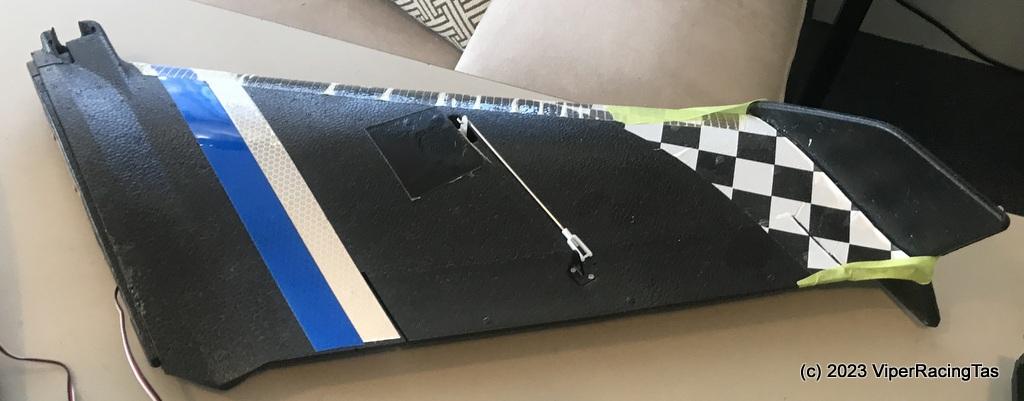
The main body section was another matter, it was broken into around 8 main pieces and several smaller bits. .
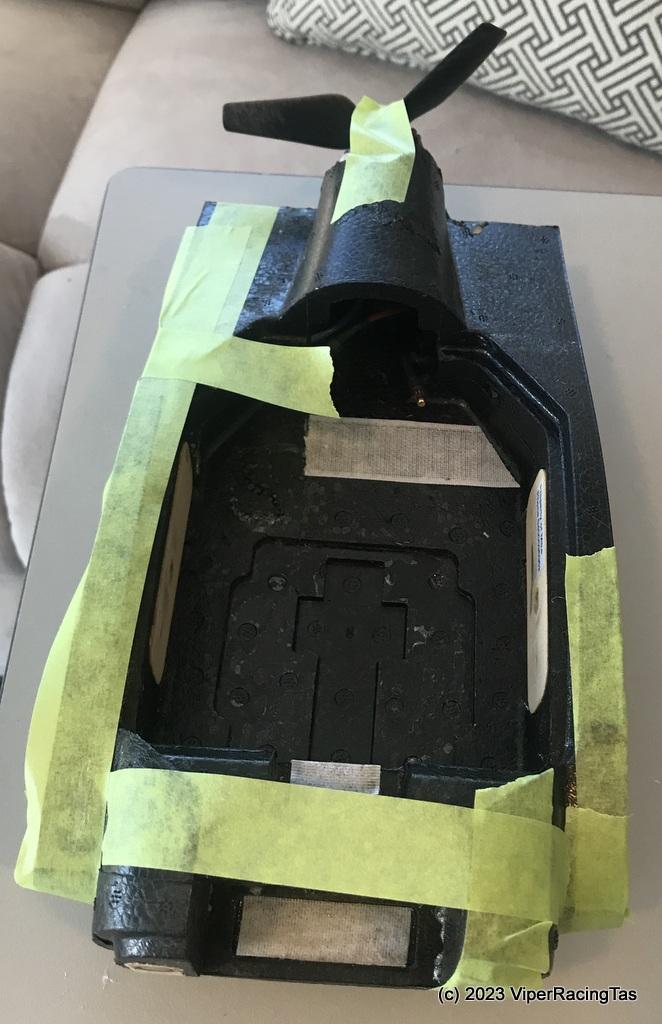
Even the top hatch was in 3 pieces. Just as well I picked up all the bits I could find at the crash site as luckily it seems that I have all the jigsaw pieces & it is all slowly going back together.

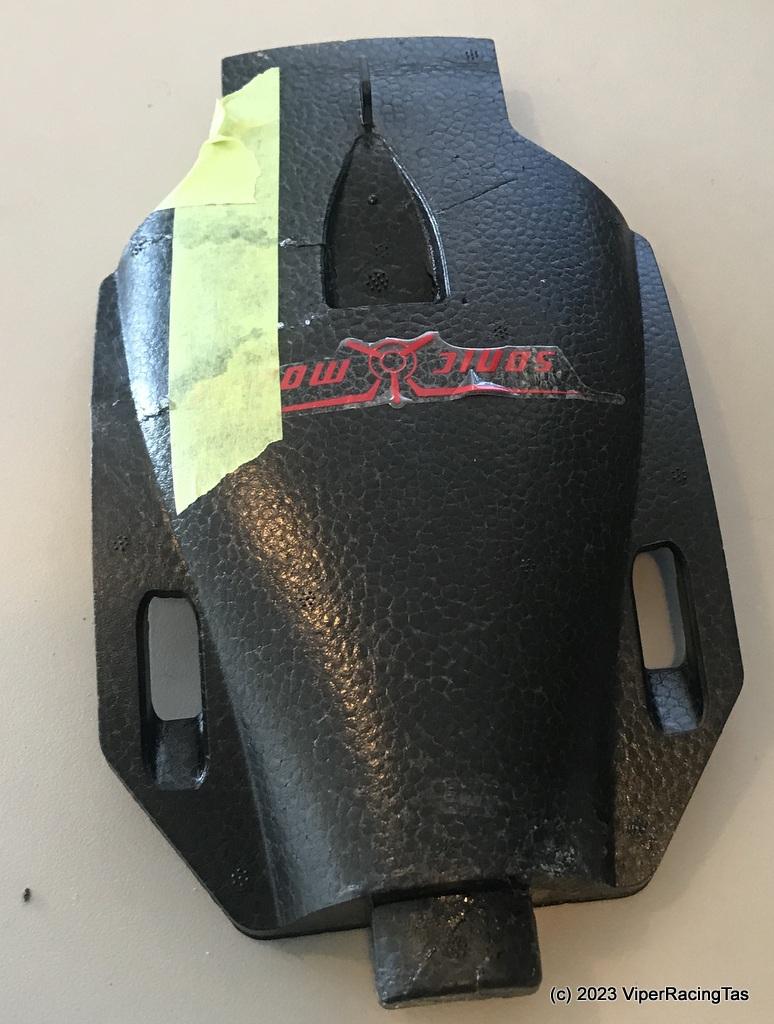
Now just to give it some time for all the contact adhesive to dry completely and then re assembly can start.
-
-
AuthorPosts
- You must be logged in to reply to this topic.