› RC AIRCRAFT › BUILDS › 3D Printing RC Planes › Predators 3D printed Mini Cub
Tagged: 3D Printing Planes
- This topic has 30 replies, 6 voices, and was last updated August 14, 2024 at 1:55 pm by
 Predator.
-
AuthorPosts
-
-
25 May 2023 at 19:05 #13896
Given that Gerald “Sinker” has already printed a Cub & is working on an Albatross & Ron “Gadget” has printed a Zero and is working on another (cant remember what) I thought it about time I also got on the bandwagon of 3D printing RC planes.
Hopefully they will eventually post their builds here for all to see as they will be easier to find than embedded in our flying forum reports.
My first foray into this area is also to print & build a mini Cub (as the plans are free on 3Dlabprint) but ultimately I will purchase the Corsair files & build that.
Ordered a roll of LW PLA (lightweight PLA) from Cubic Technologies last Sunday and it arrived today so straight into the lightweight parts printing.
I have been playing around for a couple of days printing the TPU-Flex parts (tyres) along with the PetG parts (landing gear, wheels, motor mount,wing mounts etc) and the normal PLA+ parts (dummy motor, canopy lock etc) as I had these filaments in stock.
The first LW PLA part has just come off the printer (centre wing section) and it looks fine.
I’ll put some pics up tomorrow.
-
26 May 2023 at 10:38 #13900
pictures pictures
-
26 May 2023 at 11:33 #13901
Seek and yea shall receive Mr Kermit Sir!!
To start off, this is what happens when the print come unstuck from the build plate (and you forget to check it regularly). This was going to be the tail section.
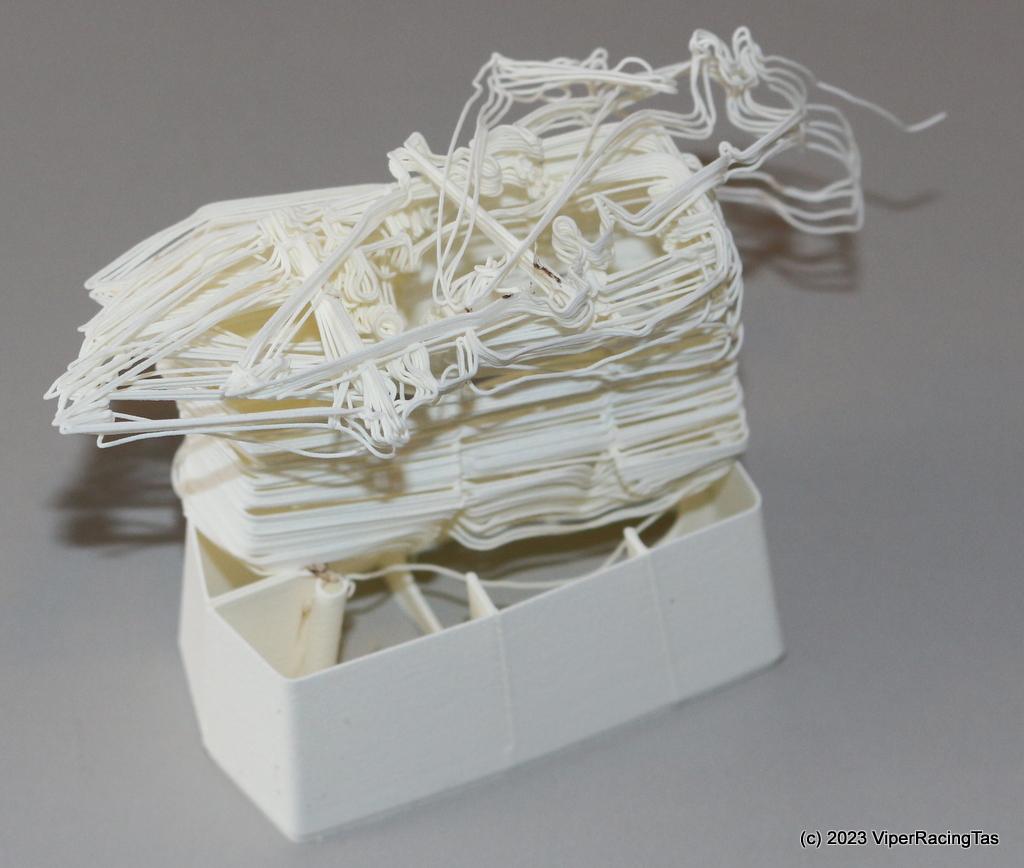
It’s only happened once so far & I have taken onboard some great advice from Gerald to force feed the filament for a few seconds when starting a print with LW PLA. As it’s a foaming filament it tends to ooze from the print head before it starts the print & then doesn’t stick well. A quick force feed seems to fix the problem. I suppose another option is to edit the print GCode but force feeding is easier.
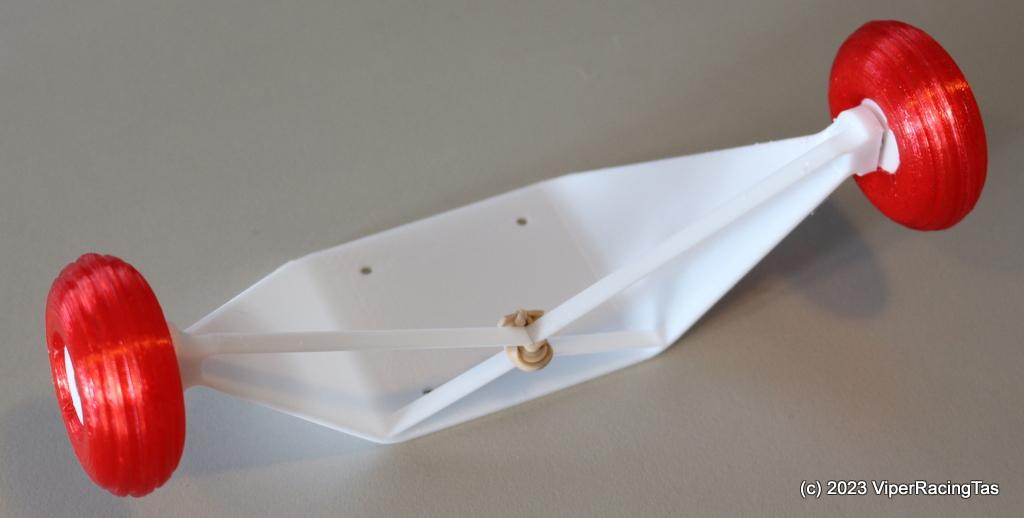
This is where I started the mini Cub project while waiting for the LW PLA order to arrive. This is the complete landing gear printed in PETG (for strength) with TPU Flex printed tyres & stainless capscrews for axles.
The whole assembly weighs in at 44.2 grams which is correct weight according to the instructions (once you deduct 2 grams for the SS wheel bolts & nuts).
The rubber band is the shock absorber that allows the assembly to flex on a hard landing.
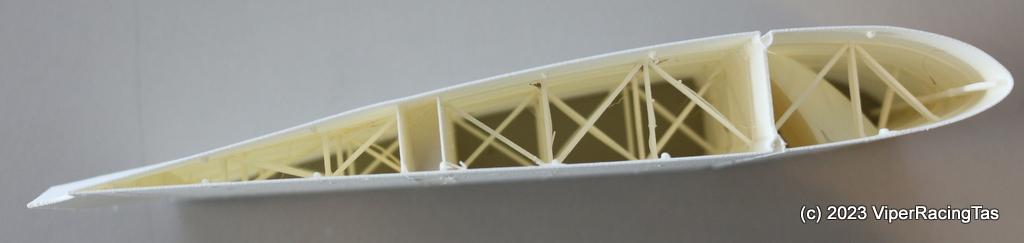
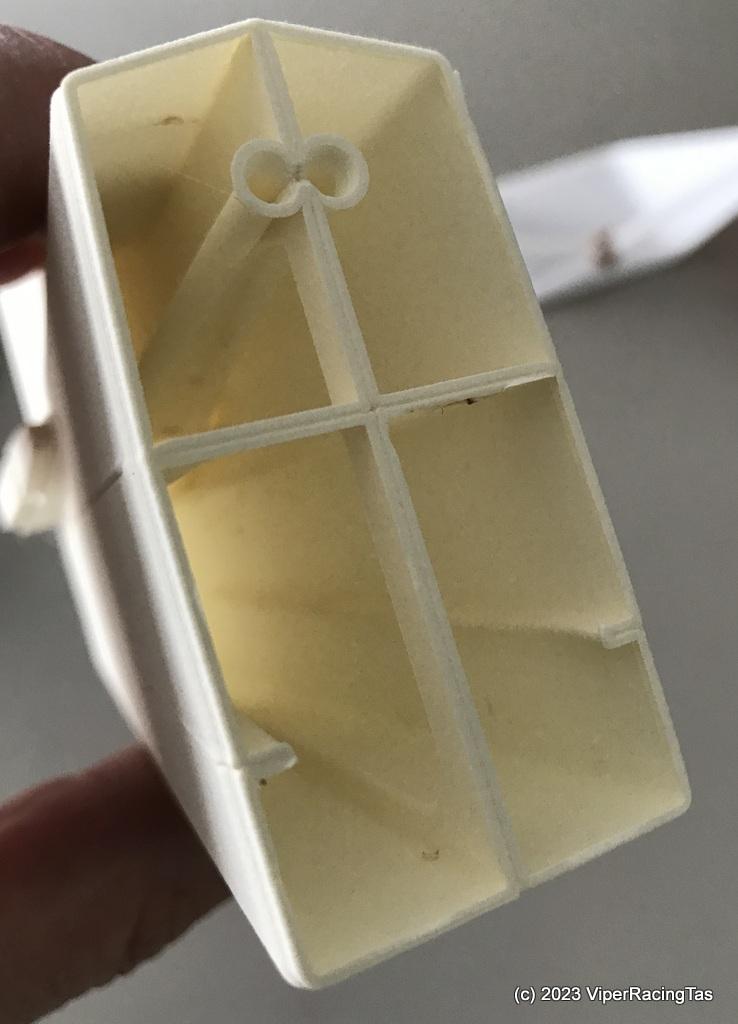
This was my first LW PLA print. It is the centre section of the main wing with the second pic showing all the internal bracing. It weighs in at 9 grams which is 3 gm lighter than the original.
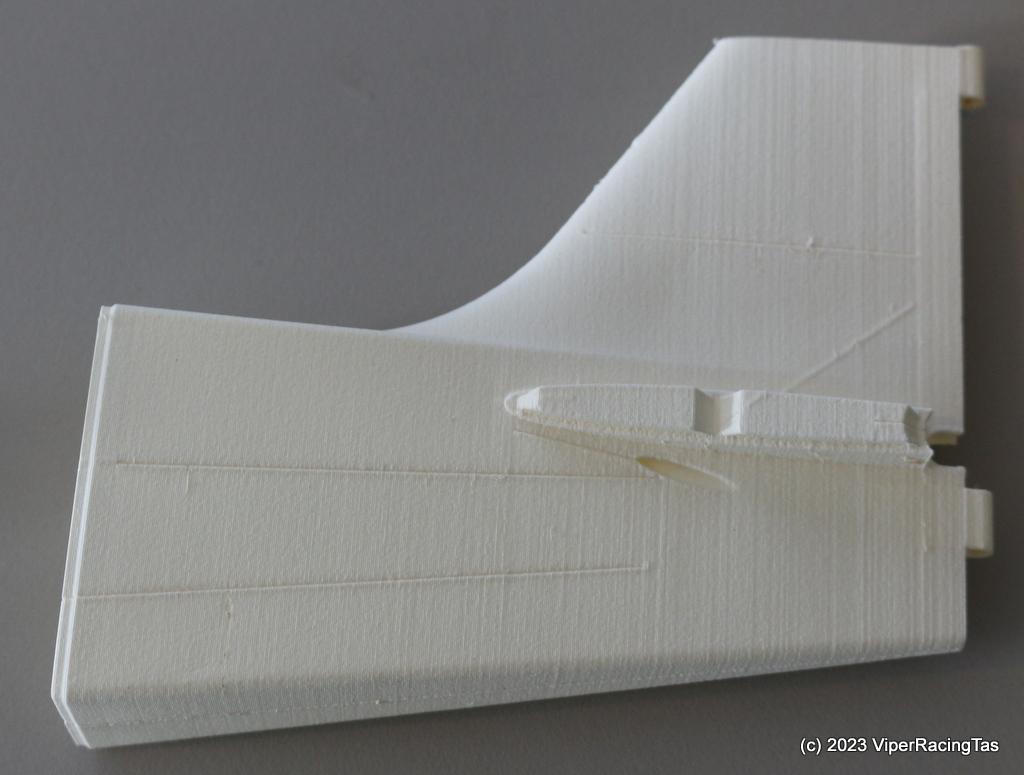
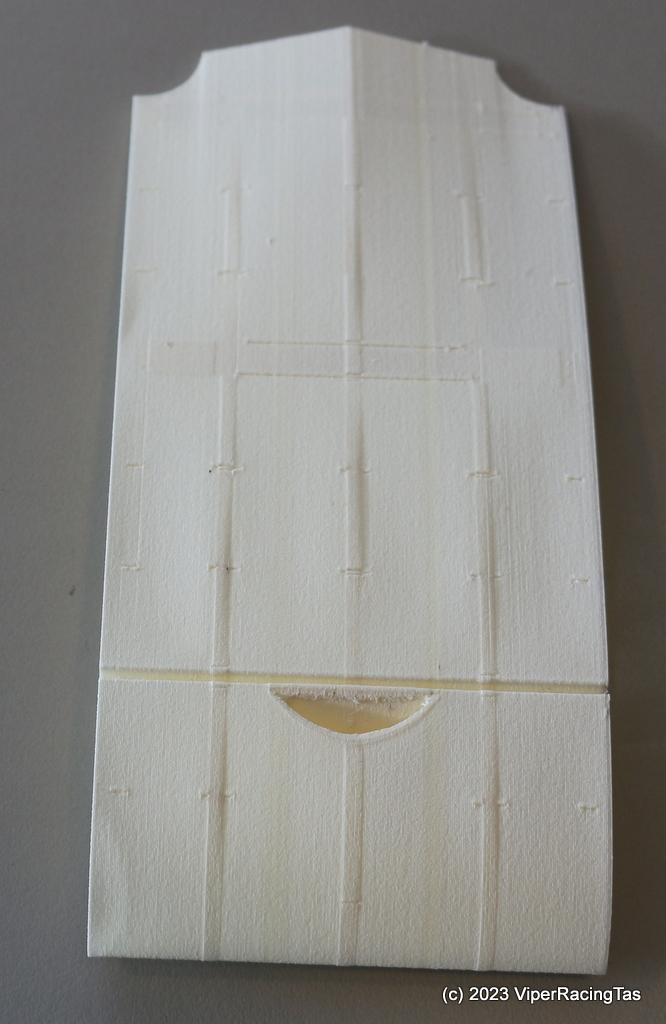
This is the fuselage tail section showing the recessed joining lip & the internal tubes for the elevator & rudder control wires.
This piece weighs in at 8 grams which is about 2 gm lighter than the original.

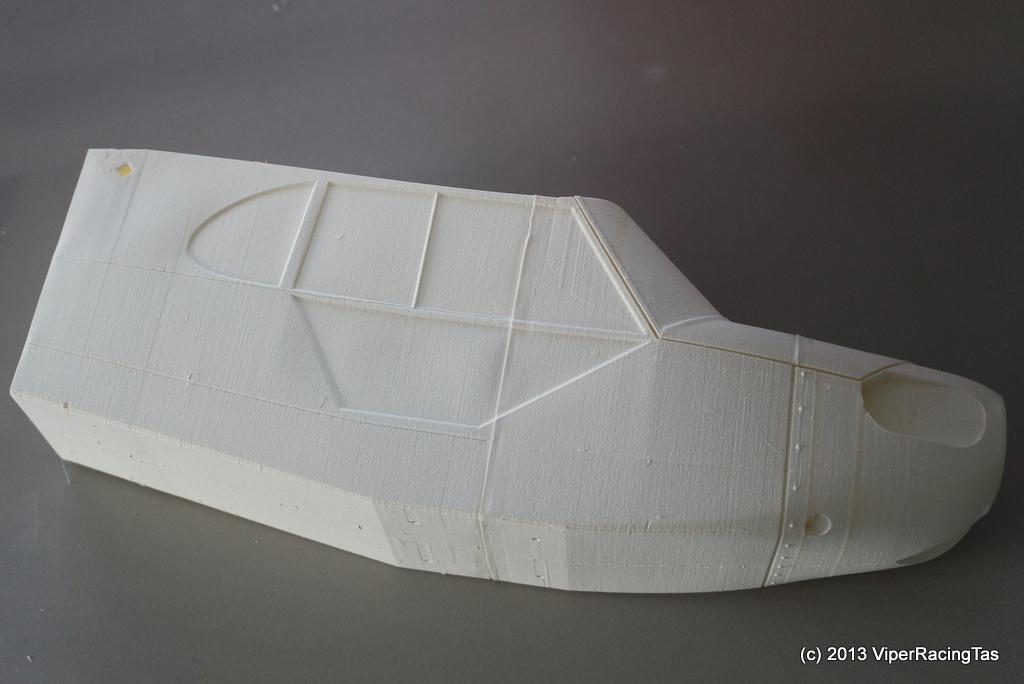
This is the start of the fuselage front section (complete fuselage prints in 4 parts) and this part alone is a 4 hour print (I think the longest of any part on the mini Cub) and will weigh in around 26 grams when complete.
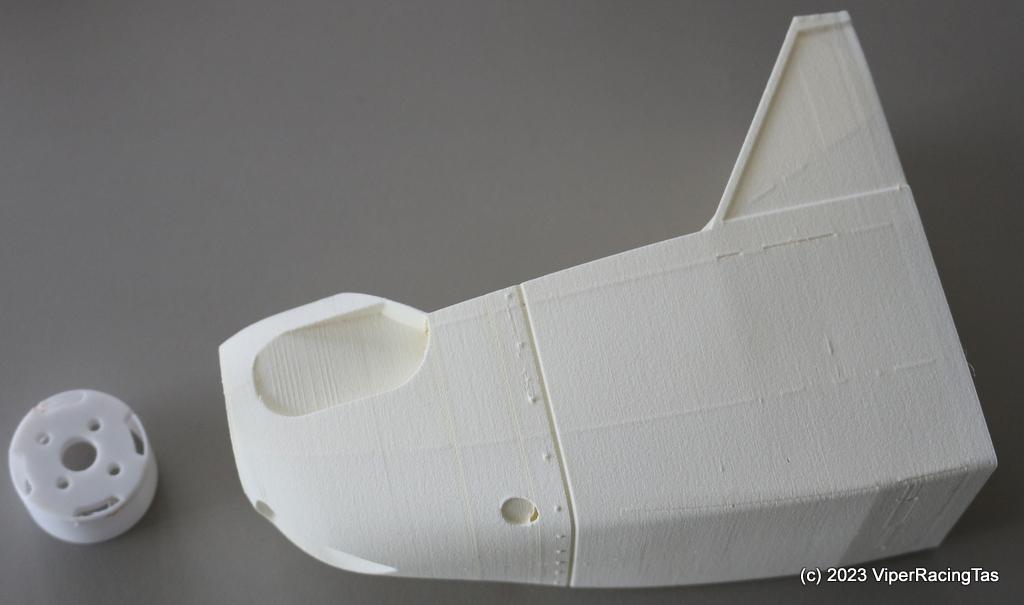
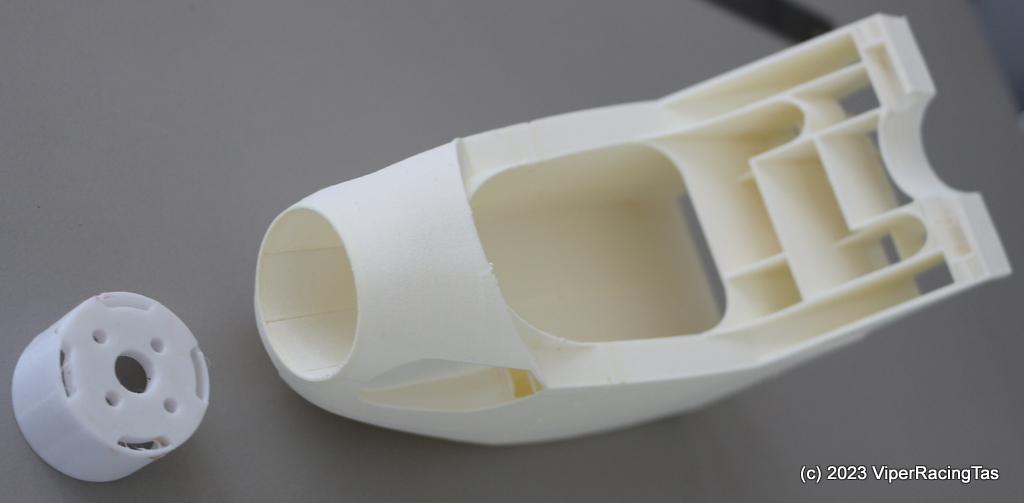
Nose section print has finished @ just over 4 hours & weighs in at 20 grams so it looks like the eSun LW PLA prints lighter that the filament supplied by 3Dlabprint.
Front part is the PETG Motor mount.
More to follow eventually.
-
26 May 2023 at 14:08 #13904
Thanks for putting pics up,interesting
-
26 May 2023 at 14:19 #13905
Your printer is working very well Mike with very little stringing internally.
-
26 May 2023 at 14:24 #13906
Yes Ron, the prints need very little cleanup after printing. There are one or two spots (like in the rear of the dummy engine mount recess) that look to be a bit too thin but I’ll boost them with some CA and kicker when it arrives, other than that so far so good.
-
-
26 May 2023 at 17:28 #13909
YOU FELLAS ARE GUNNA kill the rc aircraft industry ya know what’s gunna happen next dun ya ……….tax man yep gunna cost ya their probably watching this site right now figuring out to get a yus ………………………..just sayn
-
26 May 2023 at 19:39 #13910
Looking good Mike,
Ready for a maiden next week?
All my parts on the Cub and Albatros came out lighter than what the manuals said.
-
26 May 2023 at 19:48 #13911
Gerald, I wonder if the lighter parts is because we’re using a different filament to what they sell?
-
26 May 2023 at 19:53 #13912
Could be Ron, It’s not that much different but you could play with the temperature or extrusion rate.
-
-
26 May 2023 at 21:38 #13914
Mike, the Corsair is for normal PLA not lightweight like the Cessna I got.
Corsair – Weight of printed parts (w/o wheels): 3710 g, That’s almost four rolls of filament!
-
27 May 2023 at 09:14 #13915
Thanks Gerald, as you may have guessed I hadn’t really looked into the nitty gritty of the Corsair, just liked the look of it.
I’m guessing it WONT be my next build after all. I’ll find another LW PLA build that takes my fancy instead but only after the mini Cub is completed & flying.
-
-
27 May 2023 at 10:31 #13916
Starting to look like a plane now !!
Just printing the two parts for the canopy then it will be time to start on the wings.
-
27 May 2023 at 15:17 #13919
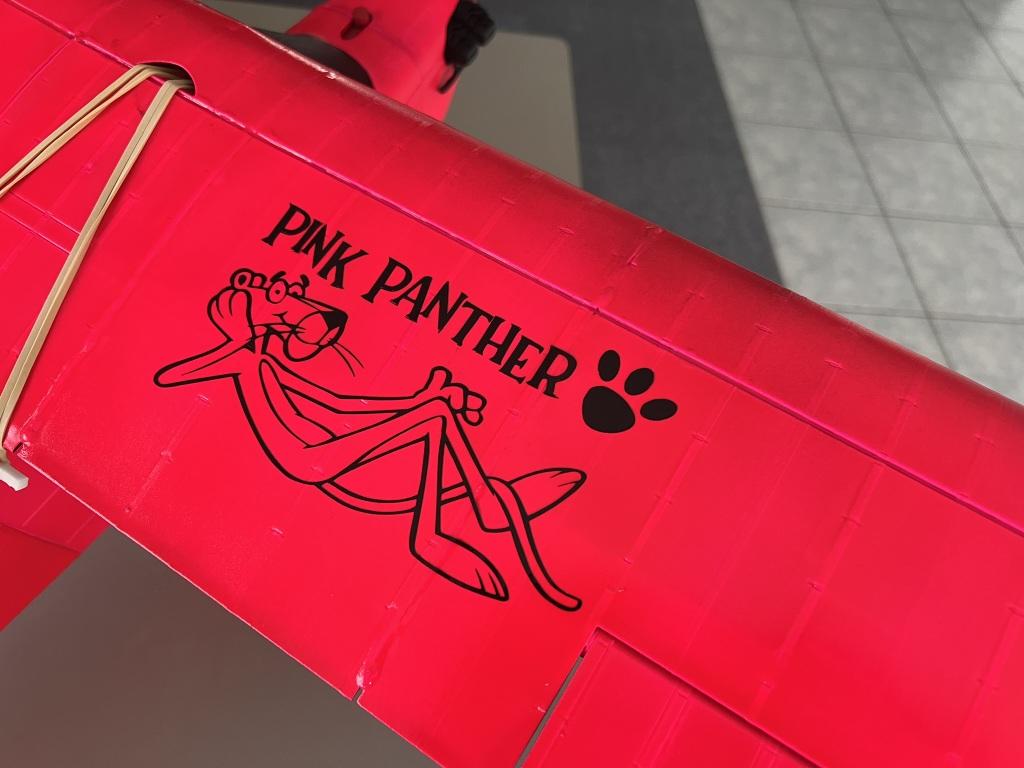
Even before I had started the mini Cub build I had pretty much decided that rather than a “Plain Jane” yellow Cub I would have a flouro pink version called the “Panther” Cub – “Pink Panther” that is !!.

Found just the right colour today & tested it on one of the two failed to print parts that I kept for just such an occasion.
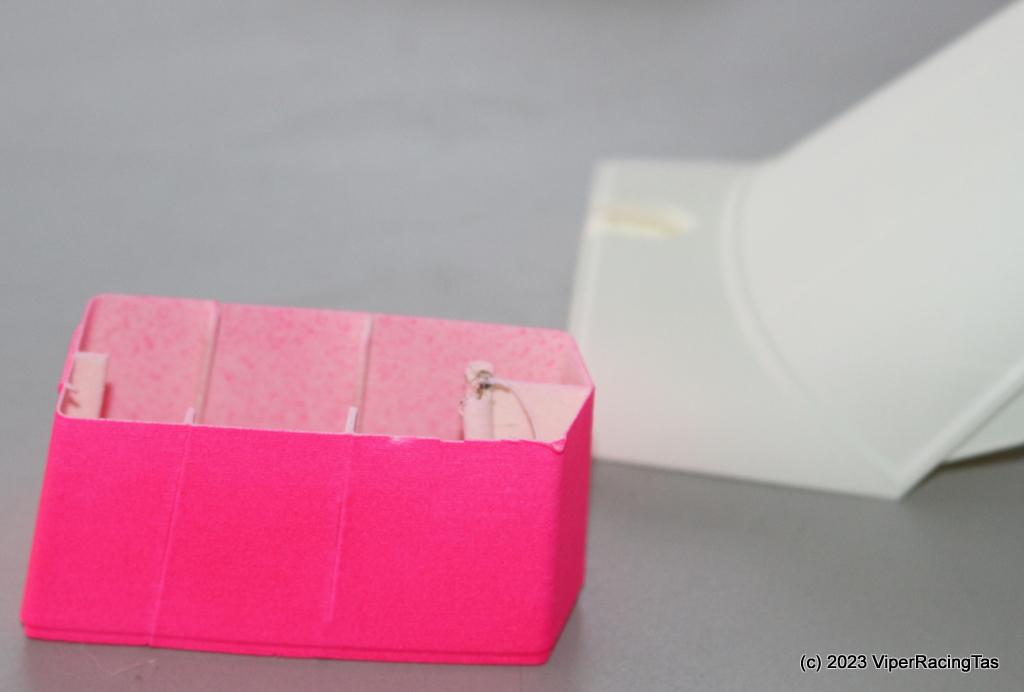
That’s only one coat so it covers well & seems to stick OK to the LW PLA.
The paint
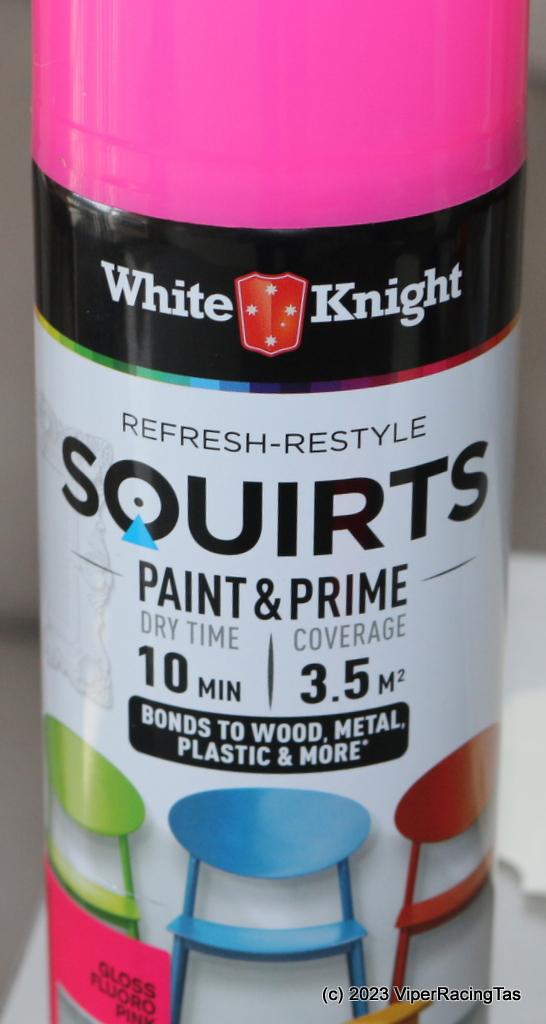
Anyway I’ll need to wait till the CA & kicker arrives and assemble most parts before painting so it’s back to printing.
Currently printing the Rudder (4 parts) then the rear wing & elevator and perhaps start on the main wings tomorrow.
-
27 May 2023 at 17:04 #13921
You can get ca and kicker from the fibreglass glass shop and also McCanns.
-
28 May 2023 at 10:42 #13925
Thanks Andrew, I’ll have a look Monday morning as my online order won’t be here till Thursday or Friday.
-
-
28 May 2023 at 10:51 #13927
Sunday morning update.
I started the print on Thursday so 2 1/2 days later everything is printed except for the main wing.
Closeup of the tail & rudder parts
I missed one PLA part, the main hatch locking lever, so printing that now then I’ll see if I can assemble the Tail & Rudder & the main hatch with the super glue I have here. It has a bit of a delay (10 seconds) before going off but if that causes assembly issues I’ll get some slow CA tomorrow.
Would be nice to get some bits together & painted before I start on the main wing.
-
28 May 2023 at 15:12 #13931
The Tail & Rudder are now assembled & temporarily fitted along with the completed hatch cover (apart from a bit of cosmetic tidy up).
2/3 of one main flap now printed & hopefully will get the remaining 5 bits printed today leaving only the main wing (8 pieces)
-
29 May 2023 at 15:03 #13938
I took Andrew’s advice & visited McCanns Hobby Shop today and got some medium CA & kicker (once you factor in postage cost it’s actually cheaper to buy local – I’ll know next time).
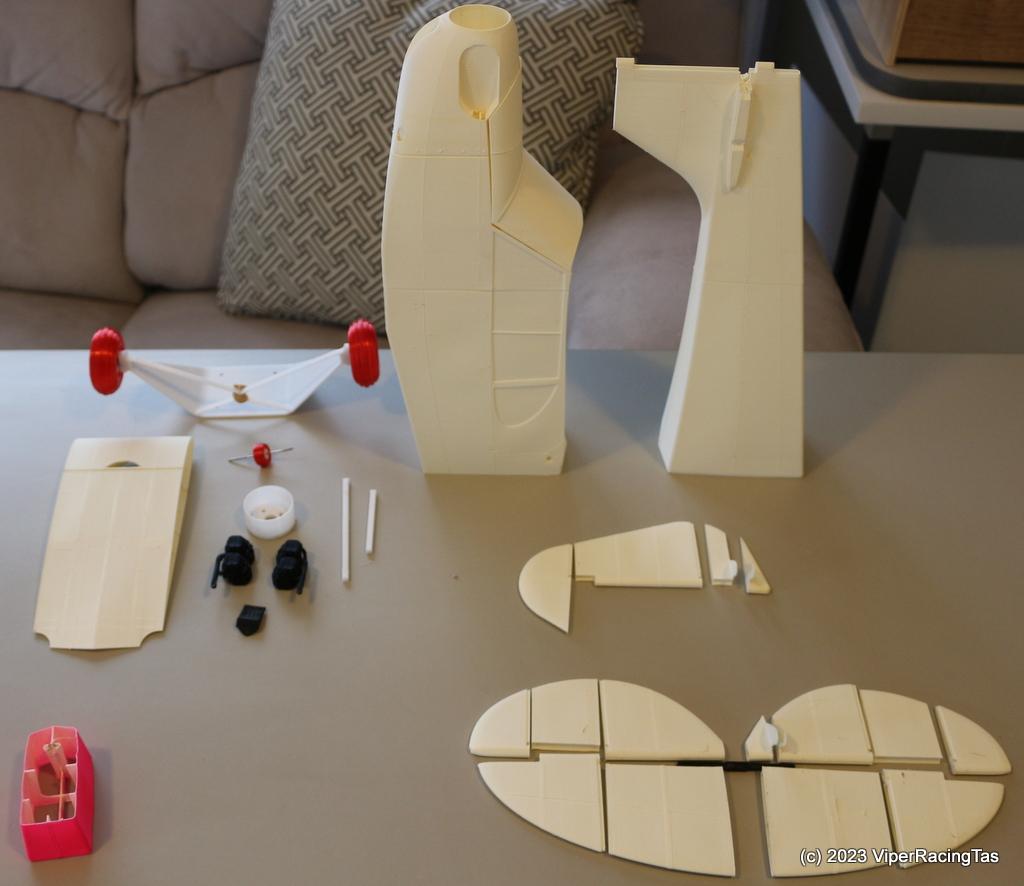
Finished assembling the fuselage & also the ailerons so while waiting for the wings to print I set up a Bixler 2 motor (down-propped from 8 x 6 to 8 x 4). It has a slightly higher KV than the specified motor but is slightly smaller and lighter as well. With the smaller prop WOT is only 14 amps so I fitted a 25A ESC (smallest one I had) and that is now all good to go.
Should have the wings completed tomorrow, then to paint it all & install the servo’s etc.
 Starting to look like a plane now !!
 -
31 May 2023 at 10:15 #13976
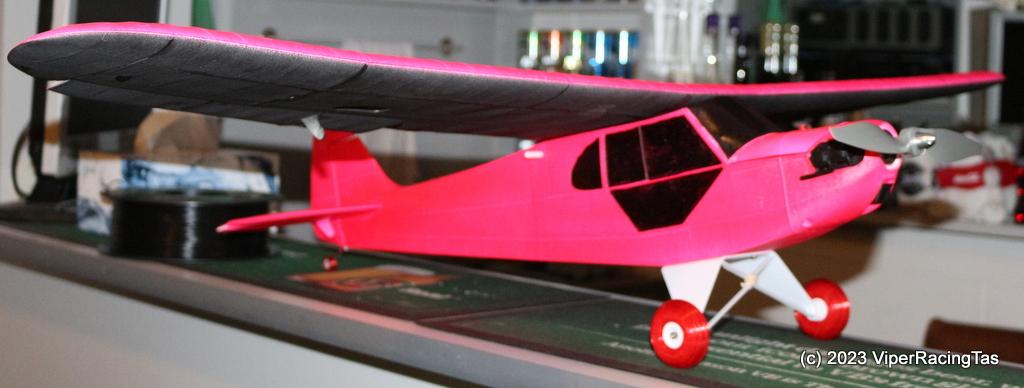
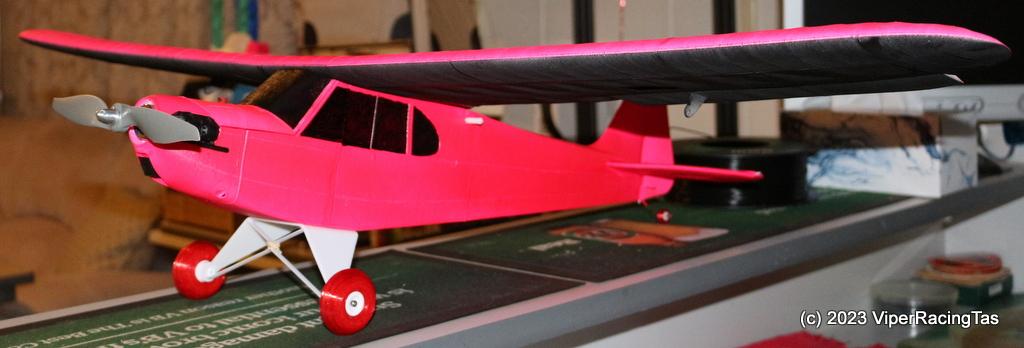
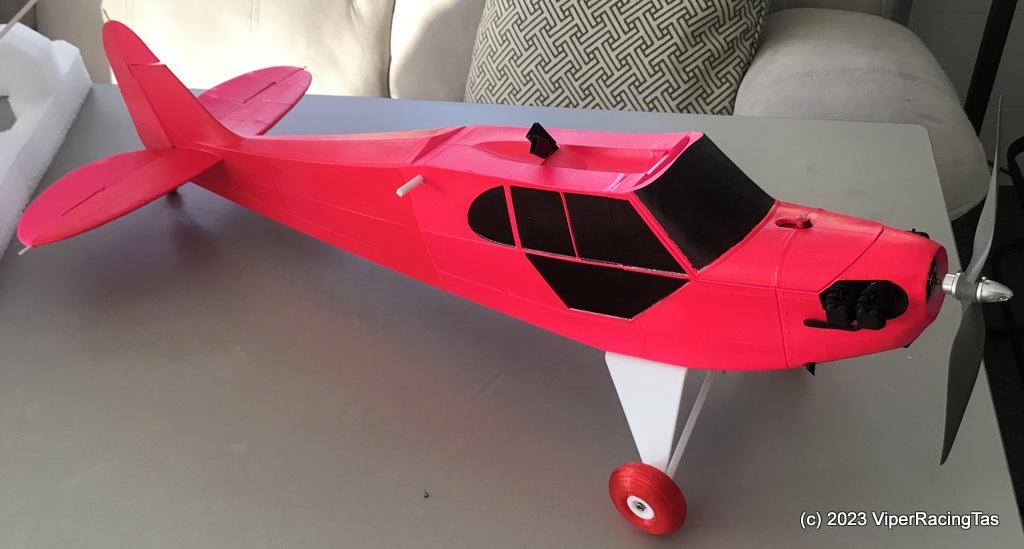
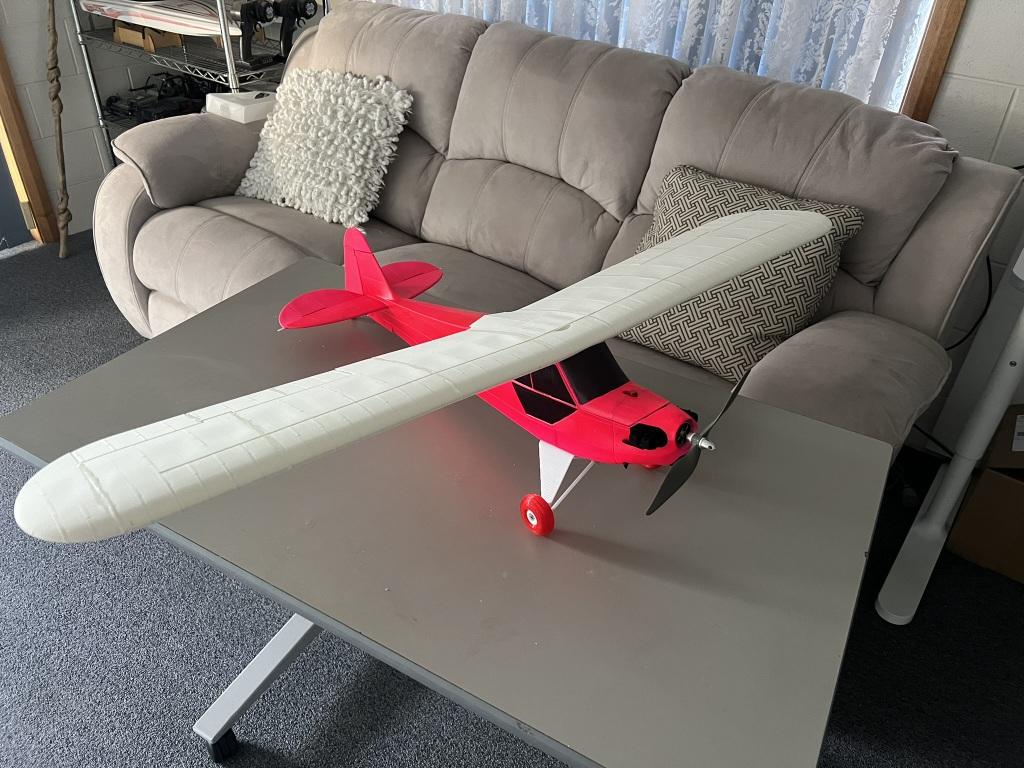
Well then, the build for the Piper Mini Cub “Pink Panther” is almost complete
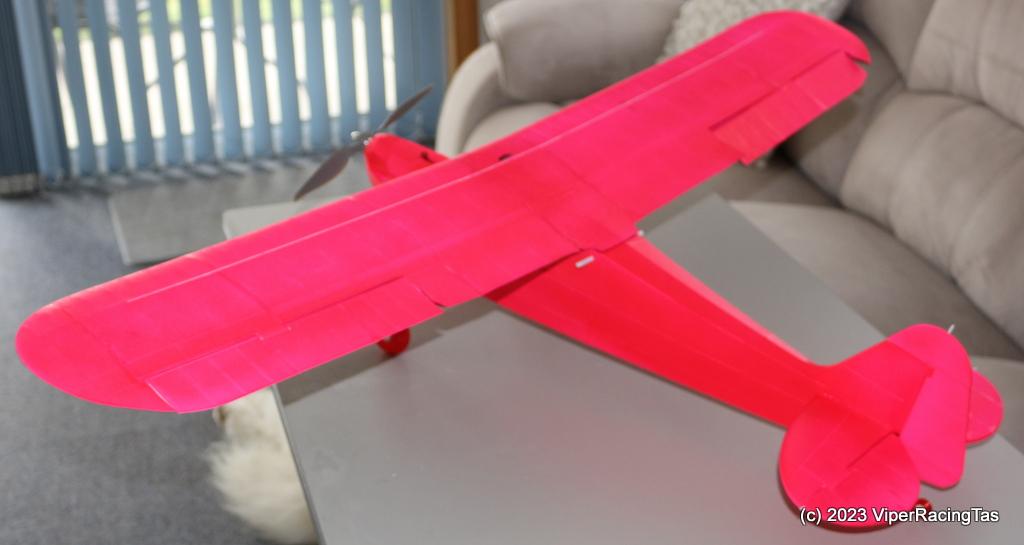
Just need to add the 4 x 9gm servos & the receiver + glue in the dummy motor, radiator & exhausts & she will be ready for her maiden.
Already started on the Eclipson Gö 1 Wolf 1935 vintage RC Glider
-
31 May 2023 at 10:50 #13977
Wow! You’re not going to lose that plane Mike!
-
31 May 2023 at 13:36 #13985
That’s bright! But where are the side windows?
-
1 June 2023 at 15:52 #14006
Still a work in progress, always little bits to finish off.
-
17 June 2023 at 16:01 #14132
As anyone that was either at our flying day last Wednesday or have viewed the day’s videos will know, I pushed Pink Panther way past its flight envelope and managed to snap one of the wings off.
This resulted in a heavy contact with Terra Firma and to add insult to injury the poor little pink thing ended up impaled on a fence picket that was laying on the ground. (see Kermits video from Wednesday).
The result
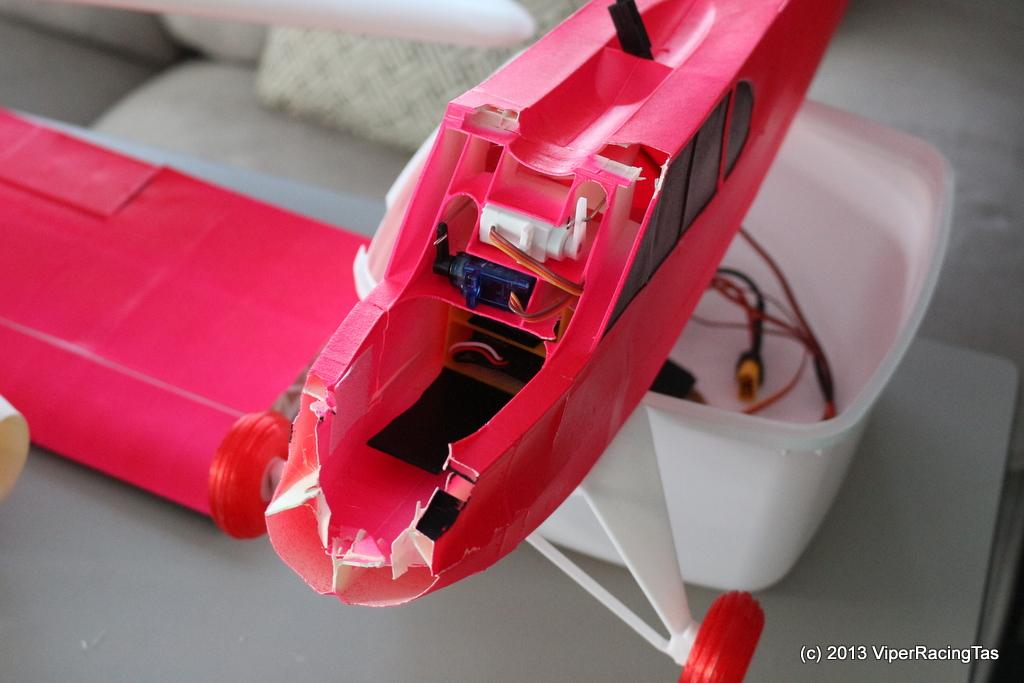
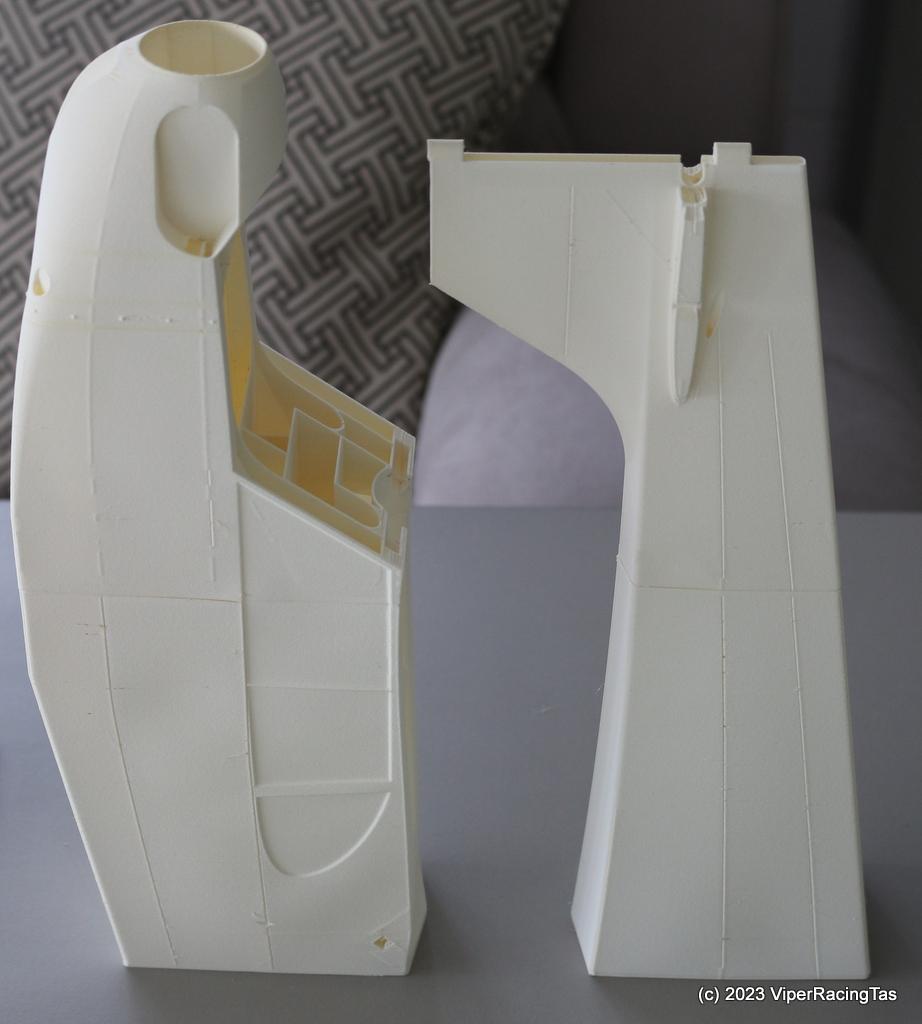
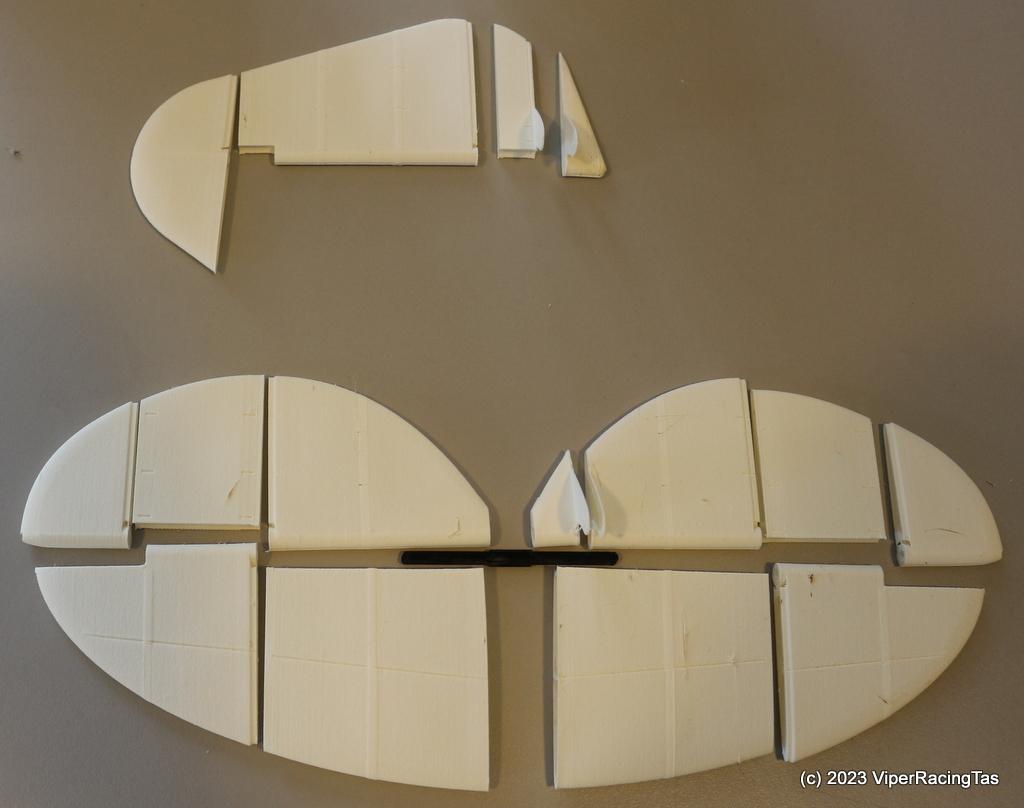
Given that it was almost impossible to just remove the damaged front module #1 due to internal fittings etc all glued together, I opted to reprint module #1 & #2 and cut the fuselage further back.
New module 1 & 2
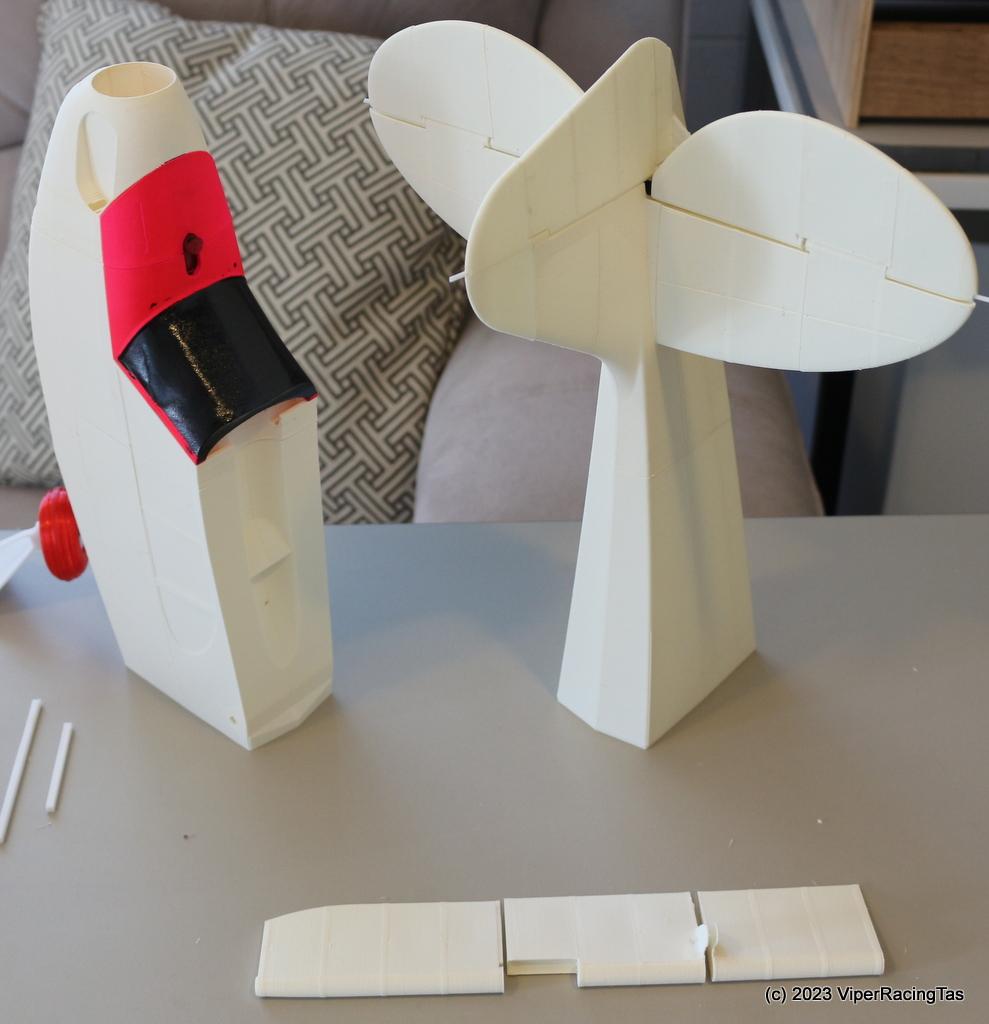
New front sections primed & glued into place

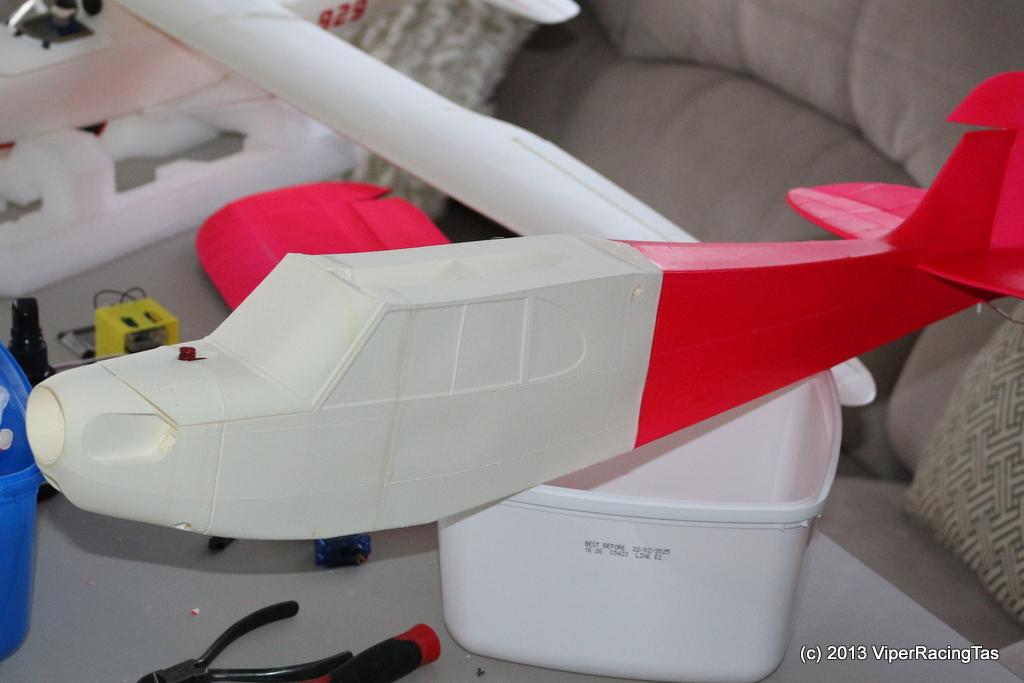
Now to repaint the front to match & reinstall the electrics and the fuselage repair is finished. Then time to reprint the damaged wing (5 sections + ailerons)
-
17 June 2023 at 16:19 #14133
Nice job Mike.
Who said 3D printed planes can’t be repaired? 🙂
-
17 June 2023 at 19:17 #14137
Yes Gadget, apart from the time printing the new bits the repairs are fairly easy to carry out, probably easier than foam or balsa.
-
-
17 June 2023 at 16:56 #14134
Easier than a balsa plane.
-
20 June 2023 at 14:35 #14147
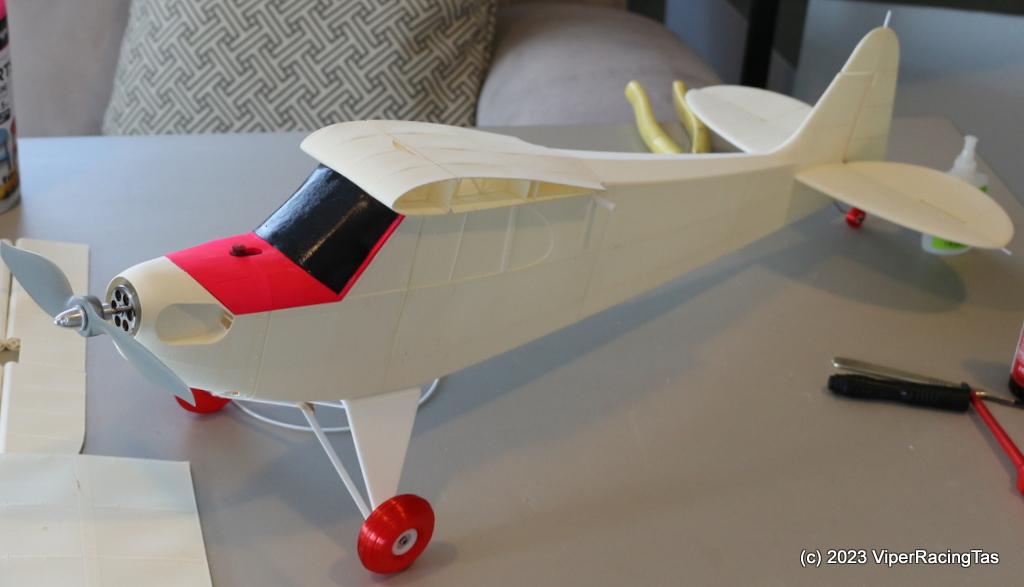
The repaired fuselage is completed & painted (even remembered the exhausts this time Gerald !!) and the electronics installed & tested.
Now all I need to do is print the new wing.
-
20 June 2023 at 14:52 #14149
You would never know it had been impaled.
-
-
20 June 2023 at 15:08 #14152
Top job Mike. It takes a bit of time but the end result is fantastic.
-
14 August 2024 at 13:55 #17385
Given that it’s over a year since I started to repair the Mini Cub (June 2023 till August 2024) I thought it about time to finish it (you know I can’t rush these things).
The first order of the day was to try & set up LW-PLA profiles for the recently acquired Bambu Lab X1C as I intend to sell the Artillery Sidewinder printer that the original was printed on.
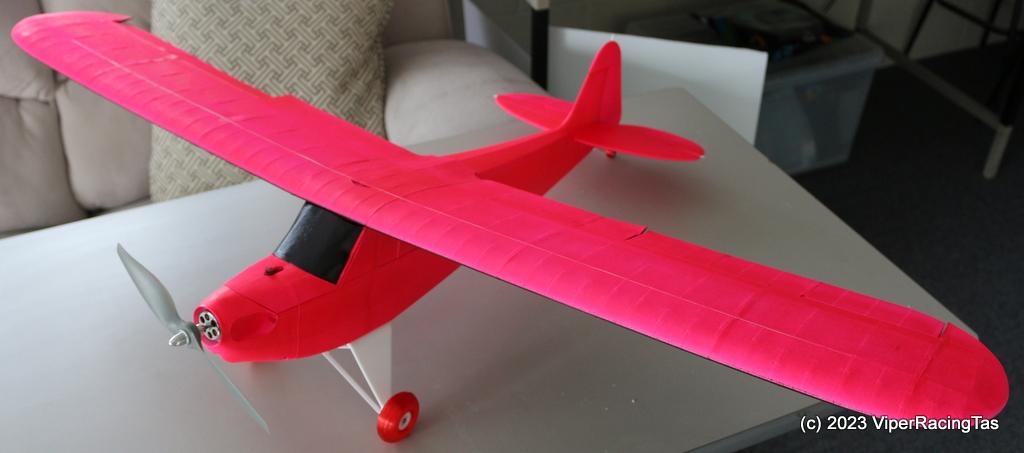
Anyway, after a couple of failed attempts I got everything working & printed a new main wing, to replace the original broken one.
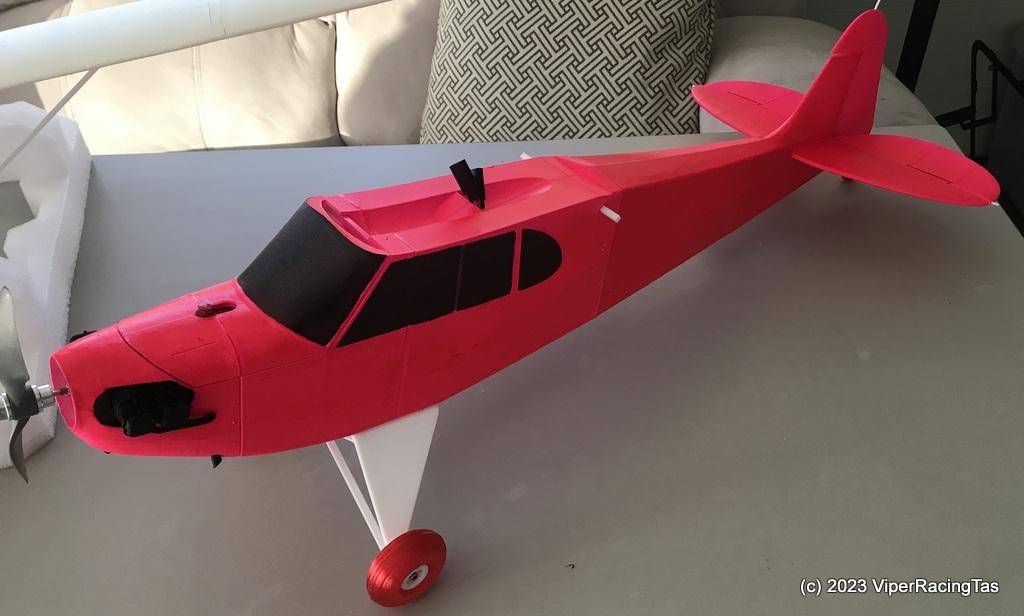
No real dramas with that, so onto the painting
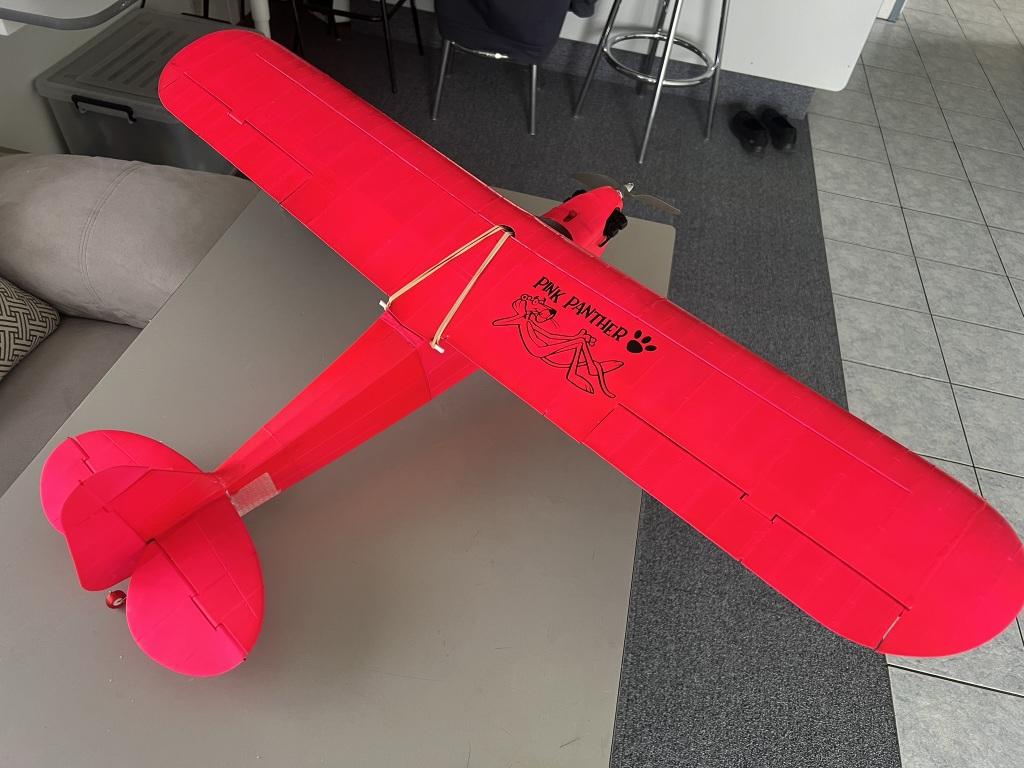
Even got round to printing & installing the correct Logo (before I prang this one).
Hopefully ready to take to the skies again tomorrow, 14 months (almost to the day) from when it last flew (and died).
-
-
AuthorPosts
- You must be logged in to reply to this topic.