› RC AIRCRAFT › BUILDS › 3D Printing RC Planes › Predators 3D printed Zero
Tagged: 3d printed Zero
- This topic has 20 replies, 6 voices, and was last updated October 20, 2025 at 4:48 pm by
 Predator.
-
AuthorPosts
-
-
9 October 2025 at 11:23 #19998
It’s been a while since my last 3D printed plane project & I have always been impressed with the way Ron’s 3D printed Zero (the white one) flies so I thought that a Zero should be my next project.
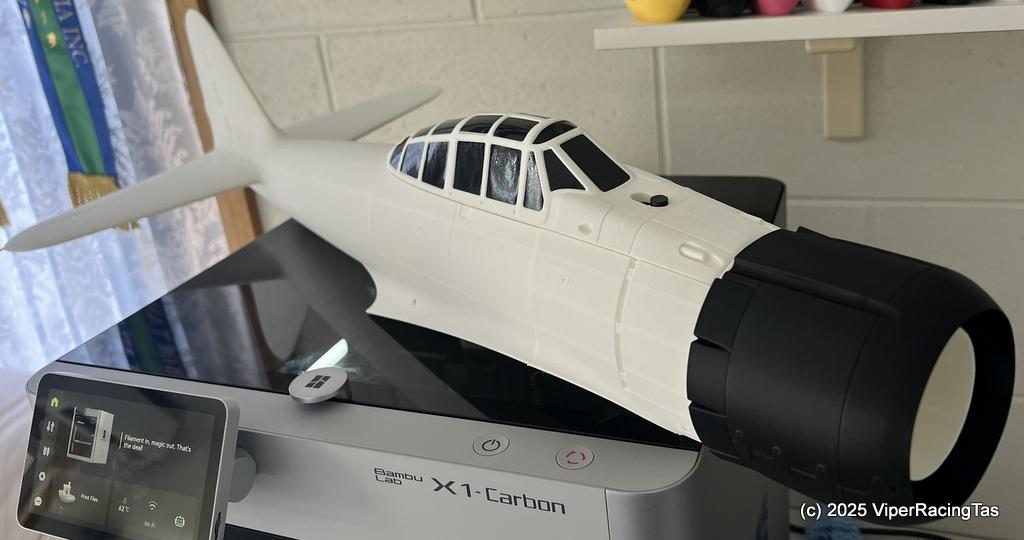
I had previously purchased some Bambu Aero (LW PLA) filament but not got around to using it so the first order of the day was getting set up and tested the correct profile for printing this filament.
Once that was sorted the printing went off pretty much without a hitch.
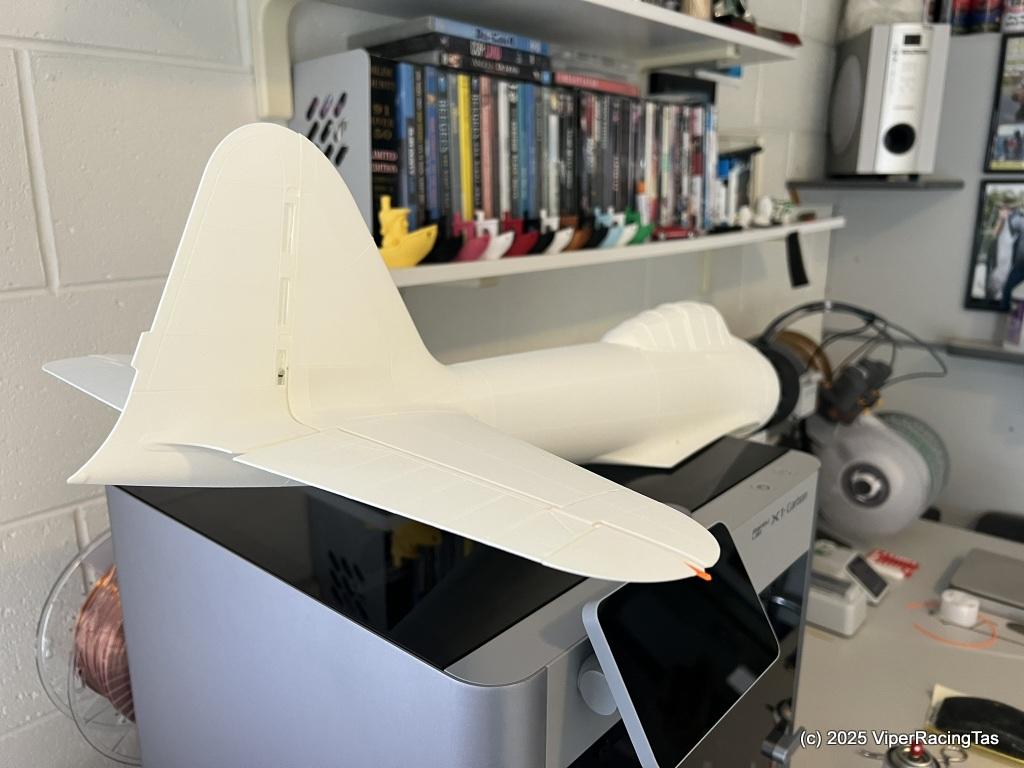
I used the Bambu X1C for all the LW PLA & PetG (engine mount) parts & the Bambu A1 mini for the standard PLA bits (only hatch lock, elevator connector pin & engine cowl)
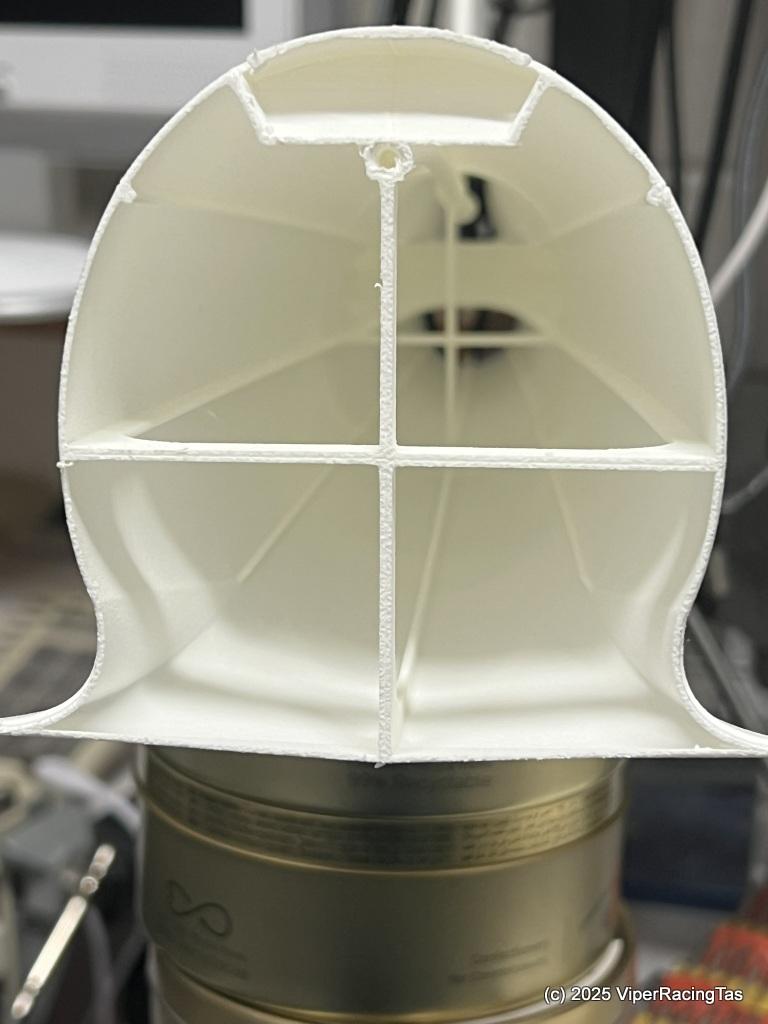
Interior shot of fuselage section (with virtually no stringing), the front surface is patterned due to the textured print plate (fixed with a very light sand)
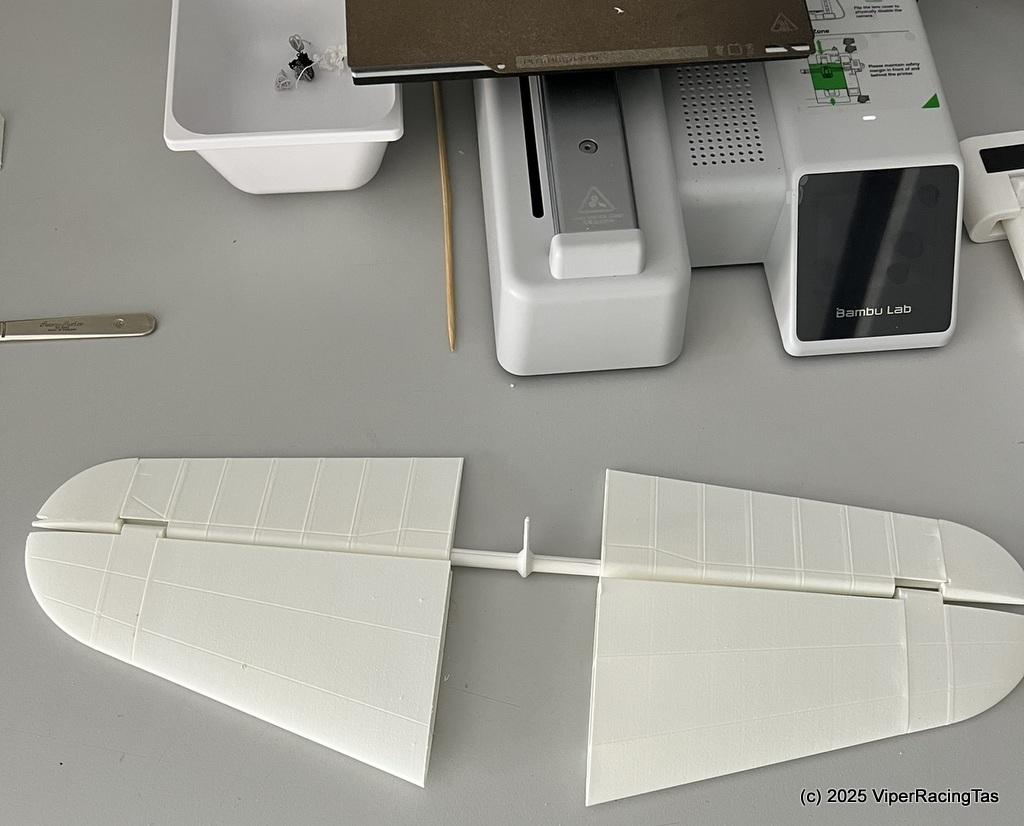
Tail plane & elevators (test assembled)
Fuselage Parts completed (awaiting assembly)
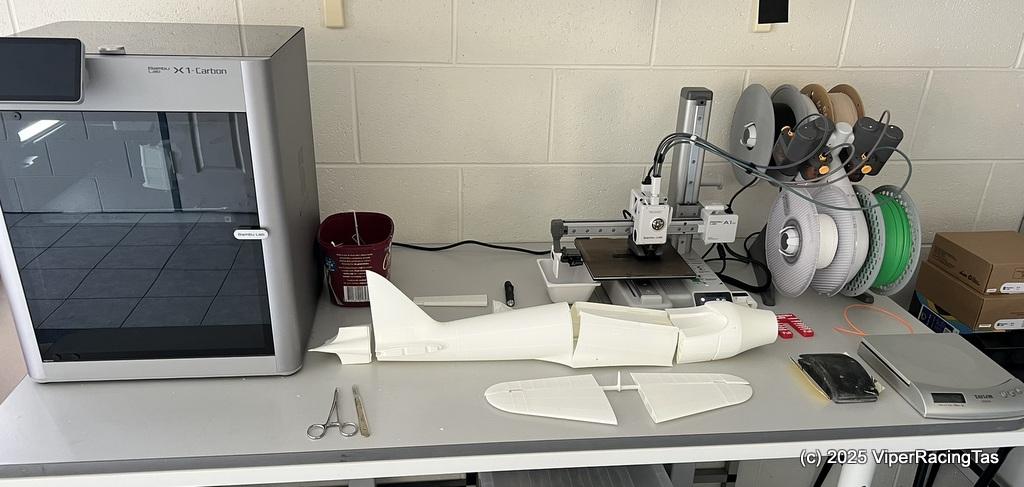
Fuselage assembled (just need to add the tail)
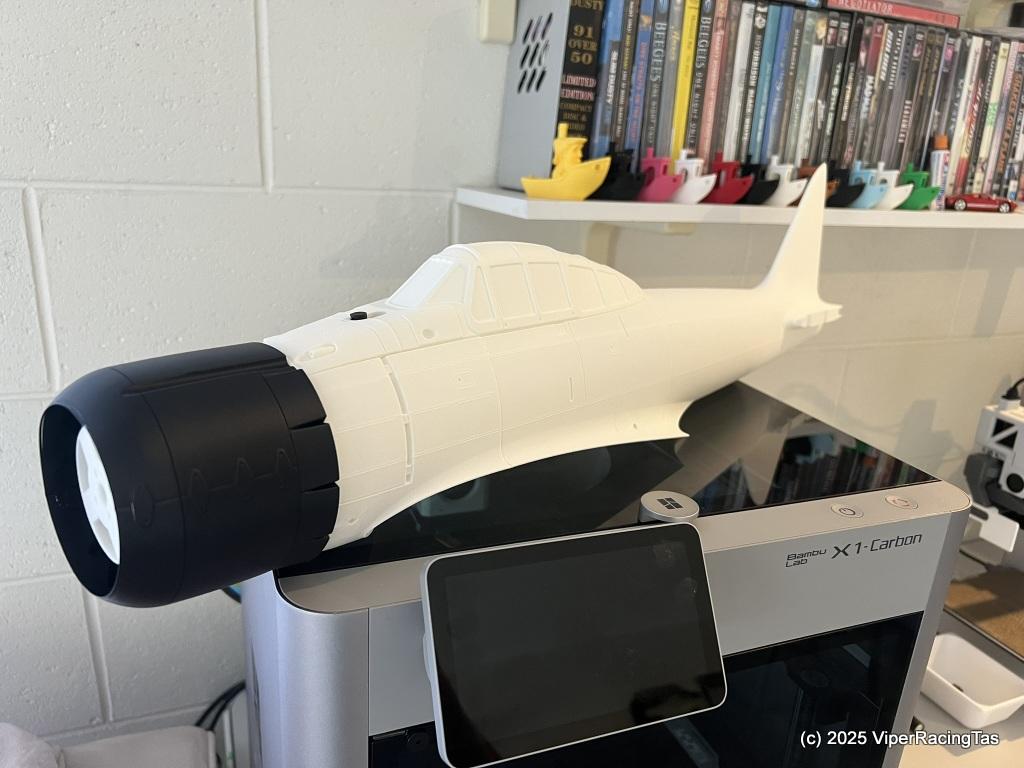
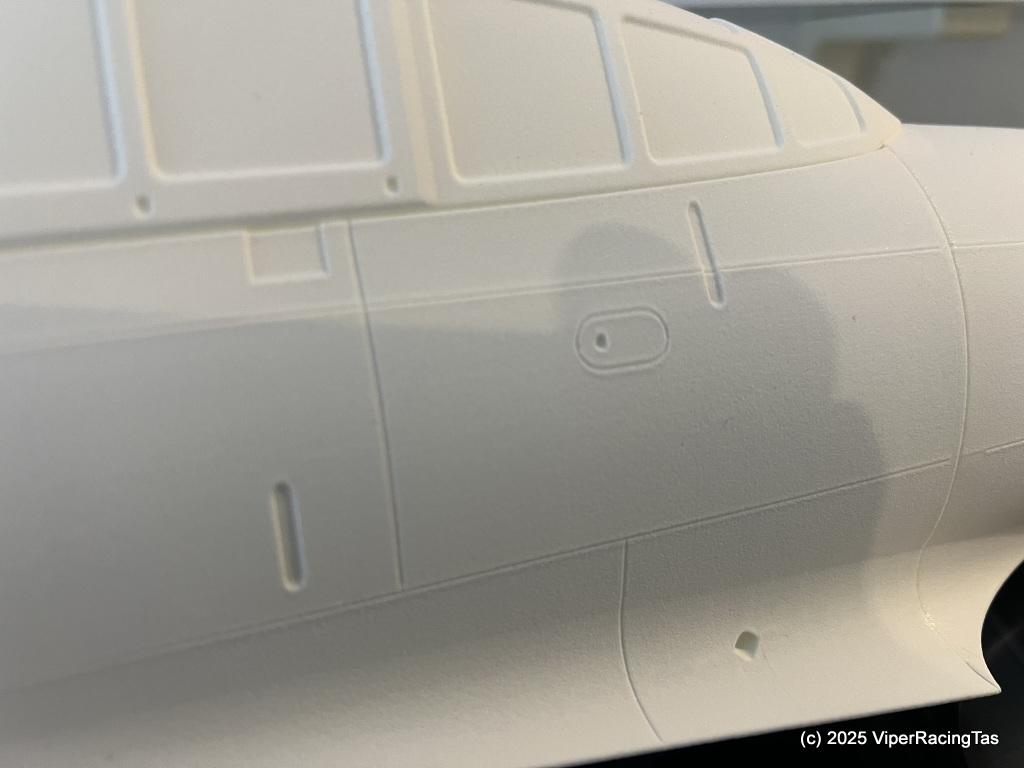
Fuselage completed
The panel lines all turned out well
Now with the fuselage & tail section all glued together & the elevator push rod installed (internal), it’s time to start printing the wings.
Wing is now printed & assembled, I used 1.5mm CF rods for strengthening as I had the original wings on my 3d printed Piper Cub “Pink Panther” fold up mid flight when the PLA filament recommended for strengthening broke. Admittedly I was flying rather aggressively at the time.
Just in the process of re printing Parts 1 & 3 of both ailerons to close in the exposed ends. It makes them look better and adds a bit of strength without much weight. Also reprinted the wing tips for the same reason.
To Be Continued.
-
9 October 2025 at 12:01 #19999
It’s coming along nicely Mike.
I’m glad you went with a black nose so we don’t end up flying the wrong plane! It happens a lot with sailing but would be more disastrous with a plane.
-
10 October 2025 at 12:46 #20000
Good job Mike. The only thing the elevator arm should be made of pla. If you check the text in the stl file it will tell you.
-
10 October 2025 at 13:06 #20001
You need to read the post, not just look at the pretty pics GG, that is exactly what I stated in the 4th paragraph !!, but yes it’s coming along great.
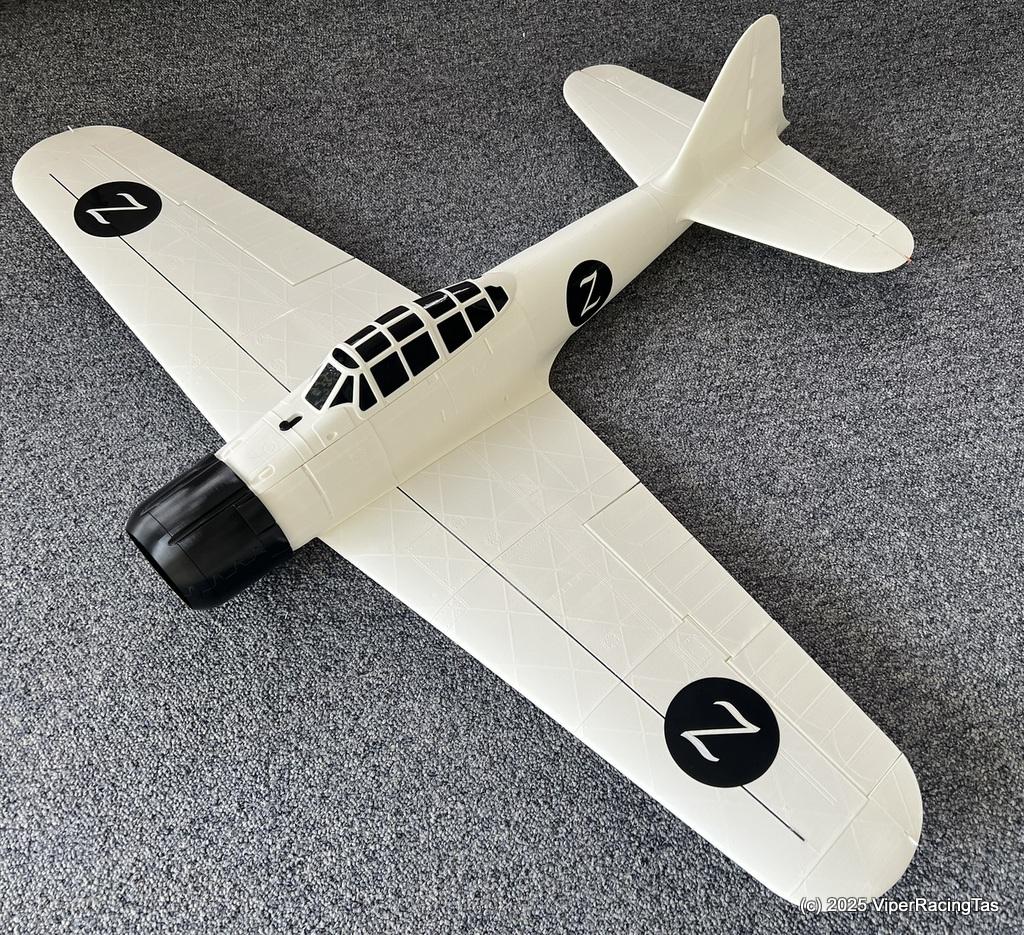
Just cut the windows with the vinyl cutter while waiting for the wing parts to print.
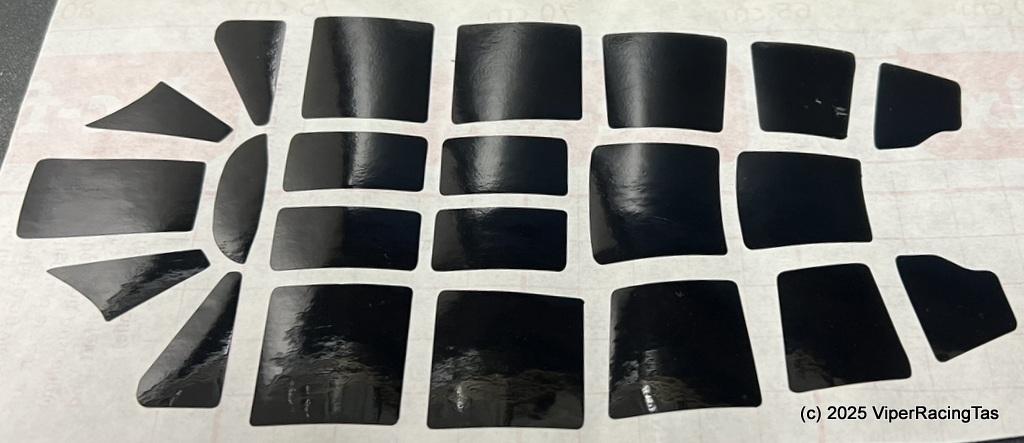
Just to differentiate from Ron’s Zero a bit more I have gone for black roundels with a white Z rather than the normal Japanese Red roundels.
Hopefully it will look OK.

-
10 October 2025 at 15:38 #20007
I like the windshield decals.
-
-
-
10 October 2025 at 13:16 #20002
Sorry there, with it being white like the rest of the plane I thought it was LWPLA.
We just need a calm day to fly all these Zeros.
-
10 October 2025 at 15:04 #20004
It’s about time you posted some pics of your Zero build as well.
-
-
10 October 2025 at 15:34 #20005
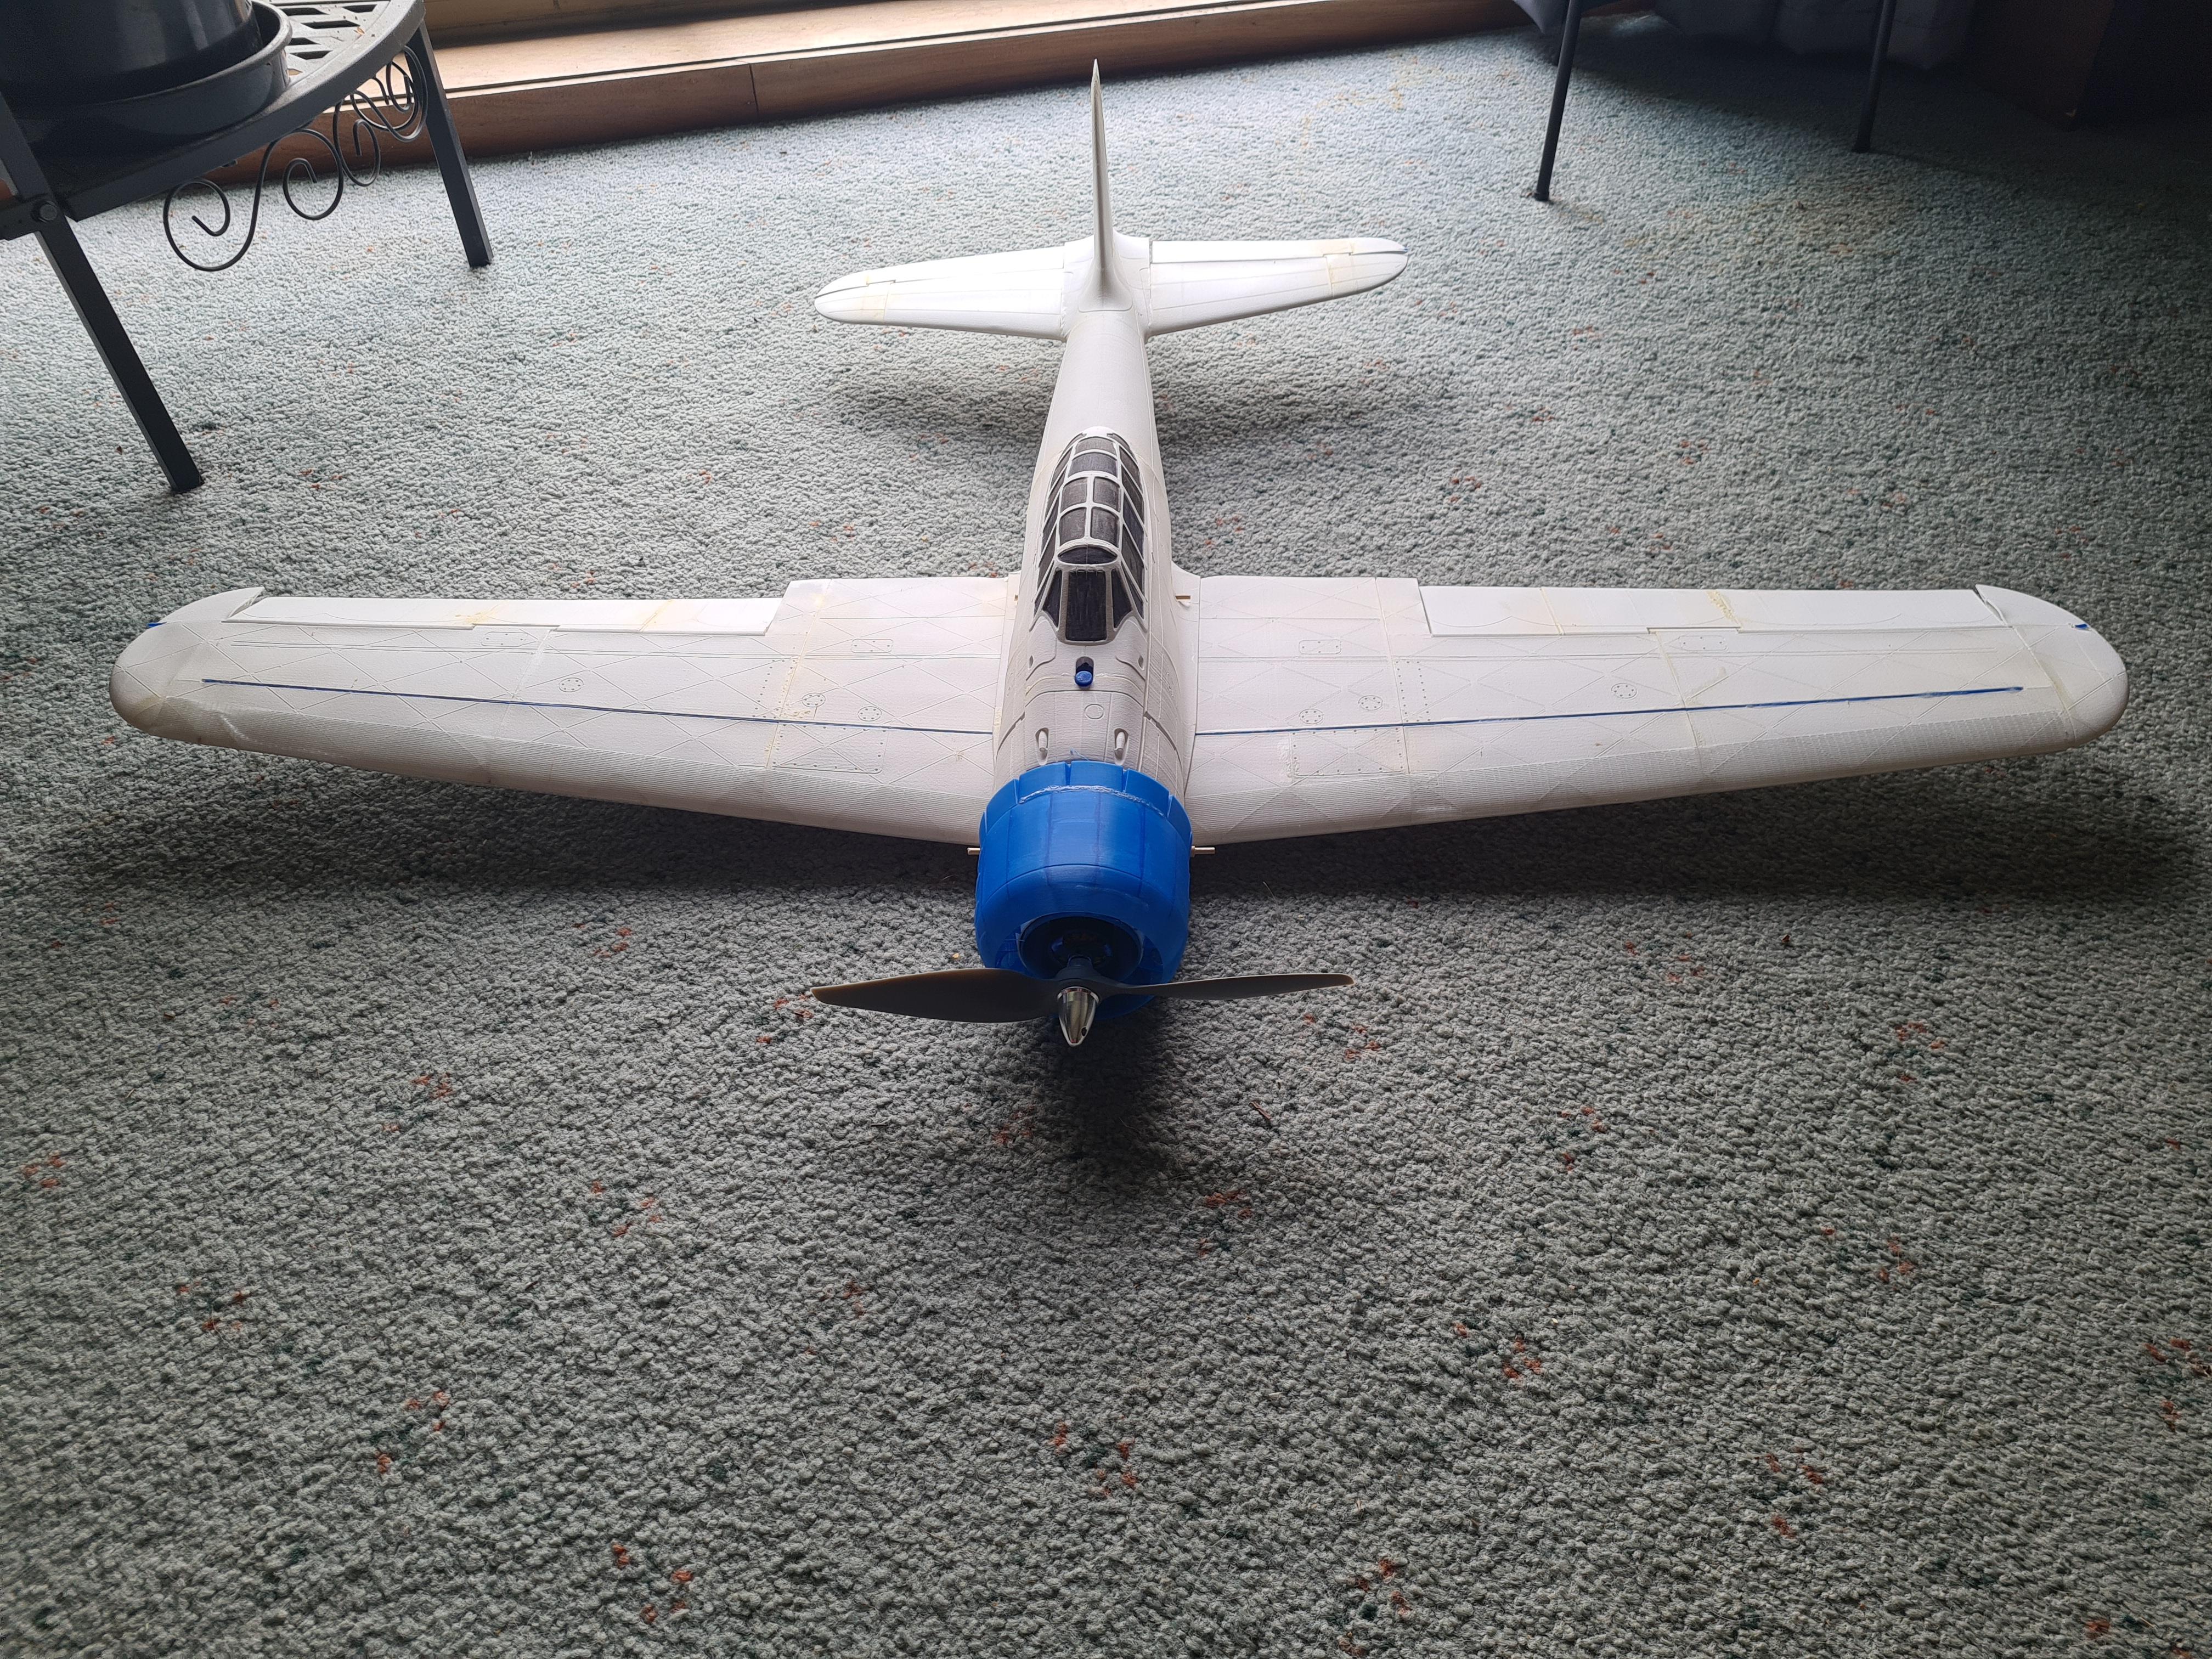
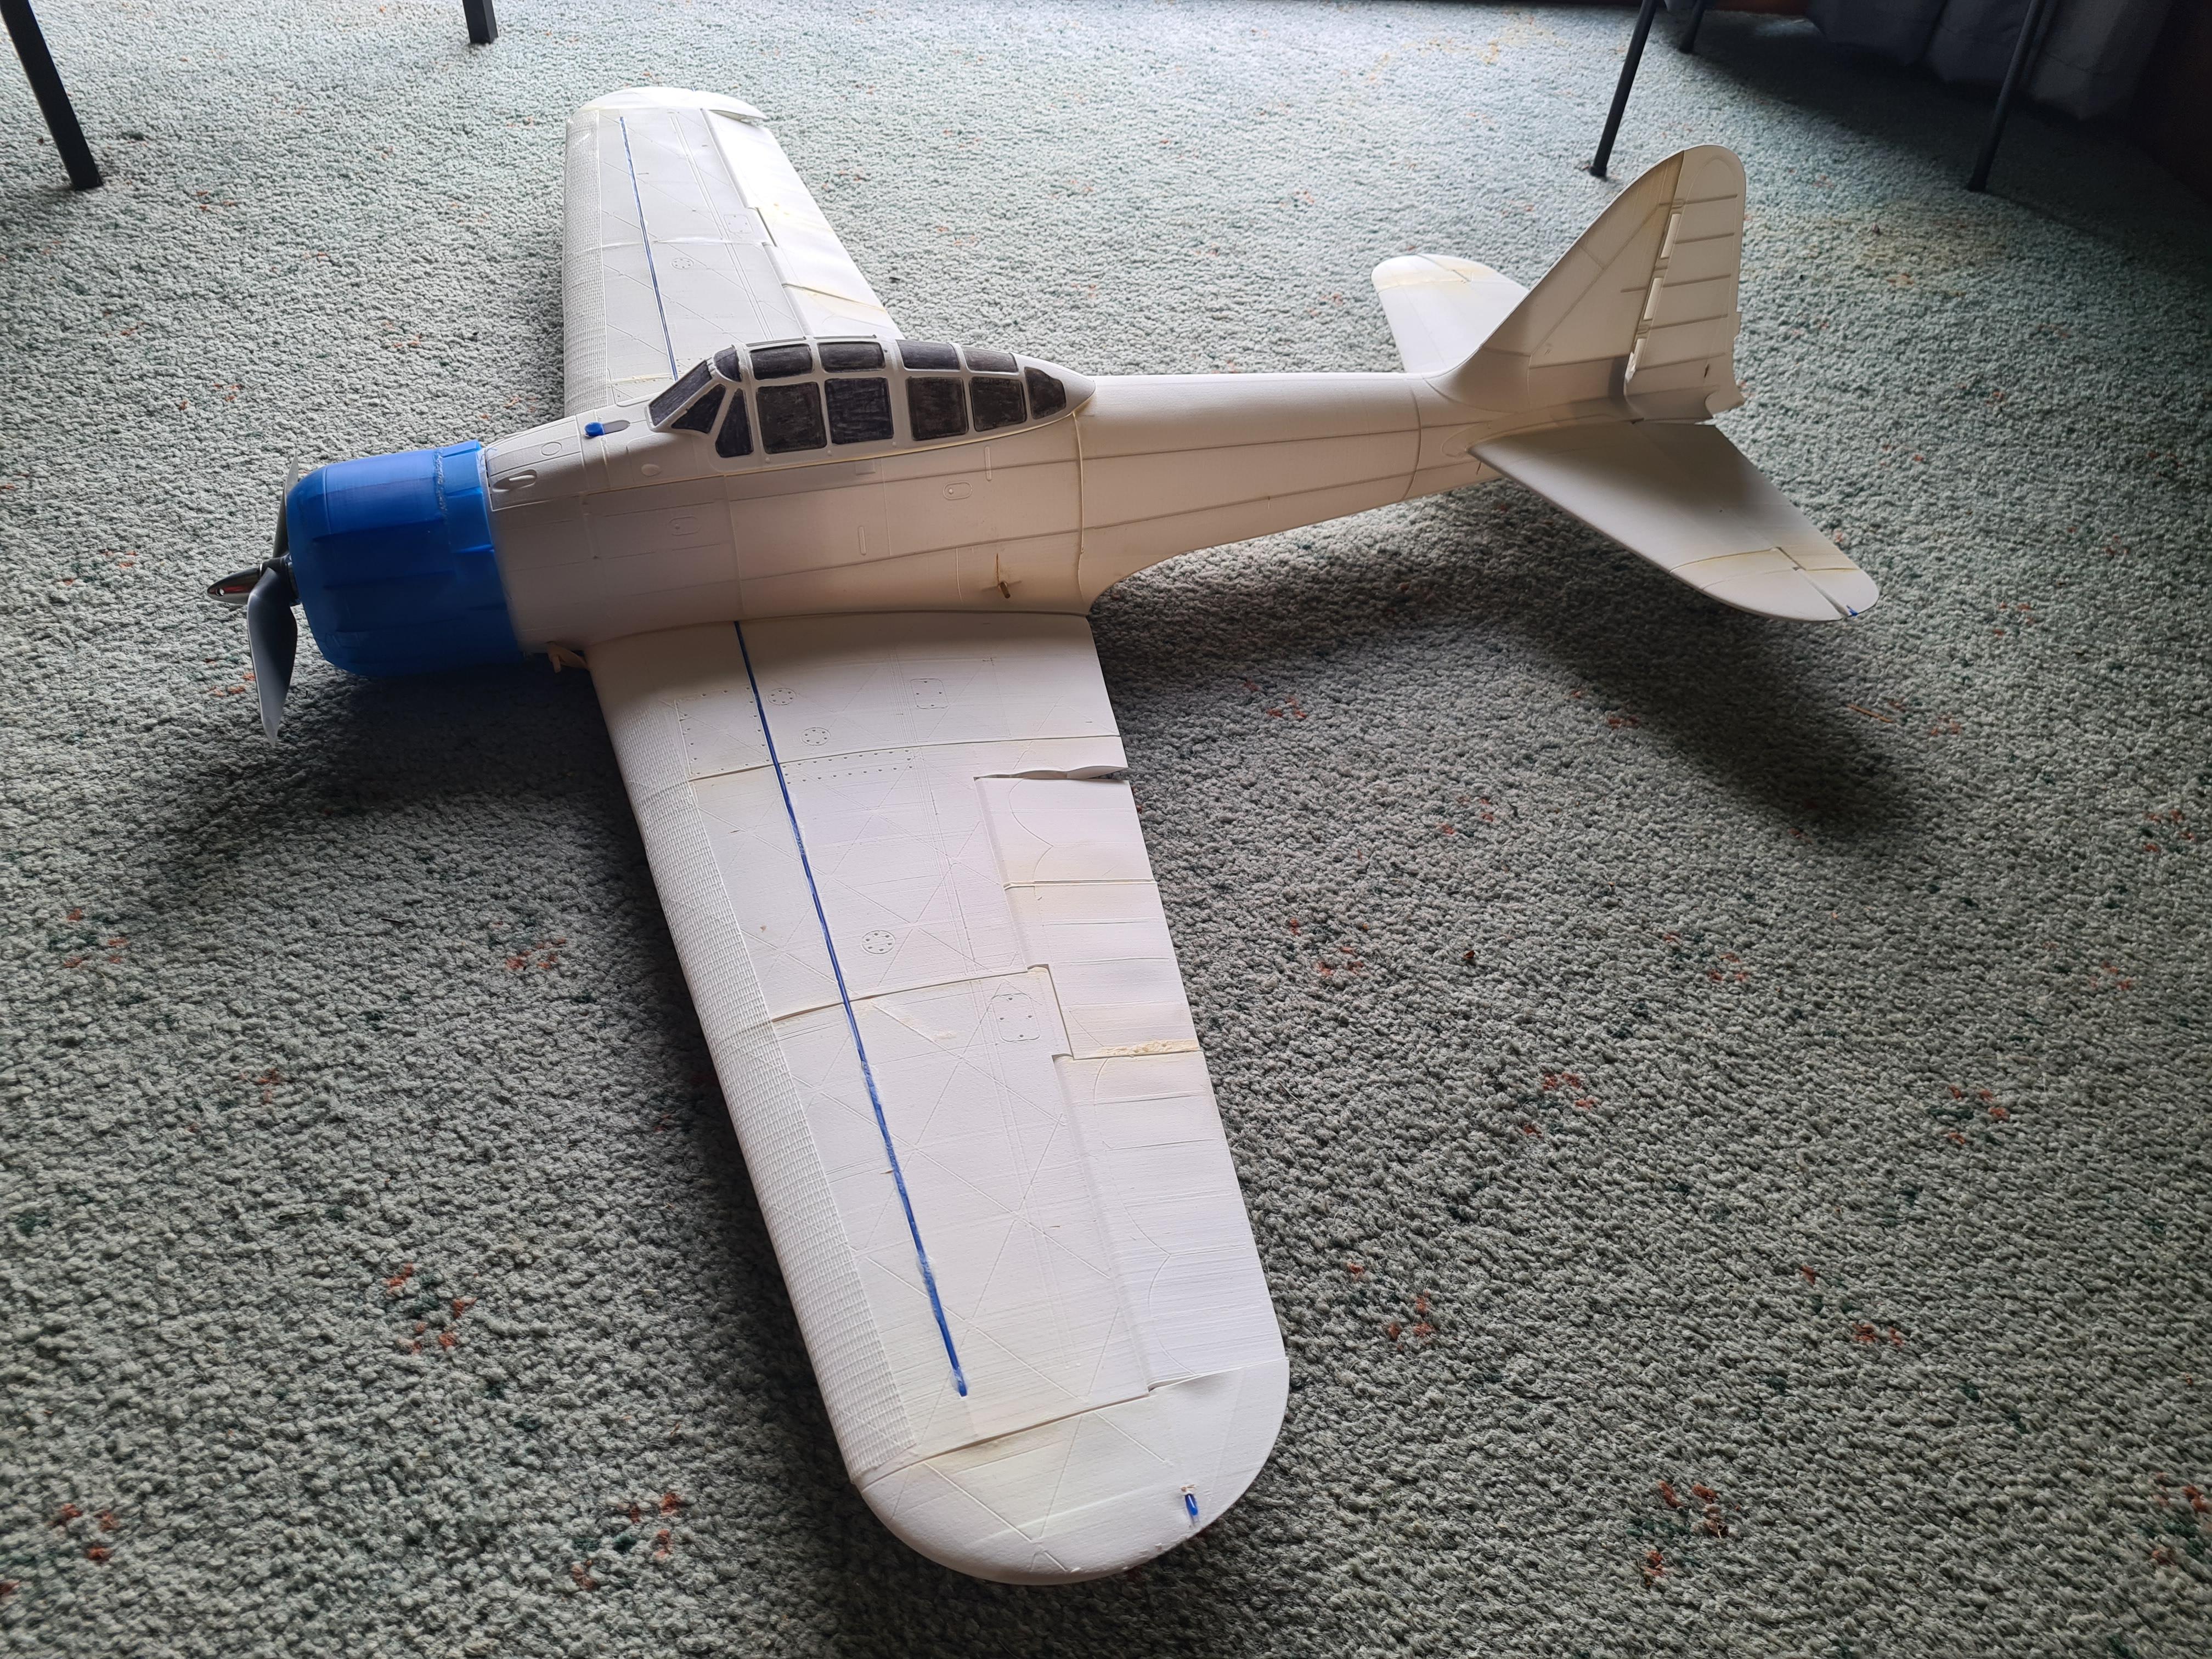
Here you go a couple of pictures
-
10 October 2025 at 15:37 #20006
Yay! Blue nose 🙂👍
-
10 October 2025 at 15:38 #20008
Looking good, we’ll have a whole squadron of them soon eh.
-
11 October 2025 at 19:56 #20014
Looking good 😊
-
14 October 2025 at 16:40 #20029
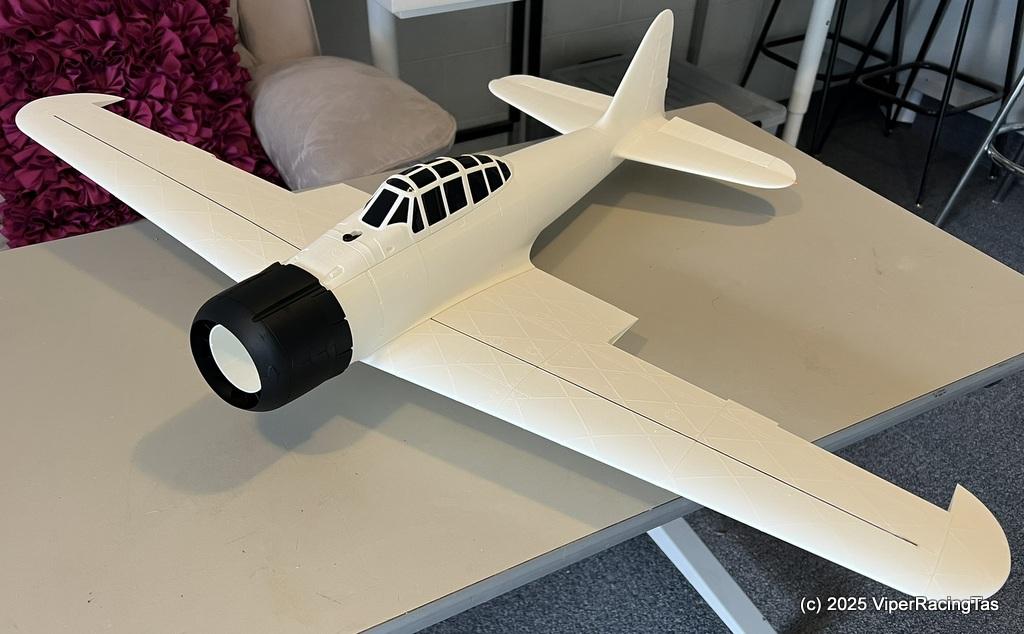
Finally, my 3D printed Zero is completed, apart from the motor (which should be here in the next couple of weeks).
I gave the entire plane a couple of coats of clear gloss Acrylic Enamel as this tends to toughen the LW PLA somewhat.
All servos are in and set up along with the PWM ELRS receiver etc. Once the motor arrives & is installed I can tidy up the wiring & she is ready for her maiden.
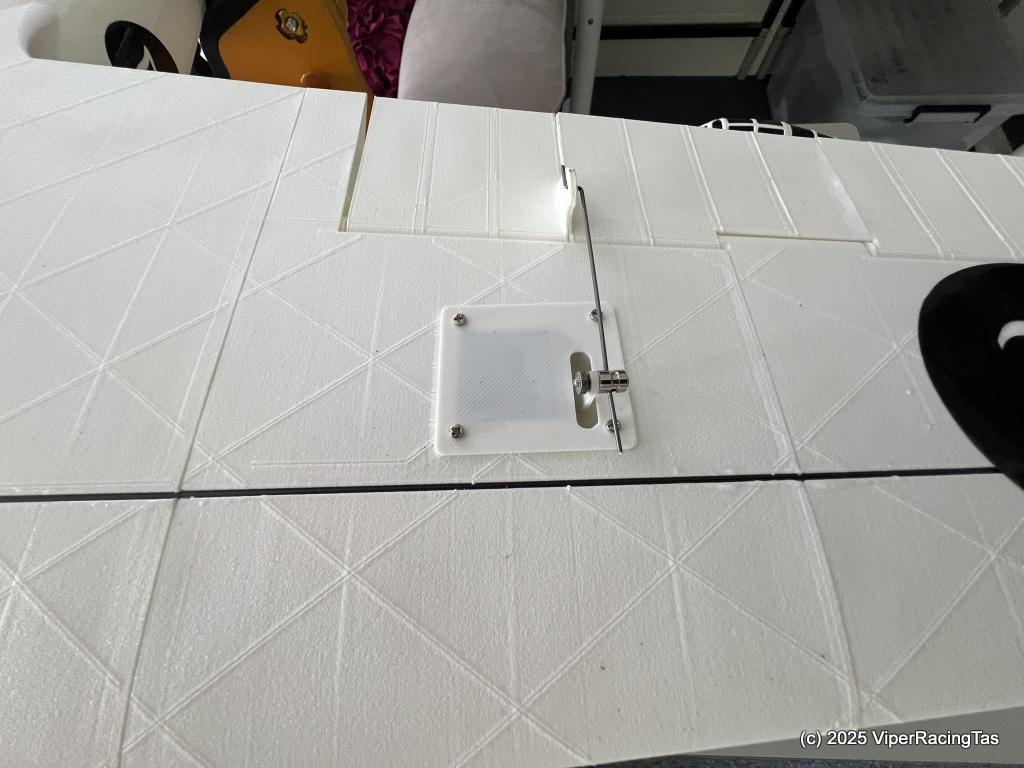
I modified how the wing servos fit, don’t like glueing them direct into the wing as 9gm servos are easily damaged & almost impossible to remove if glued directly into the wing.
I will install some servo protectors as well before flying.
My homebrew black logos have been installed in place of the red roundels
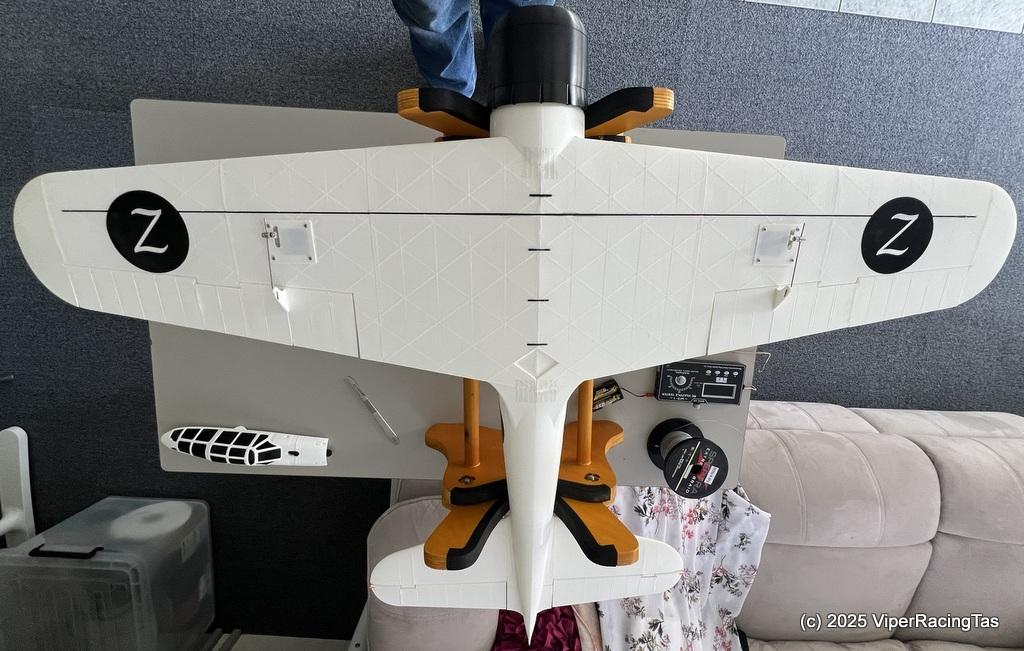
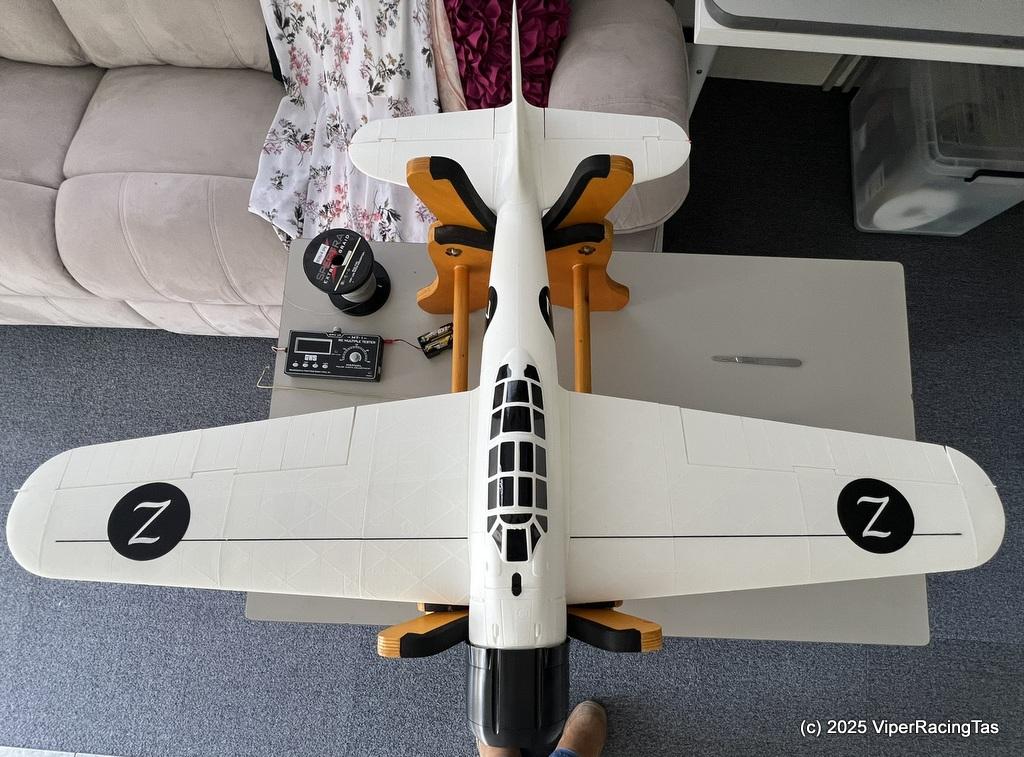
Hopefully she flies as good as she looks !!
-
14 October 2025 at 16:48 #20030
Very nice indeed Mike.
Are you going to print and install the under wing servo arm protectors?
First belly landing might undo all your fine work with attaching the servos if you don’t.
-
14 October 2025 at 16:49 #20031
Another one that looks at the pretty pics but doesn’t read the words !!
-
-
14 October 2025 at 16:53 #20032
Yeah, it’s a bloke thing. Just look at the pretty pictures 😉
-
14 October 2025 at 17:45 #20035
YEH ME TO ……………………………..just say’n
-
15 October 2025 at 11:03 #20038
Wow, what an incredible job it looks fantastic. We returned Sunday after a difficult week working at Kettering with extreme winds and rain.
Yesterday morning I was off to the dentist for ALL teeth removal as they have been vanishing one at a time for a while now. Sitting and laying around recovering hopefully ready for a fly when some calm days return.
Can’t wait to see the squadron of zeros buzzing about the field.
Fab.
-
15 October 2025 at 11:26 #20039
Looking very good Mr Mike. And the servo protection will finish the job 😉.
Will this wind ever stop 🤔
-
15 October 2025 at 11:33 #20040
I don’t think we will get any reprieve from the winds this week unfortunately. Hopefully once Show day has passed it will get better.
-
15 October 2025 at 12:02 #20041
So, windy for the Risdon Brook Show Day Showdown then eh?
I sailed in last year’s DF65/95 Risdonbrook invitational and I reckon the waves were bigger than the boat!
First time sailing at Risdonbrook and I’d never experienced waves before. I couldn’t work out how to tack and had to jibe when turning corners!
-
20 October 2025 at 16:48 #20061
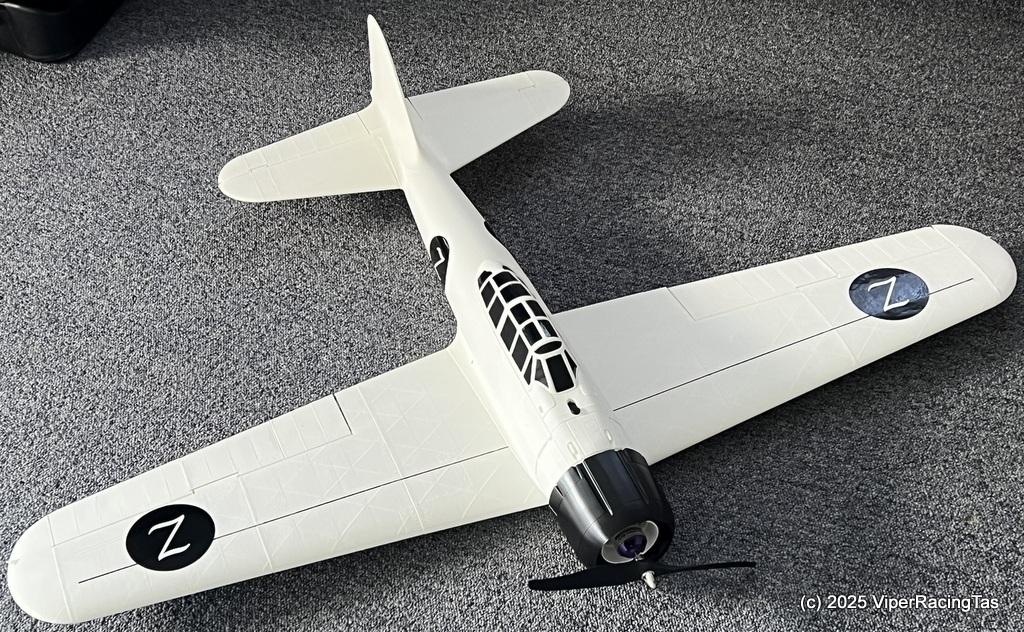
Motor arrived today so now all we need is some decent flying weather for her maiden.
-
-
AuthorPosts
- You must be logged in to reply to this topic.