› RC BOATING › SCALE BOATS › Builds › Scale Boats Electric › Predators Double Trouble scale Archer 650 – 6.5m offshore Runabout -Rebuild
Tagged: Archer 650, Offshore boat
- This topic has 23 replies, 4 voices, and was last updated August 16, 2022 at 3:44 pm by
 Predator.
-
AuthorPosts
-
-
15 March 2019 at 15:26 #2600
With Autumn here & winter fast approaching its time to start thinking about a winter rebuild project.
My Archer 650 – 6.5M Offshore has been sitting around gathering dust since I stripped it down to paint two years ago.
As most will remember the original build had the boat equipped with twin outboard motors powered with big Axial Rock Crawler brushed motors. It went well and looked great but there was never ending maintenance required on the Outboards due to running in & cooling with salt water.

The second rebuild saw it equipped with twin inboard motors (same as above) but still salt water cooled. This went well and required only a flush of the cooling system with fresh water after every use to keep it all working. Even though this arrangement was a bit heavy on batteries I intended to stay with it and to that end the boat was stripped down for painting & finishing.
More Archer 650 build pics here
Before I got around to it the Aquacraft Rescue 17 came along and when upgrading that (with grateful input from UncleG), I opted for an air cooled brushless motor & ESC, which works a treat and uses a lot less power.
To that end I have ordered two more of the Turnigy D3548/6 790kv motors & two HK 2s-4s-60A (w/reverse) air cooled ESC’s. May need to modify the motor mounting tray slightly but that shouldn’t be an issue with the 3D printer on hand to manufacture whatever is needed.
More to follow.
-
19 July 2021 at 16:55 #8674
Gee, its 4 years since I started the refit on the Scale model Archer 6.5M Offshore.
All the upgrade bits have been laying around gathering dust for a long time so I guess this will be the next cab off the rank after the “Badger II” (Mt Gay 30) is finished.
At this rate I’ll be dead & buried before I get back to the half finished A Class Wizzle Wozzle. My how time does fly.
-
19 July 2021 at 18:22 #8677
You can’ rush these things Mike!
-
-
19 July 2021 at 18:38 #8678
Your doing a great job Pred. Even if some projects are on the back burner you are well occupied with your current toys. I have lost all interest in my hobbies over the past few years, hopefully I will get back into it sometime. You guys seen the sun lately. Been a pretty miserable winter over here. Granted probably more like summer to some in the world but unusual for over here. Have followed this project since its inception on SS and now this forum, look forward to the next chapter.
-
16 August 2021 at 14:08 #9001
Sorry about the late reply Tug, to be honest the weather over winter so far (apart from the last week) has been pretty decent for winter. We haven’t been missing too many flying or sailing trips and most days I still manage a 3k or 4k walk with Pyro.
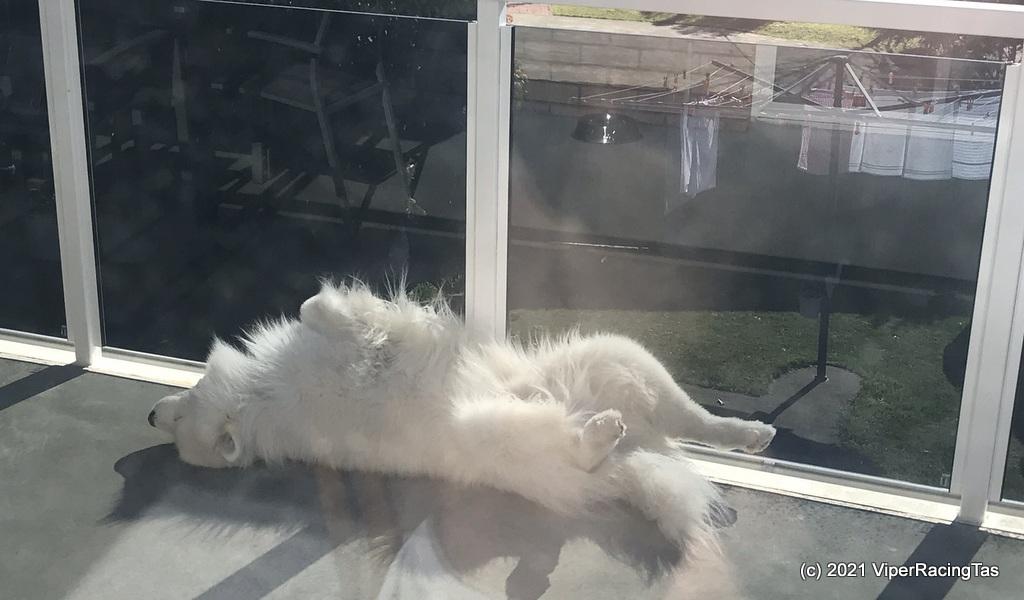
He does like a nap in sun when we get back though.
Anyway looks like the “Double Trouble” project is back on track – well for a little while anyway.
-
-
16 August 2021 at 10:19 #8994
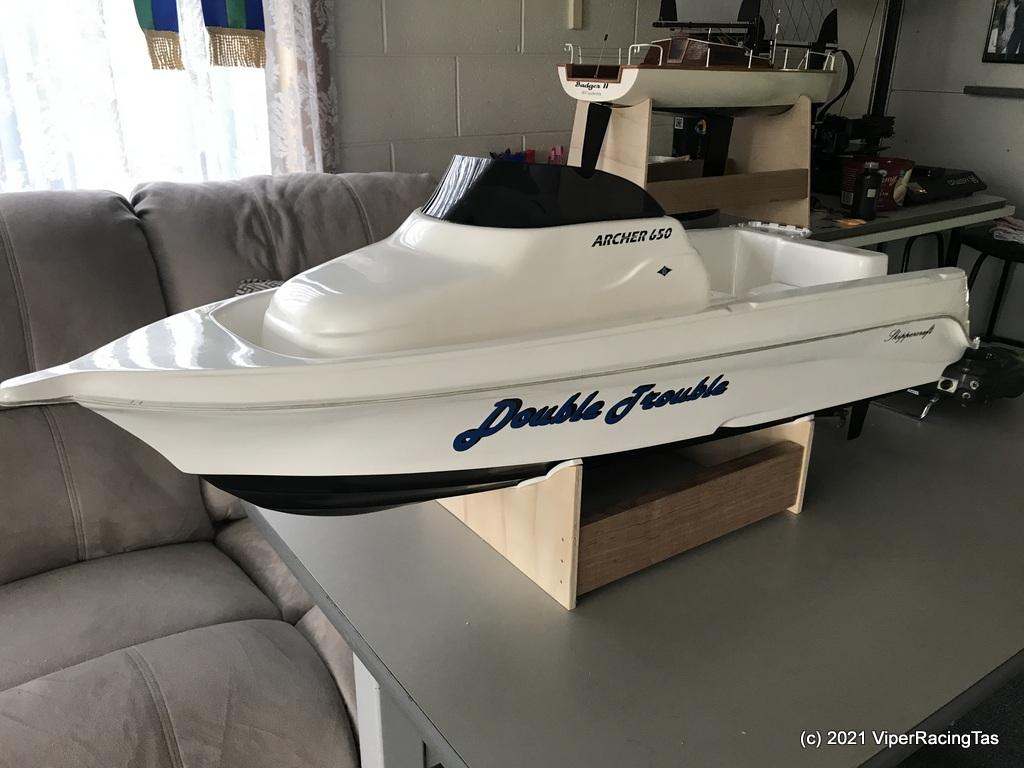
Today it’s time to start again on “Double Trouble”
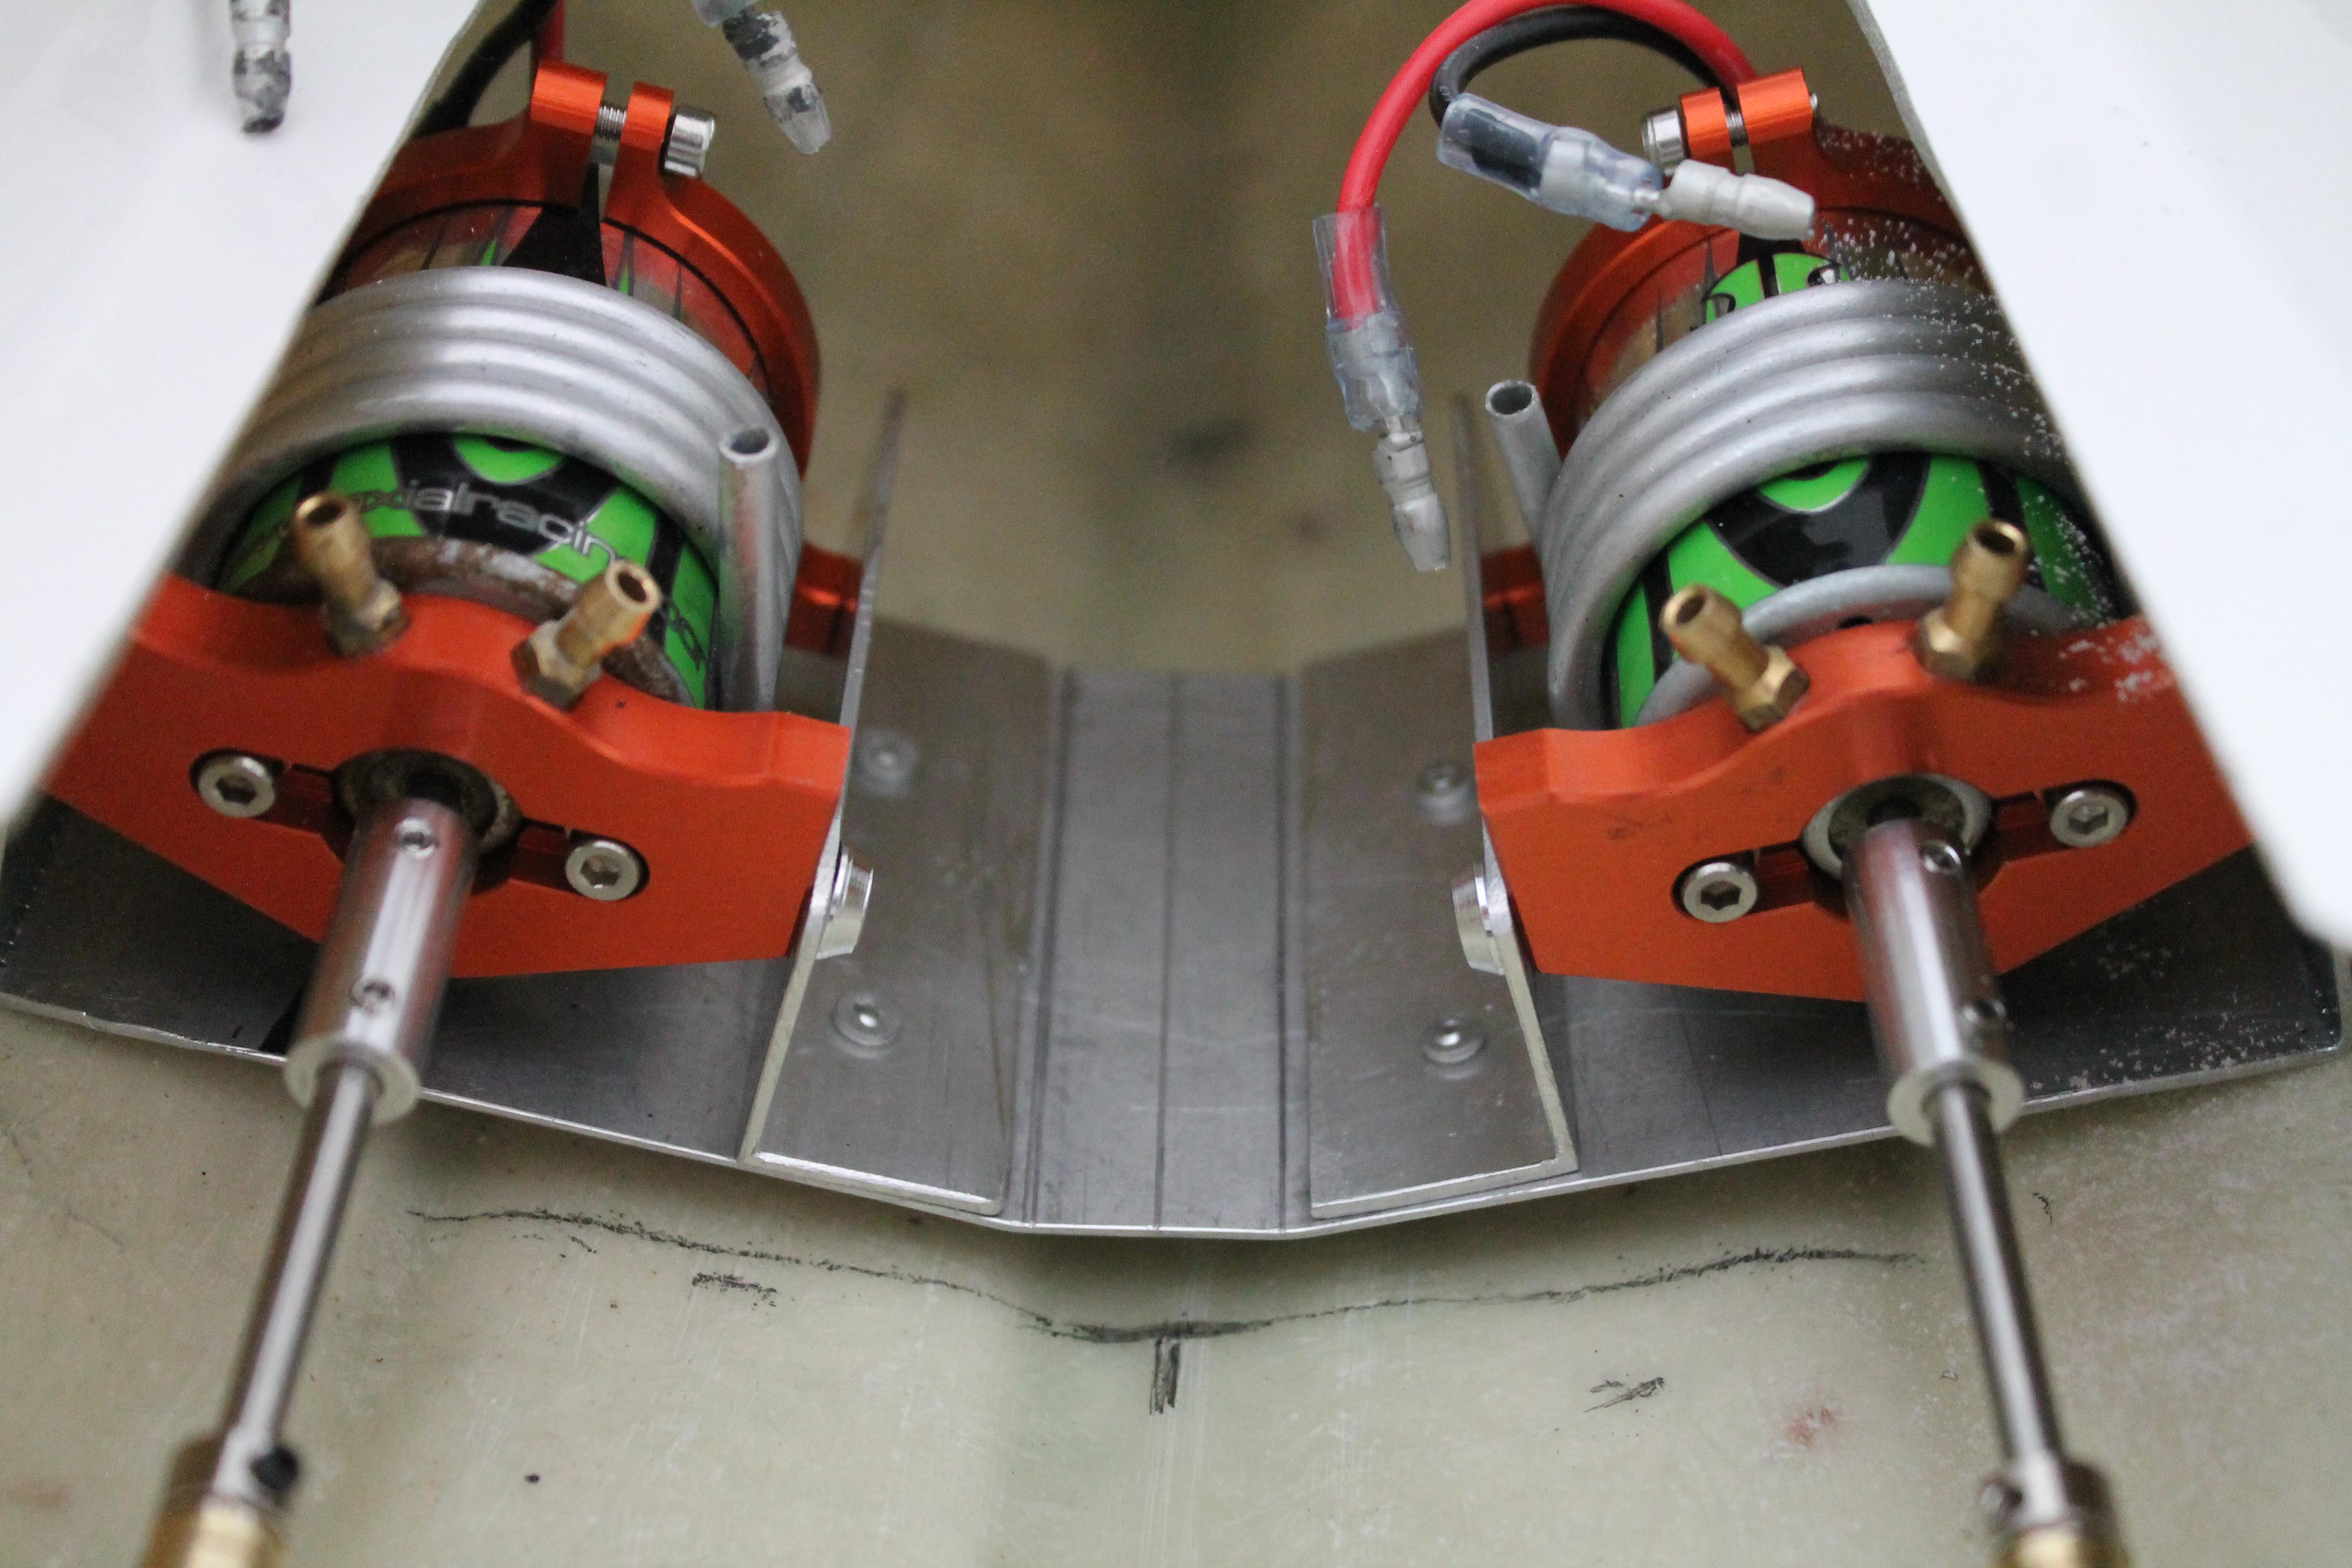
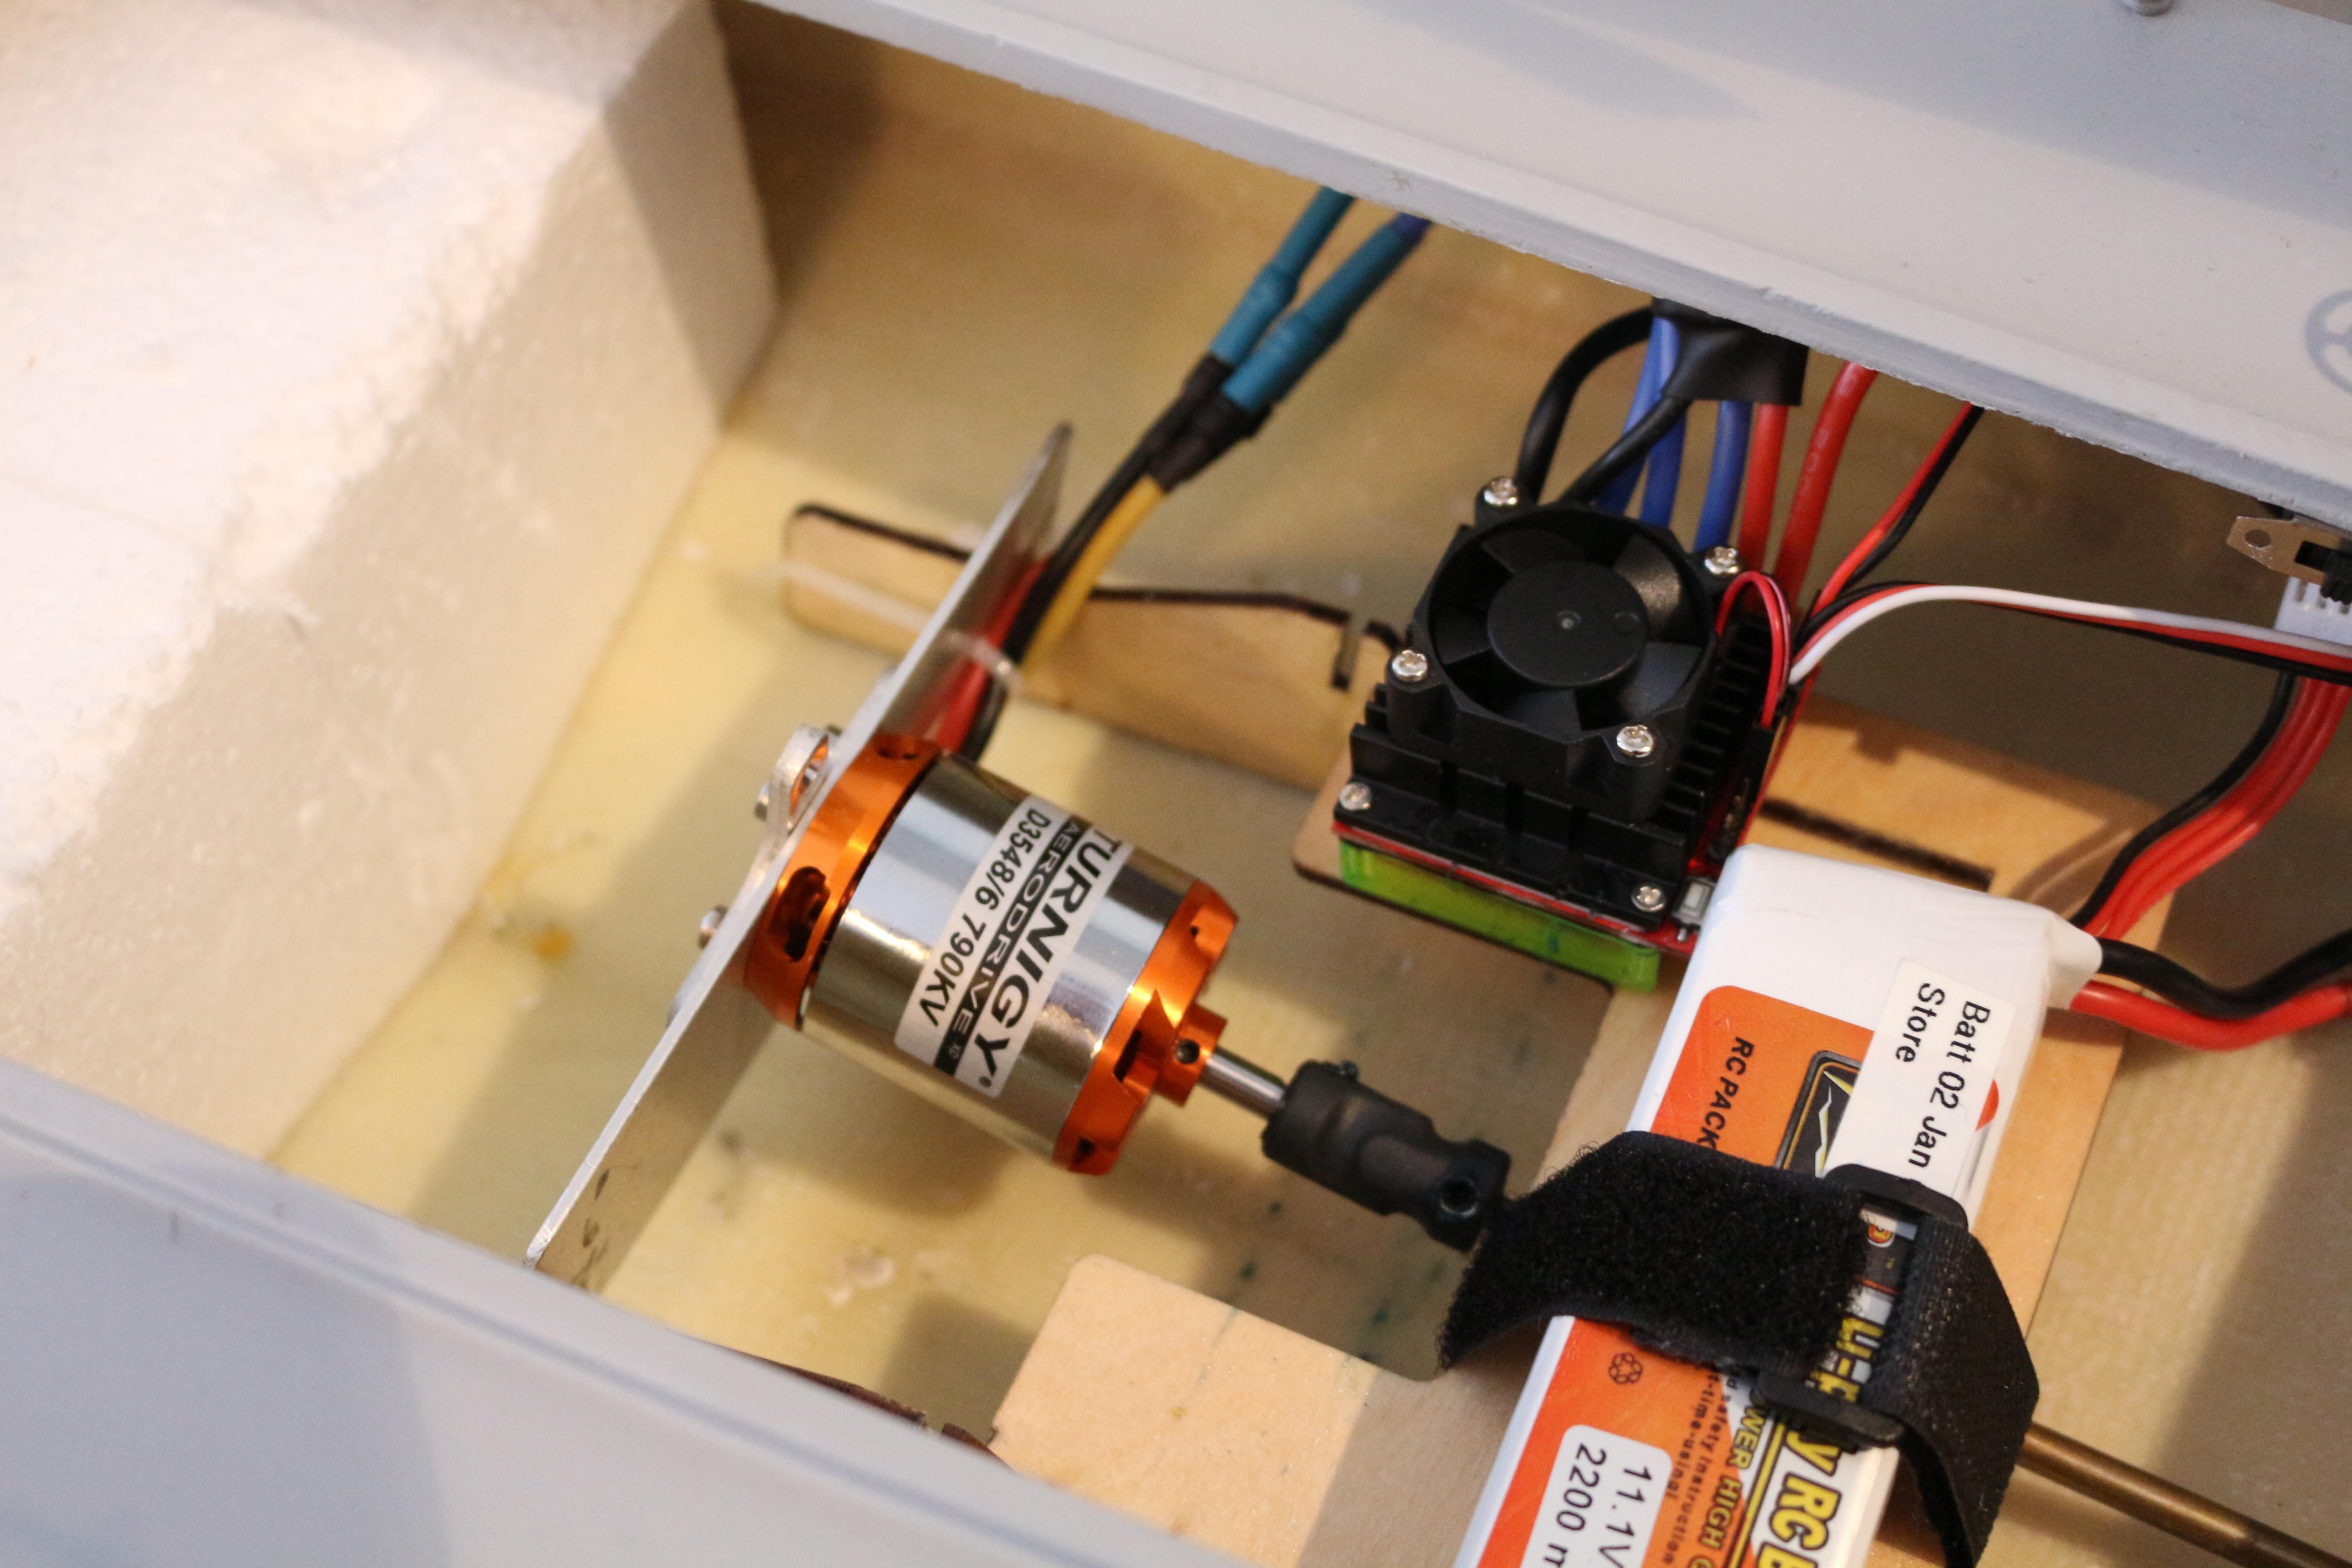
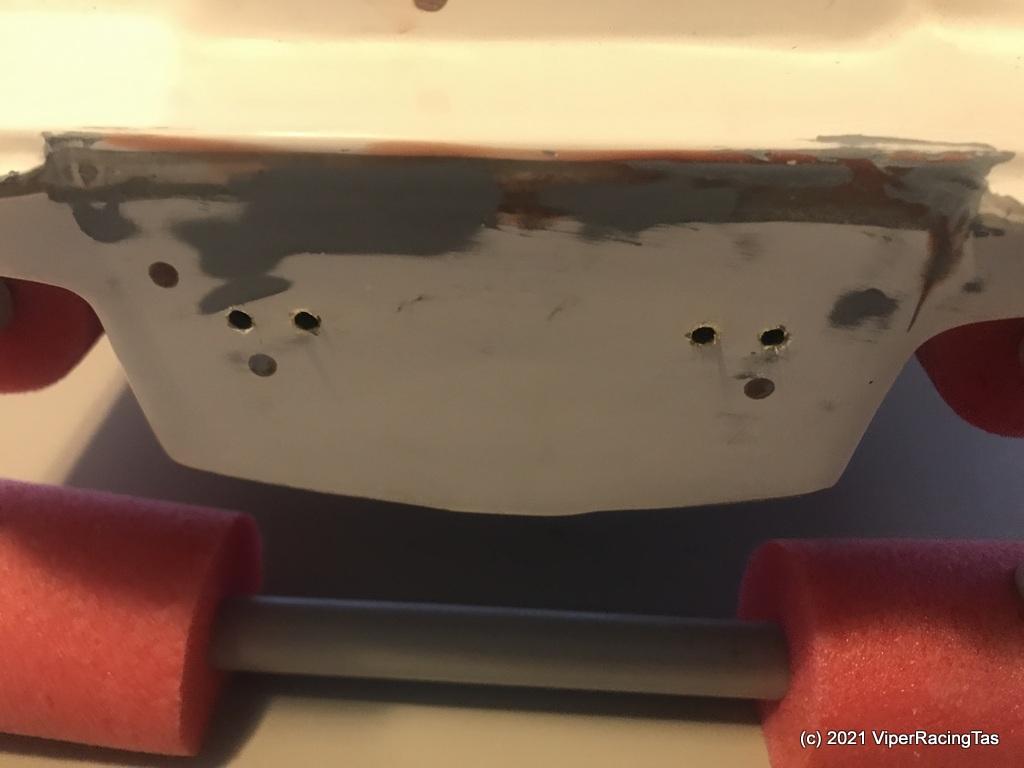
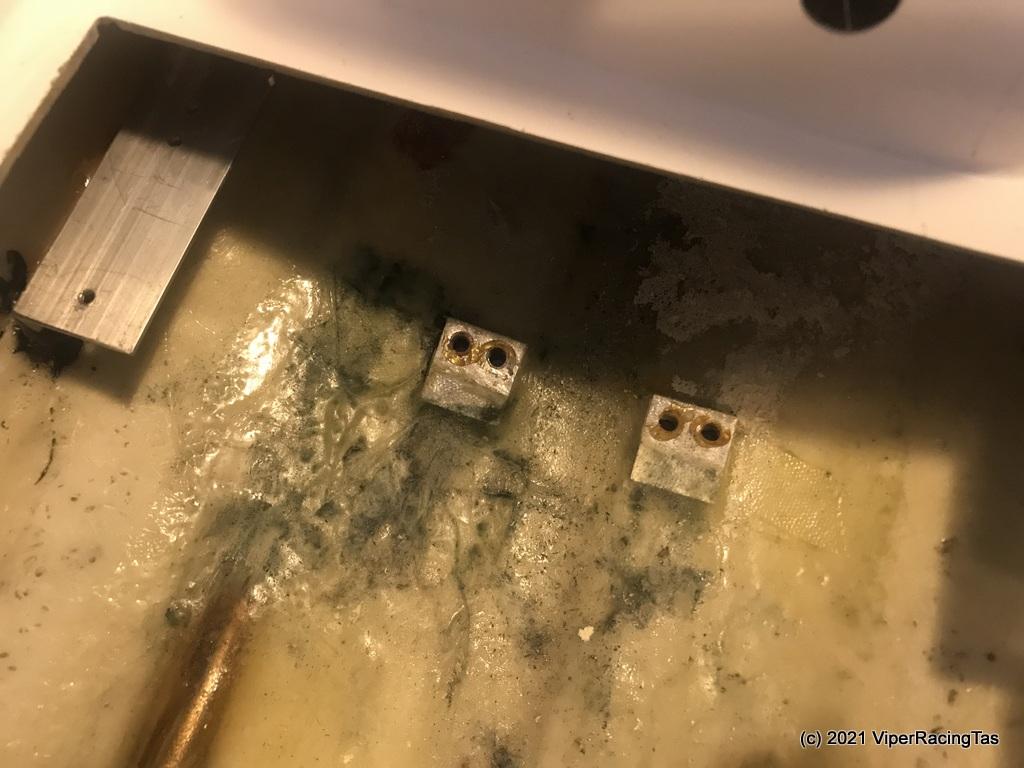
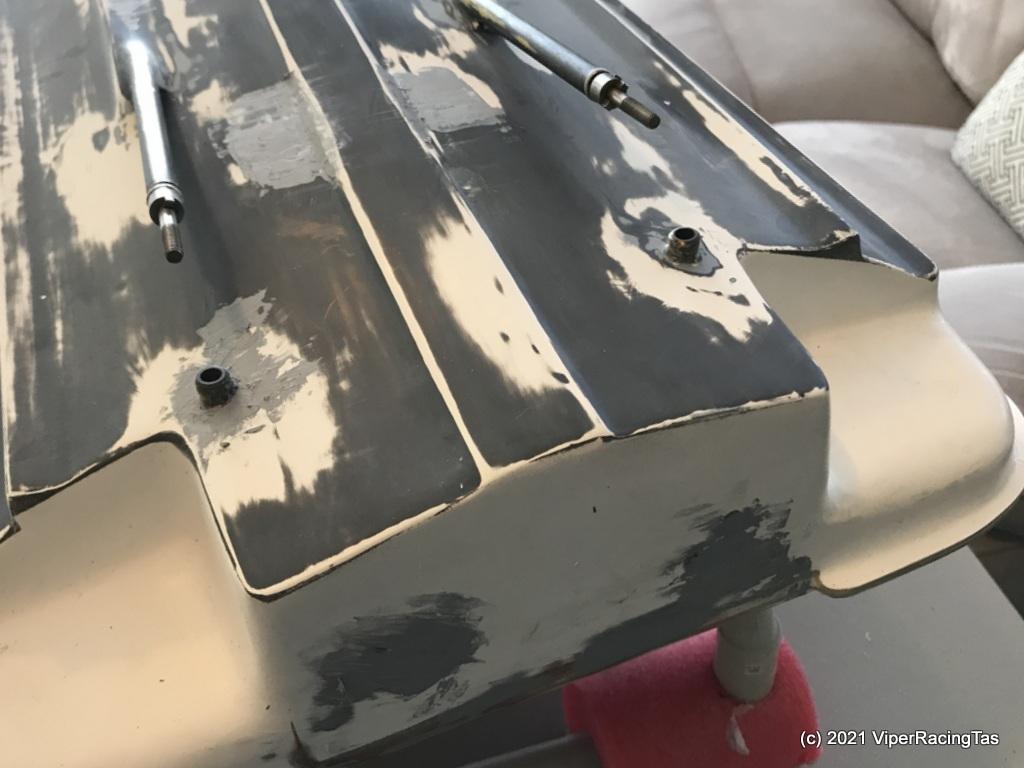
I have finally managed to source the correct universal joint couplings (5mm x 4mm) to connect the new brushless motors to the propshafts. No doubt they will take a few weeks to arrive from downtown China so in the meantime I’ll remove all the watercooling pickups & outlets that were fitted to cool the brushed motors that were fitted when the Outboards were first removed.
The brushless ESC’s are aircooled (fan assisted) and the motors are so oversized that they barely get warm so no additional cooling is required.
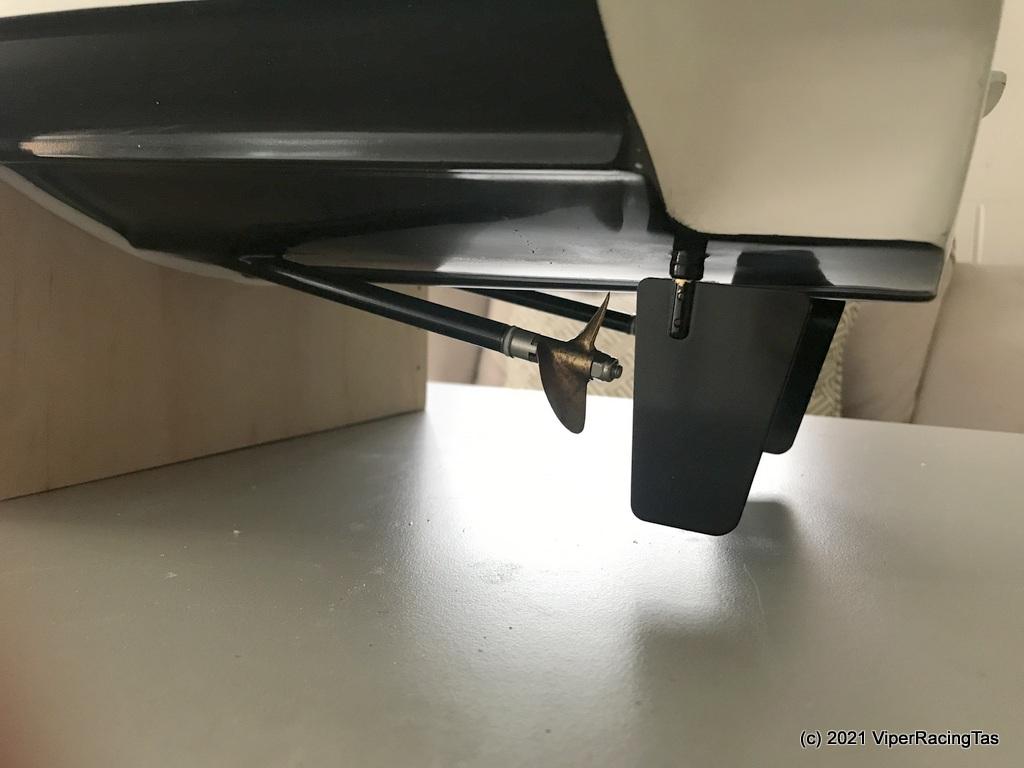
Inlet & outlet pipes have been removed so next job is to fibreglass all the holes then the bottom of the hull & the rudders can be painted.
Also need to manufacture a timber stand for storage & display purposes.
-
16 August 2021 at 14:00 #9000
After a fair bit of hunting around to find all the bits & pieces (after all it is 4 years since she was stripped down) the work is finally under way.
Cooling tube holes have been epoxied over and had a light coat of spot putty applied so the hull is now ready for paint preparation. After another quick rub down & tidy up, a coat of primer followed by spray putty on any rough spots then a final primer and several top coats.
I was going for deep blue originally for the underwater area but as I have black in stock methinks it may end up black below the waterline.
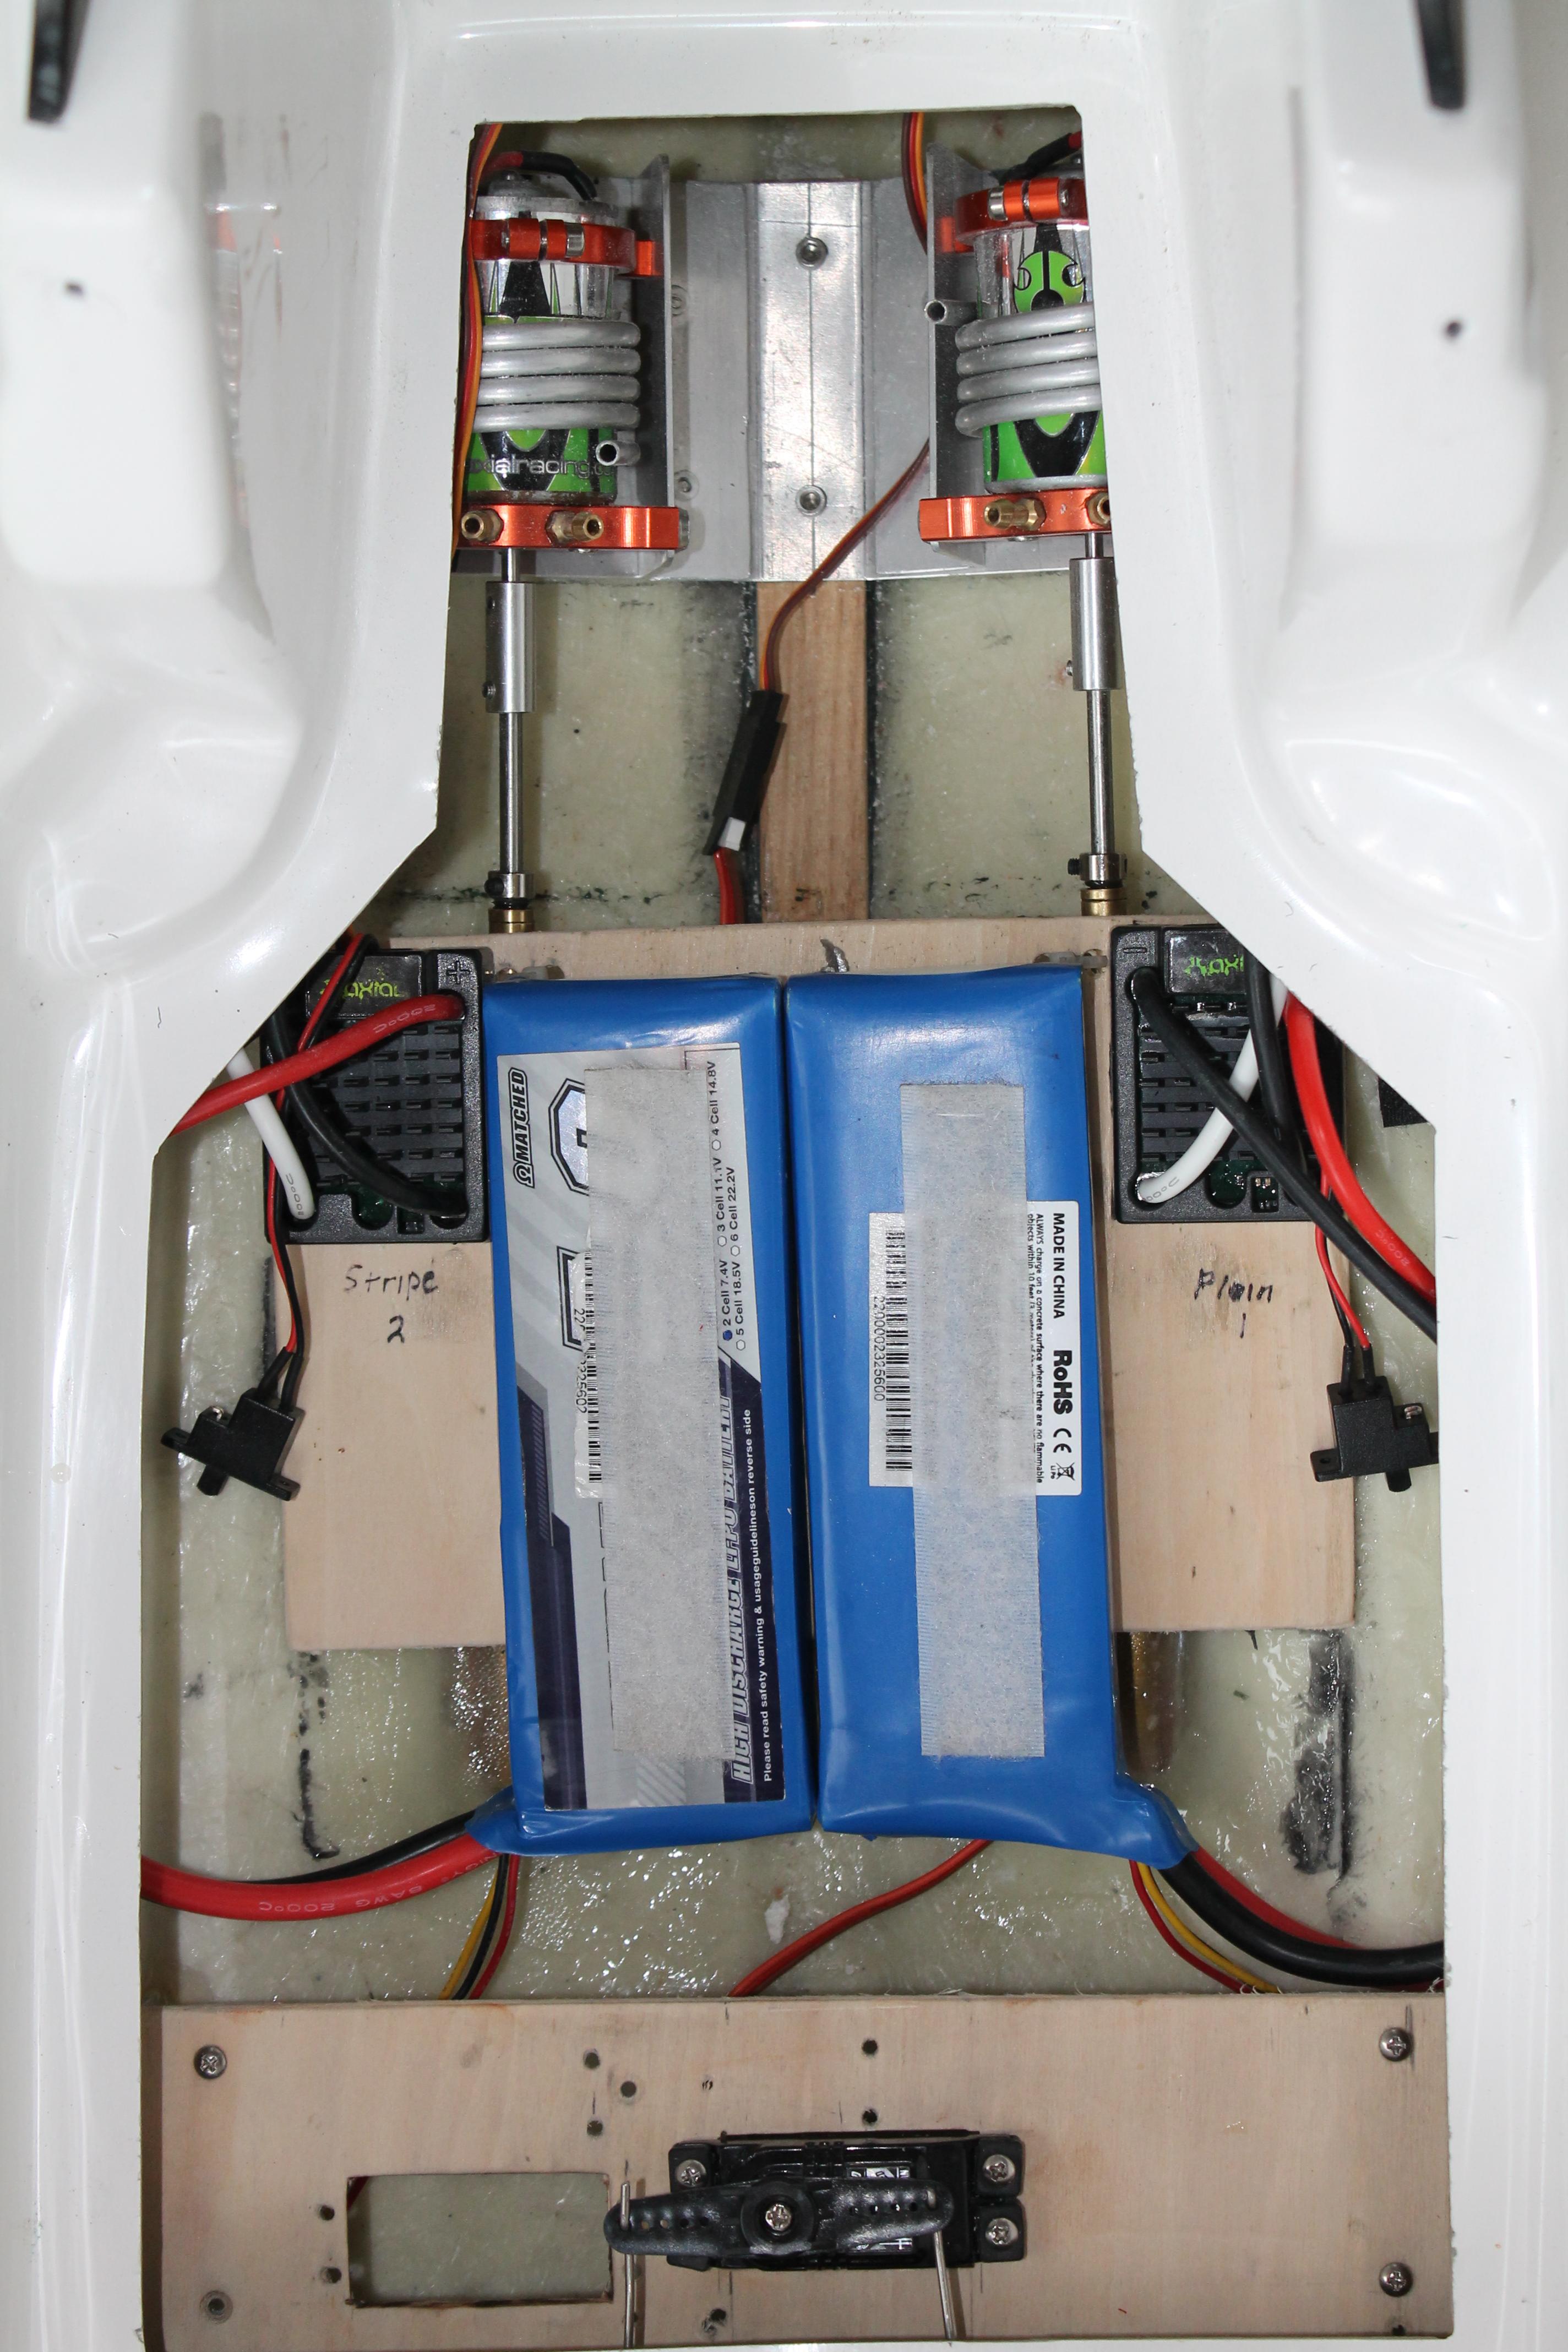
Motors & ESC’s have been temporarily installed and the alignment looks OK. Once the drive couplings turn up final alignment can be set & the electronics permanently installed.
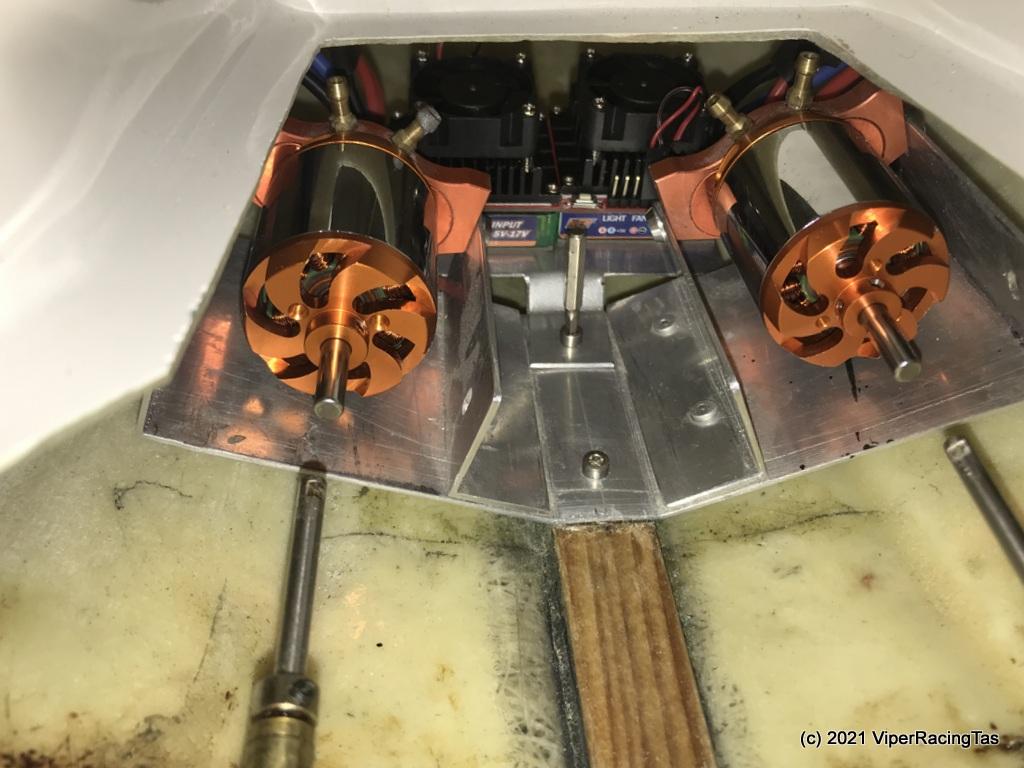
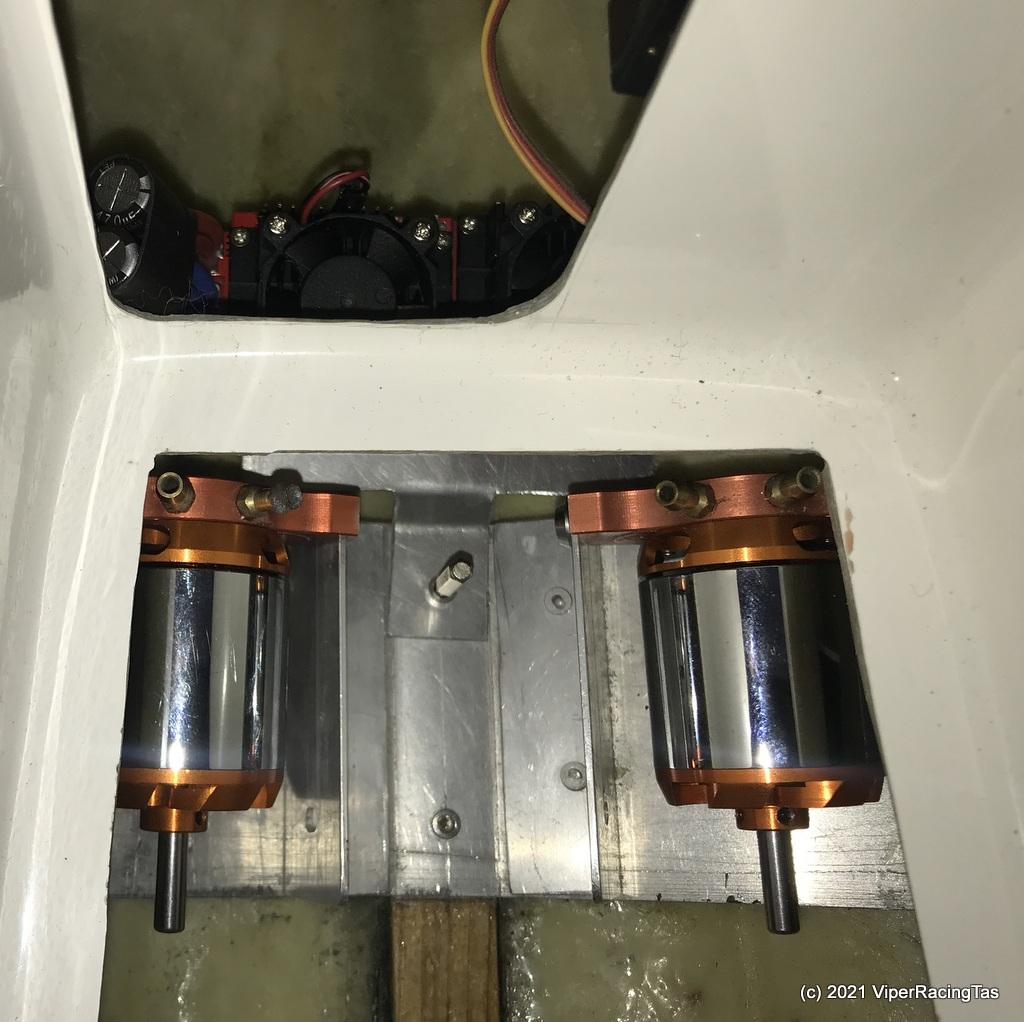
I’ve opted to install the ESC’s in the cabin area (below floor level) so there is plenty of room in the rear for batteries & video gear etc.
-
16 August 2021 at 17:57 #9006
I dont believe it after all this time
May the repair gods be with you
-
16 August 2021 at 18:53 #9007
Yes Moose, its finally underway again.
Whilst this winter has generally been fairly mild it has knocked me about a bit health wise. At least it’s got me motivated to get all these outstanding projects finished while I’m still upright !!
Still got 3 more yachts to finish once this is done, the 1/5 fuelie Dune Buggy still needs the clutch fixed before our next West Coast trip, the Drift Car needs a rebuild & the list goes on.
-
-
17 August 2021 at 17:08 #9008
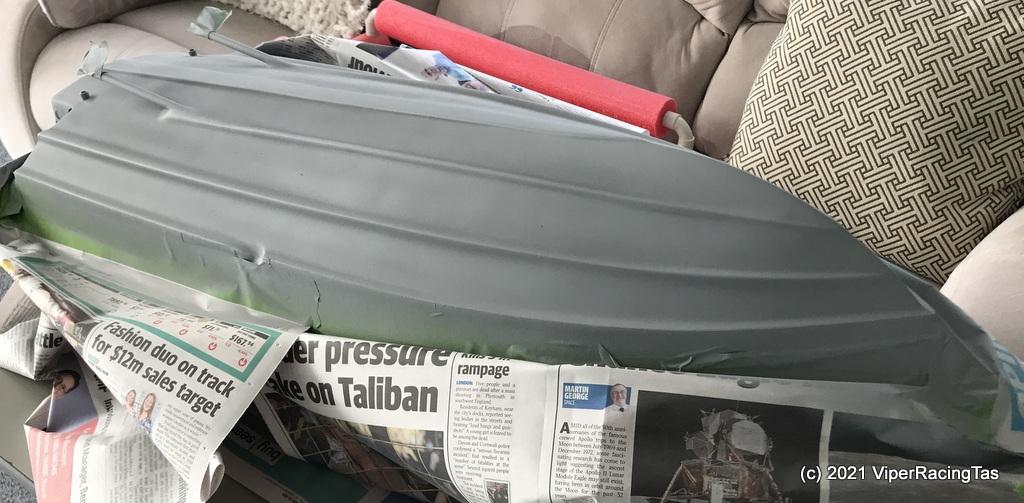
After walking the dog it was time to get a bit more done on Double Trouble today.
Motors & electronics were removed (yet again) just to make life a little easier.
The lower hull was then spotted, sanded and cleaned (several times) ready for primer tomorrow. I will only need to paint to the waterline as the gel coat finish on the rest of the hull is very good and after a bit of effort cleaning today she looks like new.
In between spotting & sanding I managed to get some of the vinyl lettering done (to replace the paper signs that have been in place temporarily since August 2013 – not bad for paper, ink-jet printed & covered with clear tape).
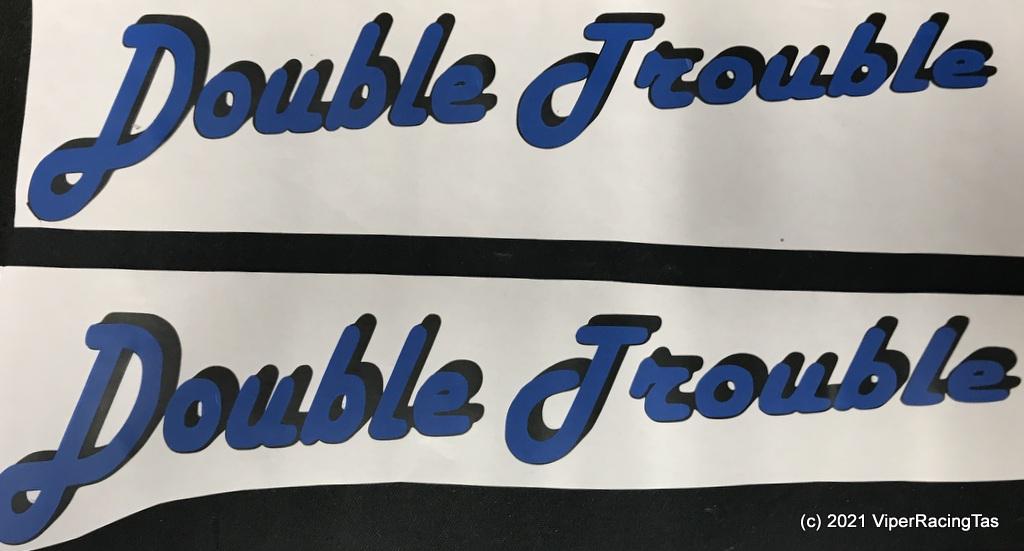
First time I’ve tried double printing (two colours) and whilst it came out OK it really was a lot of fiddling to get right .
The Blue & the Black Shadow – cut separately
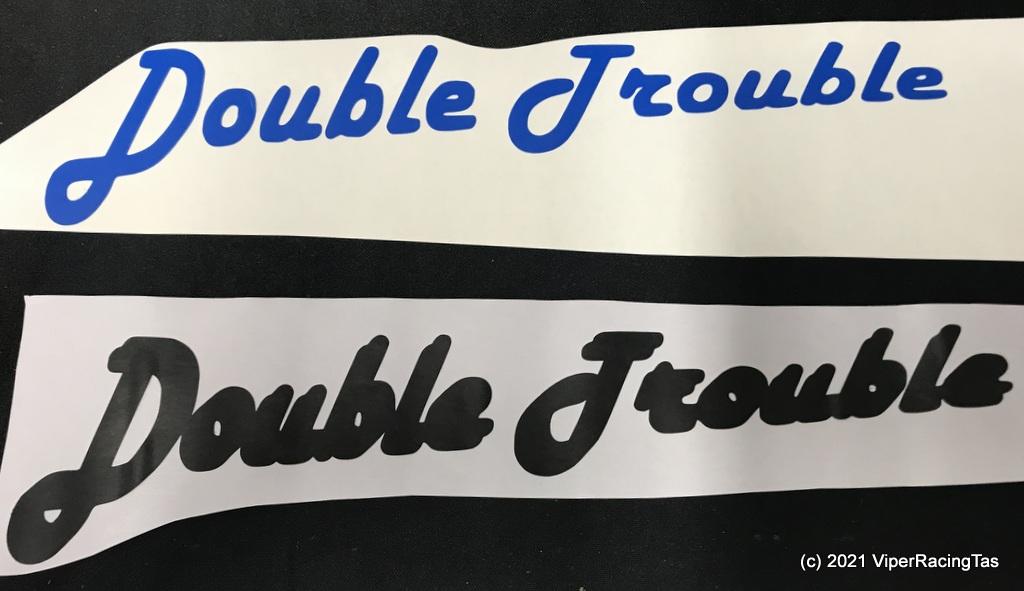
Colour overlaid on the shadow – ready to apply
Ah, the joys of modelling.
-
17 August 2021 at 17:49 #9009
Starting to look the part A job well done mike
-
17 August 2021 at 18:37 #9010
Thanks Mr Moose, I’m on a bit of a roll at the moment & its going well. Hopefully I’ll get it masked up tomorrow morning then get the paint on when I get back from visiting the Covid Clinic for my second AZ shot.
If painting doesn’t happen tomorrow then it will need to wait till Friday as hopefully we are all flying on Thursday.
I am assuming we will see you @ the field on Thursday with your collection of planes.
-
-
23 August 2021 at 16:05 #9082
Still plodding away with Double Trouble.
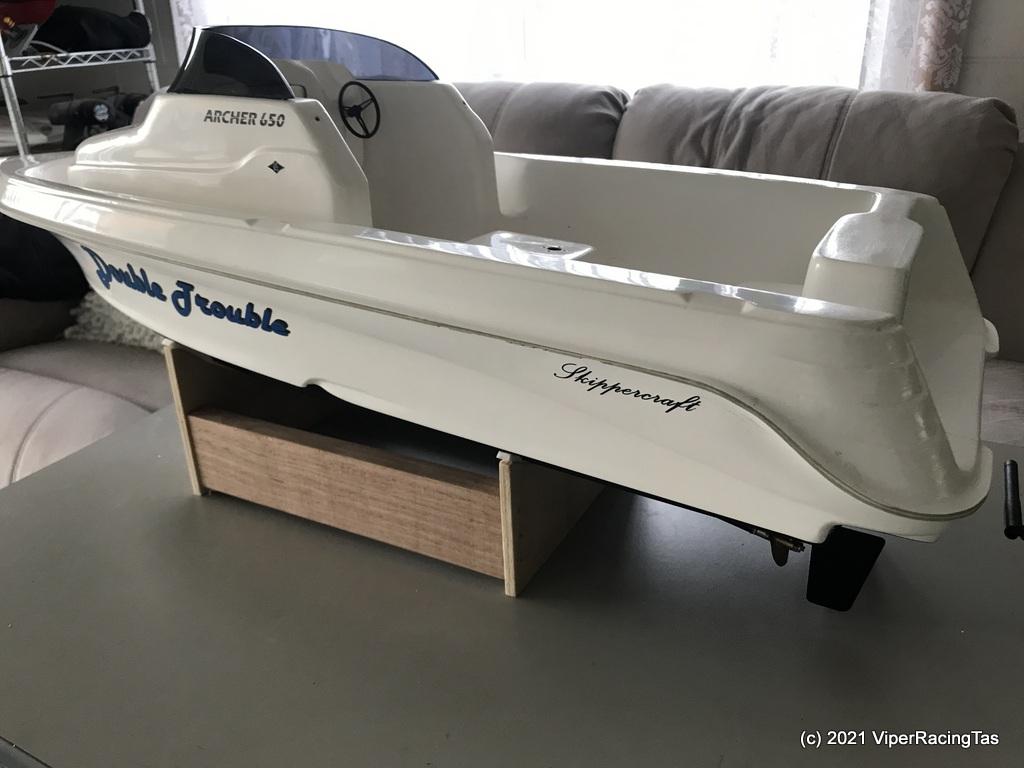
Got the hull primed last week , also got the display stand built.
Today the topcoat went on the underwater area.
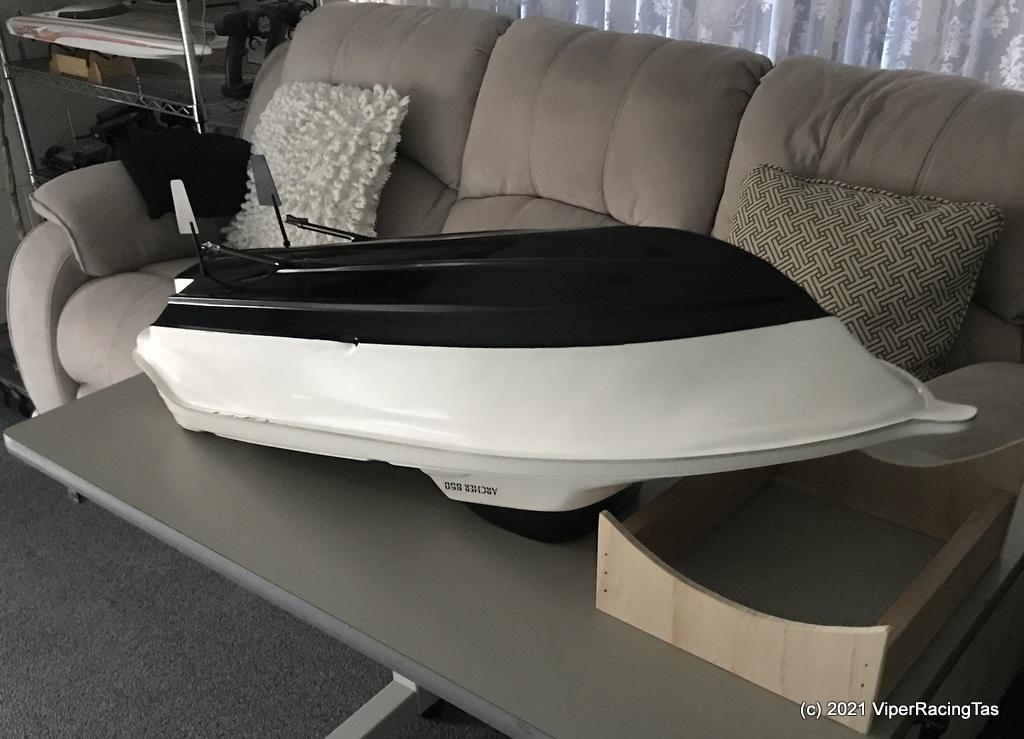
I’ll give it a day or two for the black to harden up then a quick cut & polish of the whole hull below the gunwales, add the signage, rudders & props and that will be about the extent of it for a few weeks till the drive couplings arrive.
I’ll need to get the stand for this & Badger II epoxied as well, soon as we get a nice warm day.
-
23 August 2021 at 16:30 #9083
Looking good Mike you wont know what to do with yourself soon or am I fooling
-
23 August 2021 at 16:36 #9084
Still got 2 x Victoria RC yachts & the Wizzle Wozzle A Class to finish + some minor repairs on the N12 yacht. Then the Mystic 32 Offshore Racer is still waiting for repairs from where it hit the old (yes, old) jetty @ the canal.
Don’t think I’ll run out of projects any time soon.
But at least the list is getting shorter !!
-
27 August 2021 at 15:30 #9139
Driveshaft couplings arrived early from downtown China so the motors are now installed ready for the first on water test run.
-
27 August 2021 at 16:22 #9140
Where’s the differential thrust steering mix?
You will need that to get out of Kermit’s way!
-
27 August 2021 at 16:32 #9141
With the big rudders I should not need differential thrust, however it’s easy enough to add if necessary.
I’ve just bodged it together to see how it performs with the new motors. Once I know it all works correctly then fancy bits can be added.
You know you can’t rush these things !!
-
-
31 August 2021 at 17:16 #9179
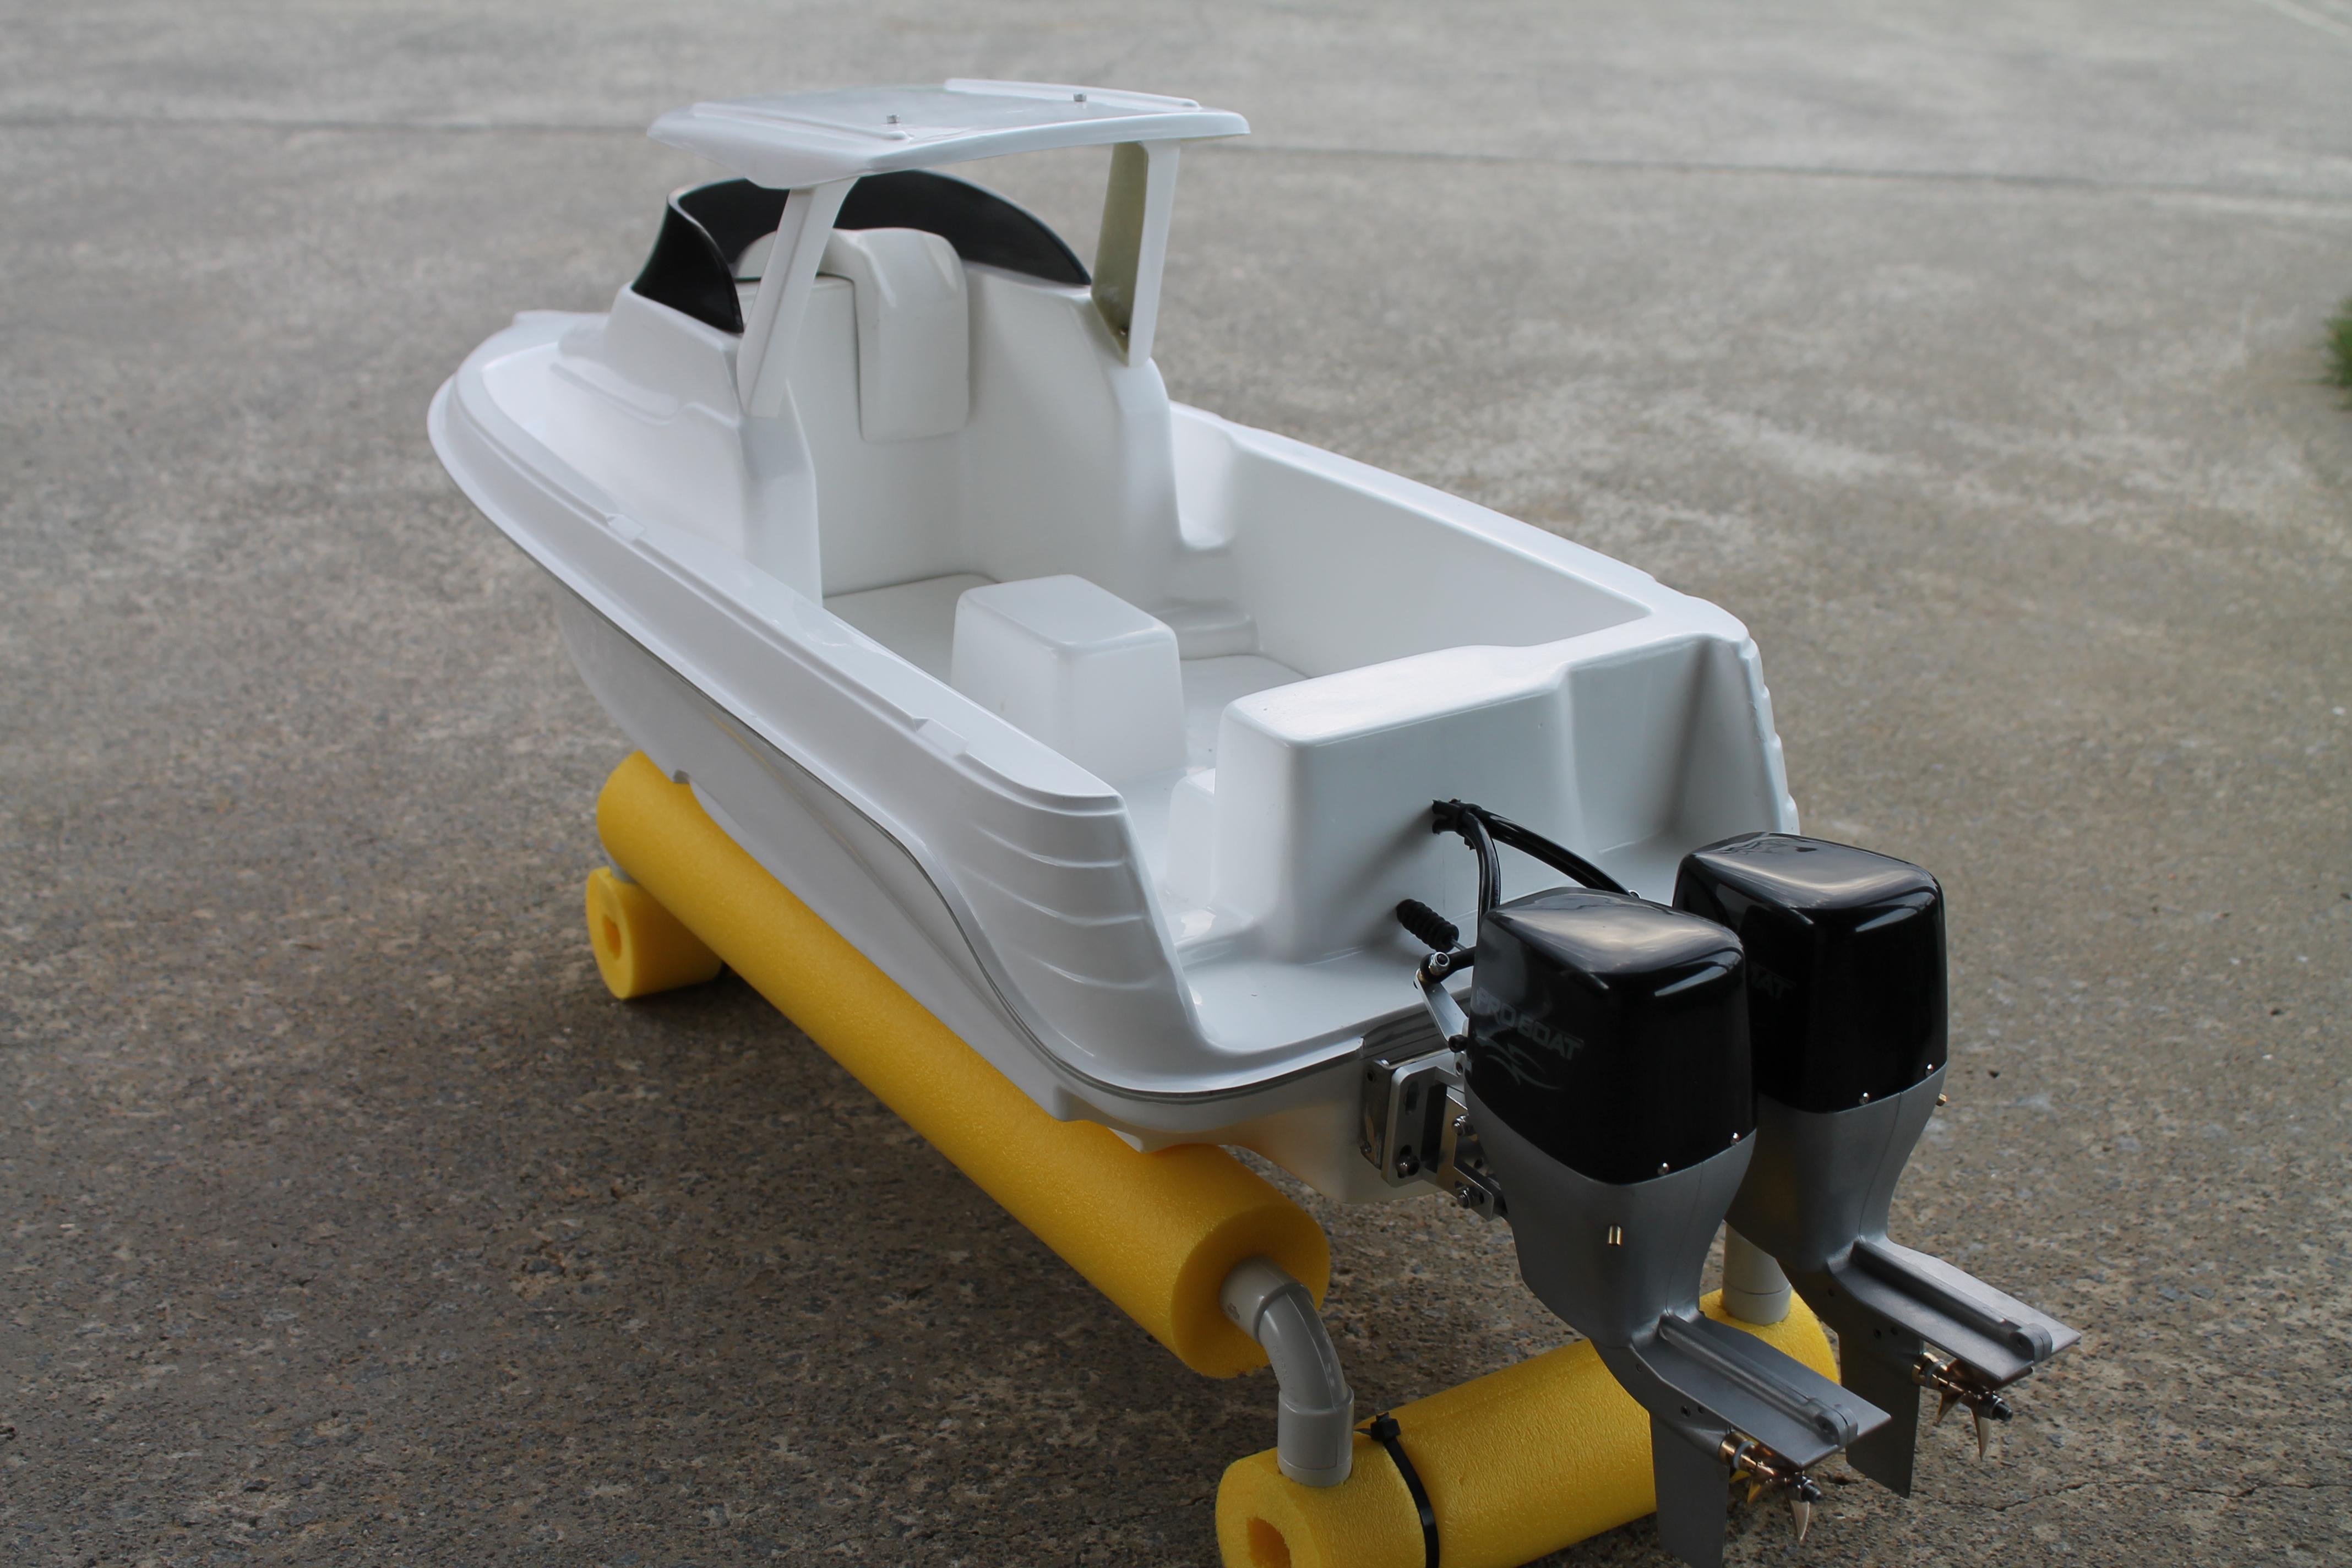
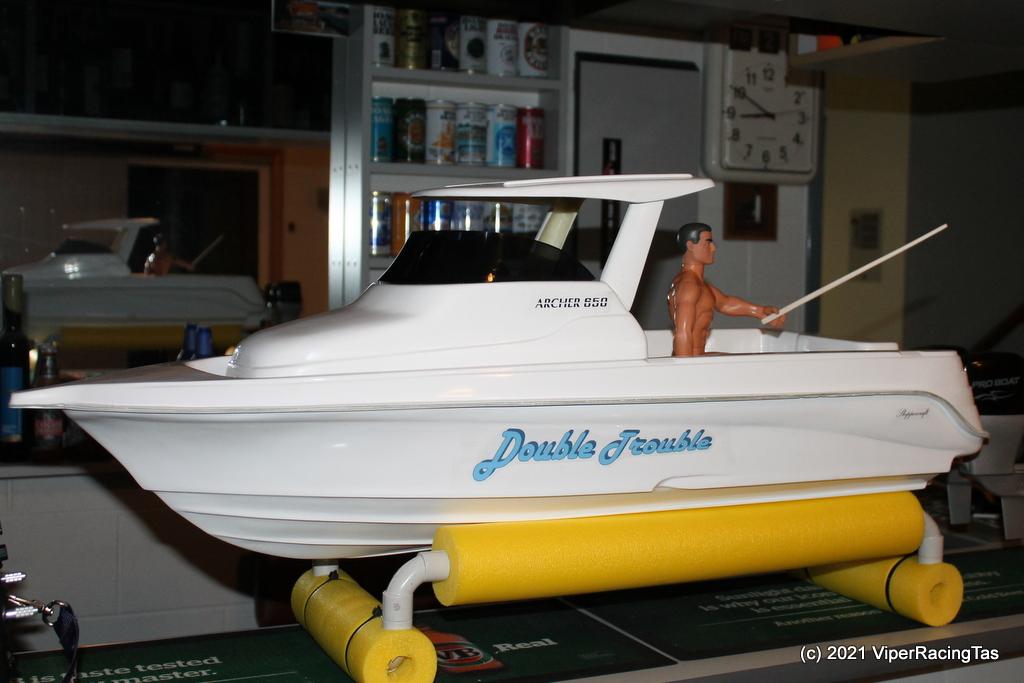
While “Double Trouble” is still far from finished it is a least now sitting on it’s own display stand and it is all fully functional ready for on water testing.
Just want to make sure it runs as expected with the new brushless setup and that the steering is satisfactory.
One of the props is badly out of balance so will either need balancing or I may need to replace the pair if they don’t match up with the new motors.
I’ve left the Hardtop off for this first round of tests but eventually it will go back on once the interior is all tidied up.
May get a test run this Saturday if the weather is favourable.
-
9 August 2022 at 17:11 #11894
Now that the A Class Wizzle Wozzle is finished (except for hull painting) and we are not flying for a few weeks due to the soggy conditions @ the field it was a perfect time to do some more work on Double Trouble, after all it’s only been a year since I fitted the now motors. (Can’t rush these things)
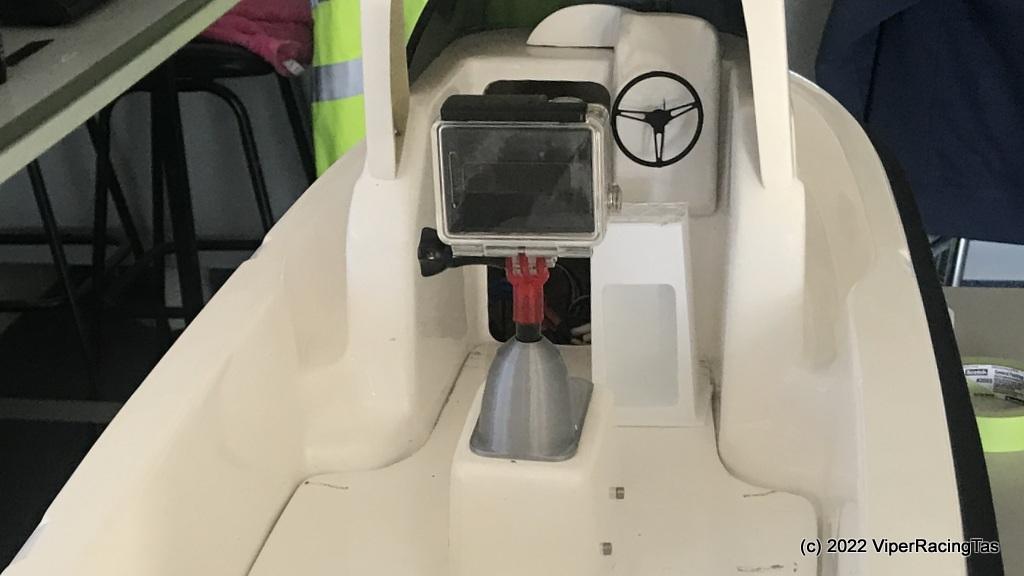
I’ve fitted the new 360deg pan mount for the onboard camera
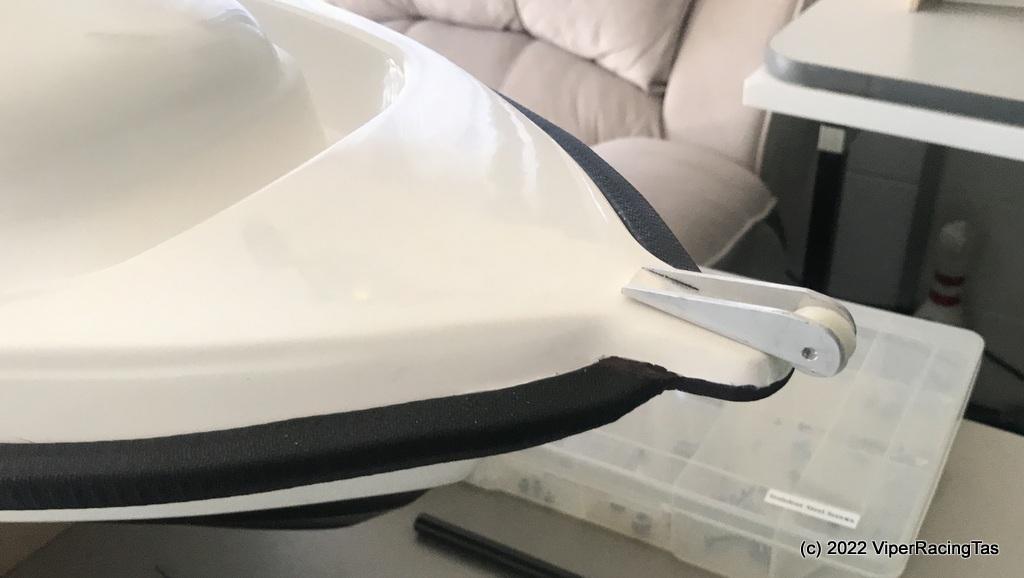
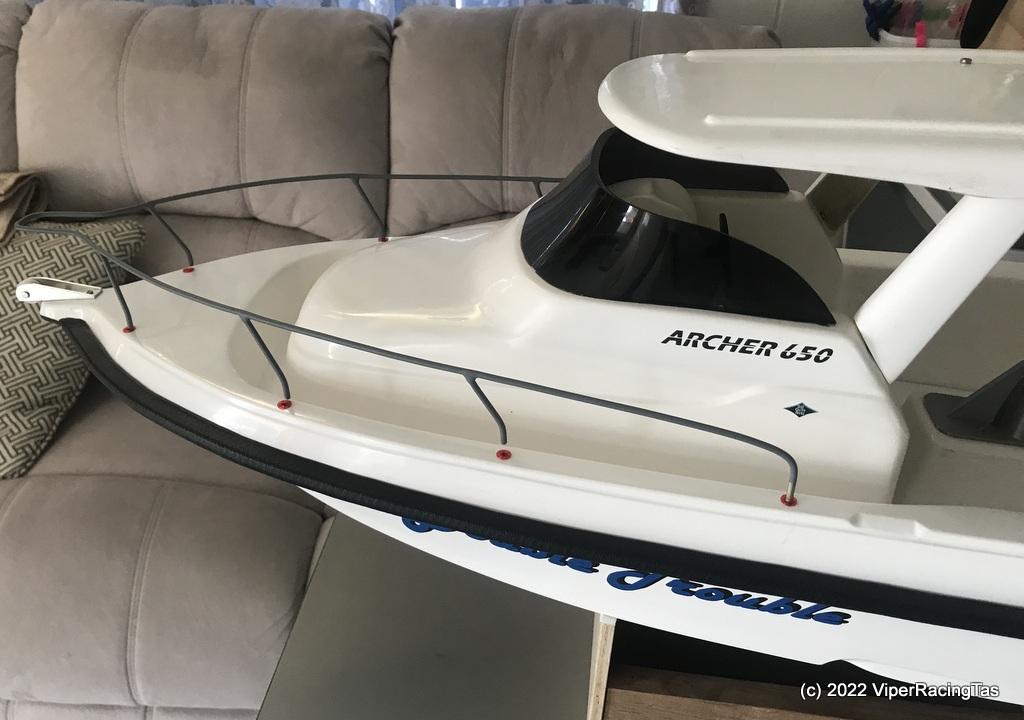
Also made up the bow roller assembly for the anchor, its not fixed off yet but only needs a couple of screws.
and finally, got around to making & fitting the bow rail. It’s sitting a bit high at the moment but I don’t want to push it home into the sockets till it’s been painted as I suspect it will be difficult to remove once the 3d printed sockets grab. They are printed in TPU Flex and work very well.
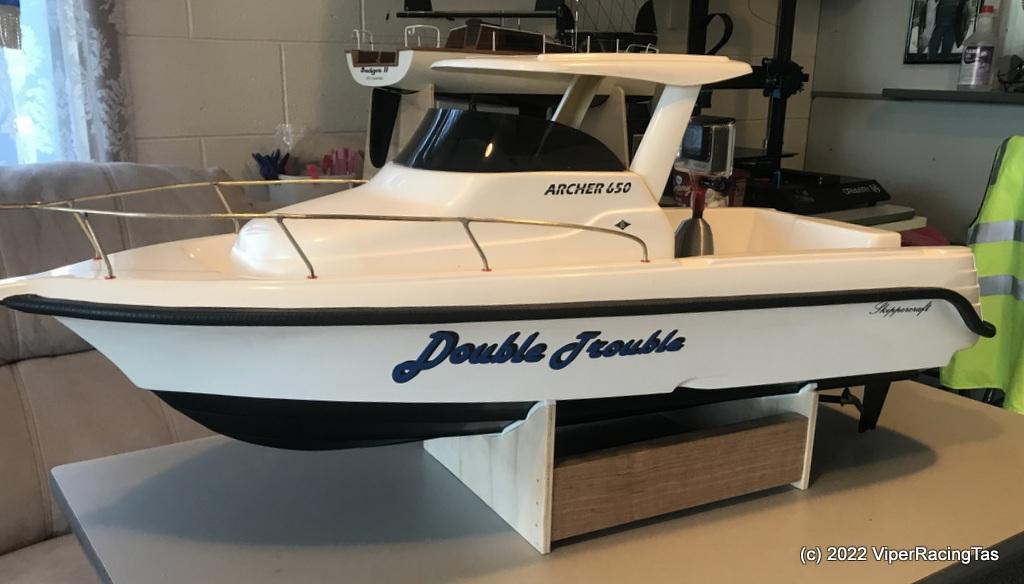
The rails are all 1/8 (3.18mm) solid brass, silver soldered together. First time I’ve attempted a bow rail but I’m pretty happy with the results. Get a coat of paint on them tomorrow & Double Trouble should be back in the water next weekend (if the weather is OK).
Might actually get it finished this time round.
-
9 August 2022 at 17:40 #11897
Looking good Mike, I like the idea of the TPU sockets
-
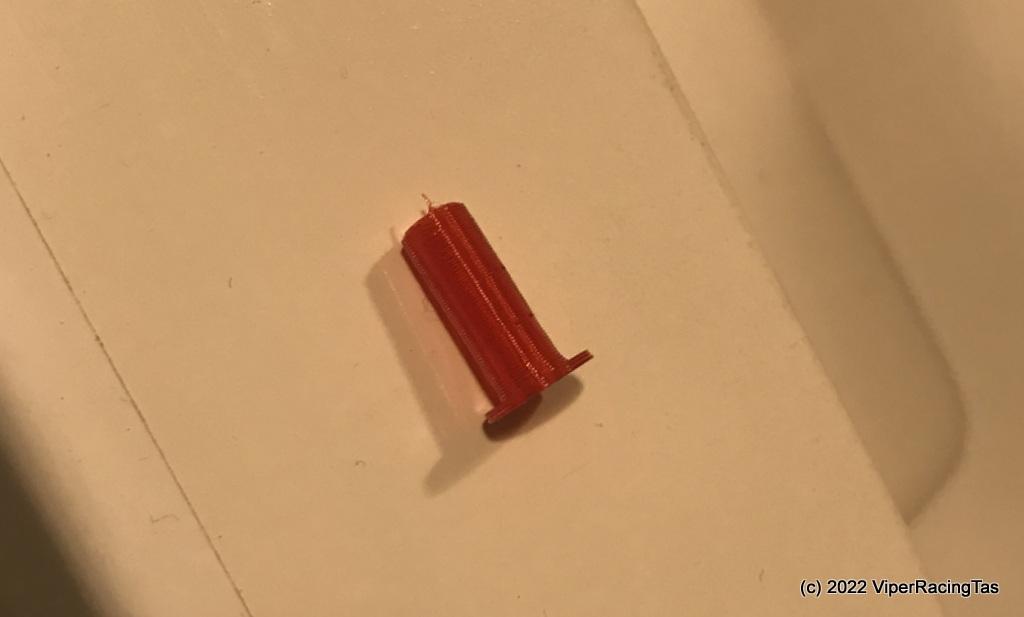
9 August 2022 at 17:45 #11899
Yes, similar to the safety rails on the Mt Gay 30 but they used syringe tip covers on that.
I could get a pack of 100 of them from downtown China for a couple of bucks but I only needed 8 so decided to try and print them instead.
Syringe Tip Cover
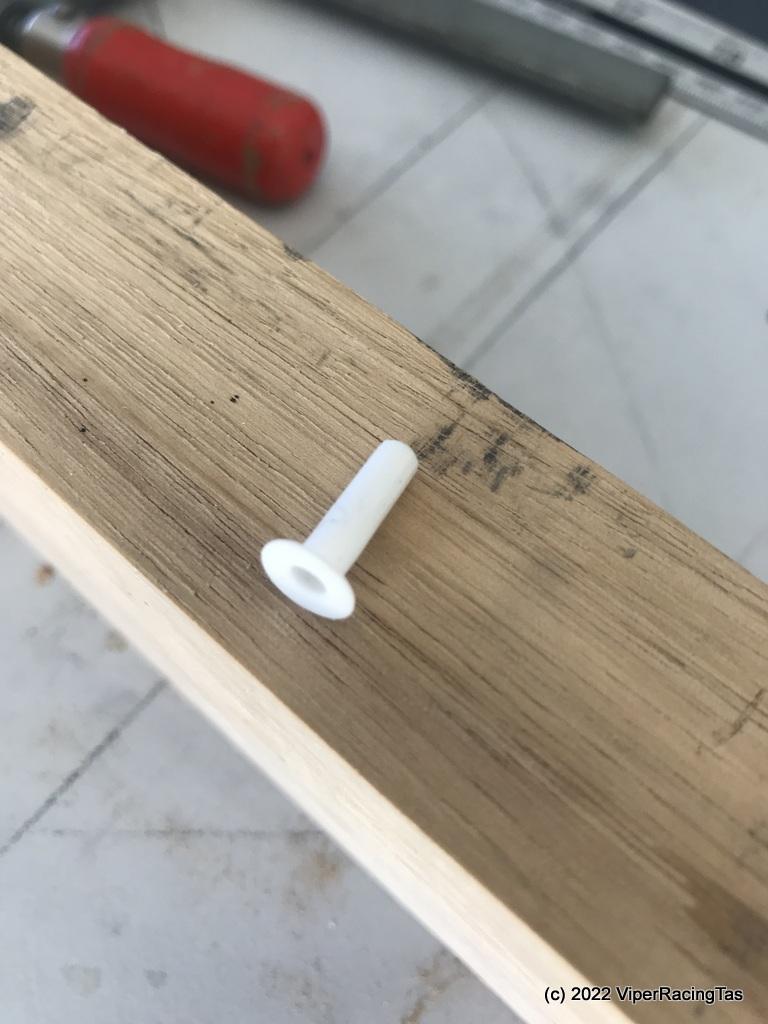
Took a couple of goes to get the design right as they are only o.8 thick but now they print perfectly. I tried 0.6 but that was just too light.
3D printed version
-
-
10 August 2022 at 16:15 #11908
Got a couple more bits & pieces done today, the anchor roller is now installed & the bow rail has been etch primed & undercoated ready for painting tomorrow.
I spent half the morning searching the house for the bait board from the rear of the Archer 650 only to find it exactly where I thought it should have been, just that it was in an old ice cream tub with another one stacked inside it.
Anyway, after finding it & making the mounting rail it has now been installed. This time I used the metallic silver paint straight over the sanded brass rod (rather than etch priming & undercoating) just to see how well it wears. If it doesn’t wear well it is nice & small to clean off and repaint as per the bow rail.
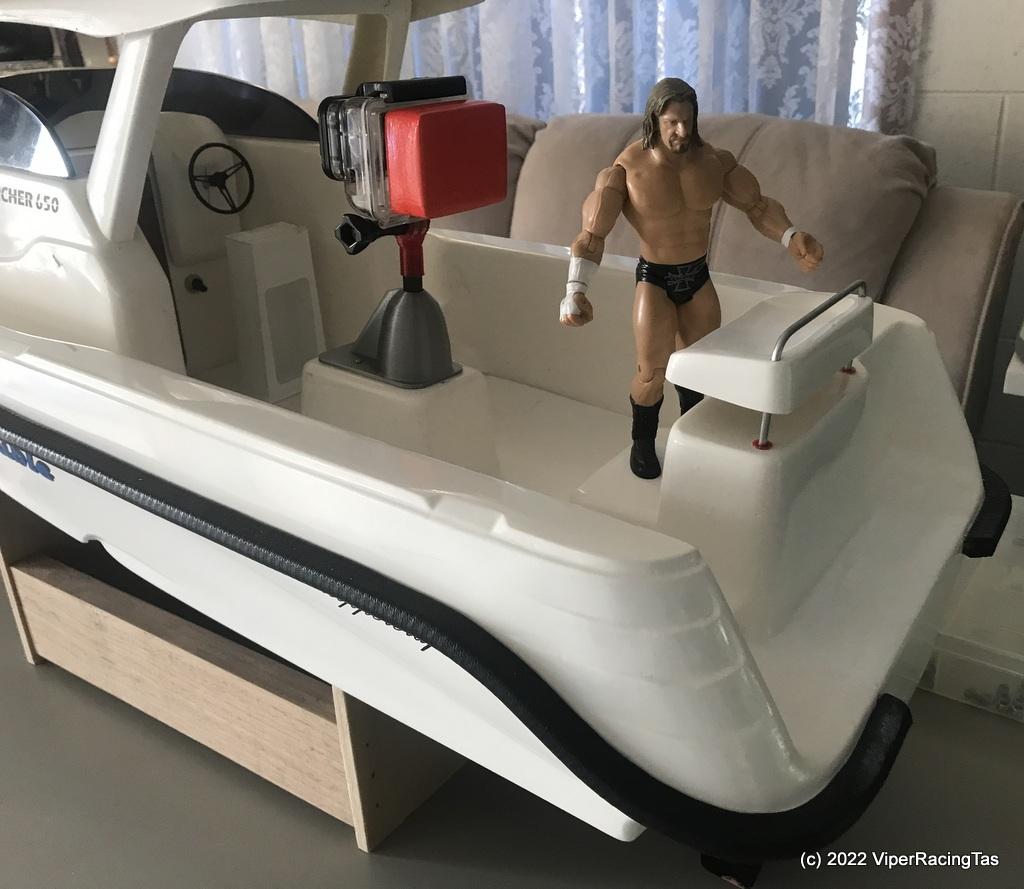
Also got the “Floatie” installed on the GoPro Hero 4 (shouldn’t need the stabilised Hero 9 on this boat) so not only should it save the camera should it accidentally end up in the water, it will also make identifying the camera heading when rotating at a distance.
I’ll most likely reinstall the FPV gear on this boat for remote control once everything else is finished.
-
16 August 2022 at 15:44 #11924
Still beavering away on the 1/7th scale Skippercraft Archer 650 Offshore Cuddy cab.
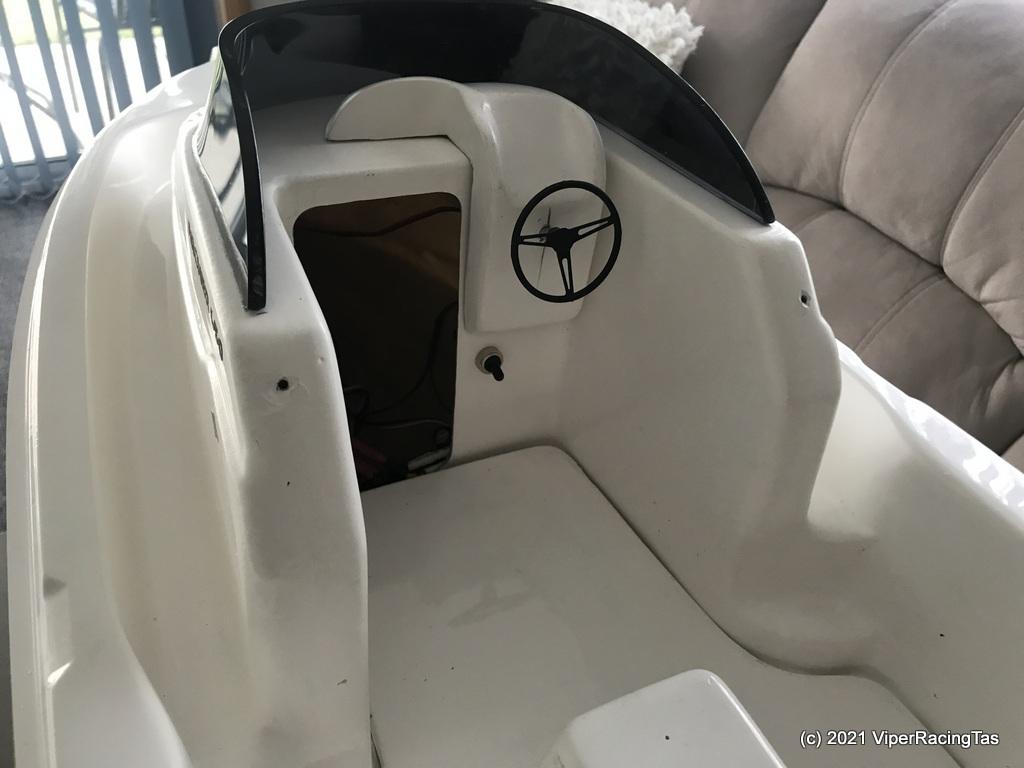
After listening to all the rattles and other vibrations on the onboard video from last week it was time to epoxy the dashboard in place (rather than use the steering wheel to hold it together).
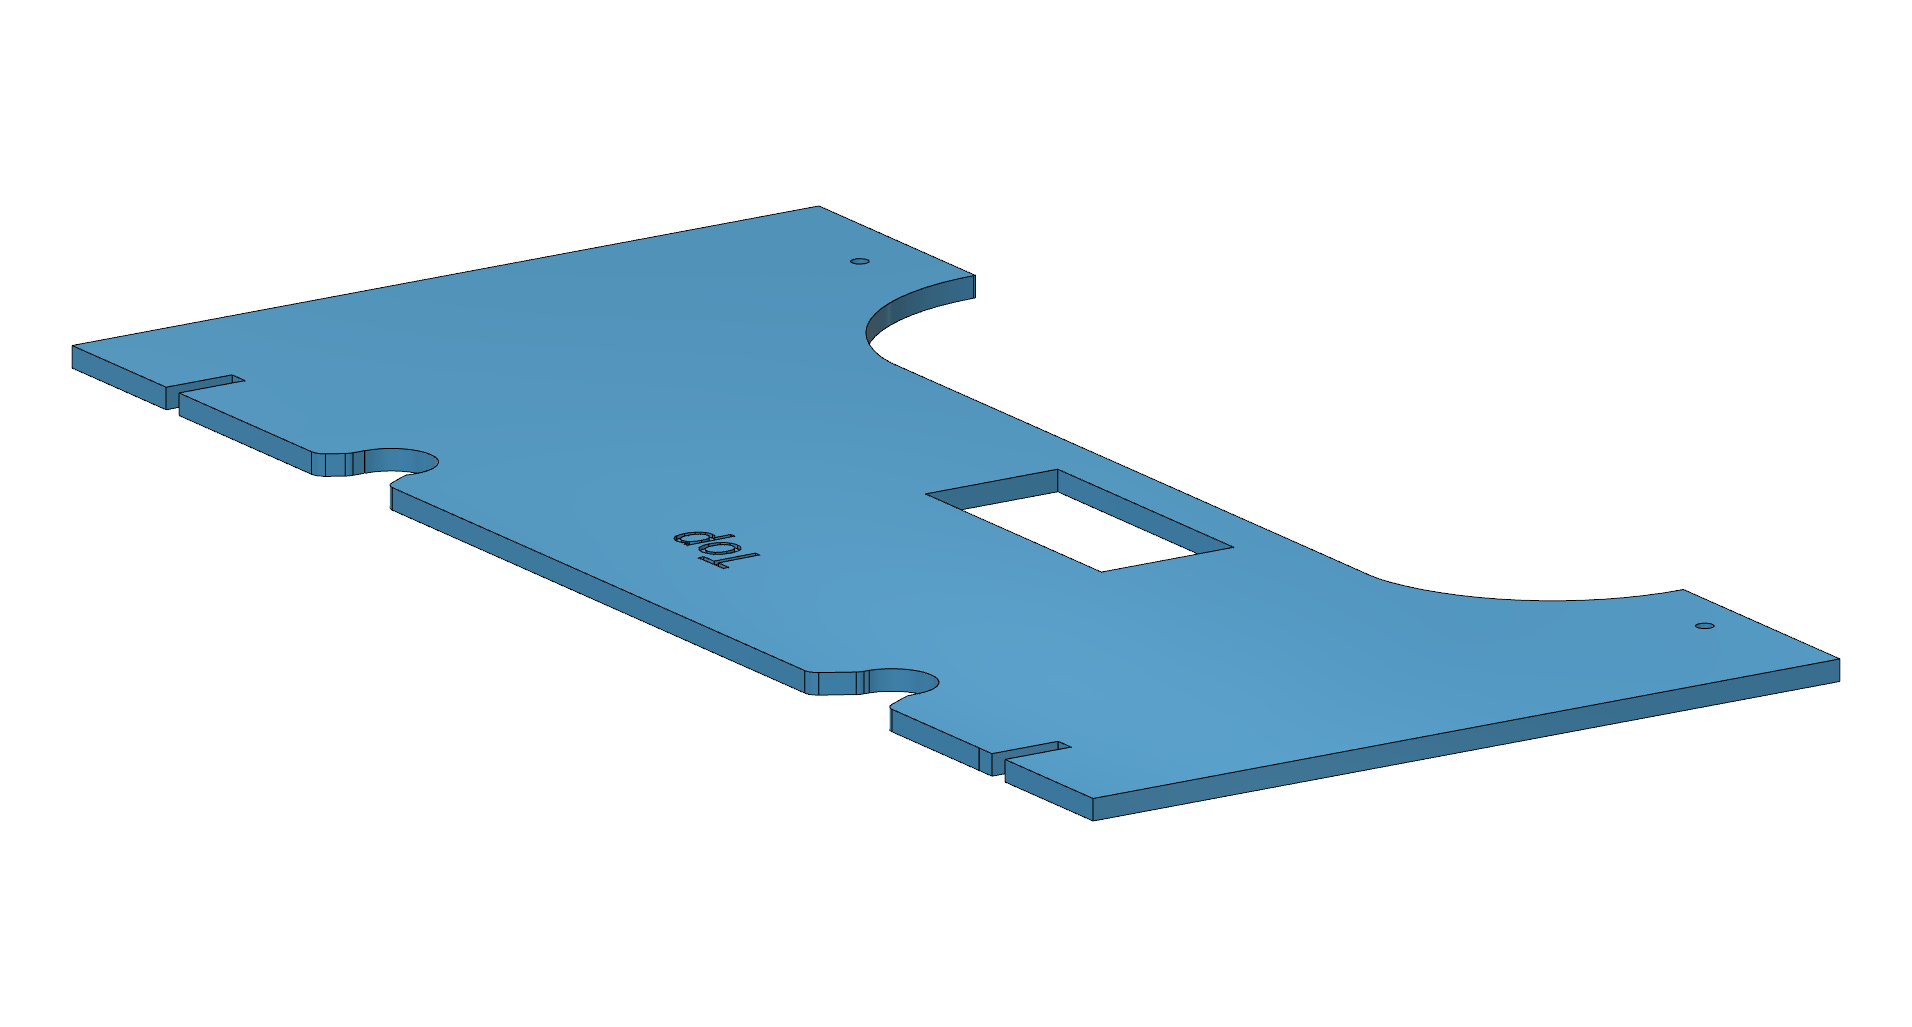
Also 3D printed a new rear tray to hold the steering servo & redid the steering arm geometry
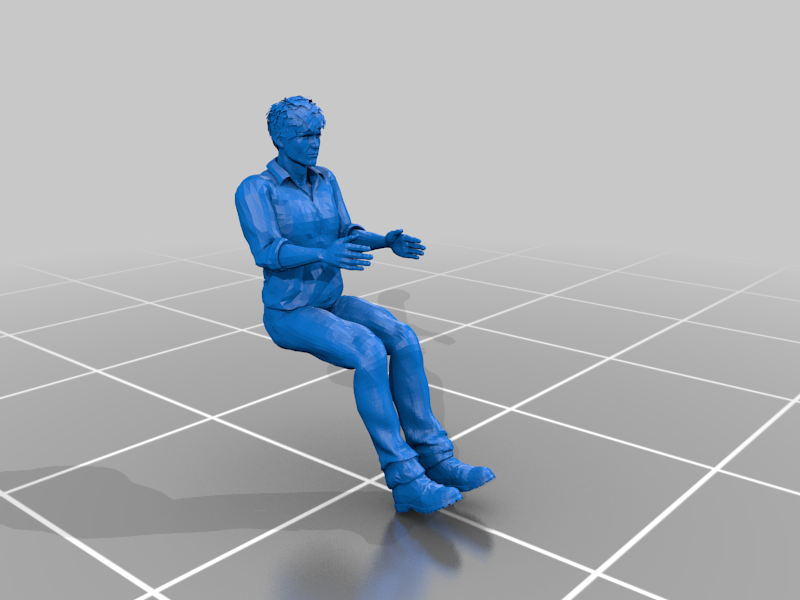
After hunting high & low to find a 1/7th scale captain (no one makes 10″ Action models, only 7″ or 12″ and not much in between) I finally opted to 3D print one, a lot more work but at least I can get the scale exact.
This was the file I used, scaled up to 1.465 which came out the size I needed.
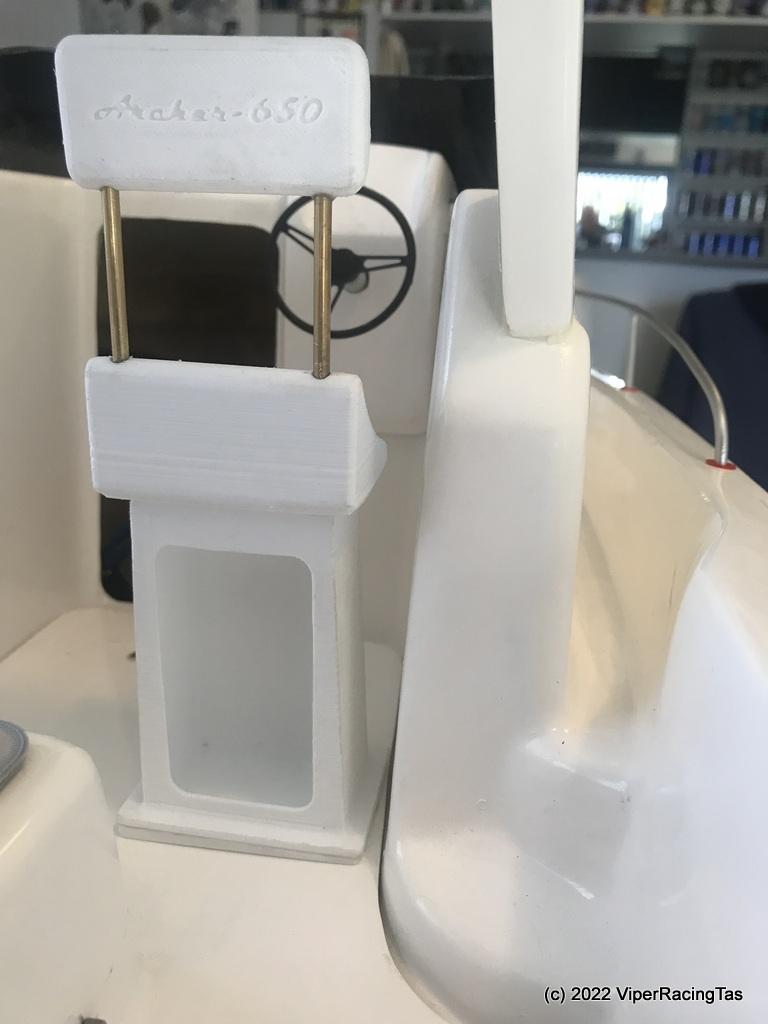
Also 3D printed a Helm chair for the Captain

and with the Captain seated
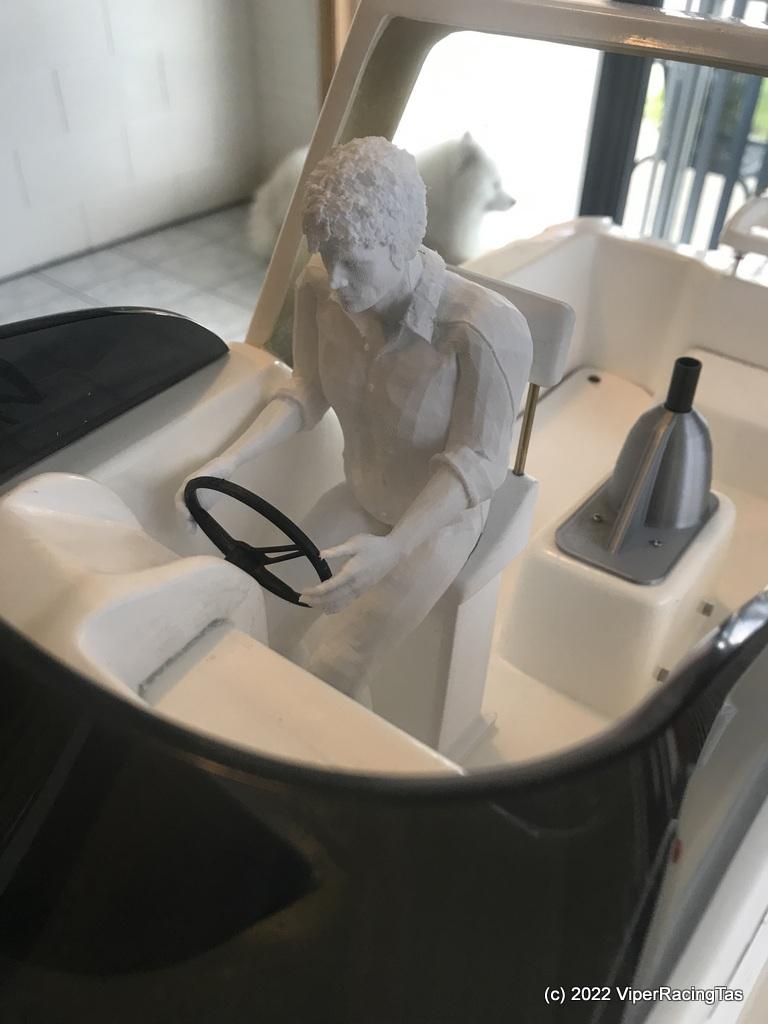
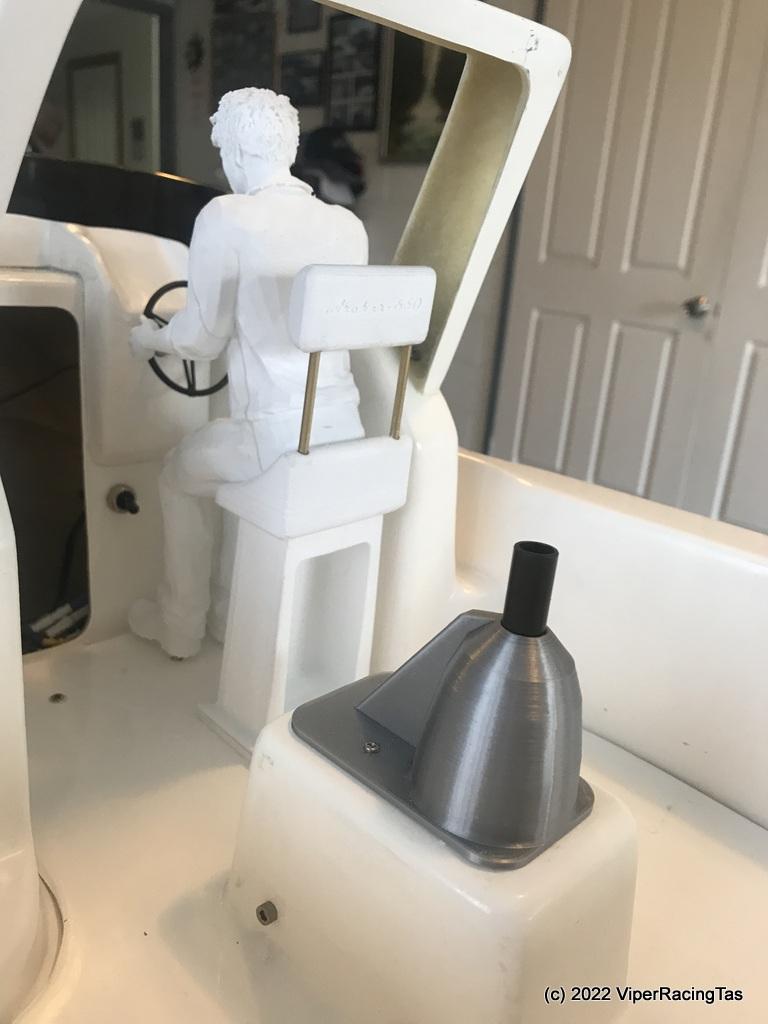
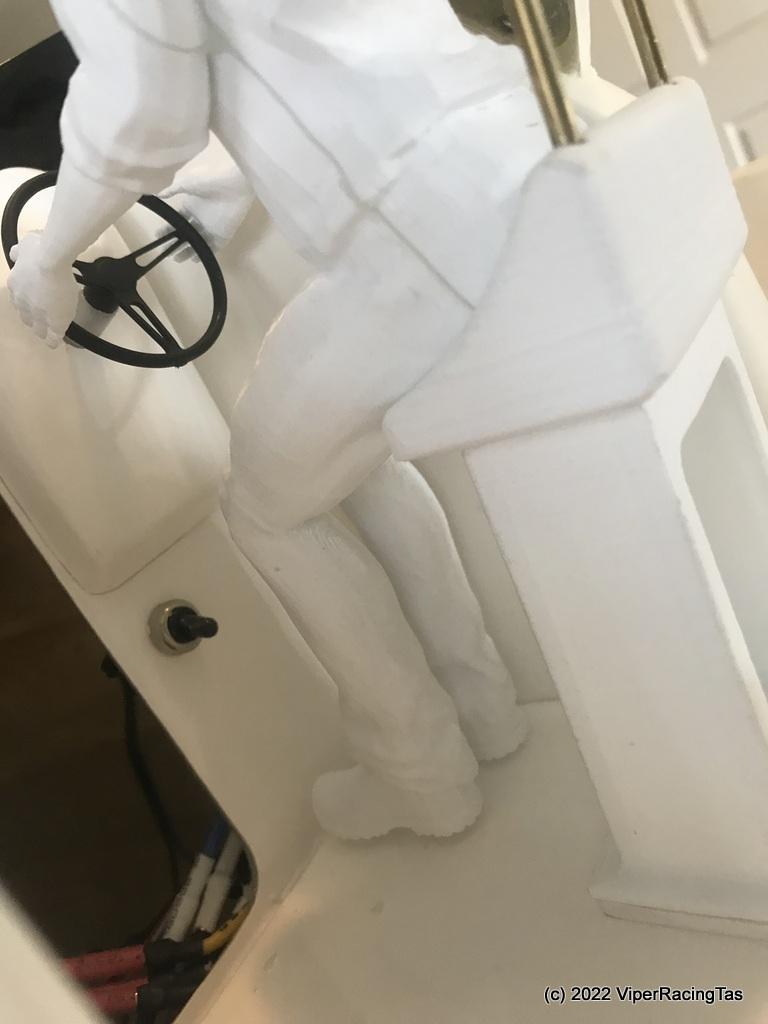
Now all the hard work is done I can start tidying up and painting the 3D prints ready for his first outing.
-
-
AuthorPosts
- You must be logged in to reply to this topic.