› RC AIRCRAFT › BUILDS › Electric Powered › Predators First build for 2022
Tagged: on the move again., TechPod
- This topic has 16 replies, 4 voices, and was last updated May 11, 2022 at 7:04 pm by
 Predator.
-
AuthorPosts
-
-
28 December 2021 at 11:21 #10073
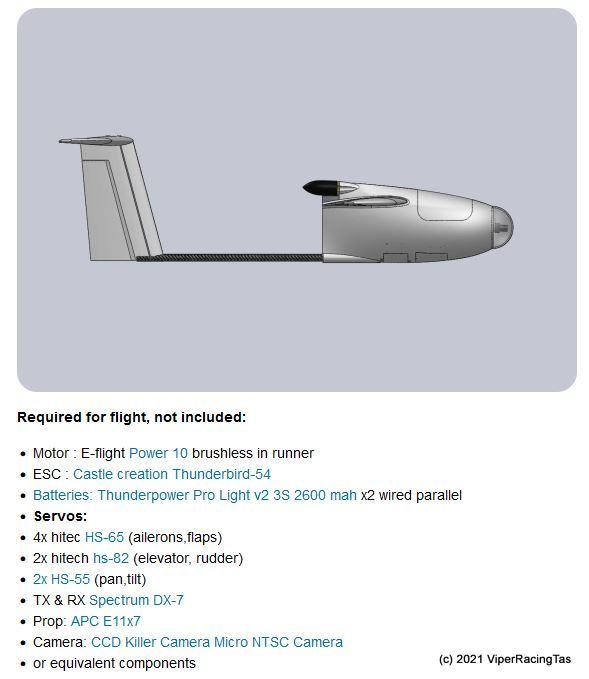
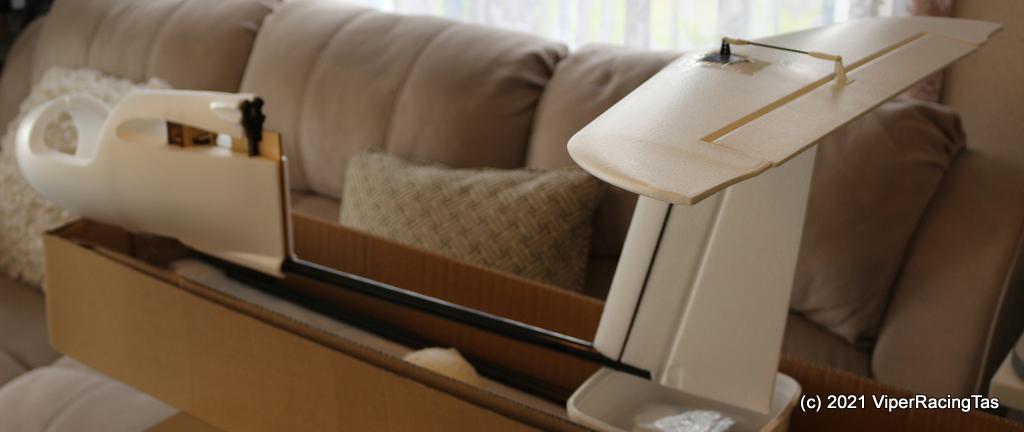
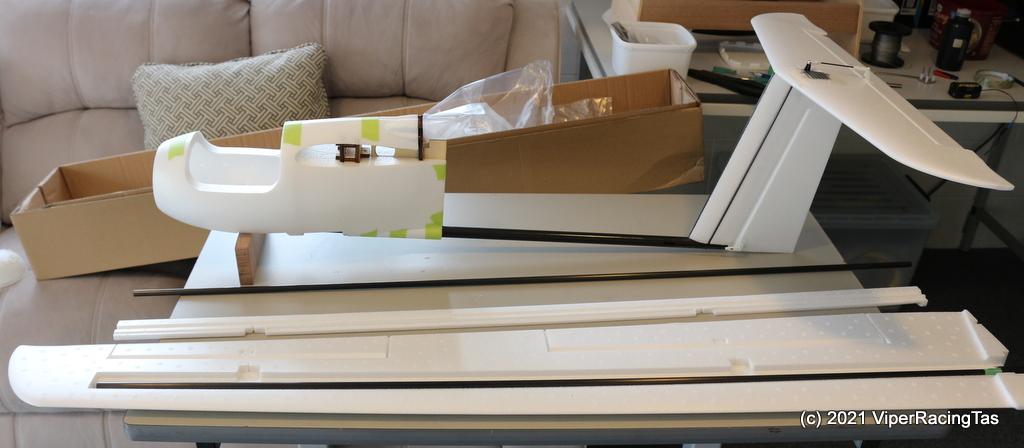
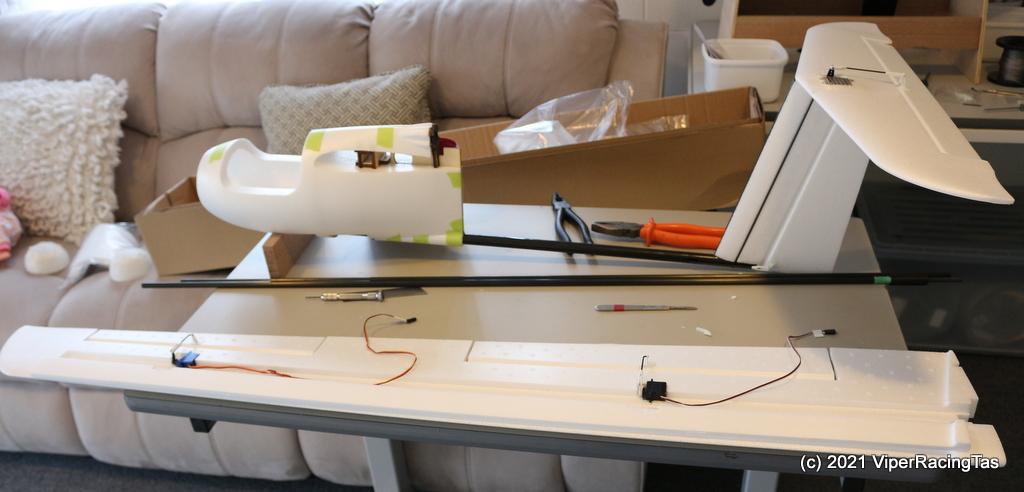
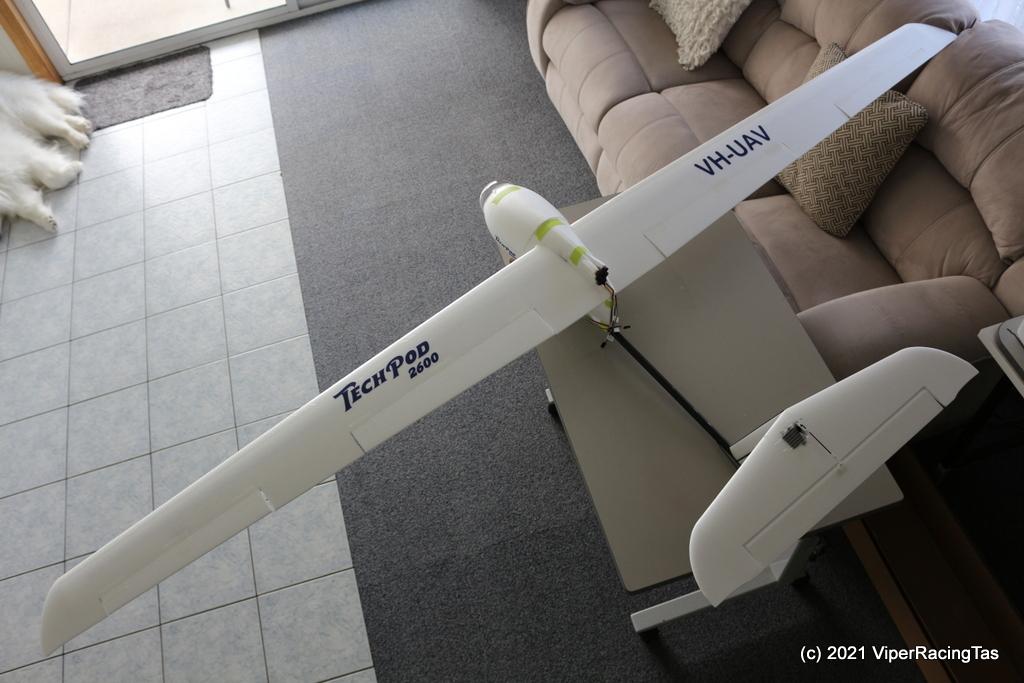
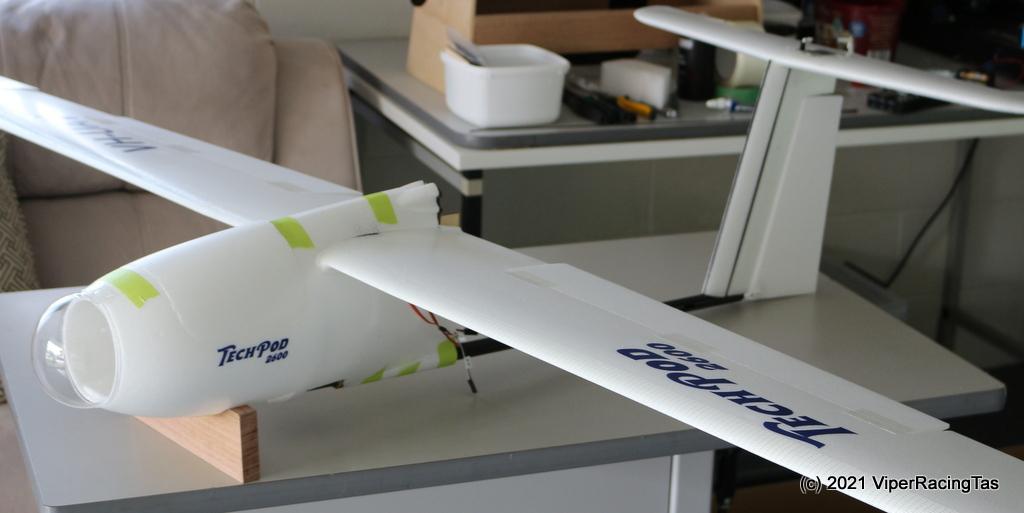
I picked the 2.6 metre TechPod FPV plane up this morning from Jason after he had kindly brought it down from Launceston for me.
It was all still in the original packaging of Outer & Inner cardboard boxes,
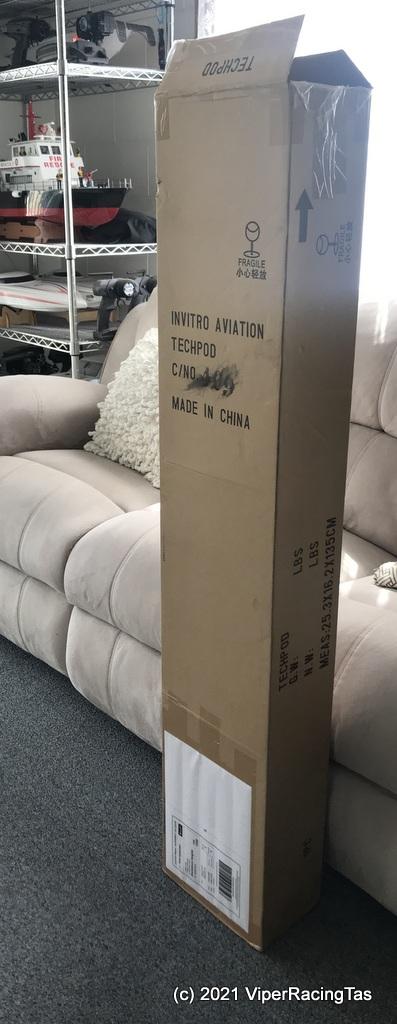
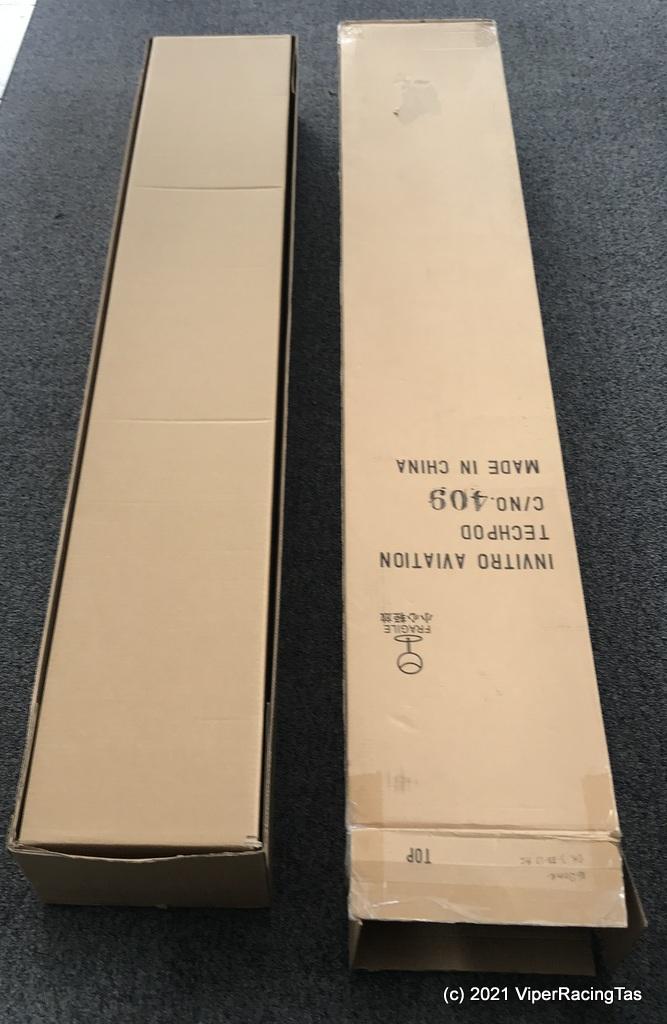
with all components still sealed is their plastic bags & taped into the box.
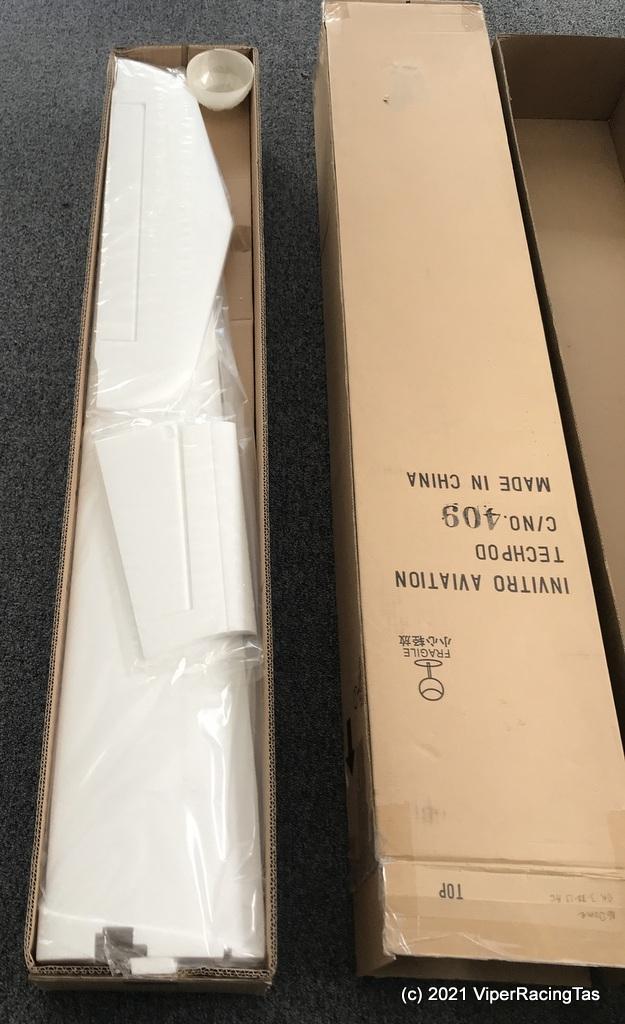
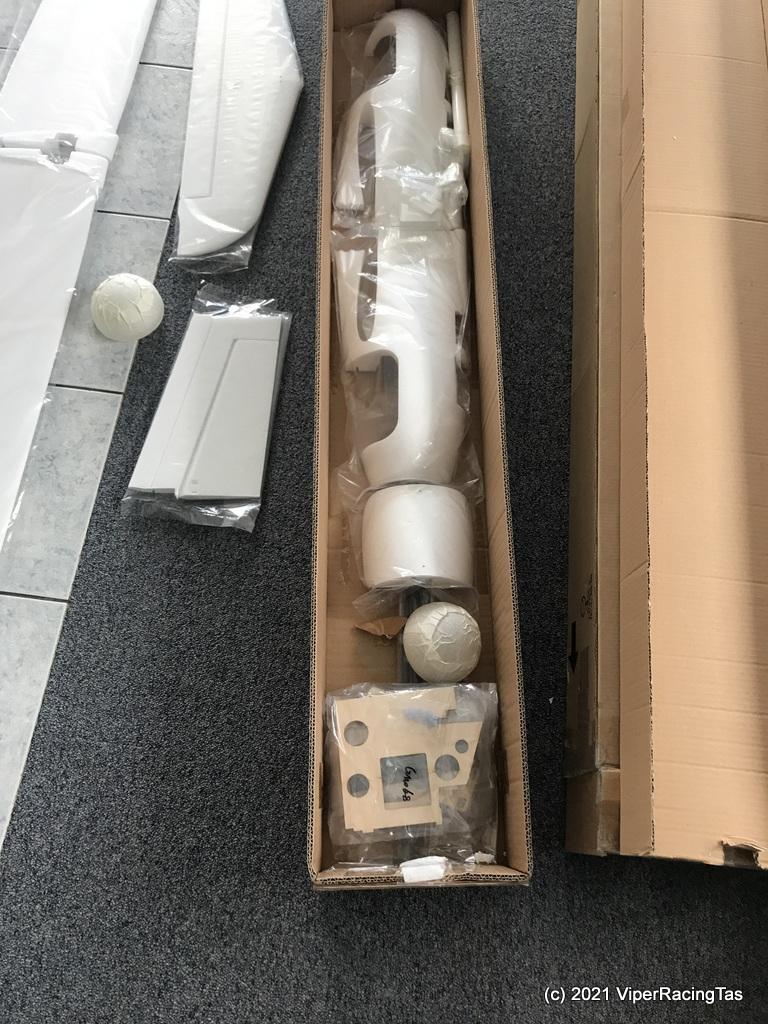
It took a little while to unpack it all but there is no damage evident & all parts appear to be there.
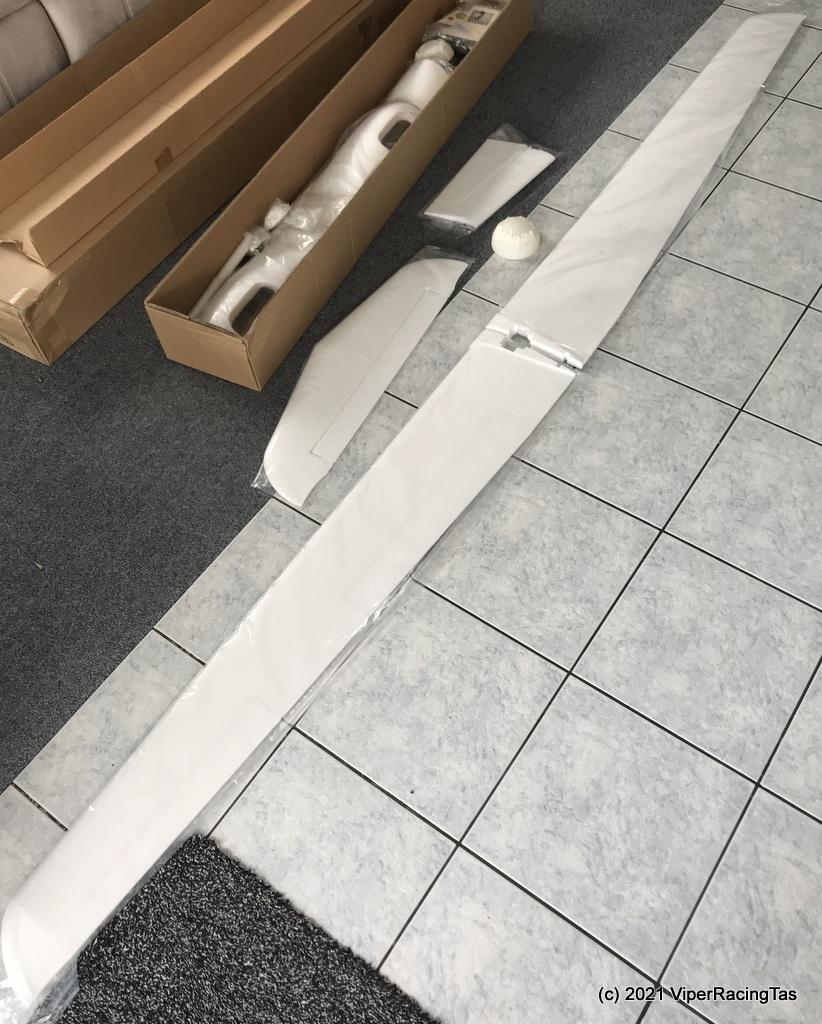
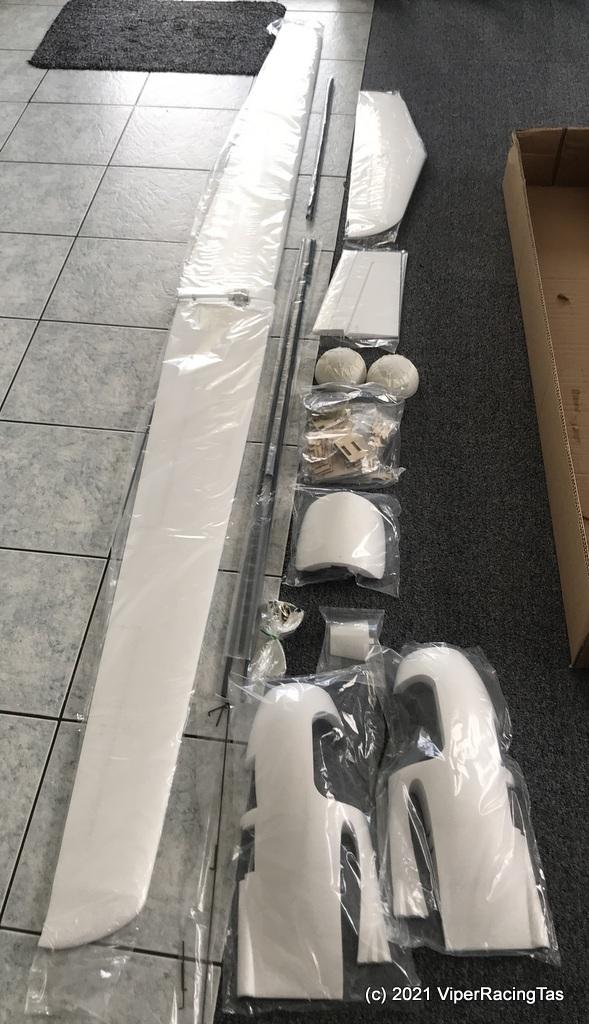
As it is a kit there are no electronics, servos etc but all the other required hardware appears to be there. I’ll download the plans later today (none supplied) and start ordering what I haven’t got already in stock.
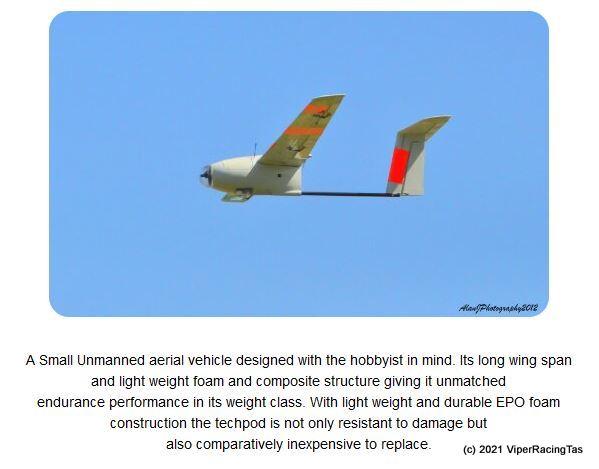
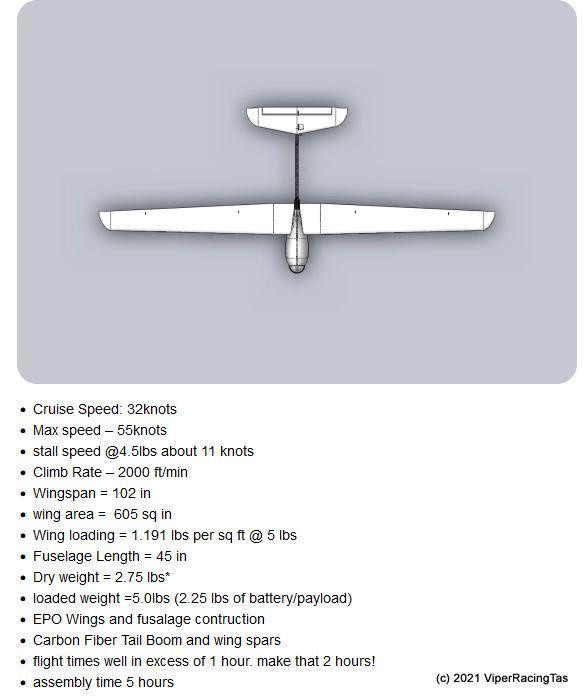
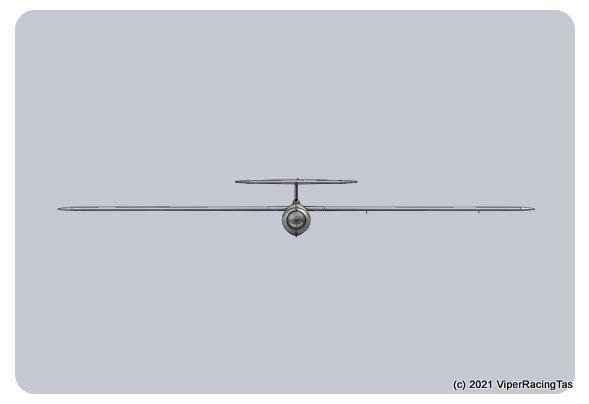
Here are some pics from the TechPod website. It should be an interesting build.
-
28 December 2021 at 19:40 #10074
That looks interesting.
-
28 December 2021 at 19:55 #10075
Yes, interesting is one way to describe it.
I found the build instructions on line but they don’t look that easy to follow. Suspect that their listed 5 hour build time will quickly expand into 15 or 20 hours.
Anyway it will be something to keep me amused during the next lockdown !!
-
-
3 January 2022 at 13:50 #10101
I missed flying today as we were supposed to be going fishing but unfortunately it got cancelled at the last minute.
Rather than waste a day I decided to start building the TechPod. When I first looked at the build instructions they appeared to be lacking a lot of clarity, once assembly starts you soon realise just how bad they really are.
Anyway I’m in no hurry so just plodding along.
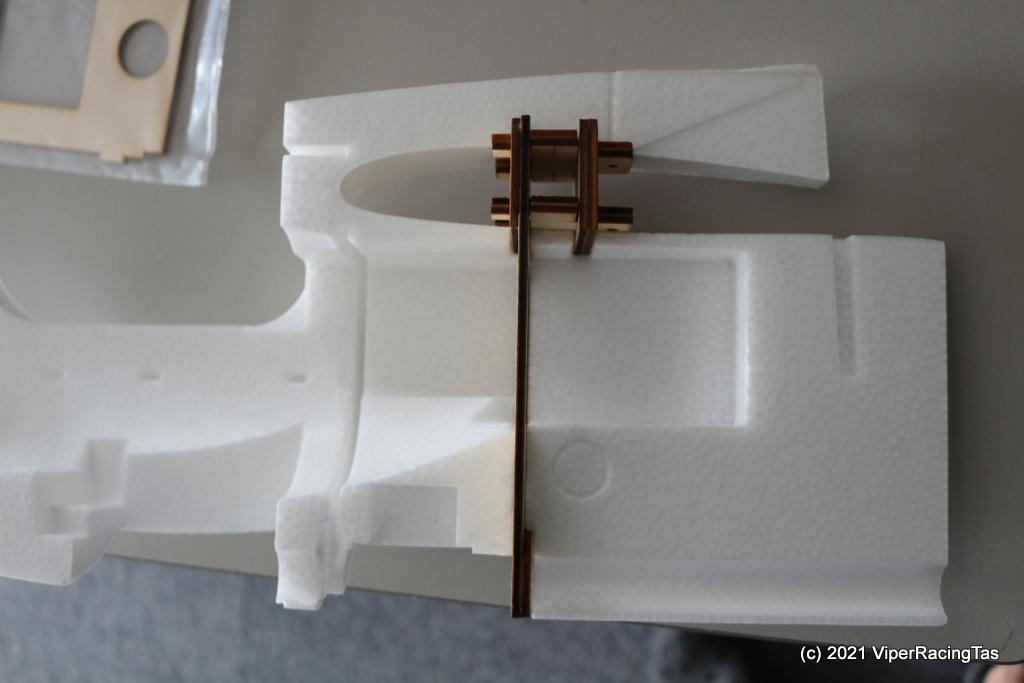
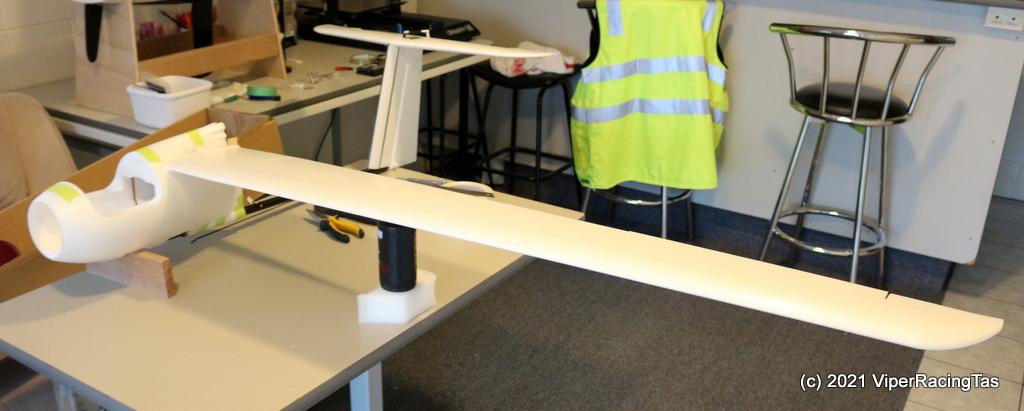
First part was to build the fuselage & its now coming along nicely.
The parts were identified & assembled without glue just to make sure it was right.
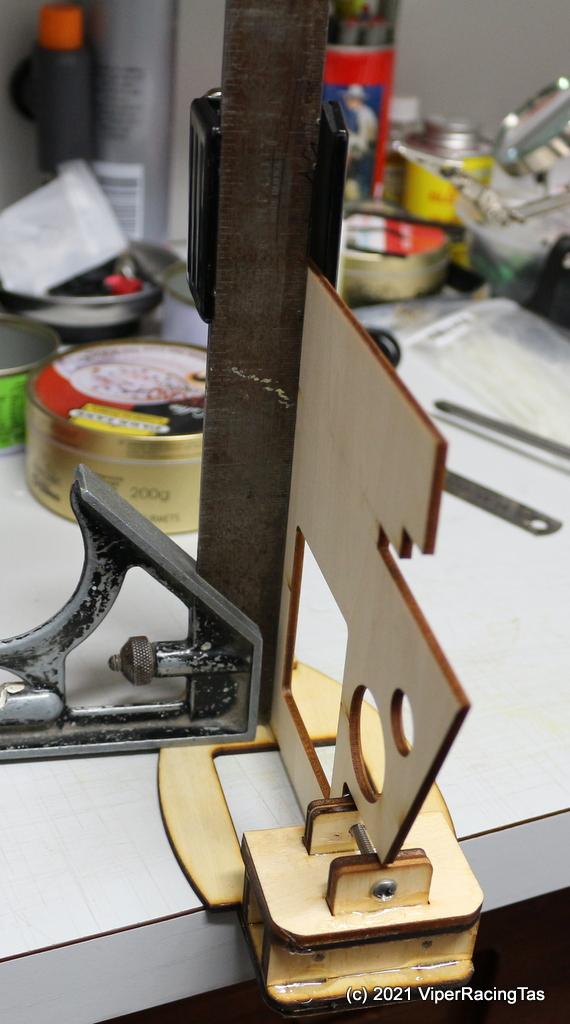
This is the “Wing Box” that holds the wing CF rod & also the CF tail boom
Now with the vertical brace & motor mount in place (still not glued)
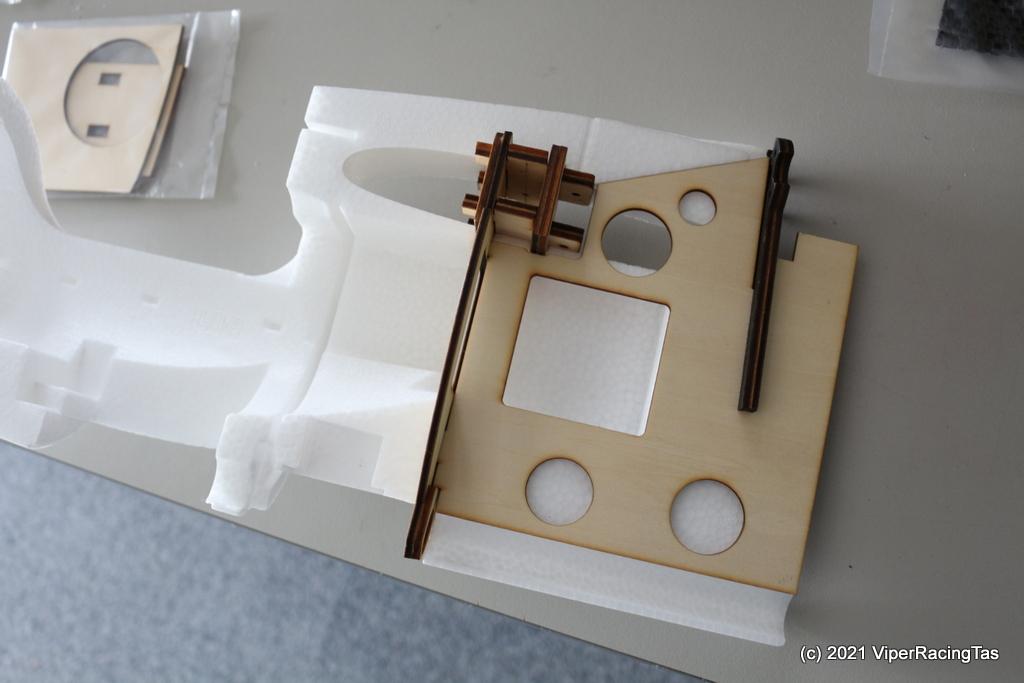
Time to epoxy it all together

Then fit it to the EPO Foam fuselage & install the tail boom
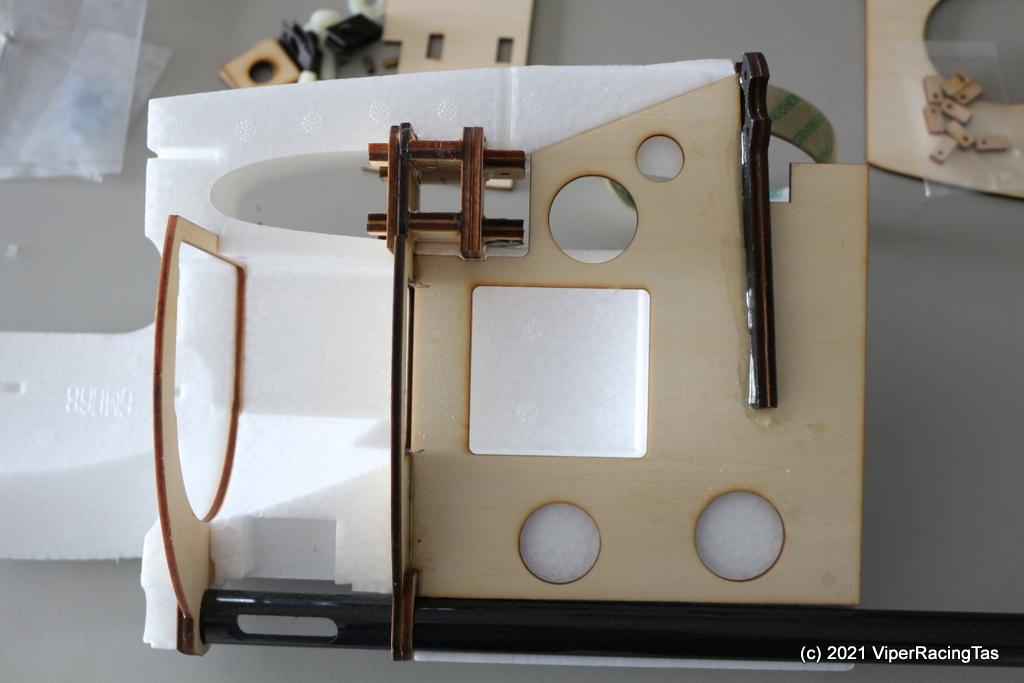
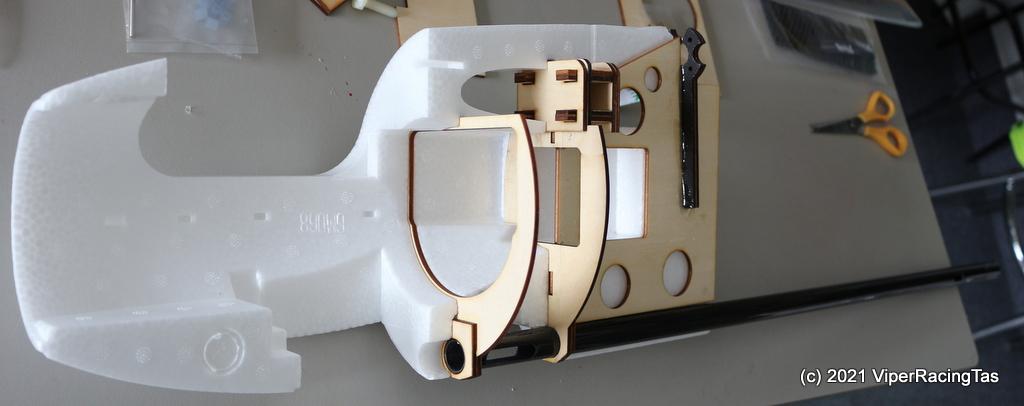
Now waiting for the fibreglass reinforcing around the motor mount to cure before more assembly.
The fibreglass reinforcing for the motor mount has now been installed and the tail boom epoxied in place. Next job is to fit the T Tail tail plane/rudder/elevator however I have found some upgrades online consisting of some 3D printed parts that allow for easy assembly/removal of the tailplane assembly so I have downloaded the files & will print the 3 parts tomorrow and see how it all goes together before simply epoxying the assembly in place.
-
4 January 2022 at 18:58 #10115
Unfortunately I didn’t get a lot done on the TechPod build today as we had visitors for most of the afternoon.
The 3D printed mods were of no real benefit (as I don’t need to remove the tail for transport) and just added more weight to the tail area.
I did manage to get the tail assembly built & epoxied in place (including the elevator servo).
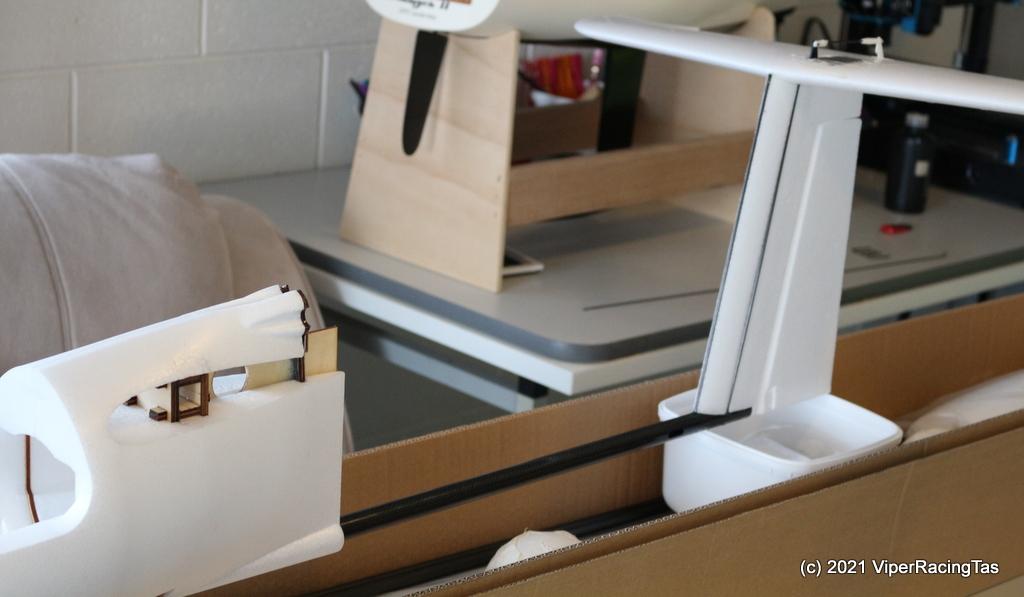
Hopefully will install the motor & rudder servo tomorrow then should be able to glue the main pod together & finally move onto the wings.
-
6 January 2022 at 16:35 #10129
Unfortunately the motor I was hoping to use won’t fit & all the other spares I have are either not powerful enough or have the mounting on the wrong end & are not reversible.

To that end I have at least made the adaptor plate to fit modern motors to the mount in the TechPod (which has wider spacing) & have ordered an appropriate motor capable of spinning a 12″ prop @ < 30 amps. The specified E-Flite Power 10 was around $130.00, the cheapie I got from Banggood was over $100.00 less.
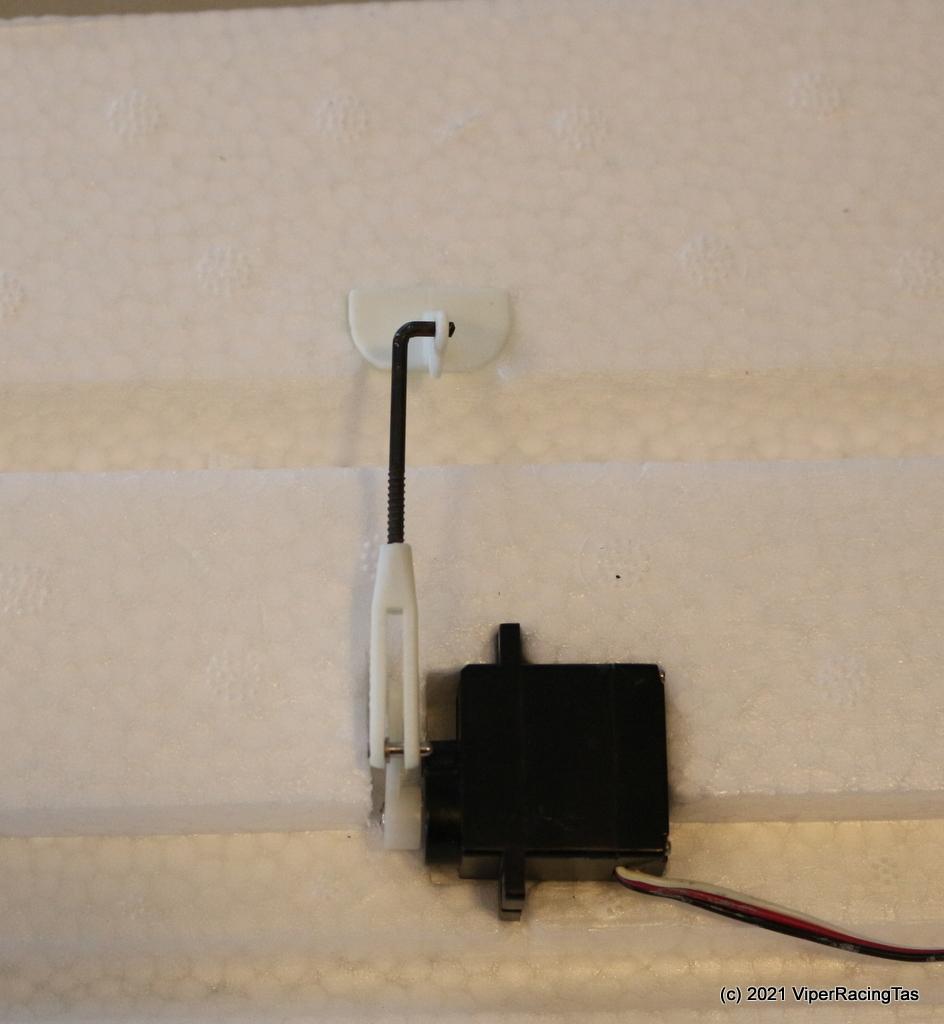
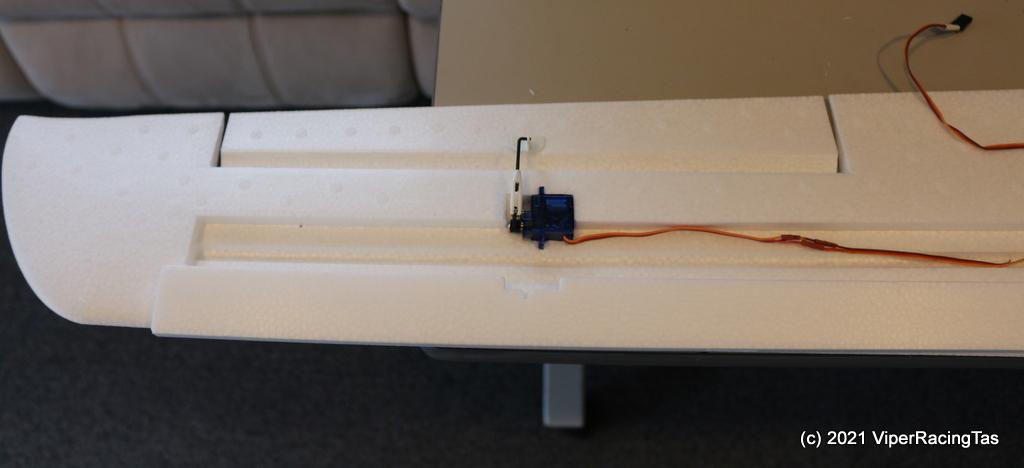
Managed to find enough new or used servos (6 required) in my various stashes so now the elevator & rudder are fully functional and the Wing build is under way.
The wing needs some very slight mods to fit standard 9gm servos as they are just a wee bit taller than the specified Hitech ones (but a hell of a lot cheaper.
The left wing has been modified to fit the servos & now just need to extend the servo wires by a metre or so then the wing can be assembled.
I won’t glue the pod together until the motor arrives & is installed but at least the wings can be completed and decorated appropriately.
A great way to pass a couple of rainy days !!
-
7 January 2022 at 16:31 #10134
Still plodding along slowly (no need to rush as the motor wont be here for several weeks) and the left wing is now complete, fitted with servos for ailerons & also flaps, CF brace, etc.
Tomorrow, if not fishing, I’ll start the right one. It’s a bit of stuffing around as the servo leads need to be significantly lengthened (no room for plug in extensions in the slimline wings) and then tack glued in very precisely so that the wing covers (over the CF braces, wiring etc) will fit flat.
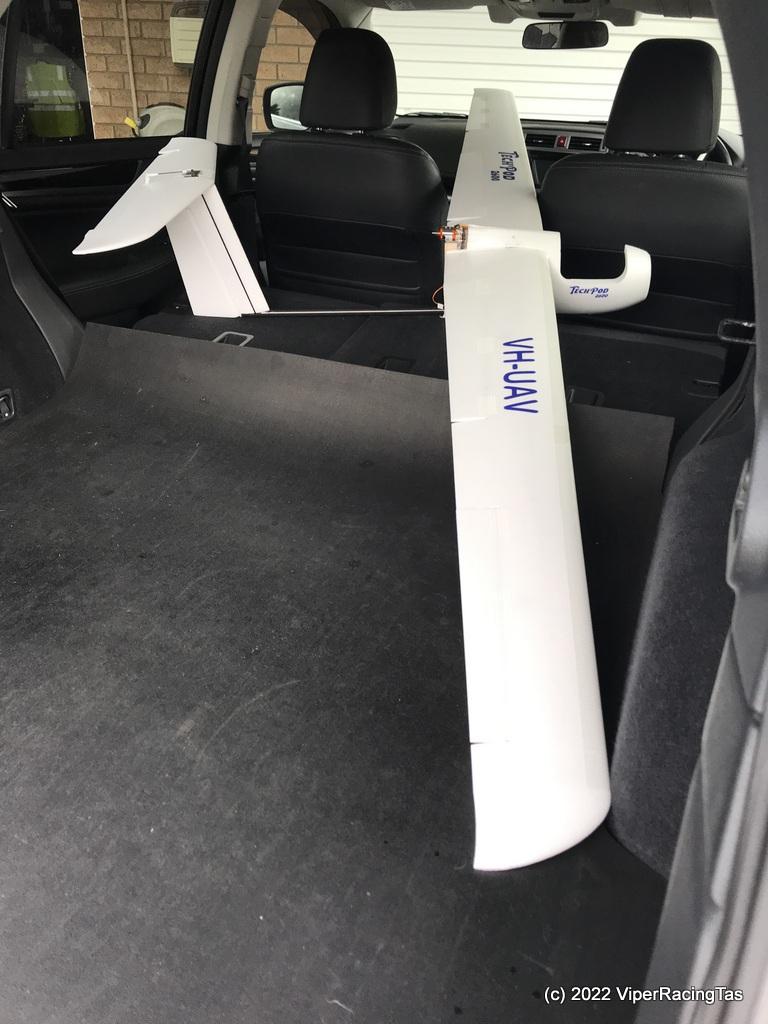
The wings are designed to be removable when completed but hopefully it will fit in the Outback with wings attached. The ASW28 just fitted & the wingspan on that was almost identical.
-
8 January 2022 at 16:17 #10146
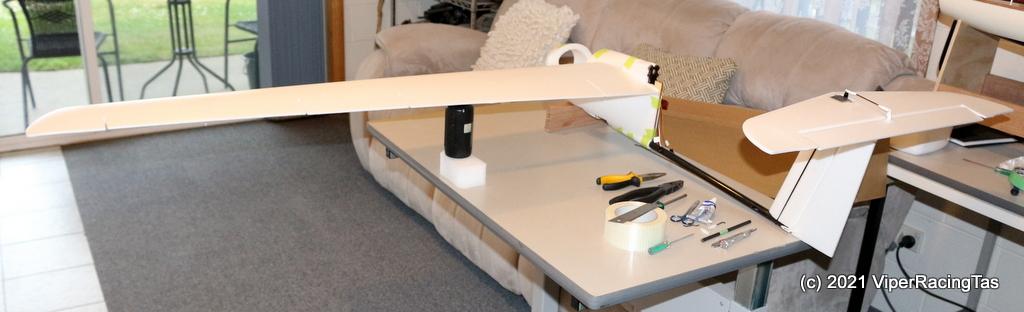
Got the RHS wing fitted up with servos & CF bars today so that is about if for this build until the motor arrives.
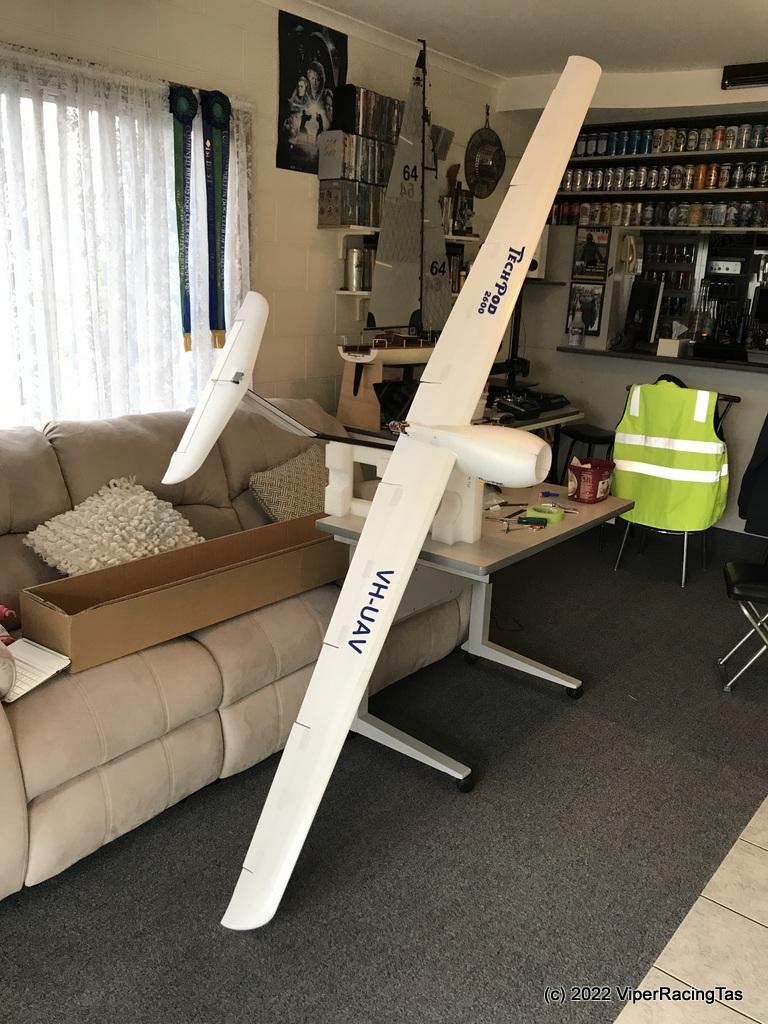
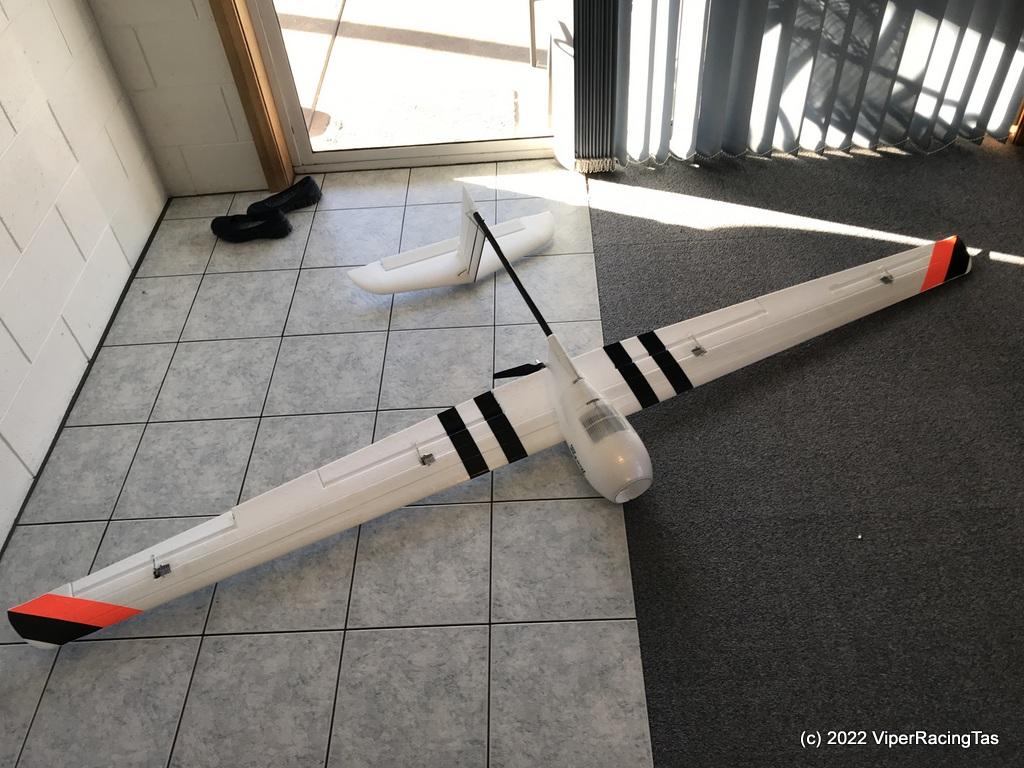
Also started on the Livery
Will add some coloured tips to the wings & tail as well as some stripes on the wing bottoms for better visibility then it will be back in the box till the motor turns up, hopefully by the time we return from our Annual West Coast camping trip for Australia Day.
-
28 April 2022 at 19:05 #10951
It’s been a while since any work was done on the TechPod so today it was time to progress a little more towards completion.
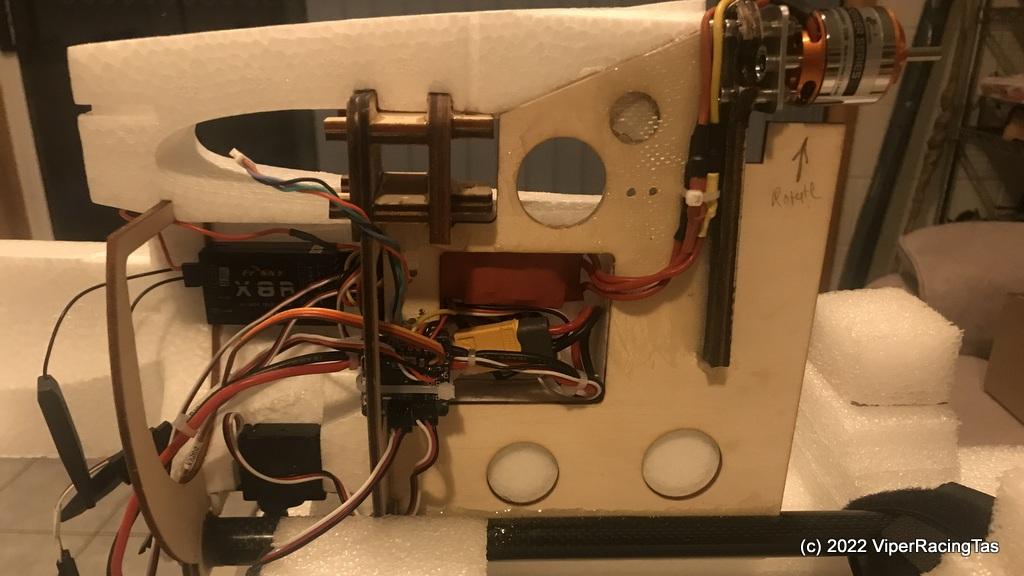
The Motor, ESC, iNav system & Rx have now all been fitted & wired up.
It all tested ok so just need to tidy up the wiring and make a few minor changes to the iNav programming and then assembly can be completed & she is ready to test fly.
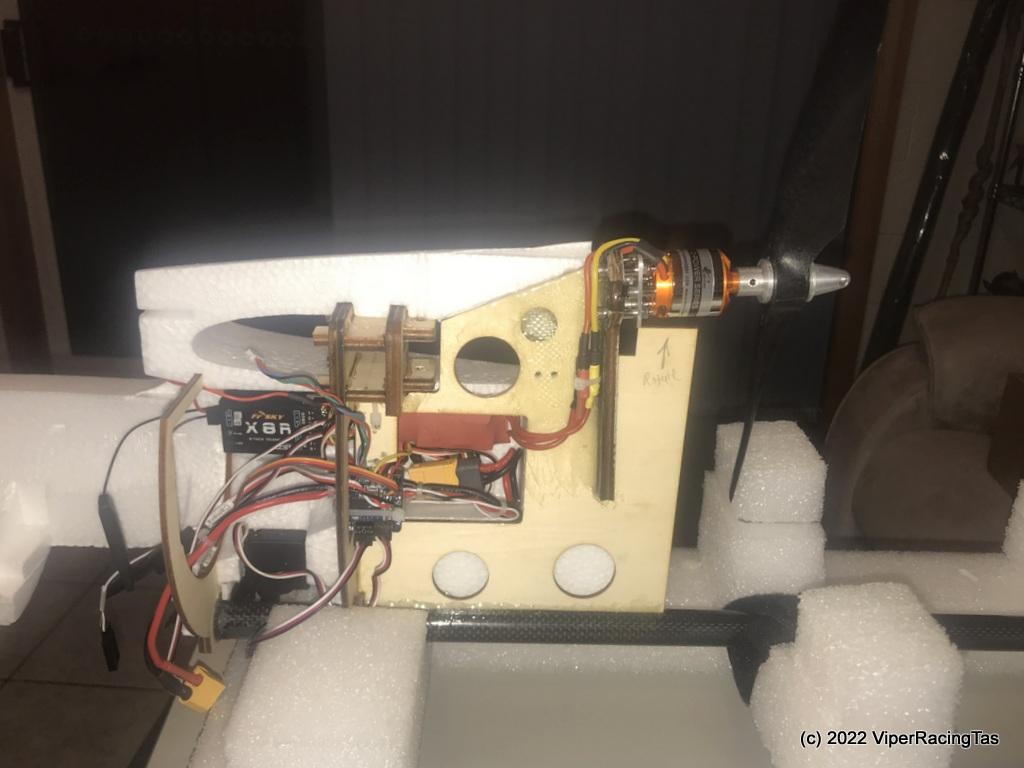
The RHS of the main pod has been glued to the form-work for rigidity however the LHS will only be attached with reinforcing tape (as suggested by several TechPod owners online) as this makes working on the internals much easier.
-
29 April 2022 at 11:57 #10953
It looks like you will get some long range FPV out of that Mike 🙂
-
9 May 2022 at 15:33 #11009
I was hoping for a TechPod maiden tomorrow (Tuesday 10-05-2022) but it looks like I’m going to run out of time to complete the GoPro camera & battery installation.
Ailerons & Flaps are now connected to their servos & all tested and functioning correctly.
The other side of the Pod is now in place as are the hatches etc. The damn thing seems to grow bigger every time I work on it !!
With the GoPro 9 and 3s 2200mAh battery installed forward in the nose pod the CoG seems about right.
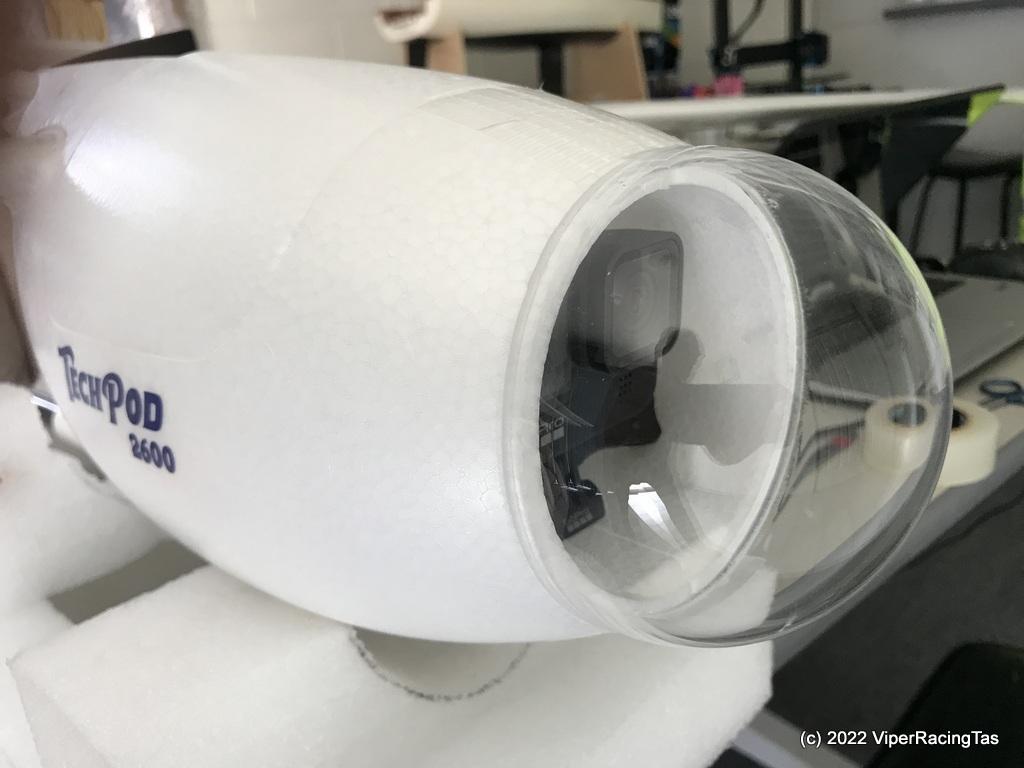
Just making a temporary ply mount for the camera and battery as the camera needs to be slid back to switch it on and off so I’ll mount the flight battery on the same tray (at least for the first test flight or two).
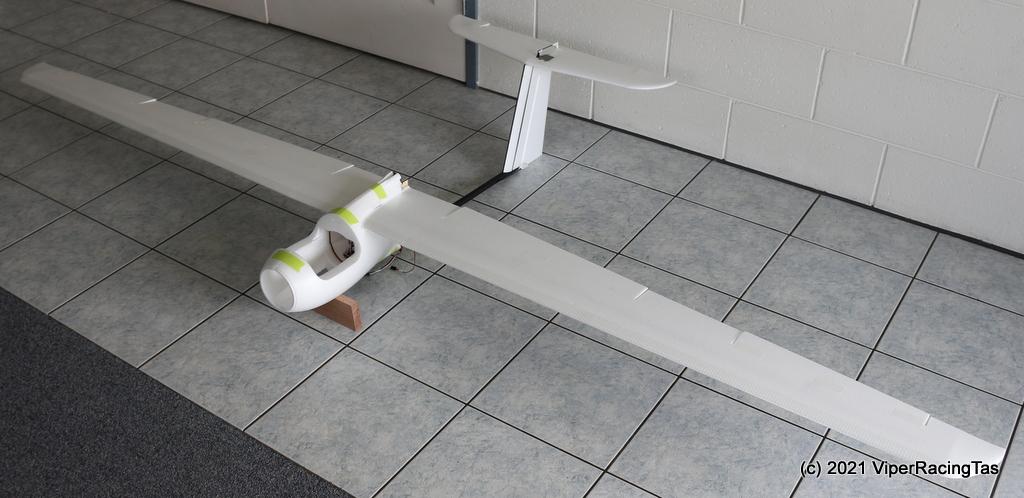
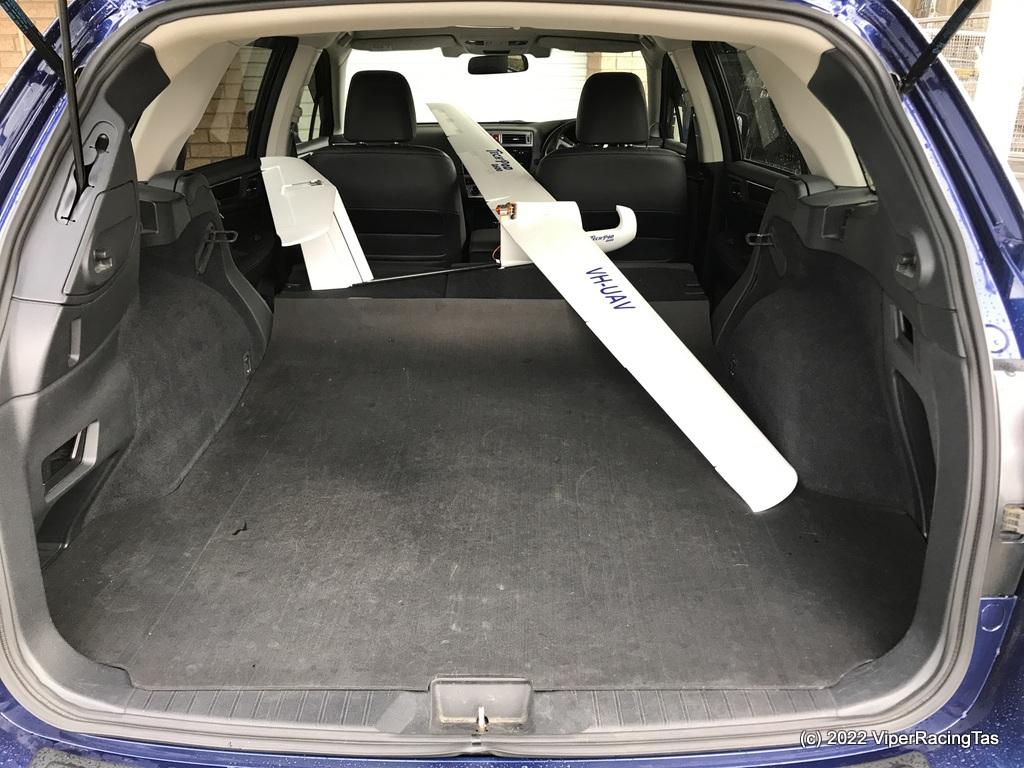
I also checked that the plane (all 2.6metres of it) will fit in the Outback without removing the wings, because of the short tail boom it fits easily with plenty of room for other models.
Today I also added a bit of colour to the lower wing area to hopefully make it more visible against the clouds
I’ve covered the downward facing camera window with reinforcing tape as it currently not in use and I need to see how the plane lands. I suspect a couple of skids may need to be fitted as there appears to be nothing in the design to protect the lower window when belly landing.
Now to finish the forward facing GoPro 9 camera/battery tray and somehow make it secure in the pod.
-
9 May 2022 at 20:54 #11011
After burning the late night oil the TechPod is completed & (I hope) ready for a test flight tomorrow .
It’s carrying twin 3S 2200mAh LiPo batteries for correct CoG (even with the GoPro 9 in the nose) but I haven’t made up a parallel connector yet so only one will be connected tomorrow.
It is likely that one only will still give around 30 minute flight time so all should be OK.
-
11 May 2022 at 14:30 #11023
Just a quick update.
After a fairly uneventful maiden flight yesterday (Tuesday 10-05-2022), apart from flying the first half in manual mode instead of activating the FC, I have made a couple of minor programming changes to the iNav flight controller (FC)
1) adjusted the FC board Roll alignment by 2.5 degrees so that the plane will actually fly flat. The auto tune had adjusted the ailerons to compensate yesterday so these have also been reset.
2) adjusted the FC board Pitch alignment pitch by 4 degrees which should help with level flight in manual mode. Once again the auto tune adjusted the elevator to compensate yesterday so this has also been reset.
3) reversed the rudder throw in the FC output for correct operation.
It was obvious from pre-flight checks yesterday that the rudder control was reversed but as this is not controlled to any great extent by the FC, just used the rudder stick in reverse when needed for testing.
May try angling the GoPro camera down slightly next flight to get a bit more ground coverage & a bit less sky !!
-
11 May 2022 at 15:23 #11024
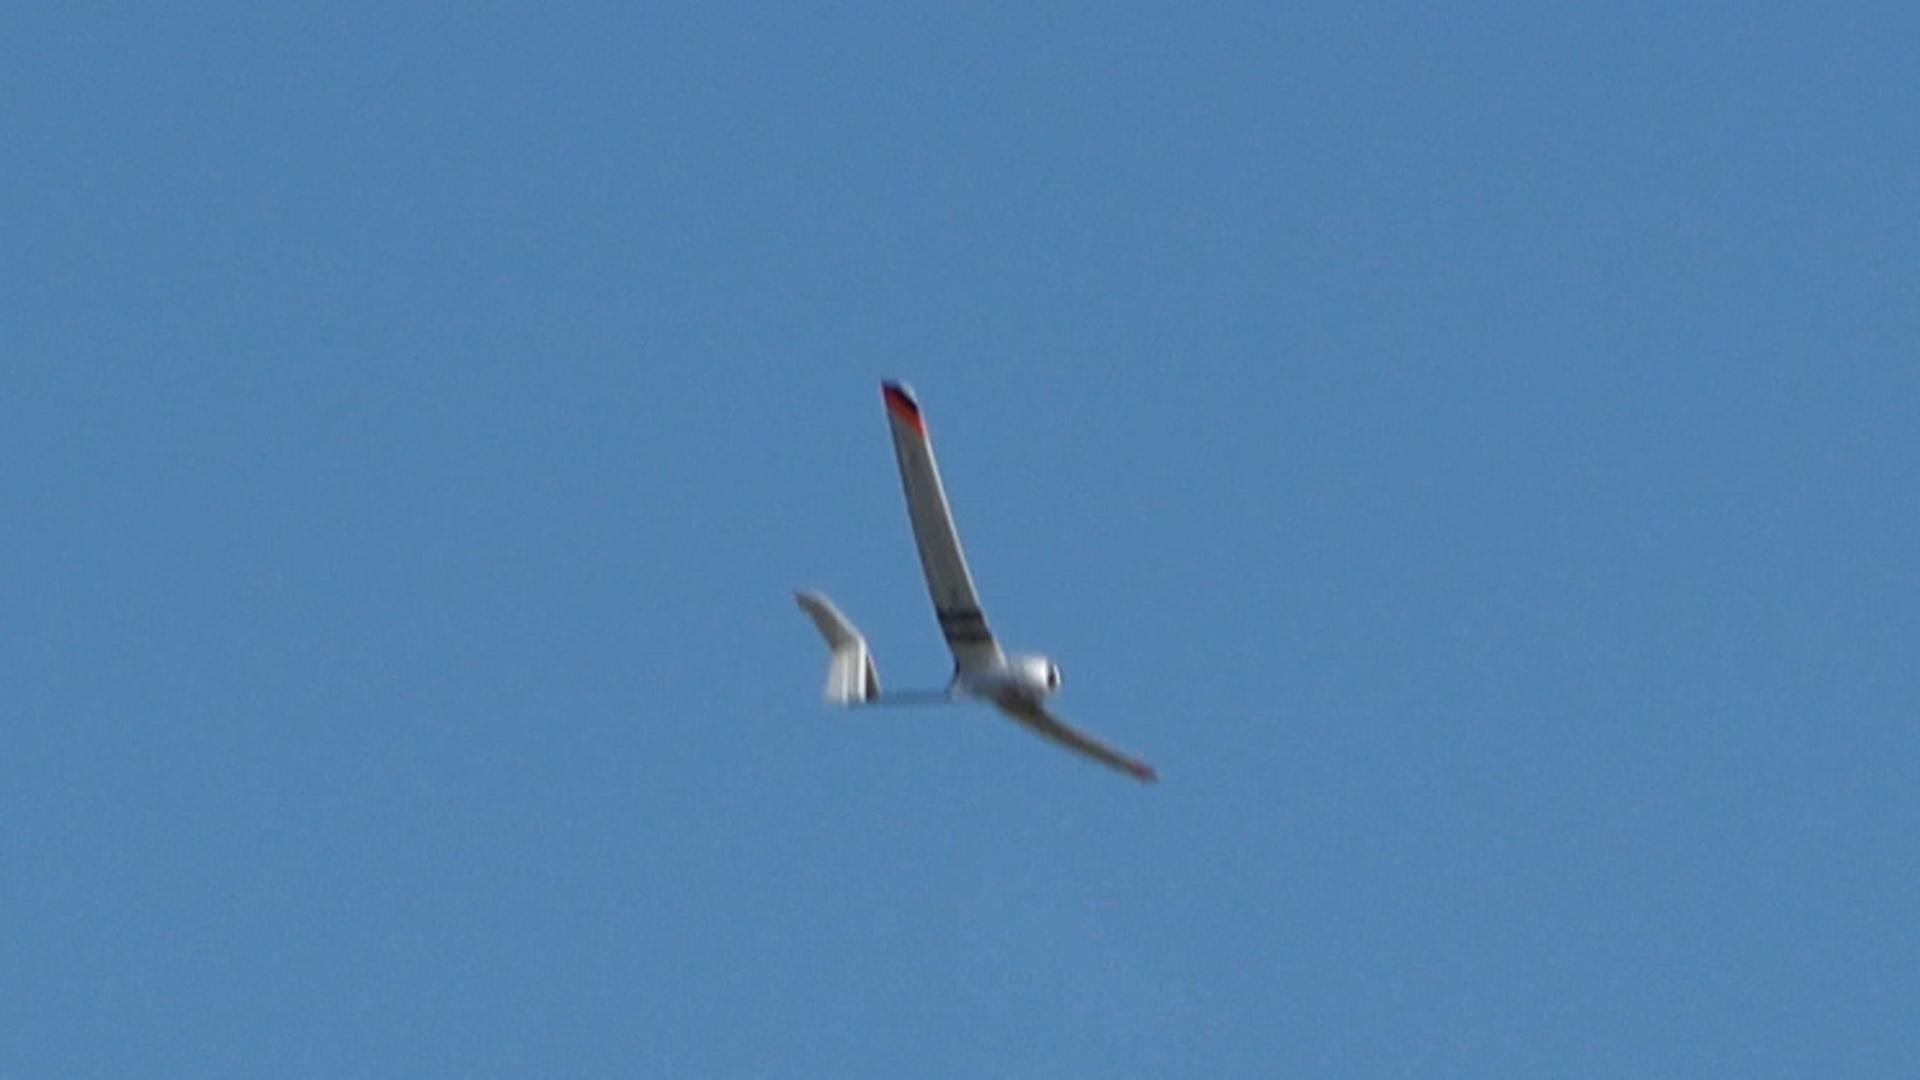
I didn’t like the way the wings bent and twisted as in this screen shot from my video shows?
-
11 May 2022 at 15:44 #11025
That’s a nice shot Gerald and from the onboard video you can work out the exact timing of it (fairly early in the flight, with no FC enabled). I was flying it rather aggressively at the time just trying to keep it airborne (with all the trims out of whack)
Like you I was initially worried about the rather small CF wing rod and thought seriously of replacing it during construction but after a fair bit of research on the build site I decided to build it as designed & see what happens.
As the designer states it is NOT for aerobatics or any form of aggressive flying but for Long Range FPV/aerial photography so the construction is light weight & very flexible (not unlike a glider).
The majority of wing flex comments online are from people trying to fly it like a stunt plane, those using it as intended either don’t mention it or just in passing. I guess only time will tell.
The amount of flex shown in your pic is similar to what I got out of the original smaller Fox glider before I learnt how to fly it less aggressively. As we all know since Chris took ownership, it has been flown far harder than I ever did and the wing flex issue never comes up.
-
11 May 2022 at 18:22 #11027
On the mini Fox I added 2 inch clear packing tape on the leading edge of the wing from the spar fwd on top and bottom of wing. ts an easy way to stiffen the wing. But it looks like the wing joiner you have is insufficient on the Techpod. Try the tape but if it still flexes like that then you need to beef up the joiner with piano wire or some other means.
-
11 May 2022 at 19:04 #11028
One thing I can guarantee is that the wing is NOT flexing at the joiner.
The Wing root mates up to a fully epoxied Plywood box and 20mm CF joiner that is epoxied onto the wing spars and screws into the Ply box.

The wings flex fairly evenly along their length starting from around 150mm from the Pod.
I have run 50mm reinforcing tape along the top and bottom of the leading edge but I could definitely run another 50mm strip overlapping the edge of the first strip which would then cover around 90mm of the top & bottom of the wing.
But for now I’ll just try it as is with the new FC tuning and see how it goes.
-
-
-
AuthorPosts
- You must be logged in to reply to this topic.