› RC BOATING › YACHTING › Builds › Predators Vintage 10Rater rebuild.
Tagged: 10R, 10Rater Build
- This topic has 14 replies, 3 voices, and was last updated January 1, 2019 at 11:26 am by
Admiral.
-
AuthorPosts
-
-
12 December 2018 at 16:21 #2163
Not being one to pass on an opportunity, I recently had the luck to acquire yet another partially completed RC yacht.
It was built quite a few years ago by the son of a fellow RC sailor and has been laying under the house, unfinished ever since the son went overseas.
The house has recently been sold (downsizing) so the boat had to go.
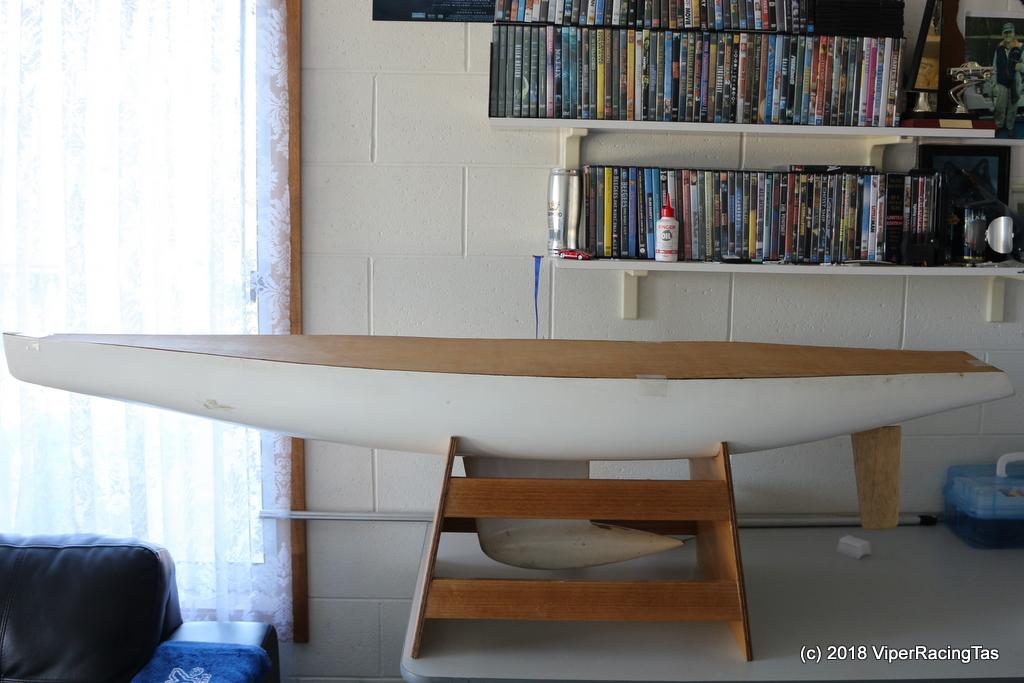
It is glass over a planked wooden hull design 10Rater but the keel is far shorter than the more modern designs.
As close as I can tell it may be based on a 1983 Panda designed by Frank Russell.
With a decent sand back & refinish the hull & deck should come up a treat, similar work should also tidy up the keel bulb to an acceptable standard so the only real issue is to sort out what is required above deck.
The dimensions are as follows;
Hull Length overall 1670mm
Beam 260mm
Hull Depth 115mm
Keel Length 440mm
Overall Depth (Deck to Keel Bulb base) 555mm
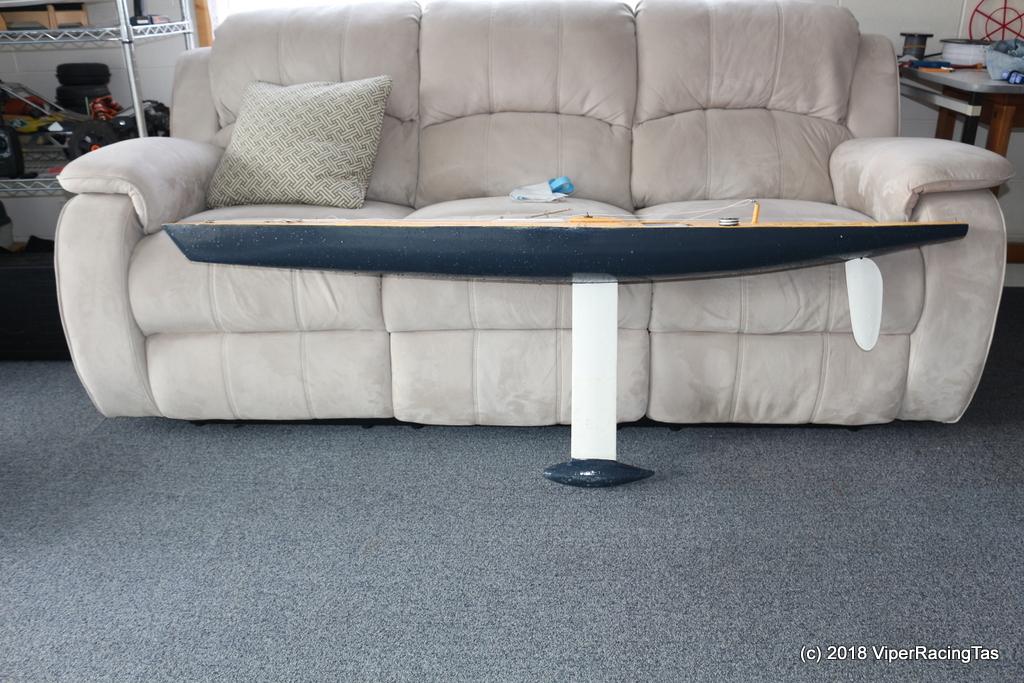
Keel Bulb over 4kgThe hull came with no mast or rigging & no sail plan but it does have the rudder, rudder servo, sail-winch, radio box & most of the deck fittings.
As luck would have it the EC12 rig from my Nautic 12 (Australia II) fitted straight on so at least the hull can be tested for handling etc before getting carried away with a waisted rebuild.
After several sails @ the Canal & one at Puddleduck the handling was proven to be very good but unfortunately the hull was leaking rather badly.
I had noticed when fitting up the boat the first time that the rudder post was very loose in the hull so suspected this was where the leak was. At least is was a good place to start.
After removing the rudder tube (it virtually fell out) I decided to design & 3D print a 4 legged support brace to take the load off the hull joint on re assembly.

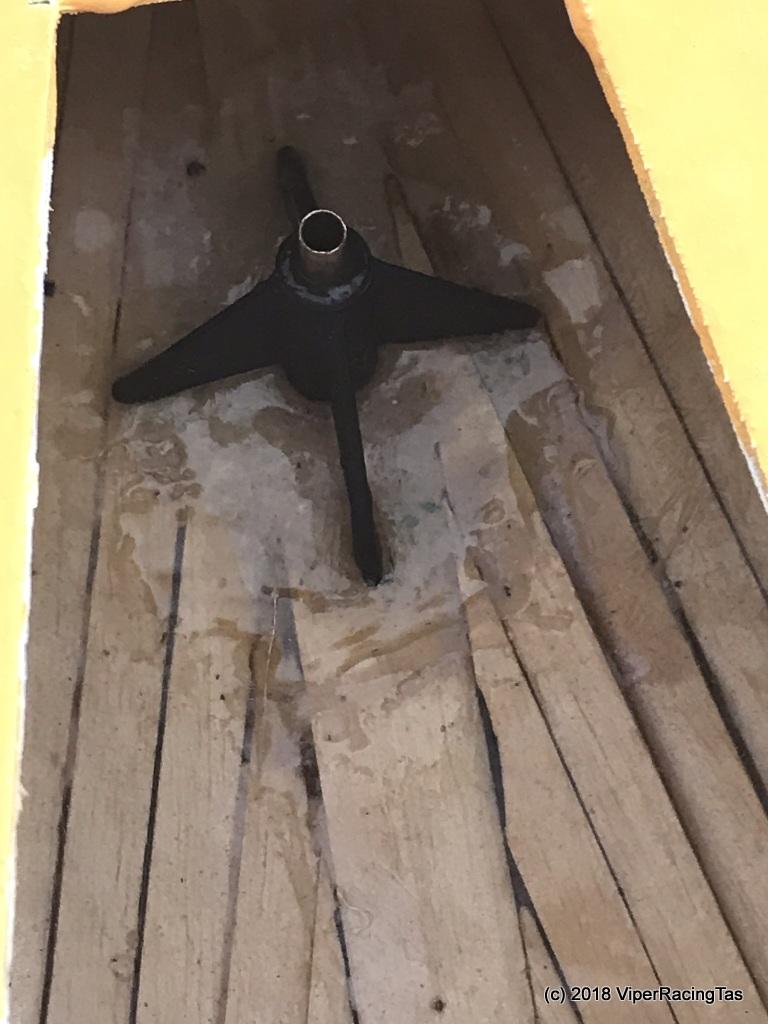
This was duly epoxied into the hull and after curing the hull was filled with water. No more leak around the rudder post but unfortunately the Keel area leaked like a sieve.
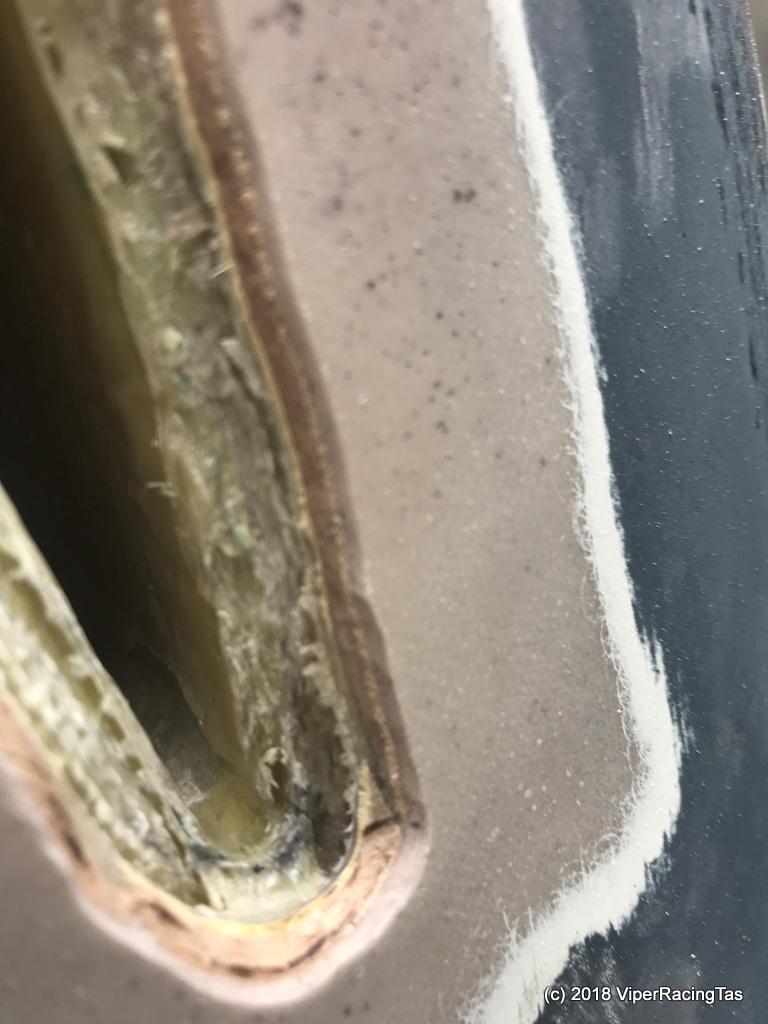
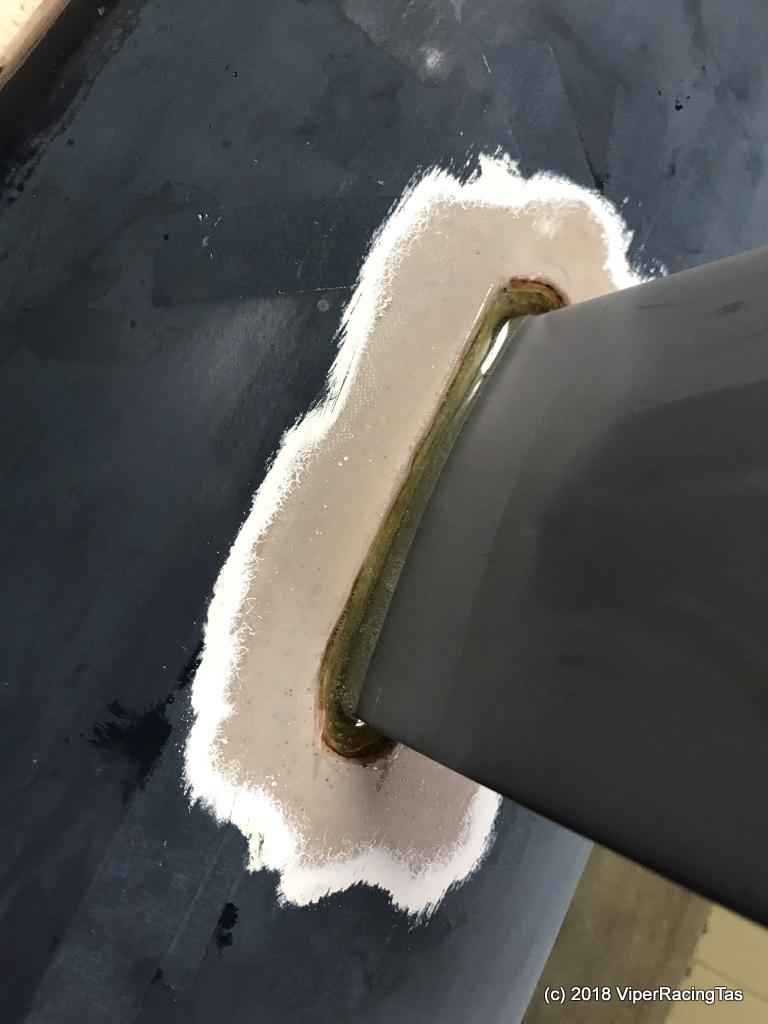
Removal of the keel revealed that whilst the keel-box was well made it had not been well fitted into the hull. Given that it was nigh on impossible to fix without removing the deck the decision was made to epoxy the keel into the hull. Problem solved. No more leaks.
The hull around the keel-box area was ground out to allow the epoxy to fully penetrate then the keel, which by this time had been sanded back smooth & primed, was epoxied in, with the deck end given similar treatment.

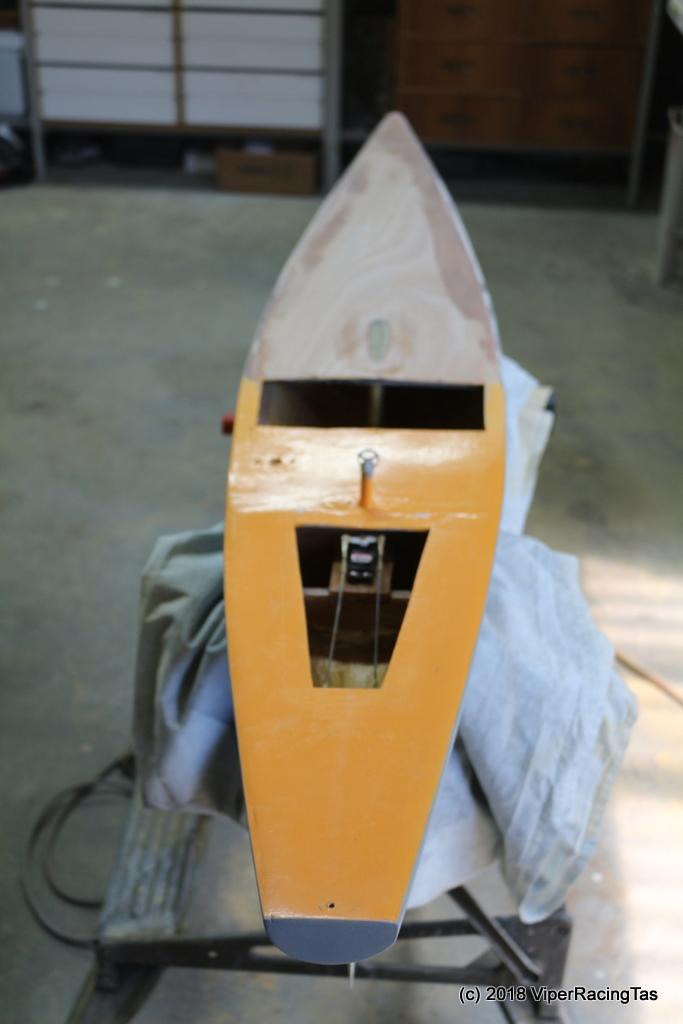
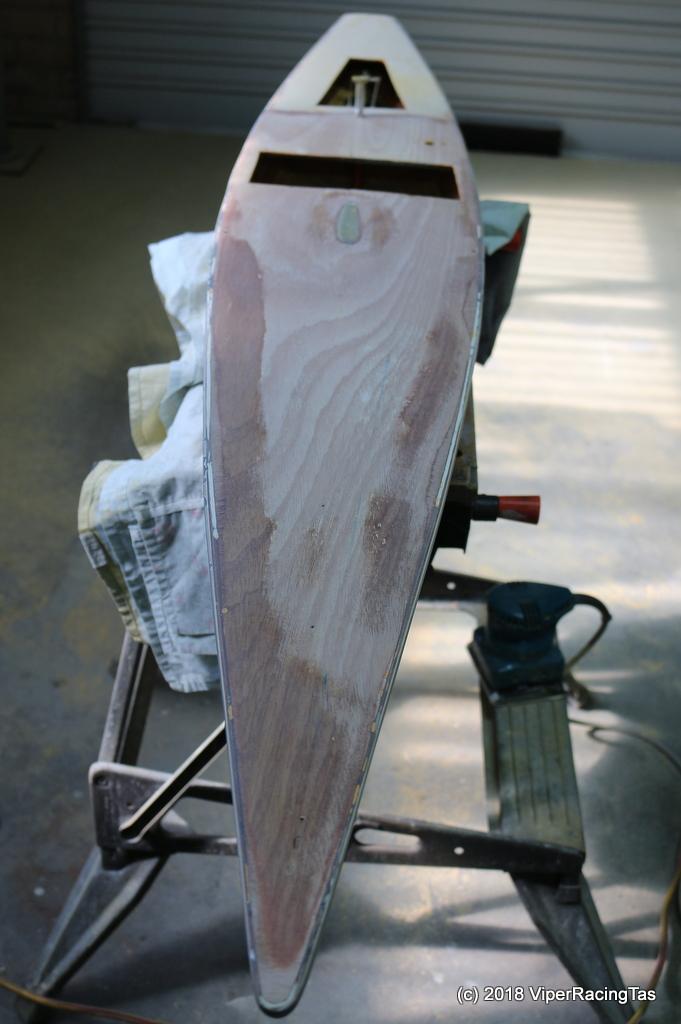
With the keel & rudder taken care of it was time to sand back the hull to a much smoother finish & after several hours of sanding, coating with primer, putty & more primer, all of which involved copious amounts of sanding I was happy with the results.
Mast & rigging were refitted and some more test sailing was done @ the Canal.
BattleAxe in action @ the Canal (onboard Gimbal Camera)
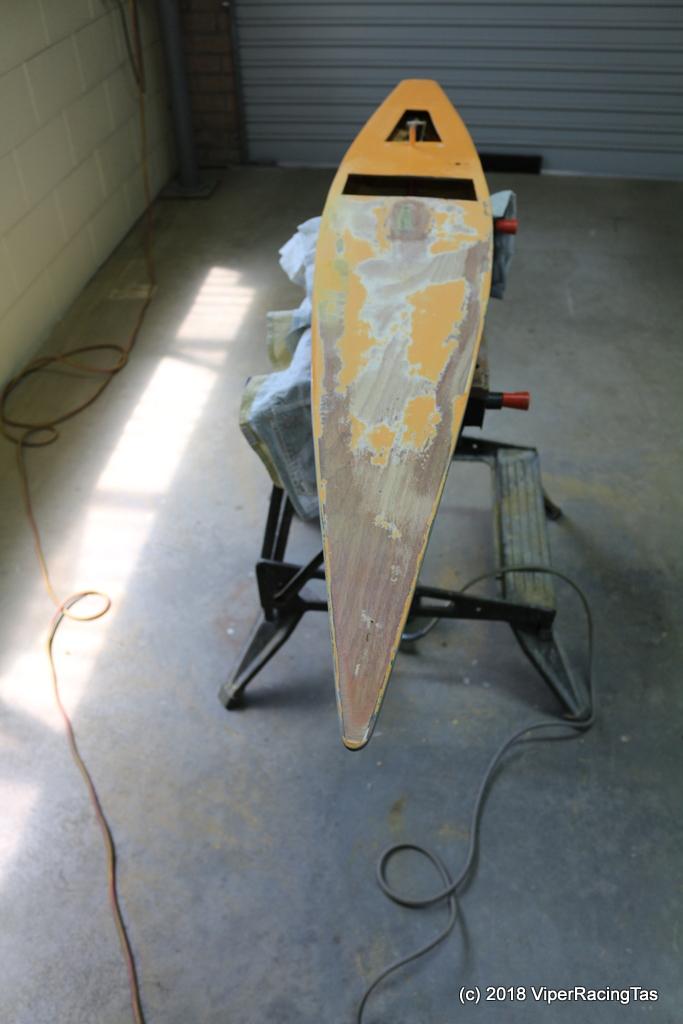
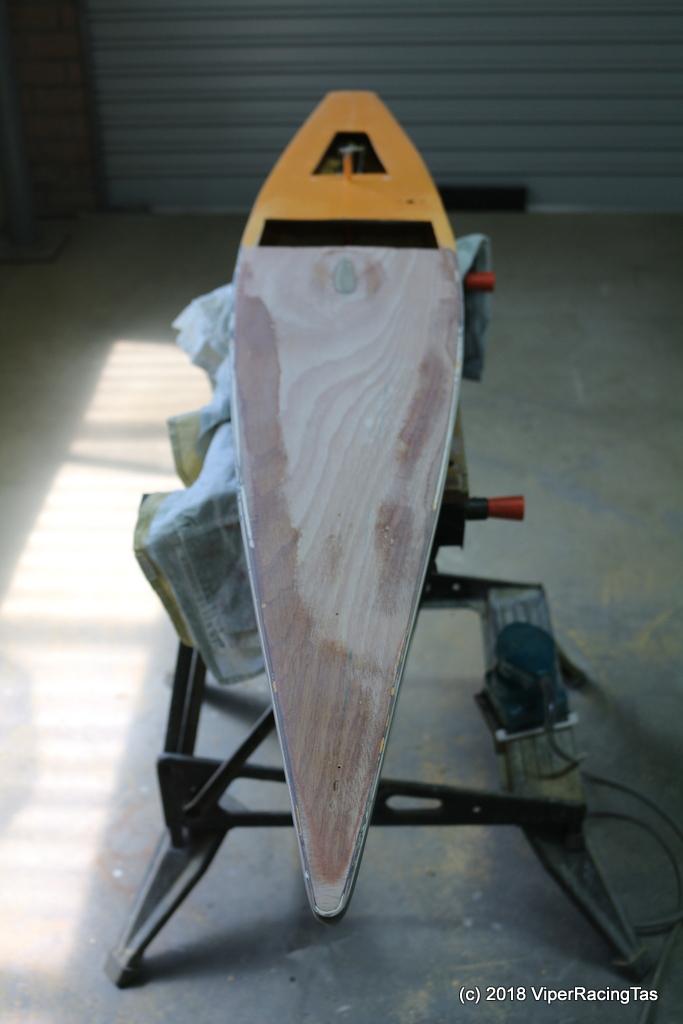
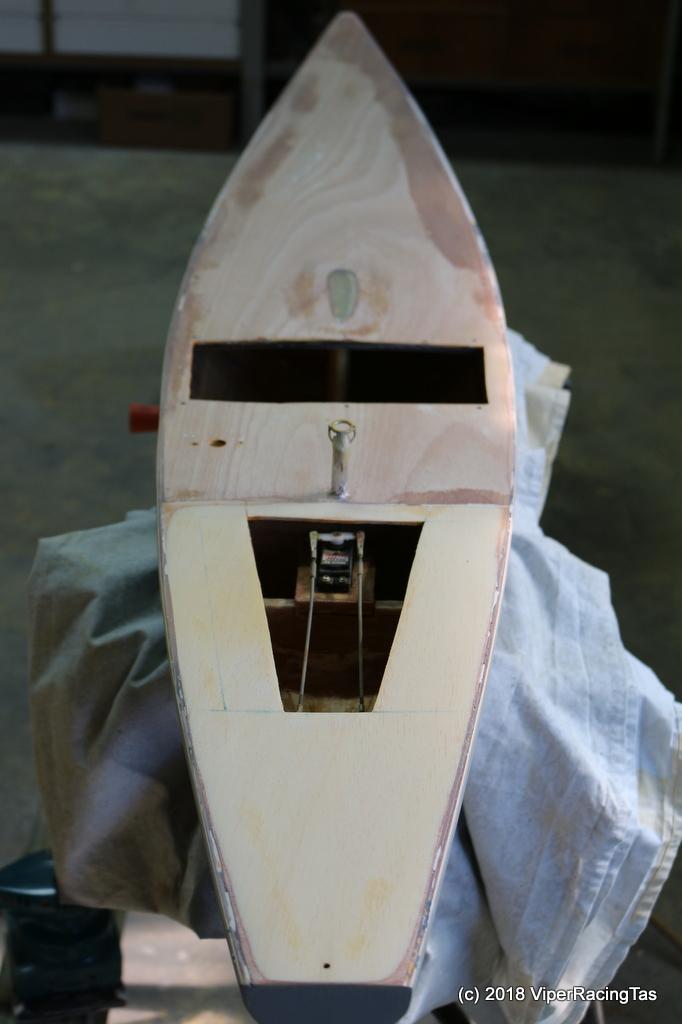
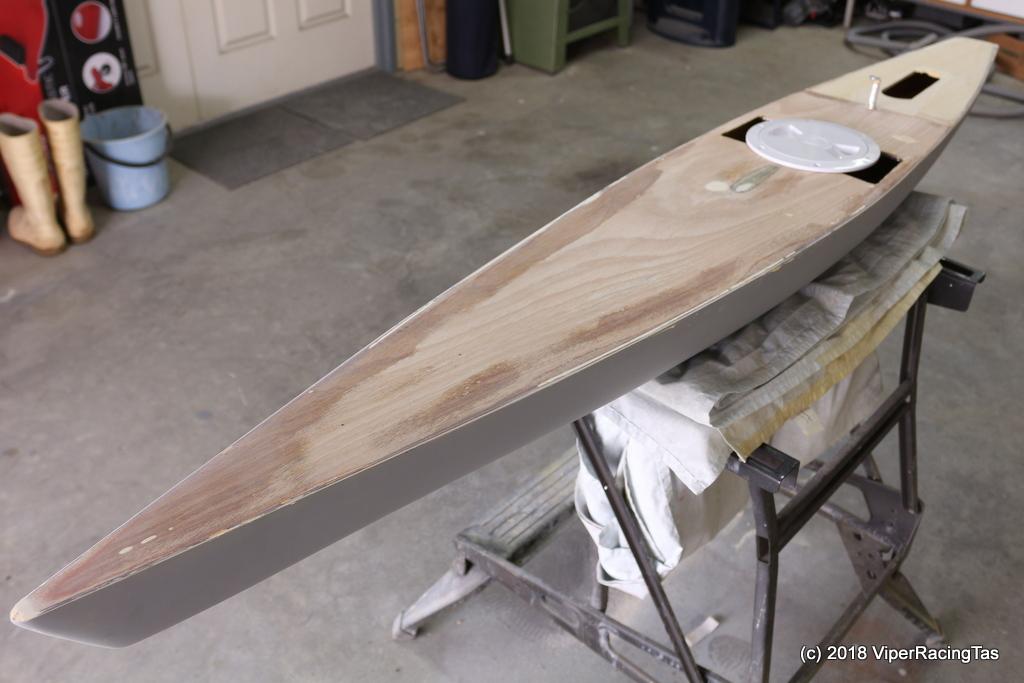
With everything watertight & shipshape, it was time for the 10R to return to the dry dock for a deck refurbishment to match the rest of the hull.
I was hoping that the timber deck would be salvageable once all the paint & epoxy had been removed. It this had been the case I would have opted for a clear finished timber deck with just the rest of the hull painted.
Unfortunately this was not to be (as can be seen in the pics below) due to many imperfections which can be made to disappear under paint but not under clear epoxy.
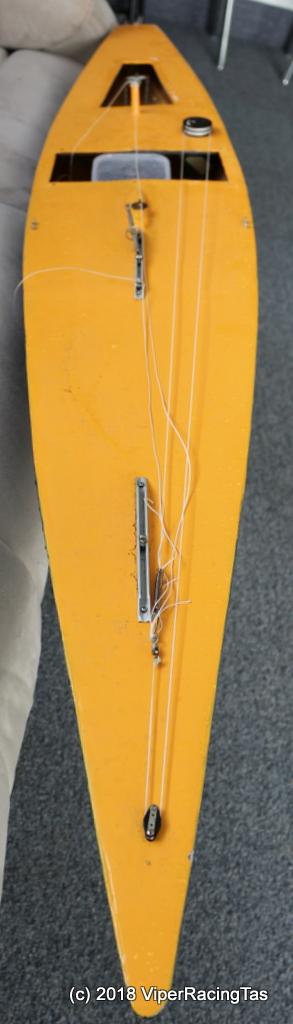
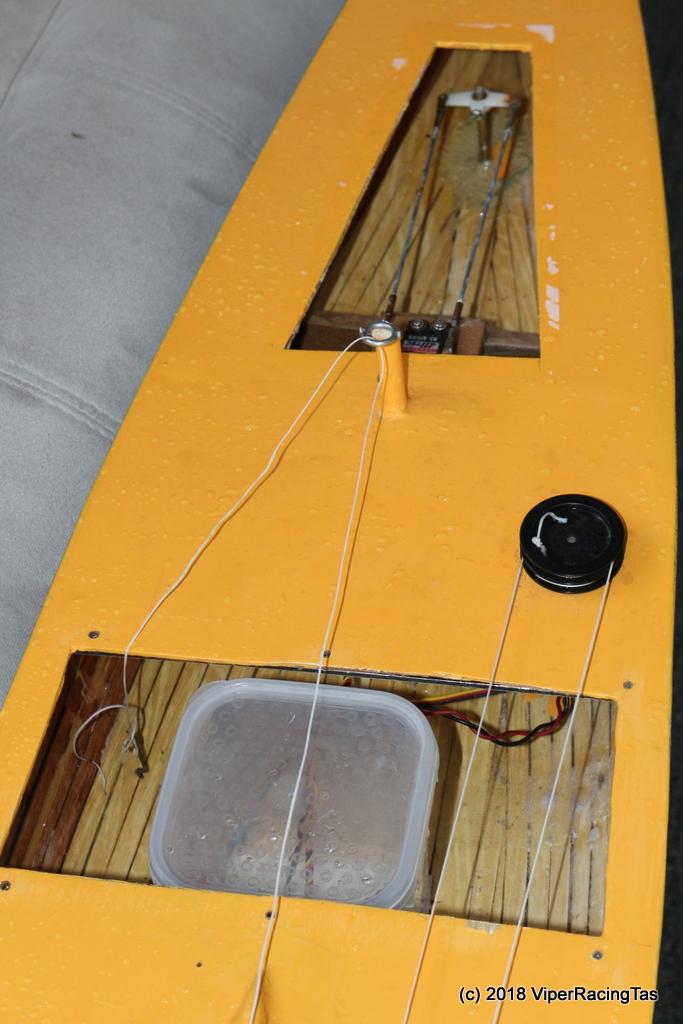
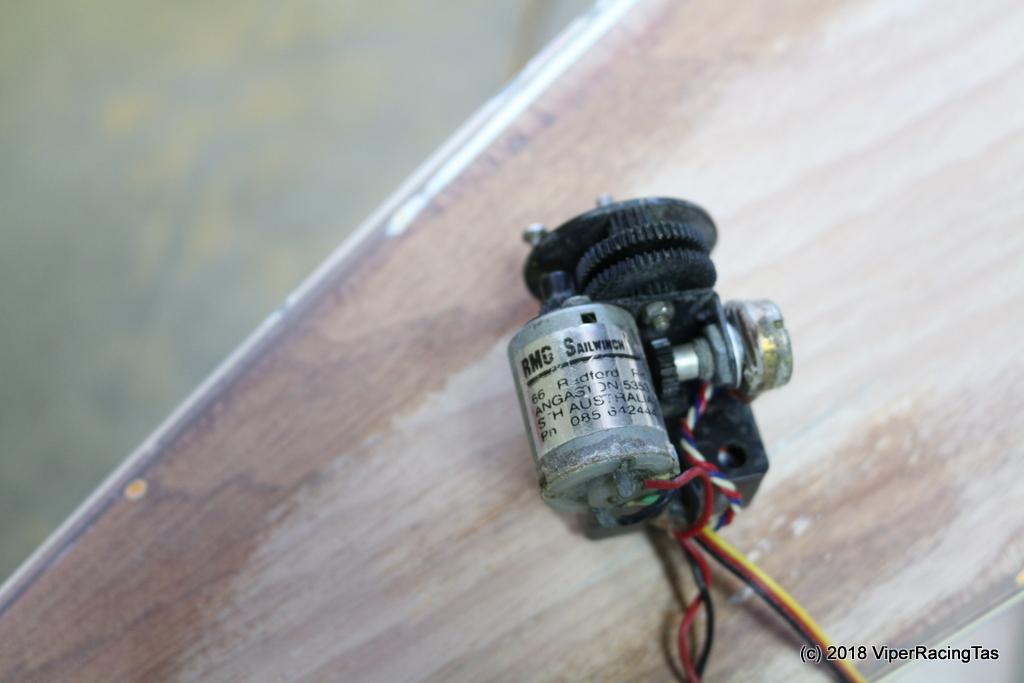
When removing all the deck hardware I did get a shock to find that it is fitted with an old RMG sail-winch (looks like one of the originals), now I know why the sail-winch is so fast & powerful. The way it was installed it just looked like an old Servo based winch.
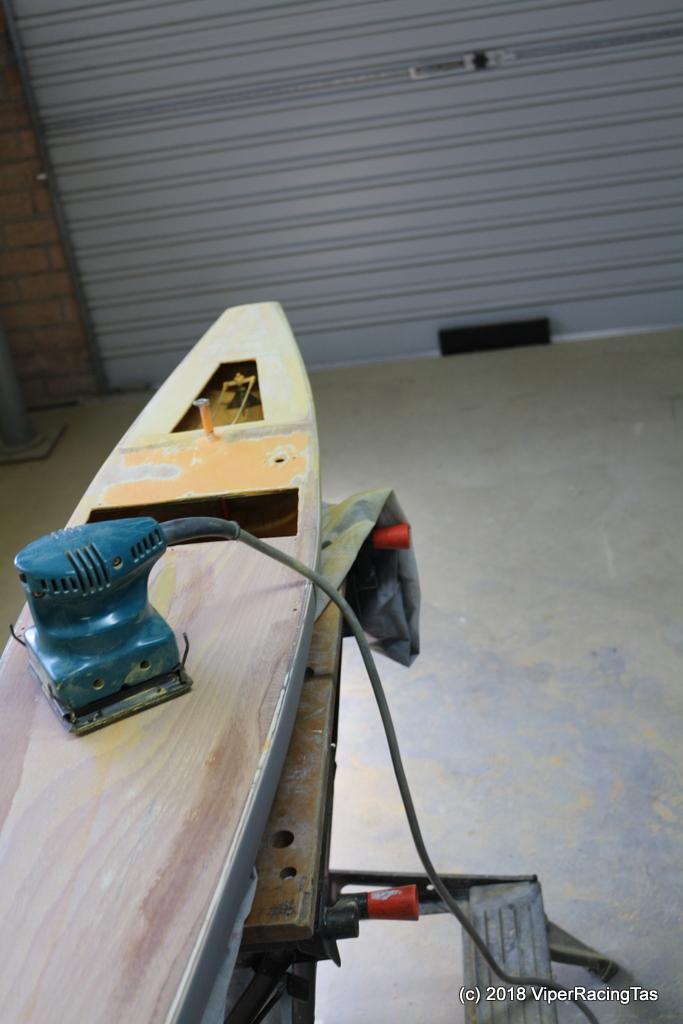
Today it took just under 3 hours to sand the deck back and after a bit of filling in a couple of joints it should be ready for the Primer & Putty either tomorrow or Friday.
I have a couple of broken fittings that will need to be drilled out first.
The Deck Sanding Process
After 1 hour

After 2 hours
After 2.5 hours
and finally after 3 hours
cont…
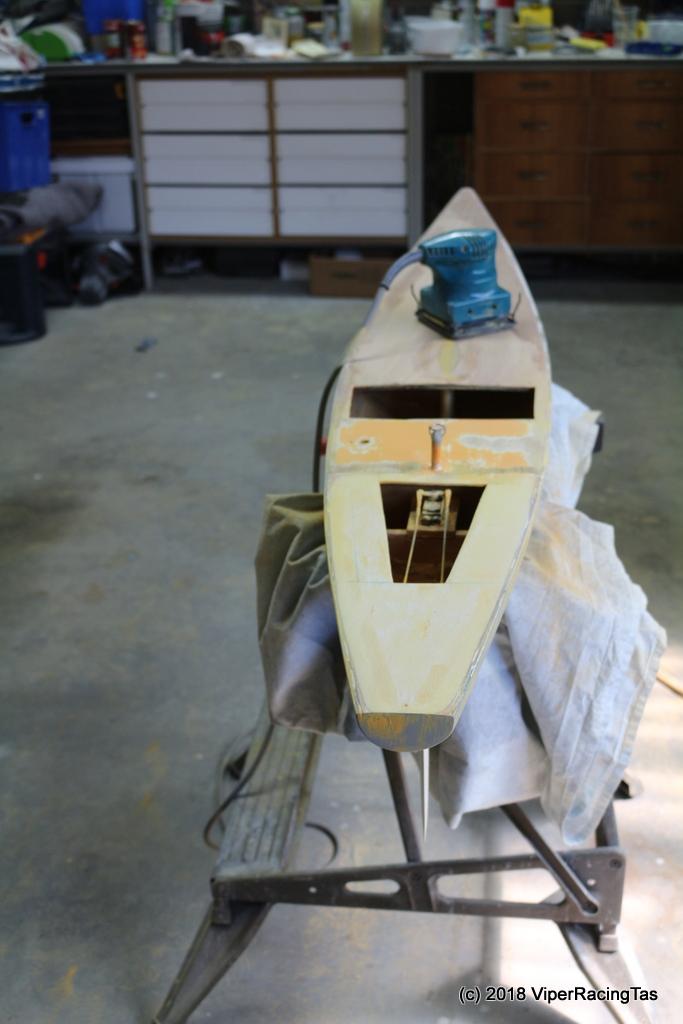
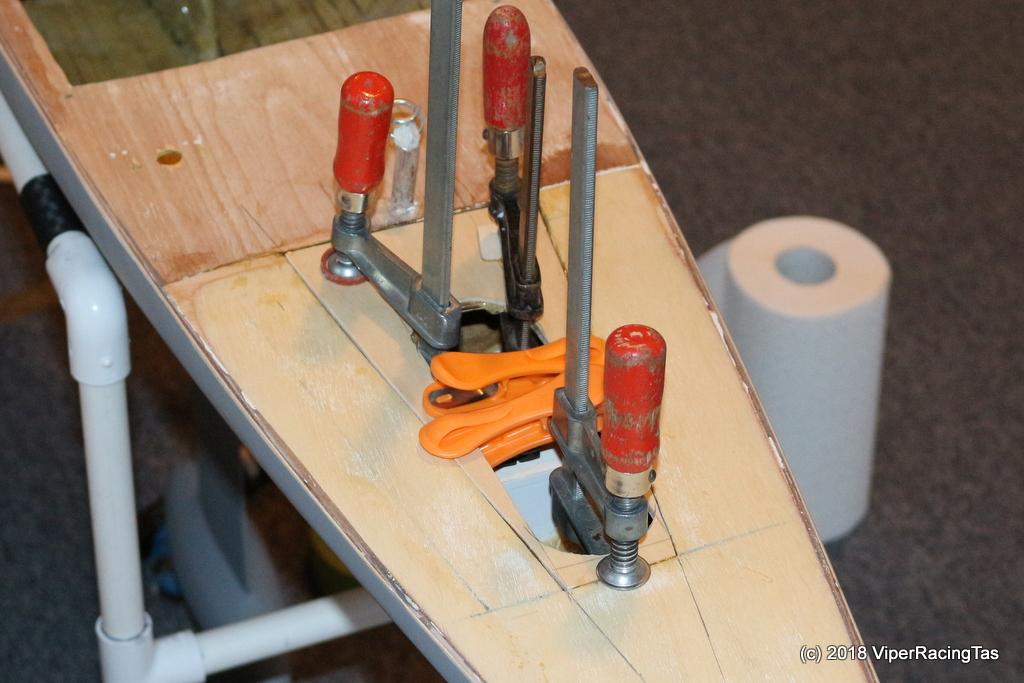
Moving right along, today I found some marine 3 ply left over from another project and proceeded to make some alterations to the rear deck to beef up some of the deck joints before painting.
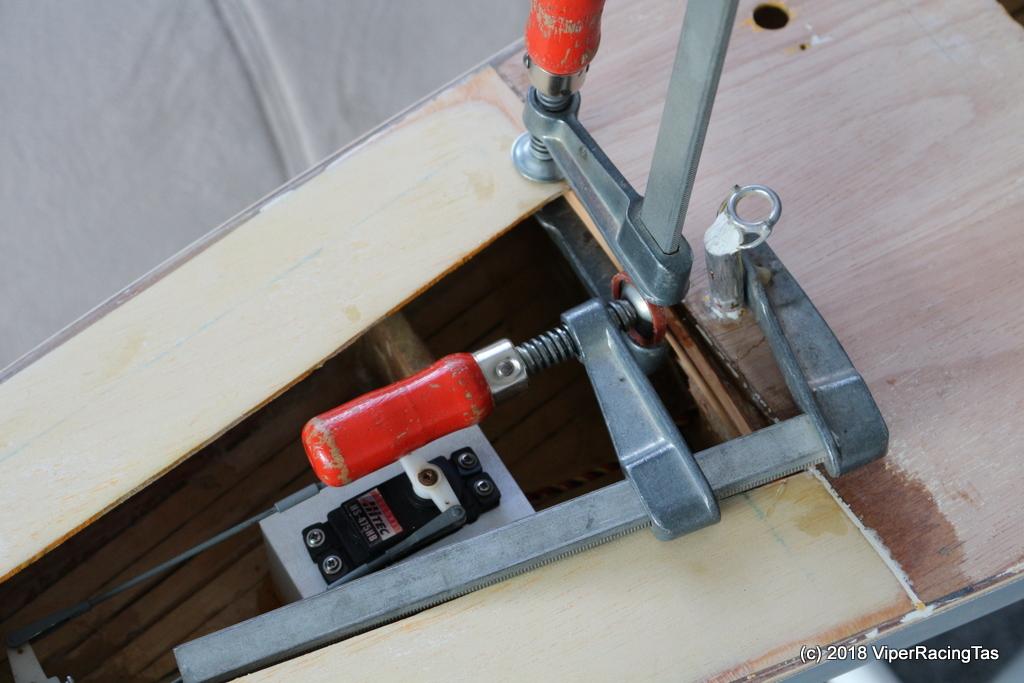
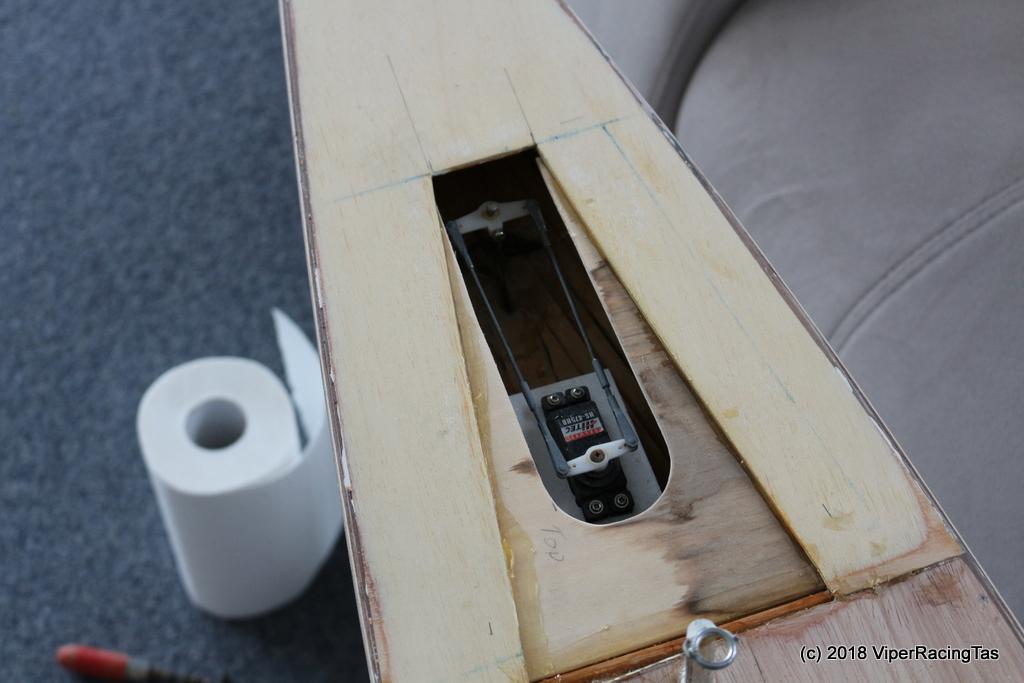
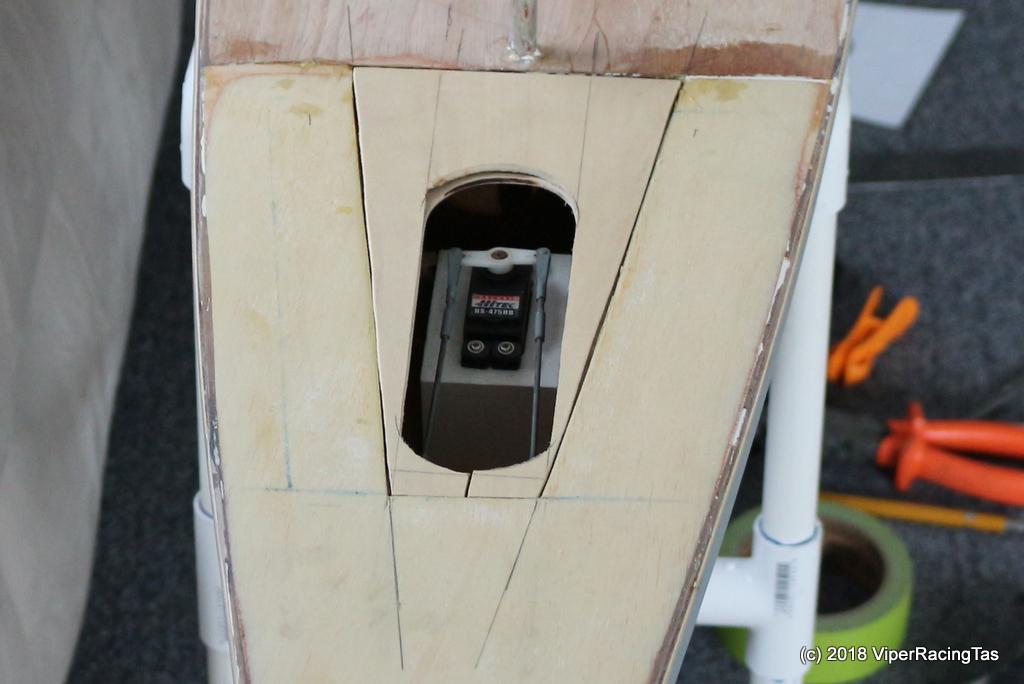
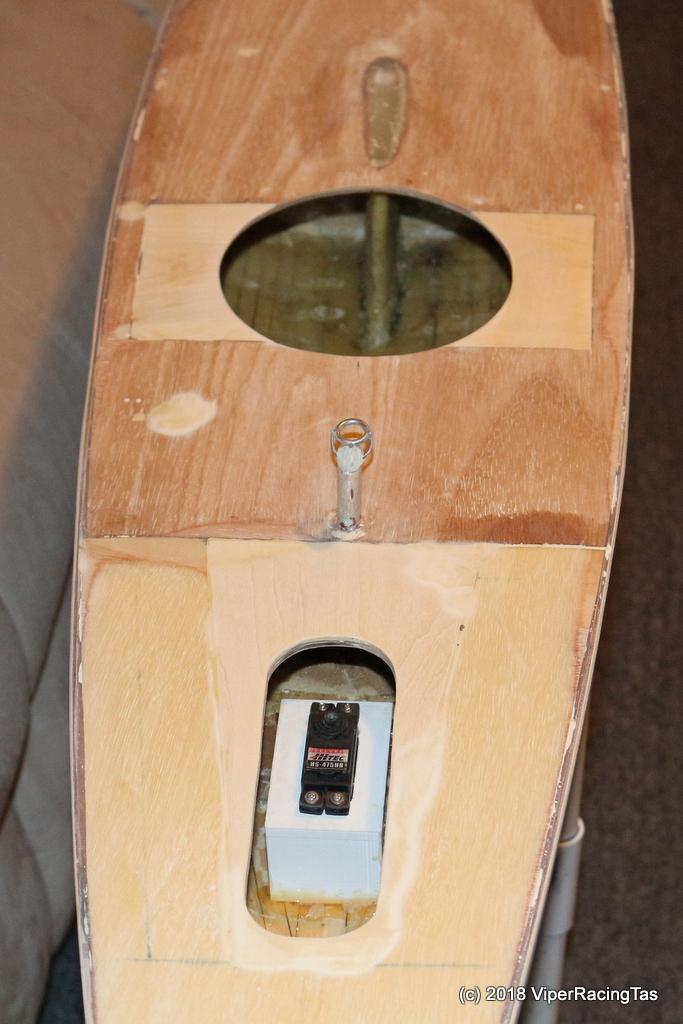
Thought I may as well remove the steering servo and make sure there were no issues with it, only to find that two of the fixing screws were under the deck and inaccessible.
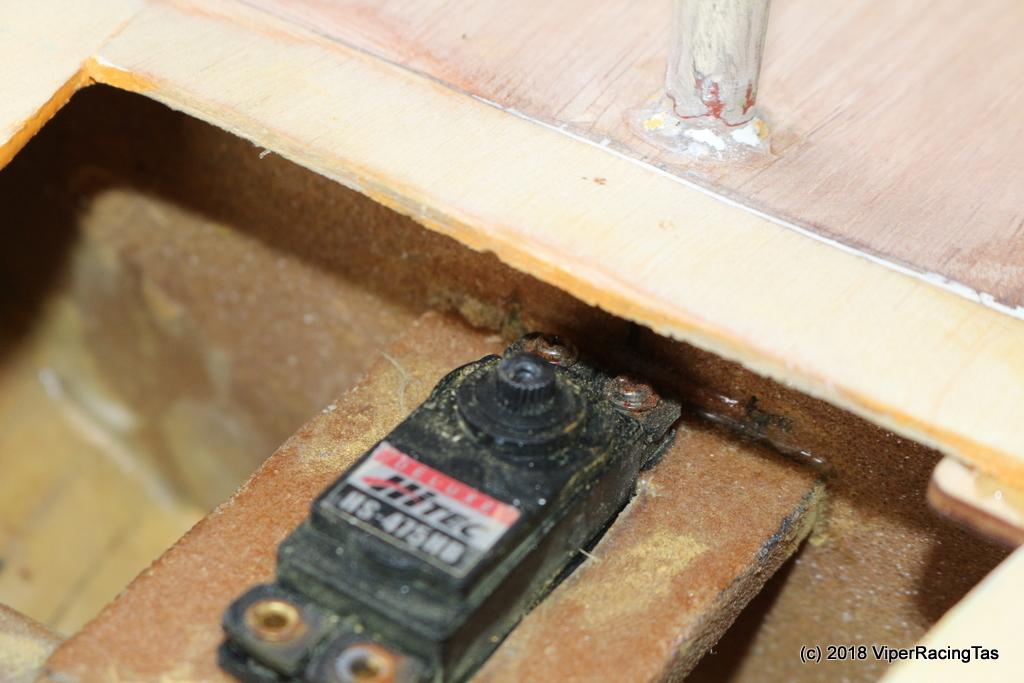
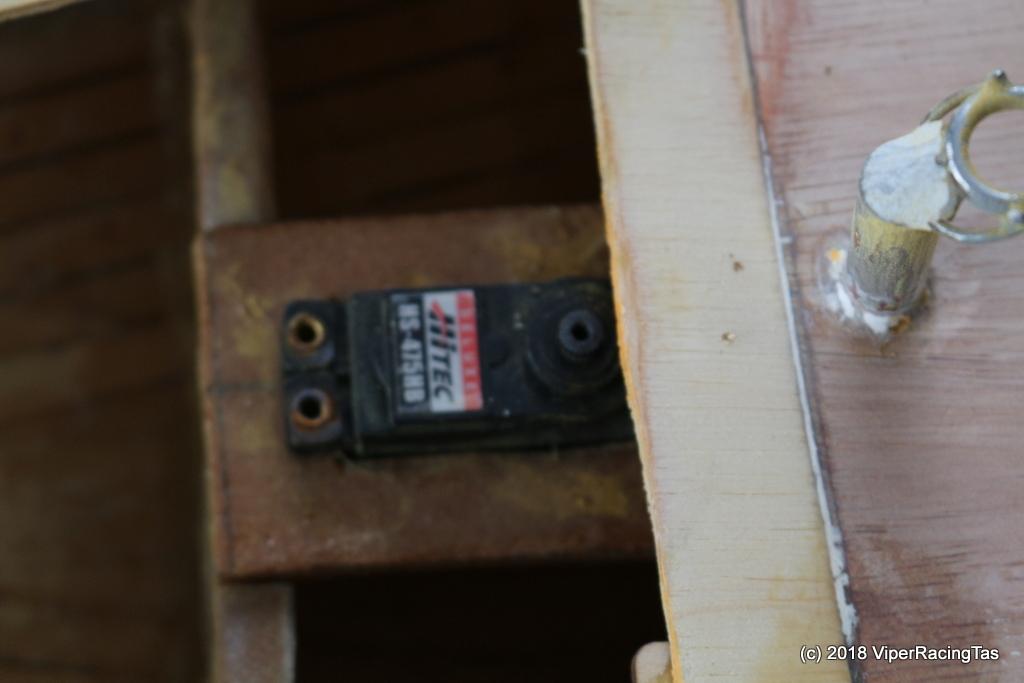
Nothing for it but to remove part of the rear deck (better to fix now than after its all painted methinks). Once I finally got the servo out the simplest solution was to relocate it further aft and then significantly reduce the rear hatch size.
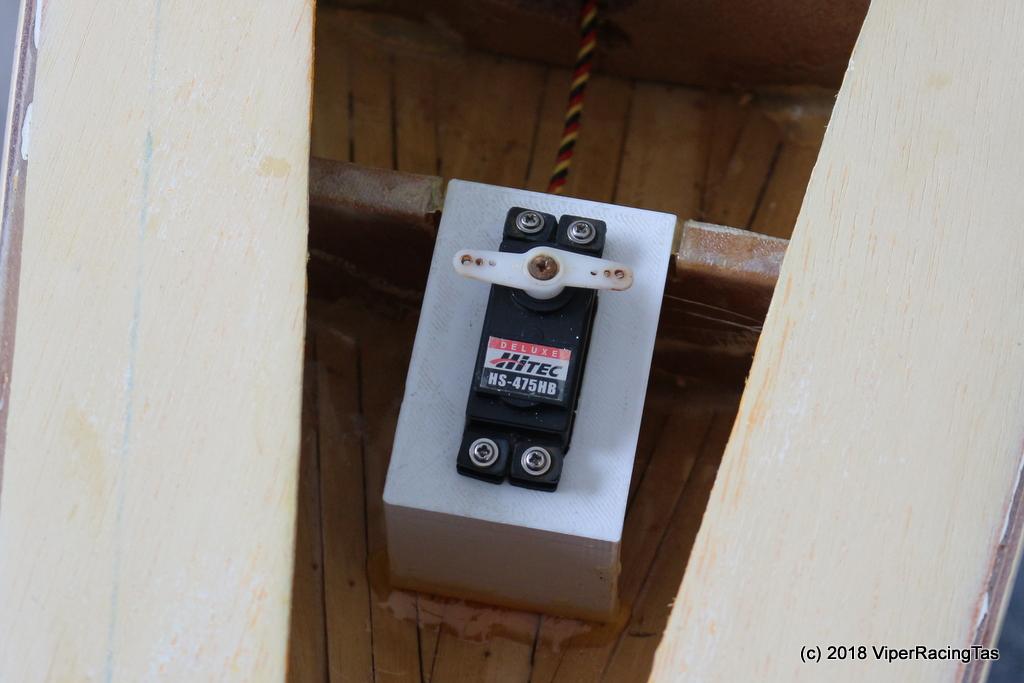
To that end I will design & print a 3D mount for the steering servo that will have one end fixed to the half height bulkhead and the other end attached to the hull. The modified rear deck can then be reinstalled ready for painting.
cont…
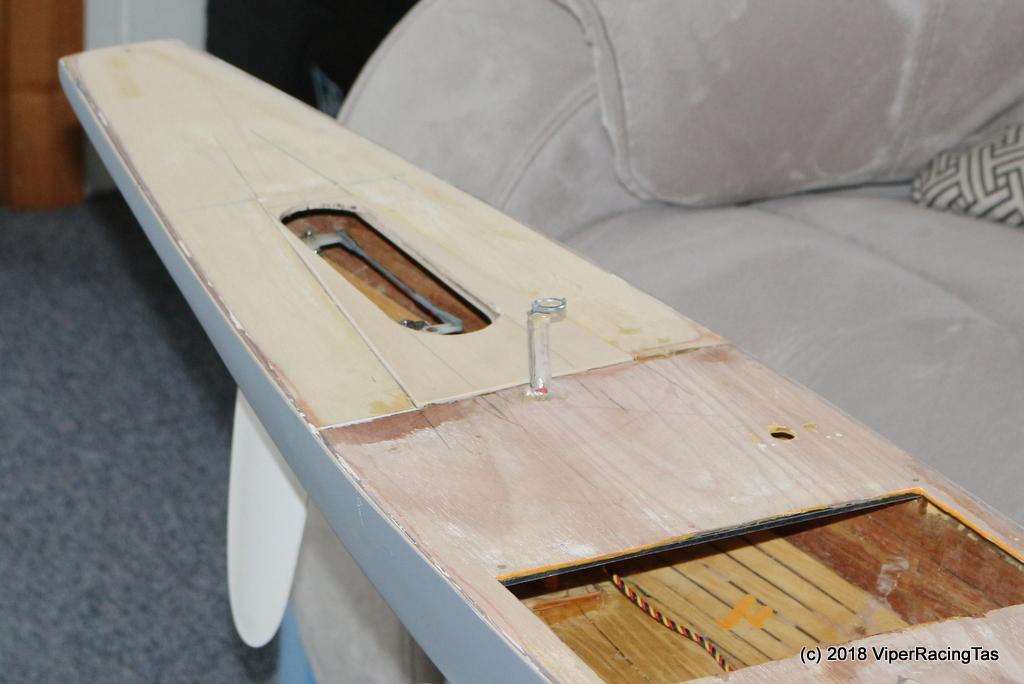
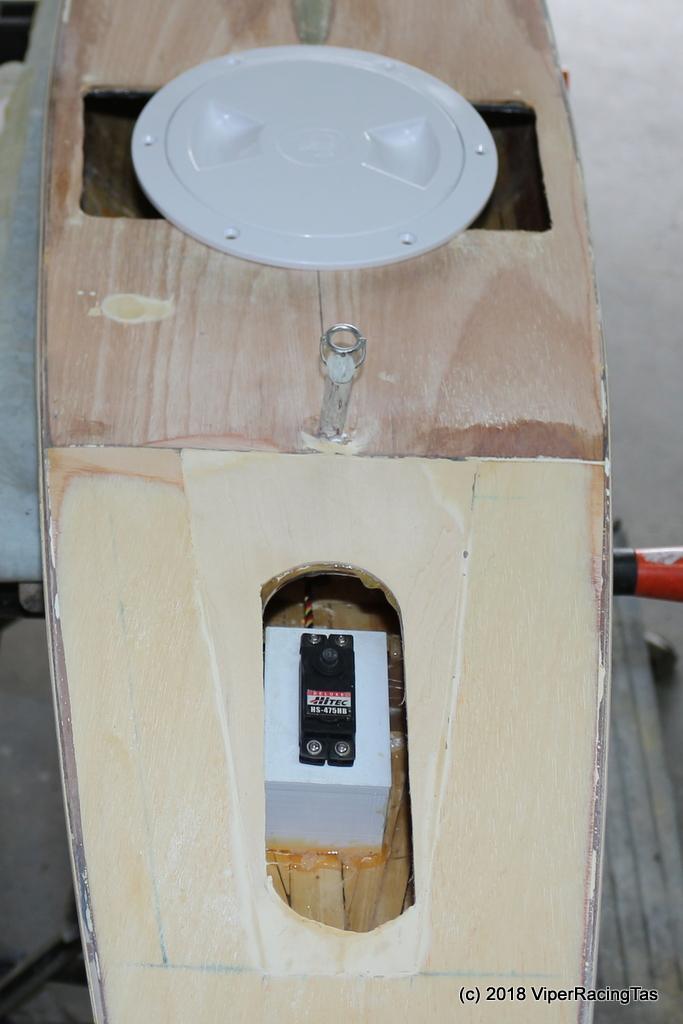
Got a little bit more done on the 10R today in between other jobs. First off was to fit the 3D printed servo mount & epoxy it in place, then cut down the control rods to suit the new servo location which is 65mm further aft than original. At least the servo can now be removed without cutting the deck away to remove the forward screws.
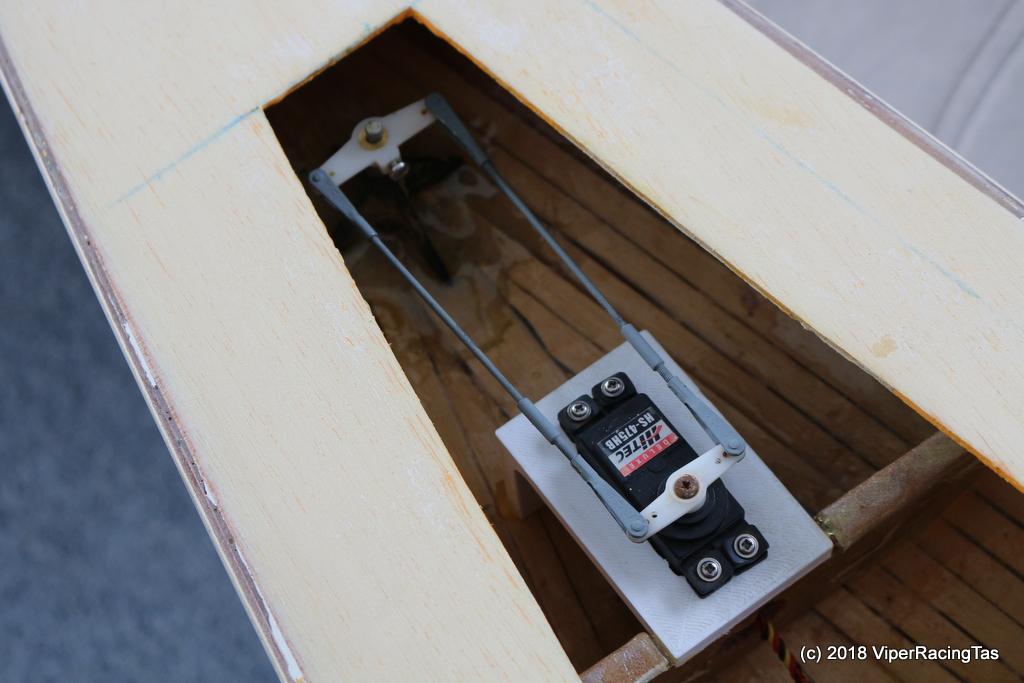
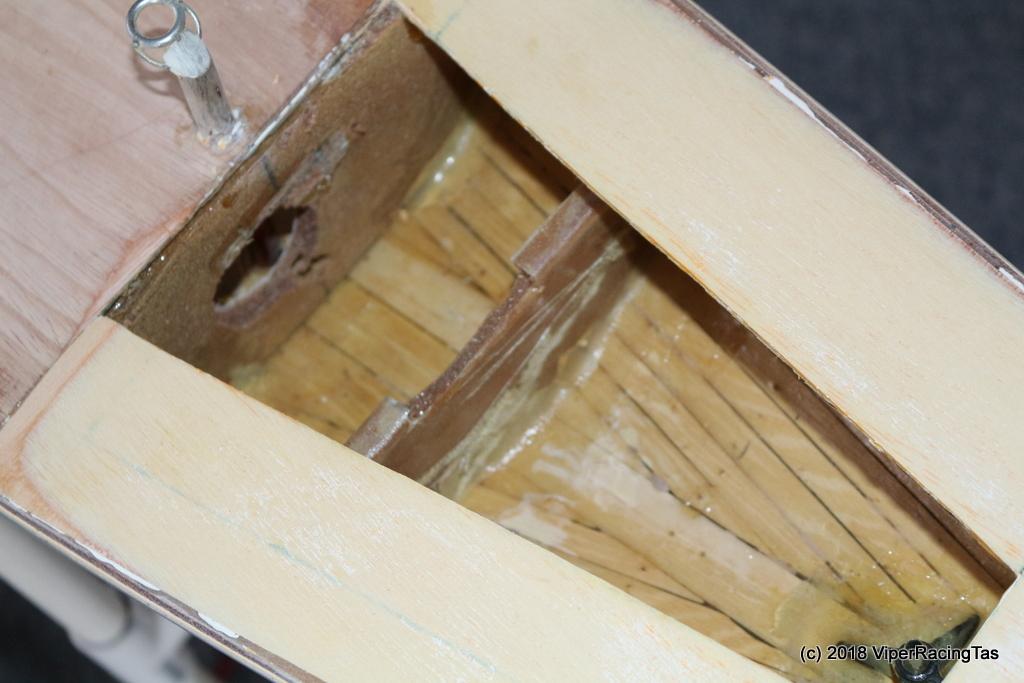
Once the rudder & servo assembly was all lined up and working OK it was time to start on the rear deck alterations.
First off was to fit a timber strip to fix the deck proper to. Once that was set the under deck layer was cut & fitted ready to support the infill deck sheet.
That’s it for tonight, need to get the gear ready for sailing tomorrow @ the Canal (unless it rains)
cont…
As can be seen in the final pic above, the rear hatch is significantly smaller than it was!!
Didn’t really get a huge amount done today, what with sailing and other urgent work but at least I got the deck infill panel cut and epoxied into place
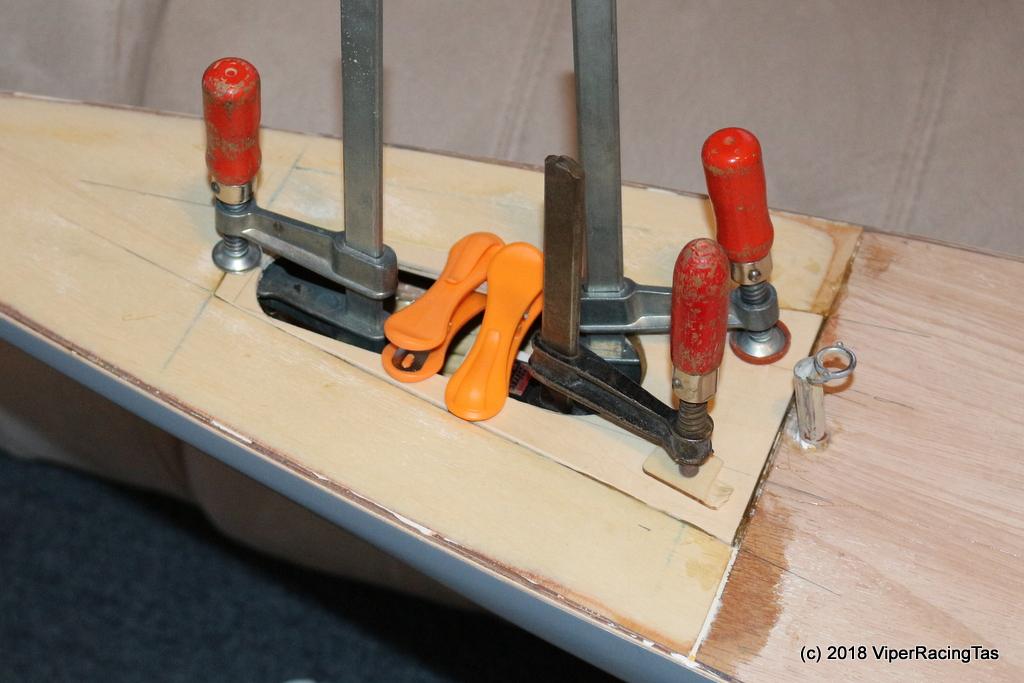
Will keep it clamped overnight to get the infill panel as level with the original deck as I can & once cured the gaps will be filled with Agnew’s Water Putty. Then just sand the whole thing flat & smooth.
Once that is done the Dremel drum sander will be used to open the hatch hole slightly and that should be the rear deck done, time then to start on the front deck & hatch.
Hopefully the size of the front hatch can also be significantly reduced and the sail-winch removed from a deck mount to under deck mounting.
cont…
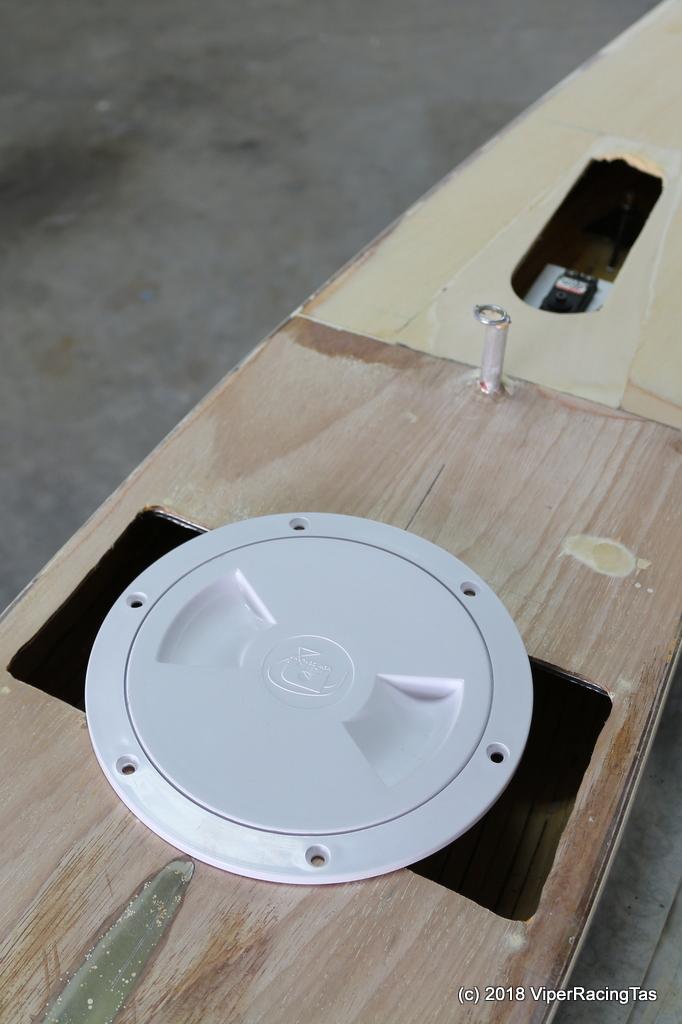
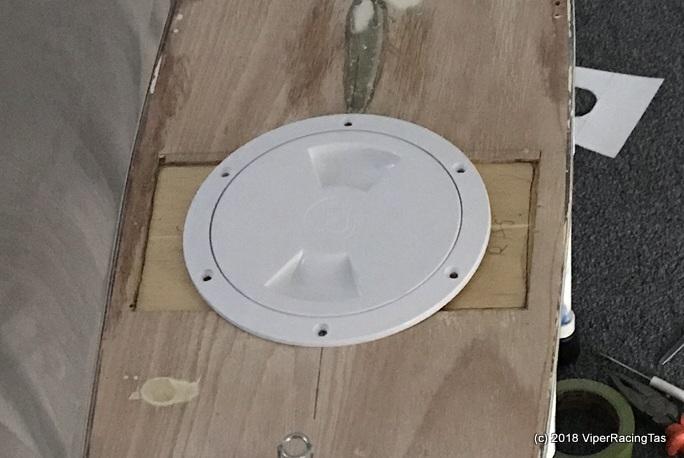
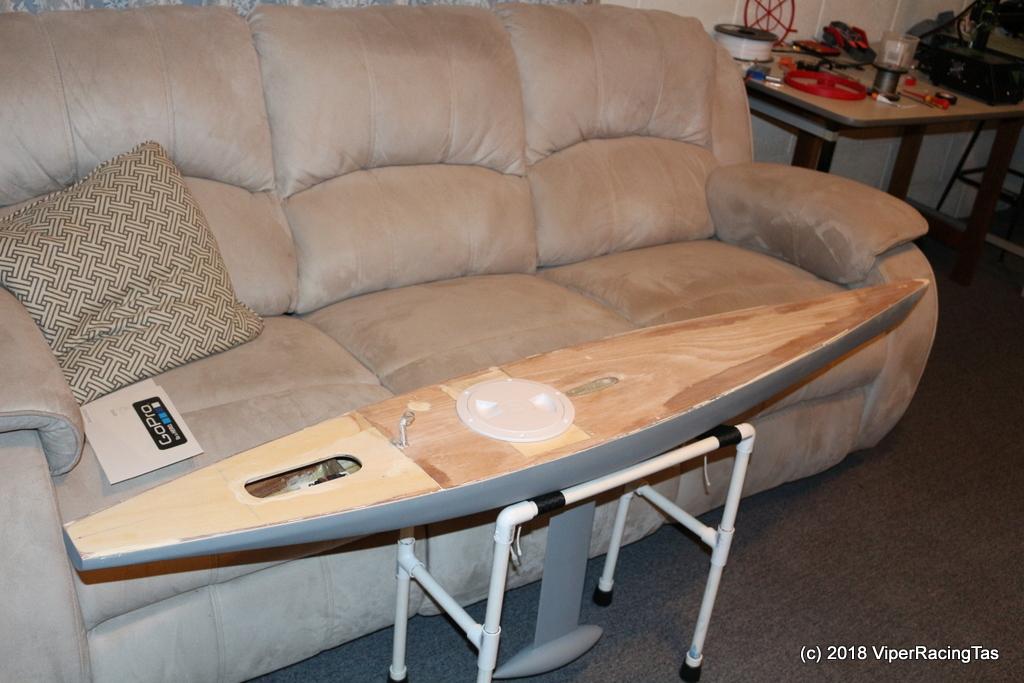
I ordered the through deck double roller block and replacements for a couple of broken fittings so hopefully they will be here via Express Post tomorrow.
In the meantime a screw in waterproof cover was purchased from the local boating shop so alterations to the foredeck are now under way.
I still wonder if it would not have been easier just to completely replace the deck rather than all the patching but I’m almost to the Home Straight now so will keep pressing ahead.
Starting to look the way I want it anyway.
Under deck support in
Underdeck reinforcing layer is epoxied into place, now only needs the deck infills and then a bit of patching & smoothing.
cont…
I’m still a bit further behind than I would like to be this close to Christmas but hopefully it will still be completed & back on the water before the New Year.
Yesterday the only thing I managed to do was fit the deck infills around the front hatch. Today they got filled and the whole deck area sanded ready for the first primer coat tomorrow.
How it looks with the screw in hatch
I hope to get a couple of primer coats & a layer of spray putty completed tomorrow with a final primer coat Saturday afternoon after sailing @ the Canal.
If it all turns out OK the topcoat could go on Sunday or perhaps Monday.
cont…
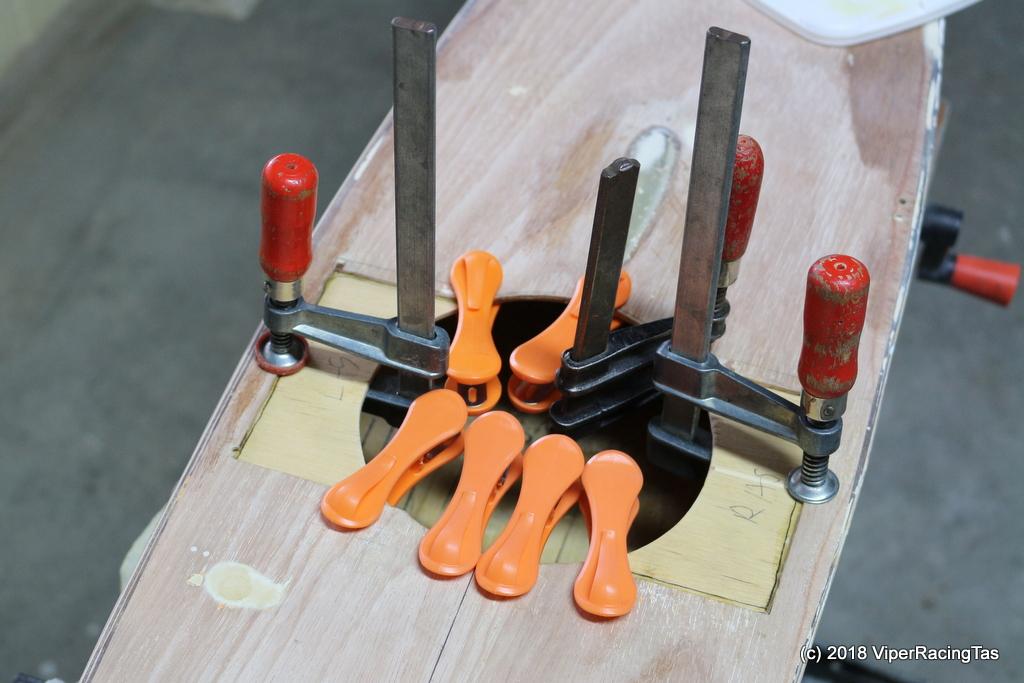
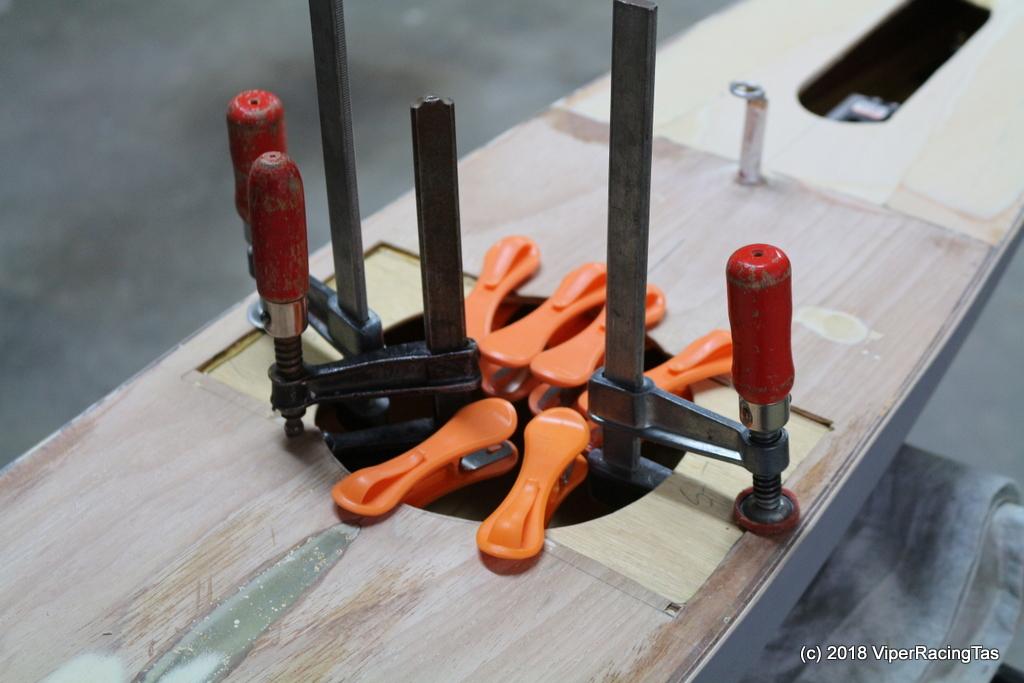
Managed to get all the fitting holes drilled in the deck today before applying a couple of coats of primer & a couple of spray putty.
It can dry all day tomorrow and I will start sanding it all back for the final primer & topcoat on Sunday hopefully. Getting close now.
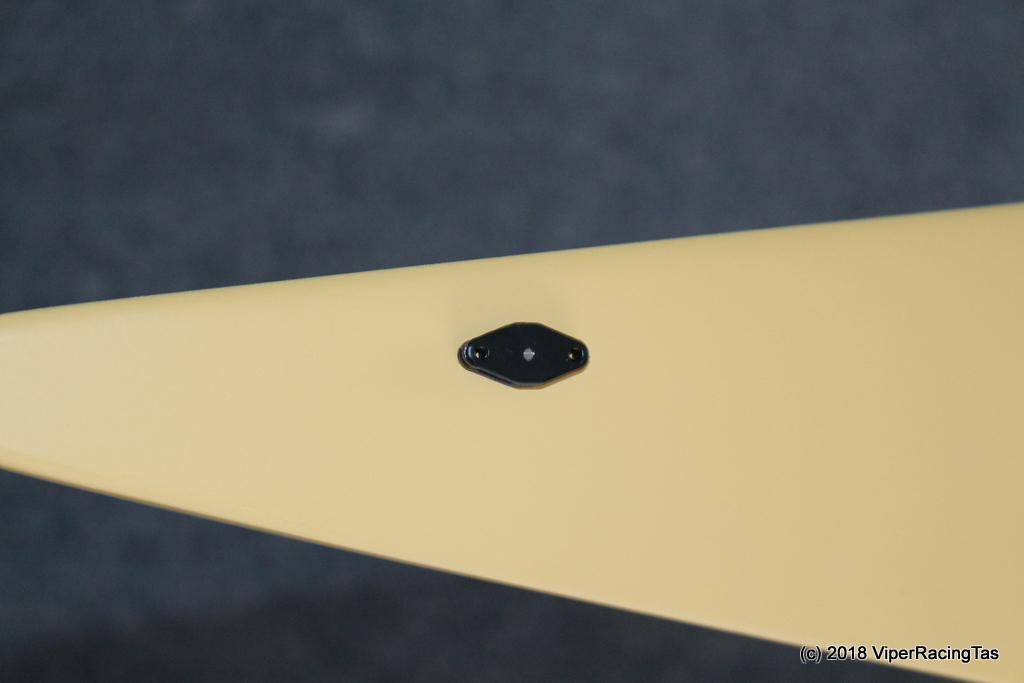
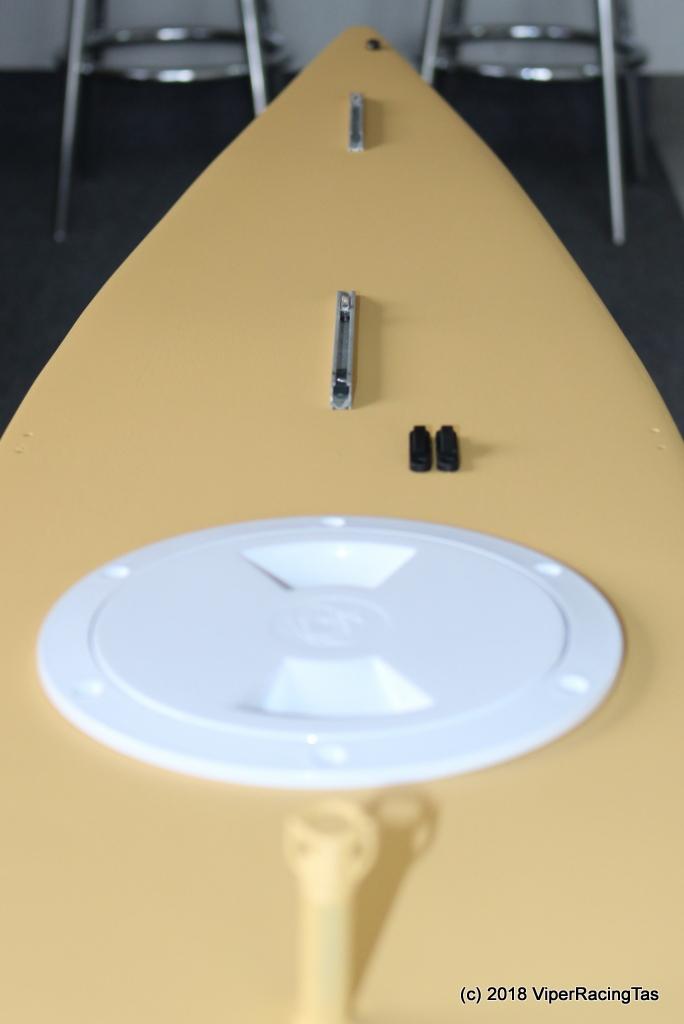
Overview showing deck fittings & Deck Penetration Rollers to feed Winch Loop along with Sail Tracks
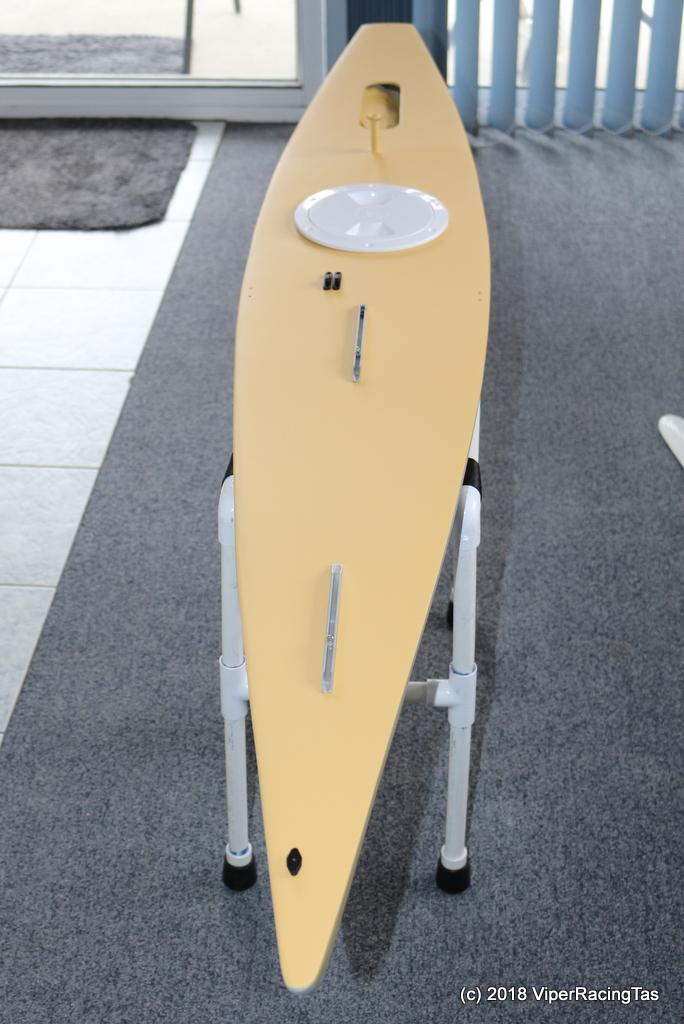
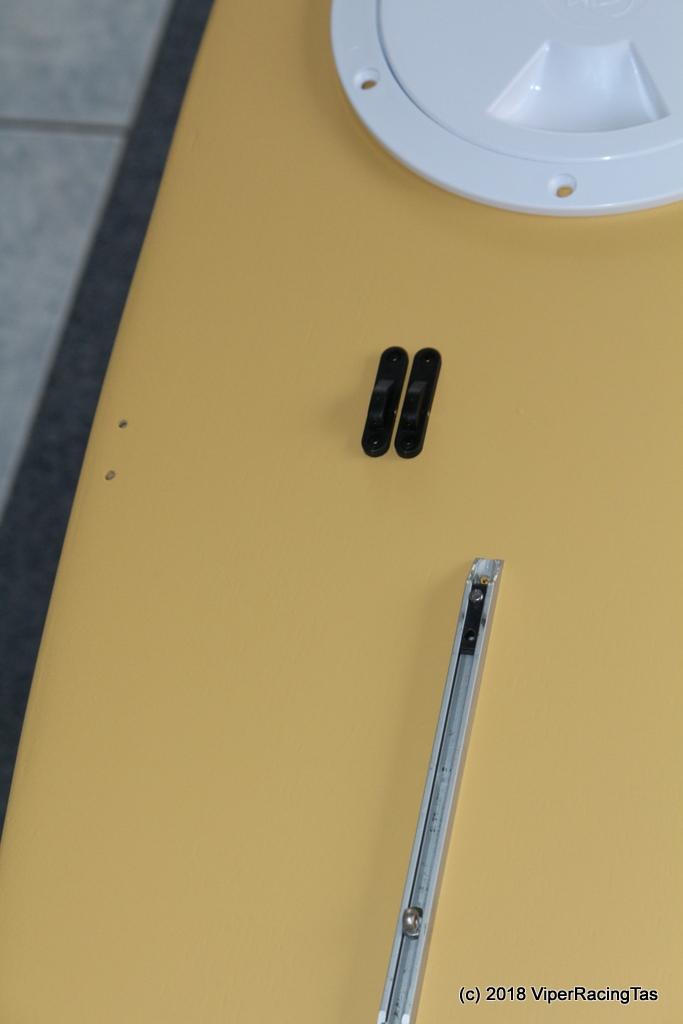
Front Closed Loop pulley
Looking Forward & Aft

To be continued…
-
13 December 2018 at 13:14 #2187
Good work Pred! I see what you mean by imperfections. You could always lay a new planked deck over top!😉
Looking forward to the next instalment. 👍
-
13 December 2018 at 13:30 #2188
Ah yes imperfections, can’t complain though given the price!! Still a bargain.
I will need to do some timber work around the hatch cut outs to reduce their size slightly and strengthen the joins as it was only the many layers of paint holding the unbraced butt joints between the sheets. Nothing a bit of marine ply & epoxy won’t fix though.
-
-
13 December 2018 at 13:35 #2189
🙄 .…OMG 😲 unsupported butt joins!! What was he thinking?
Seeing your 10R taking shape is inspiring me to get my IOM finished!!
-
13 December 2018 at 19:36 #2213
Yes, motivation is what we need, especially at this time of the year.
With a bit of luck, when the 10R is completed I will still be motivated enough to finish my A Class as well.
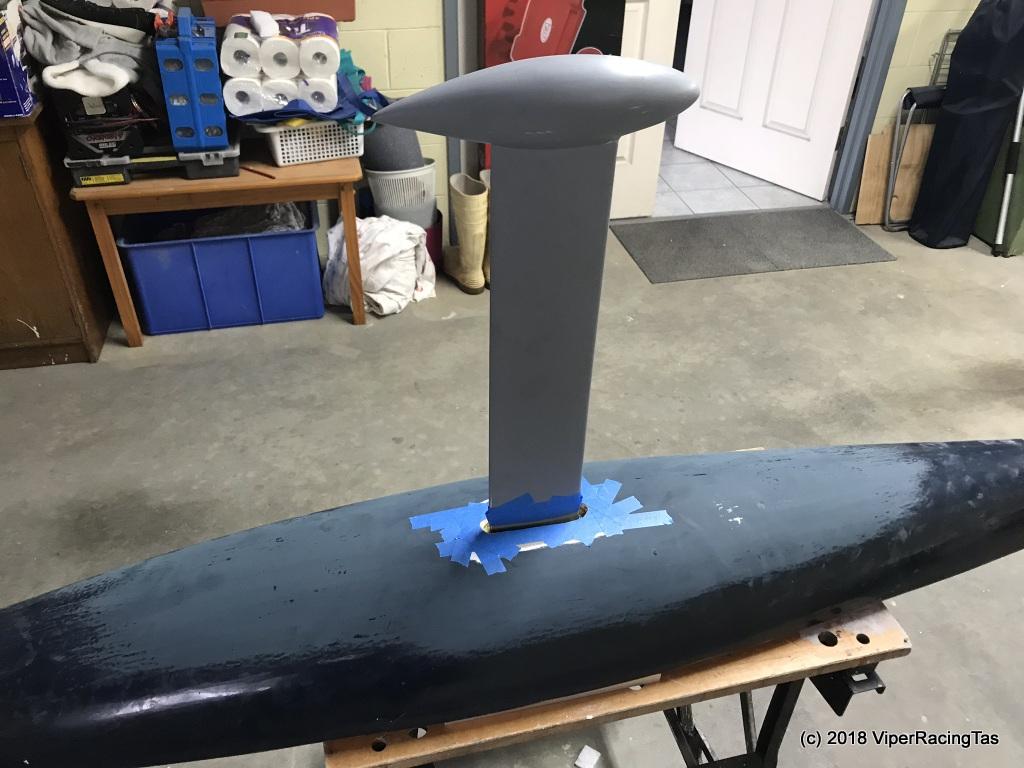
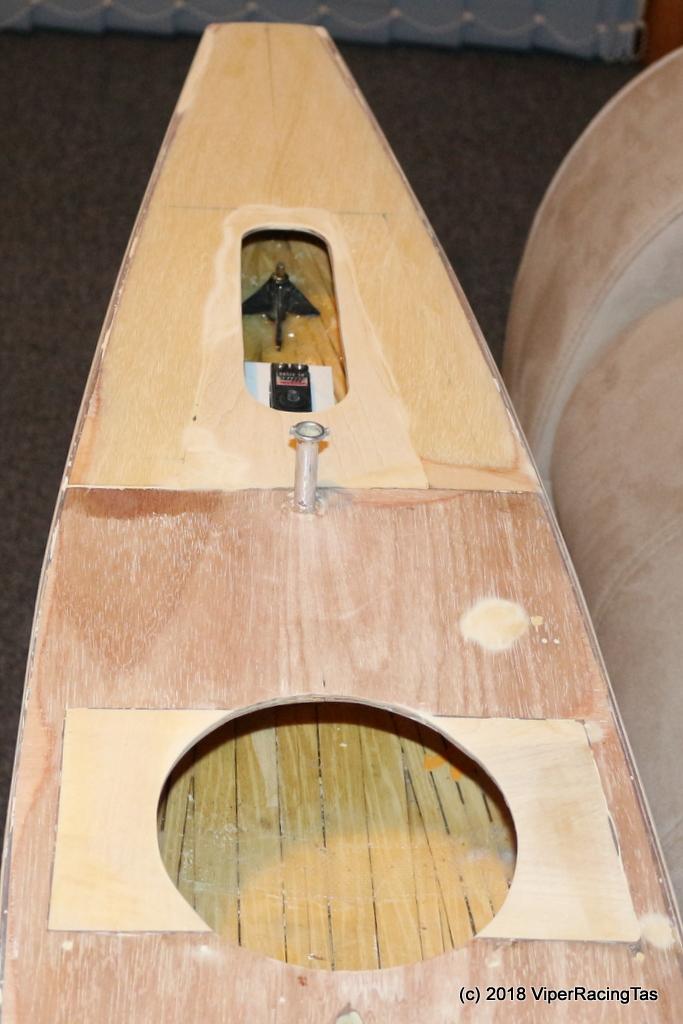
Got the stand made & the keel epoxied in and then it came to a grinding halt.
All the internal woodwork is complete, just need to install the closed loop Sail-winch set up & relocate the Rudder Servo then the deck can go on.
-
-
13 December 2018 at 19:44 #2215
Had a good day urging the fuel system back together on big boat. Tomorrow hopefully I’ll fire her up. If all goes well I’ll come home and start making sails!
-
14 December 2018 at 08:45 #2238
It’s never ending, especially this time of year.
-
-
22 December 2018 at 08:11 #2284
Just a quick note to say there have been several updates to my 10R build but because I have been updating the original post they do not show up in the indexing of New Posts.
This should rectify that issue.
Mike.
-
27 December 2018 at 19:48 #2312
Today I got back to the 10R, the deck putty coat has been sanded back & I just finished the final coat of primer. A quick sand all over in the morning & she is ready for the top coat.
The plan is to spray the deck first, then when finished & dry, up-end it and spray the hull & keel. Hopefully it all comes out OK.
Should be ready to cut & polish then reassemble by Sunday.
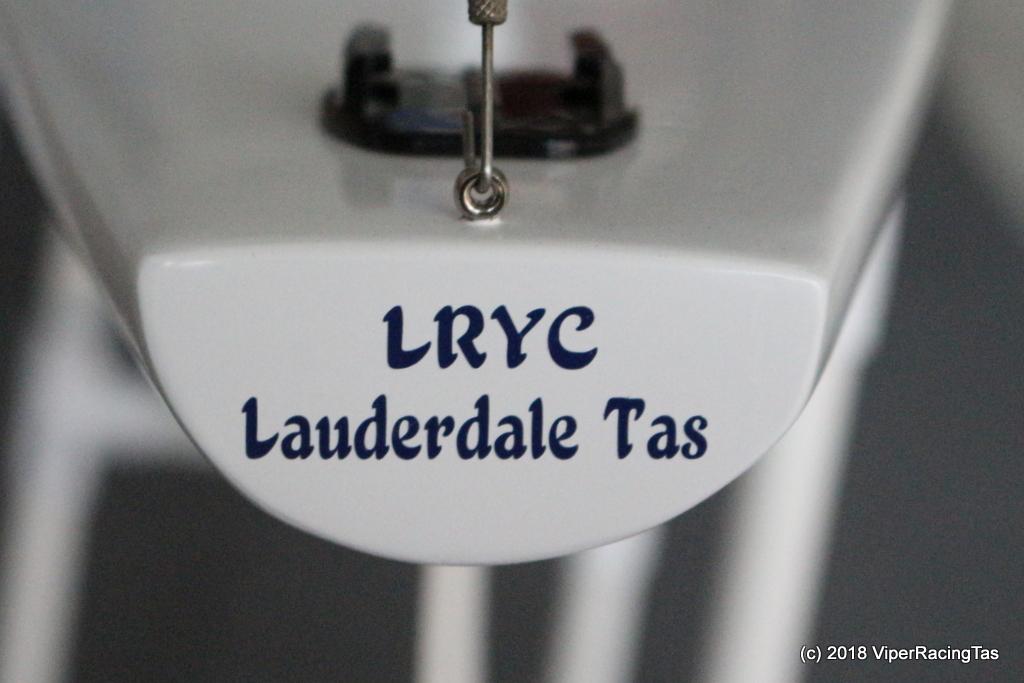
Below is a mock-up of the signage ready for my new Vinyl Cutter!!

-
30 December 2018 at 19:22 #2339
Got the painting all finished on Friday then left if all day Saturday to harden.
Today it was time to cut & polish the new paint job and then start the reassembly.
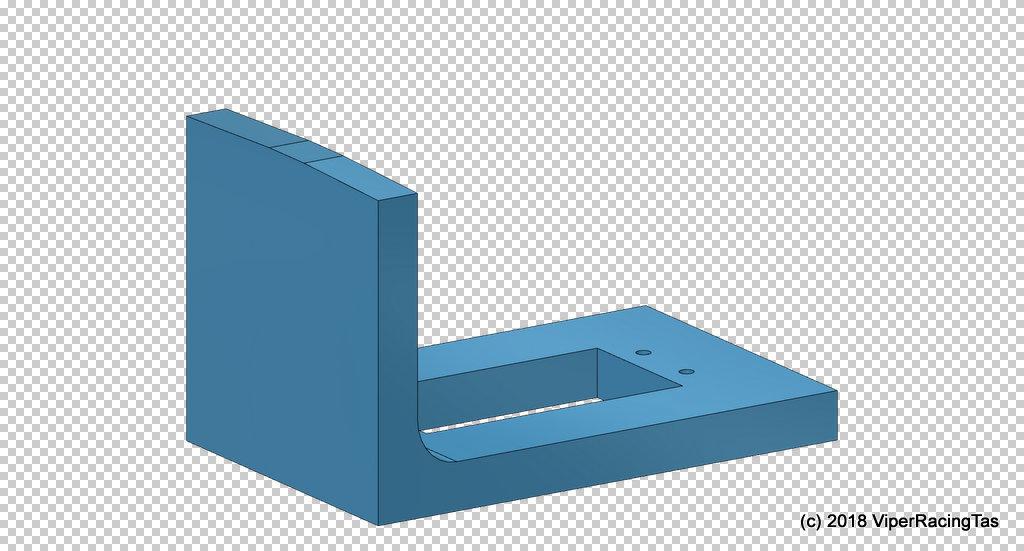
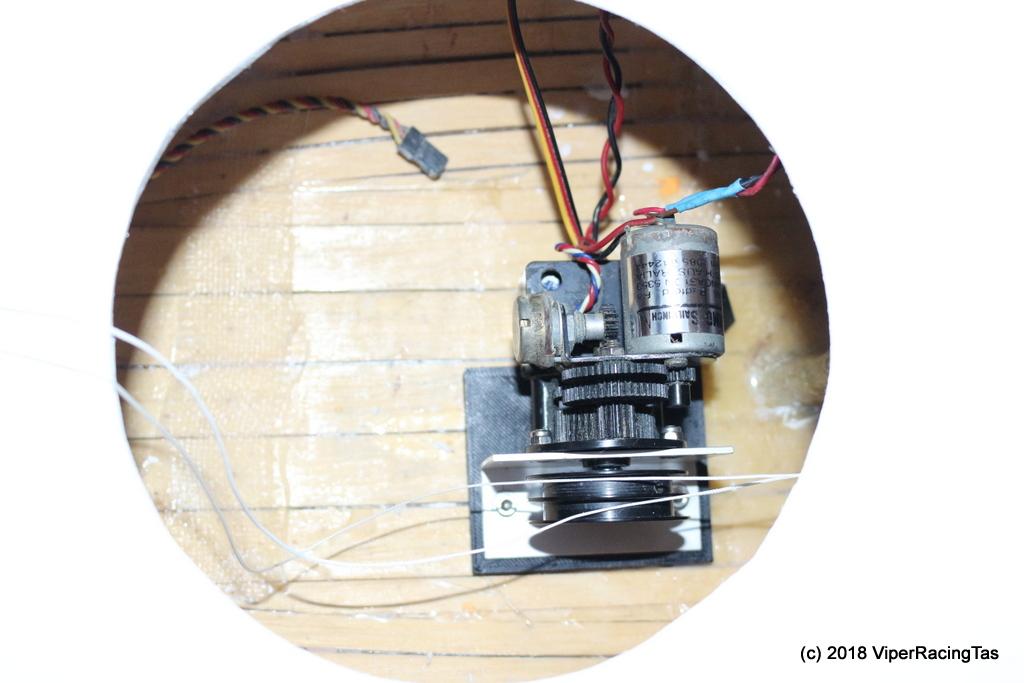
As the sail-winch is now mounted inside the hull rather than through the deck it needed a new mounting support. The winch support was made from aluminium angle and the mounting block was 3D printed complete with provision for captive nylock nuts to make later winch removal nice & easy.
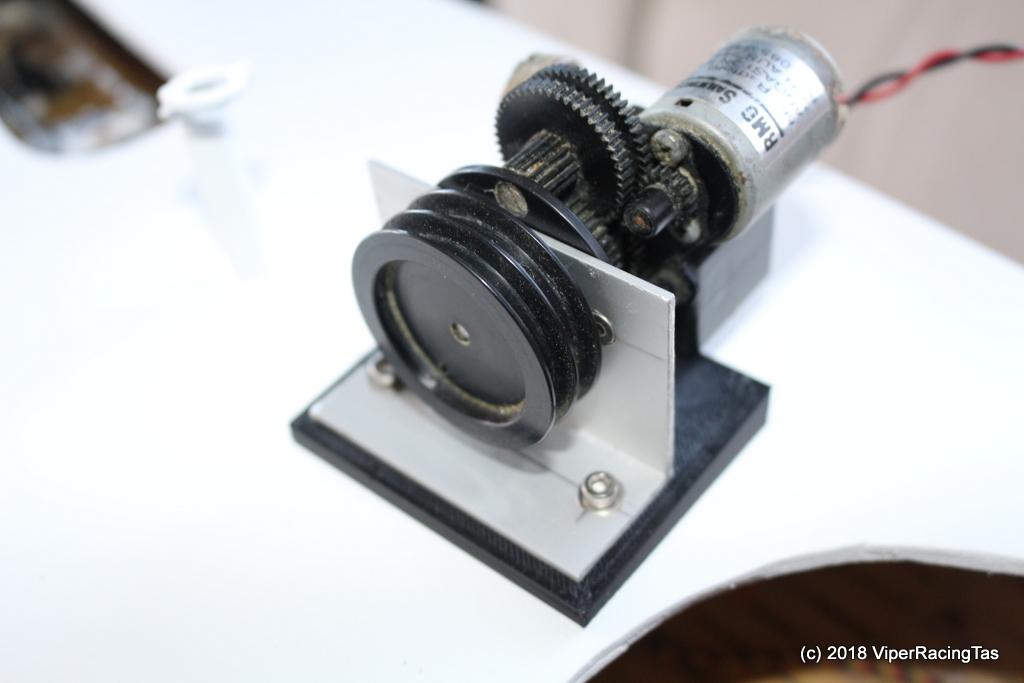
The block was then epoxied into the hull.
While waiting for the epoxy to cure I started on the vinyl printing. Got it all printed (except for the Axes – different colour) and at least some of it installed
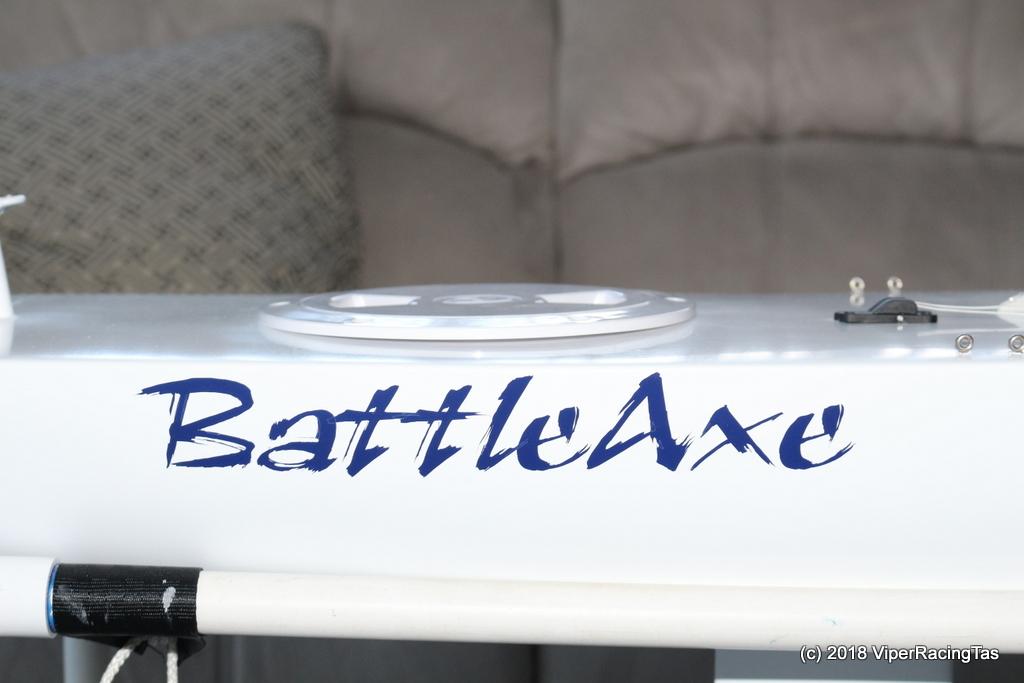
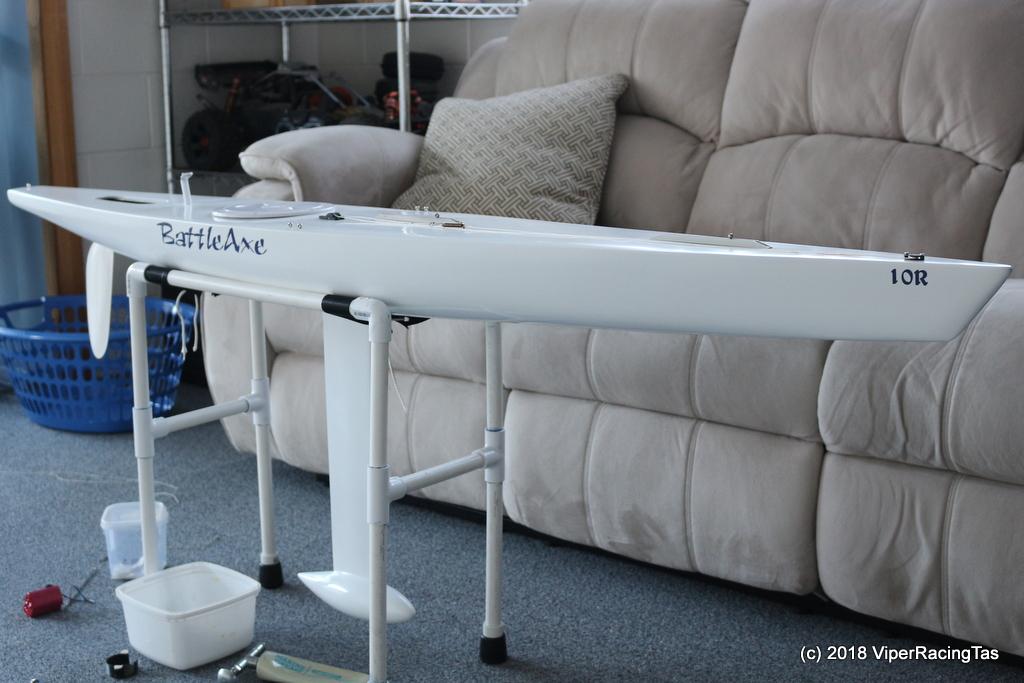
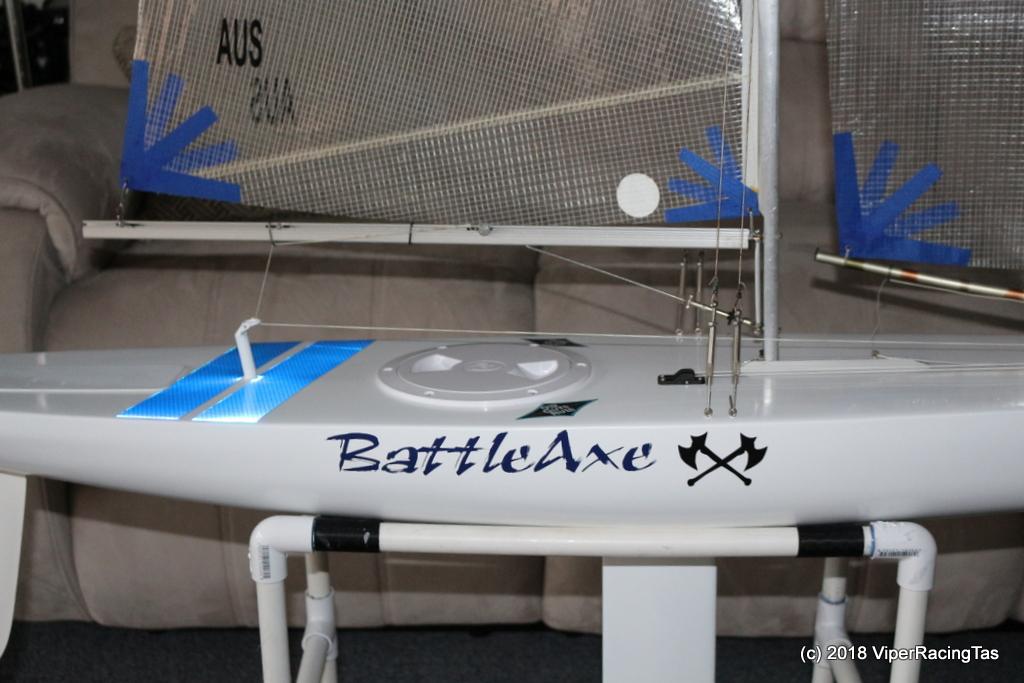
For the BattleAxe name I opted for the Raunch LET font that had previously been used on Obsession. At the time my commercial printing man (Ken Stone – Vinyl Solutions) said it was the worst font he had ever tried to vinyl cut, so I just had to put it to the test on the Brother DC200. Must say that it cut it perfectly but it is a tad fiddly to separate the waste from the print. Just took it slow & steady and I reckon it came out just fine. Over time (without clearcoat to protect it) a bit of the very fine detail gets knocked off but it still looks good on the N12.
Now just need to finish stringing the winch, screw & seal the forward hatch into the deck and print a hatch & fixing mech for the rudder & servo access.
-
31 December 2018 at 07:24 #2340
Looks sharp Pred! The font looks good too. 👍
-
31 December 2018 at 15:51 #2341
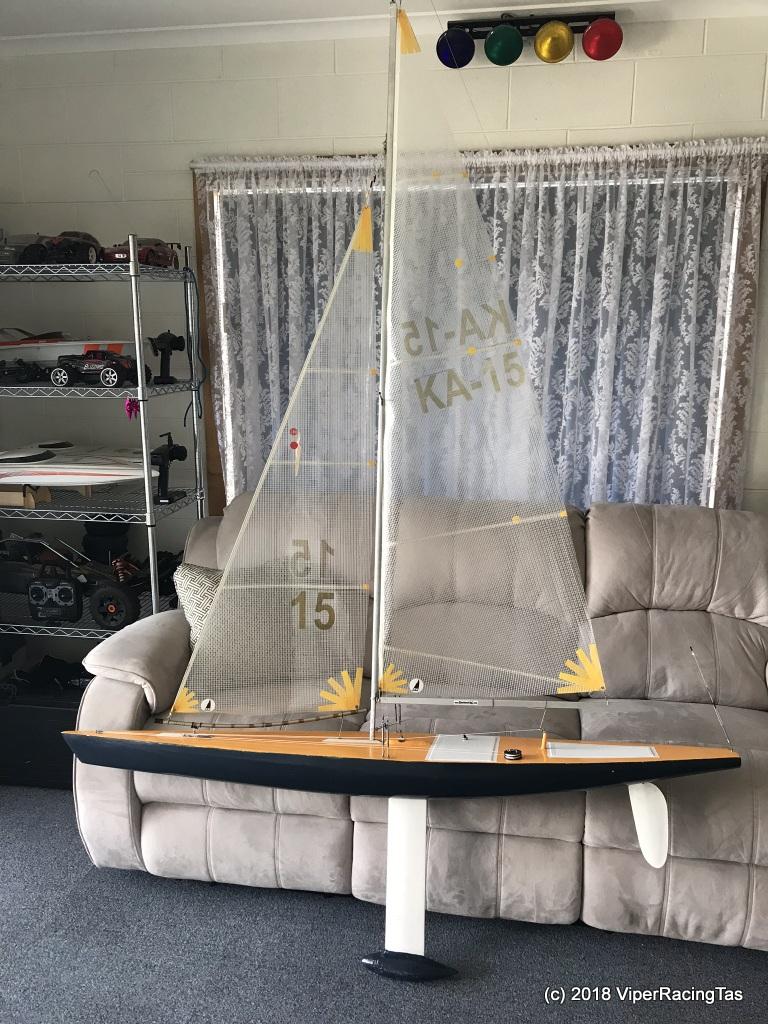
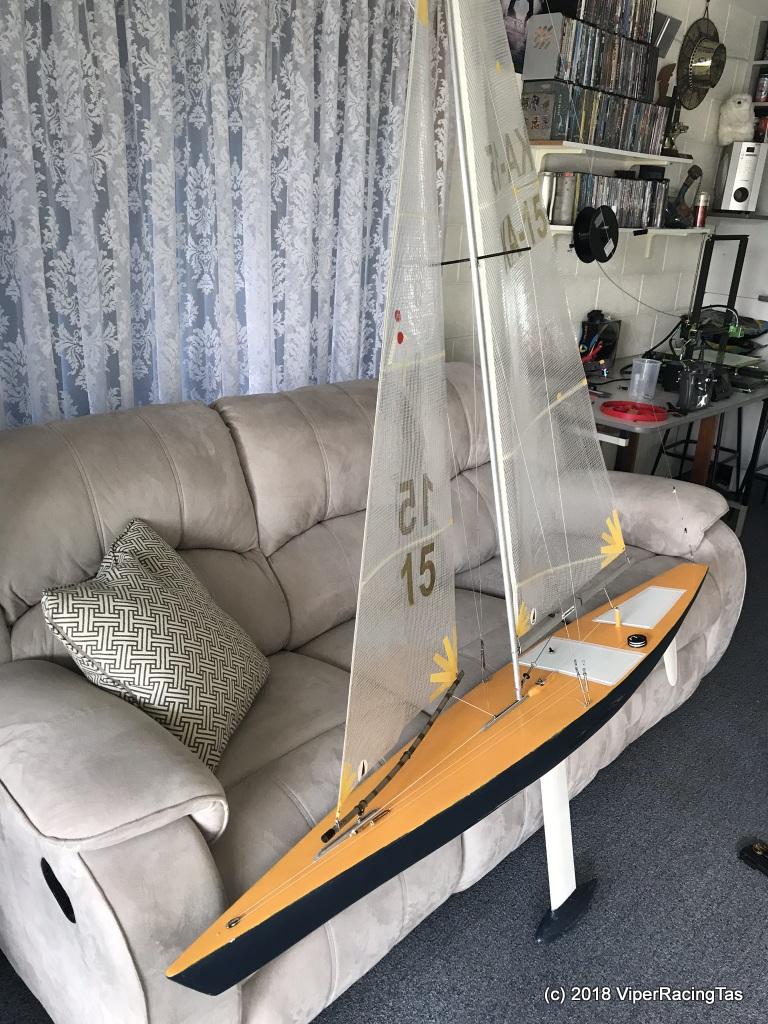
Well I might not have finished it for Christmas as I had hoped but at least its finished this year.
9 hours till 2019 & the rear hatch cover (the very last bit) has almost completed printing.
All the rest is completed & fully operational so will be back in the water at our next sailing event, Saturday @ the Canal if weather is OK or Tuesday @ Puddleduck.
Edit: 21:15 and it is all done & dusted. (Here are the pics to prove it)
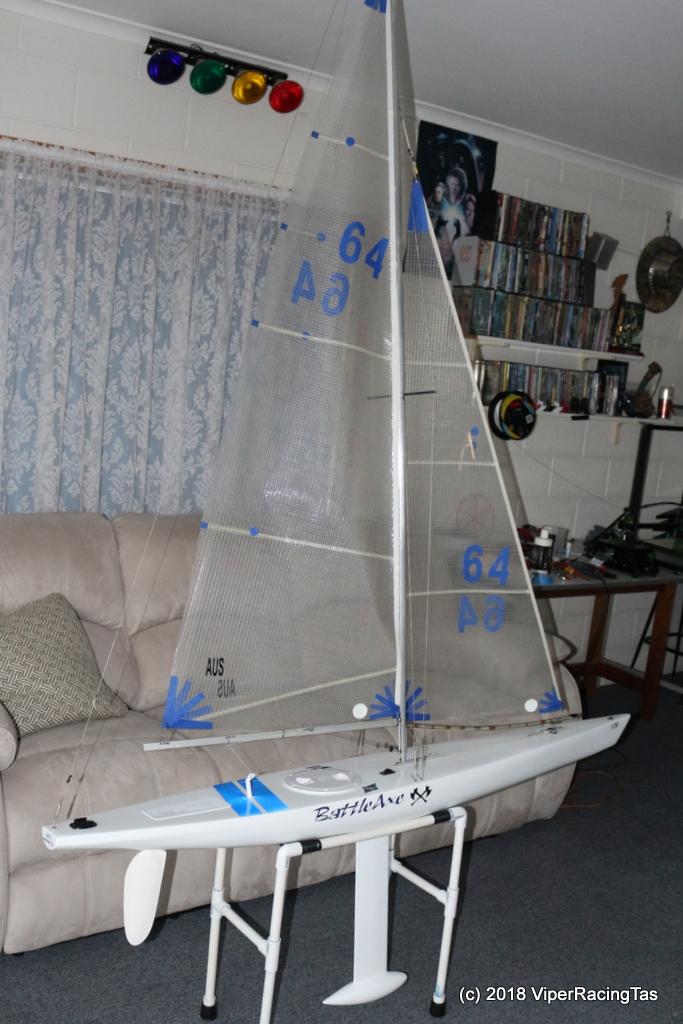
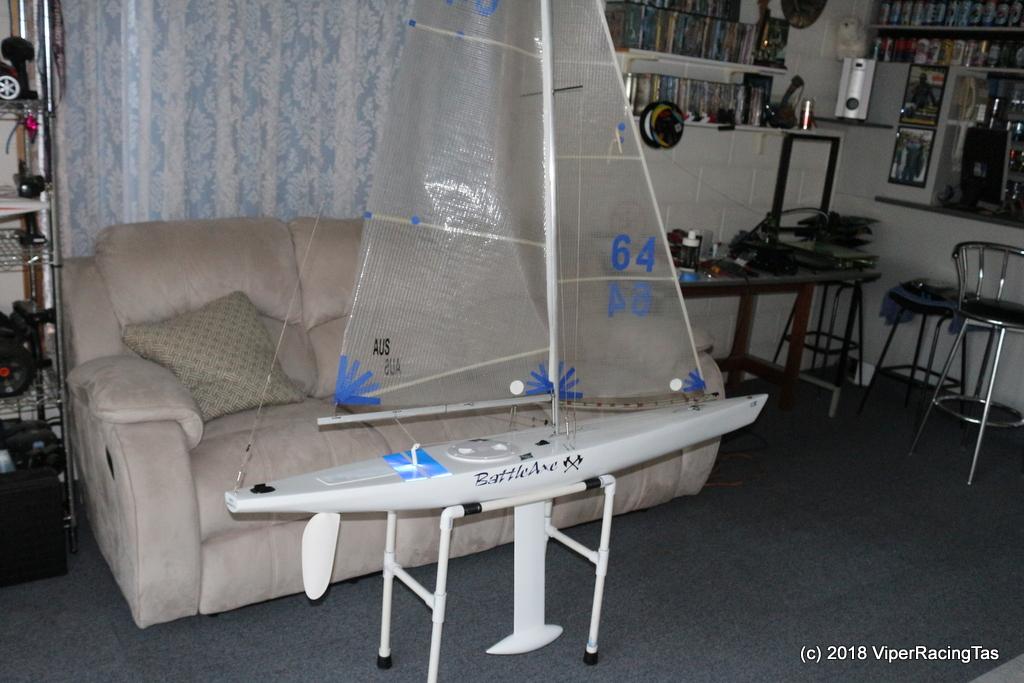

That’s it, all done!!
Happy New Year

-
1 January 2019 at 11:26 #2346
I might be able to help you there 😉
-
-
AuthorPosts
- You must be logged in to reply to this topic.