› RC AIRCRAFT › BUILDS › Gliders › Yet another BIG glider
Tagged: build, Fox Glider, FPV Setup, MDM-1, vario
- This topic has 17 replies, 5 voices, and was last updated April 18, 2020 at 11:00 pm by
 Predator.
-
AuthorPosts
-
-
18 December 2019 at 16:52 #4125
The FMS (MDM-1 Fox) 2.3 metre scale powered glider that I acquired last Monday is assembled & ready to test fly.
Definitely another big bugger!!
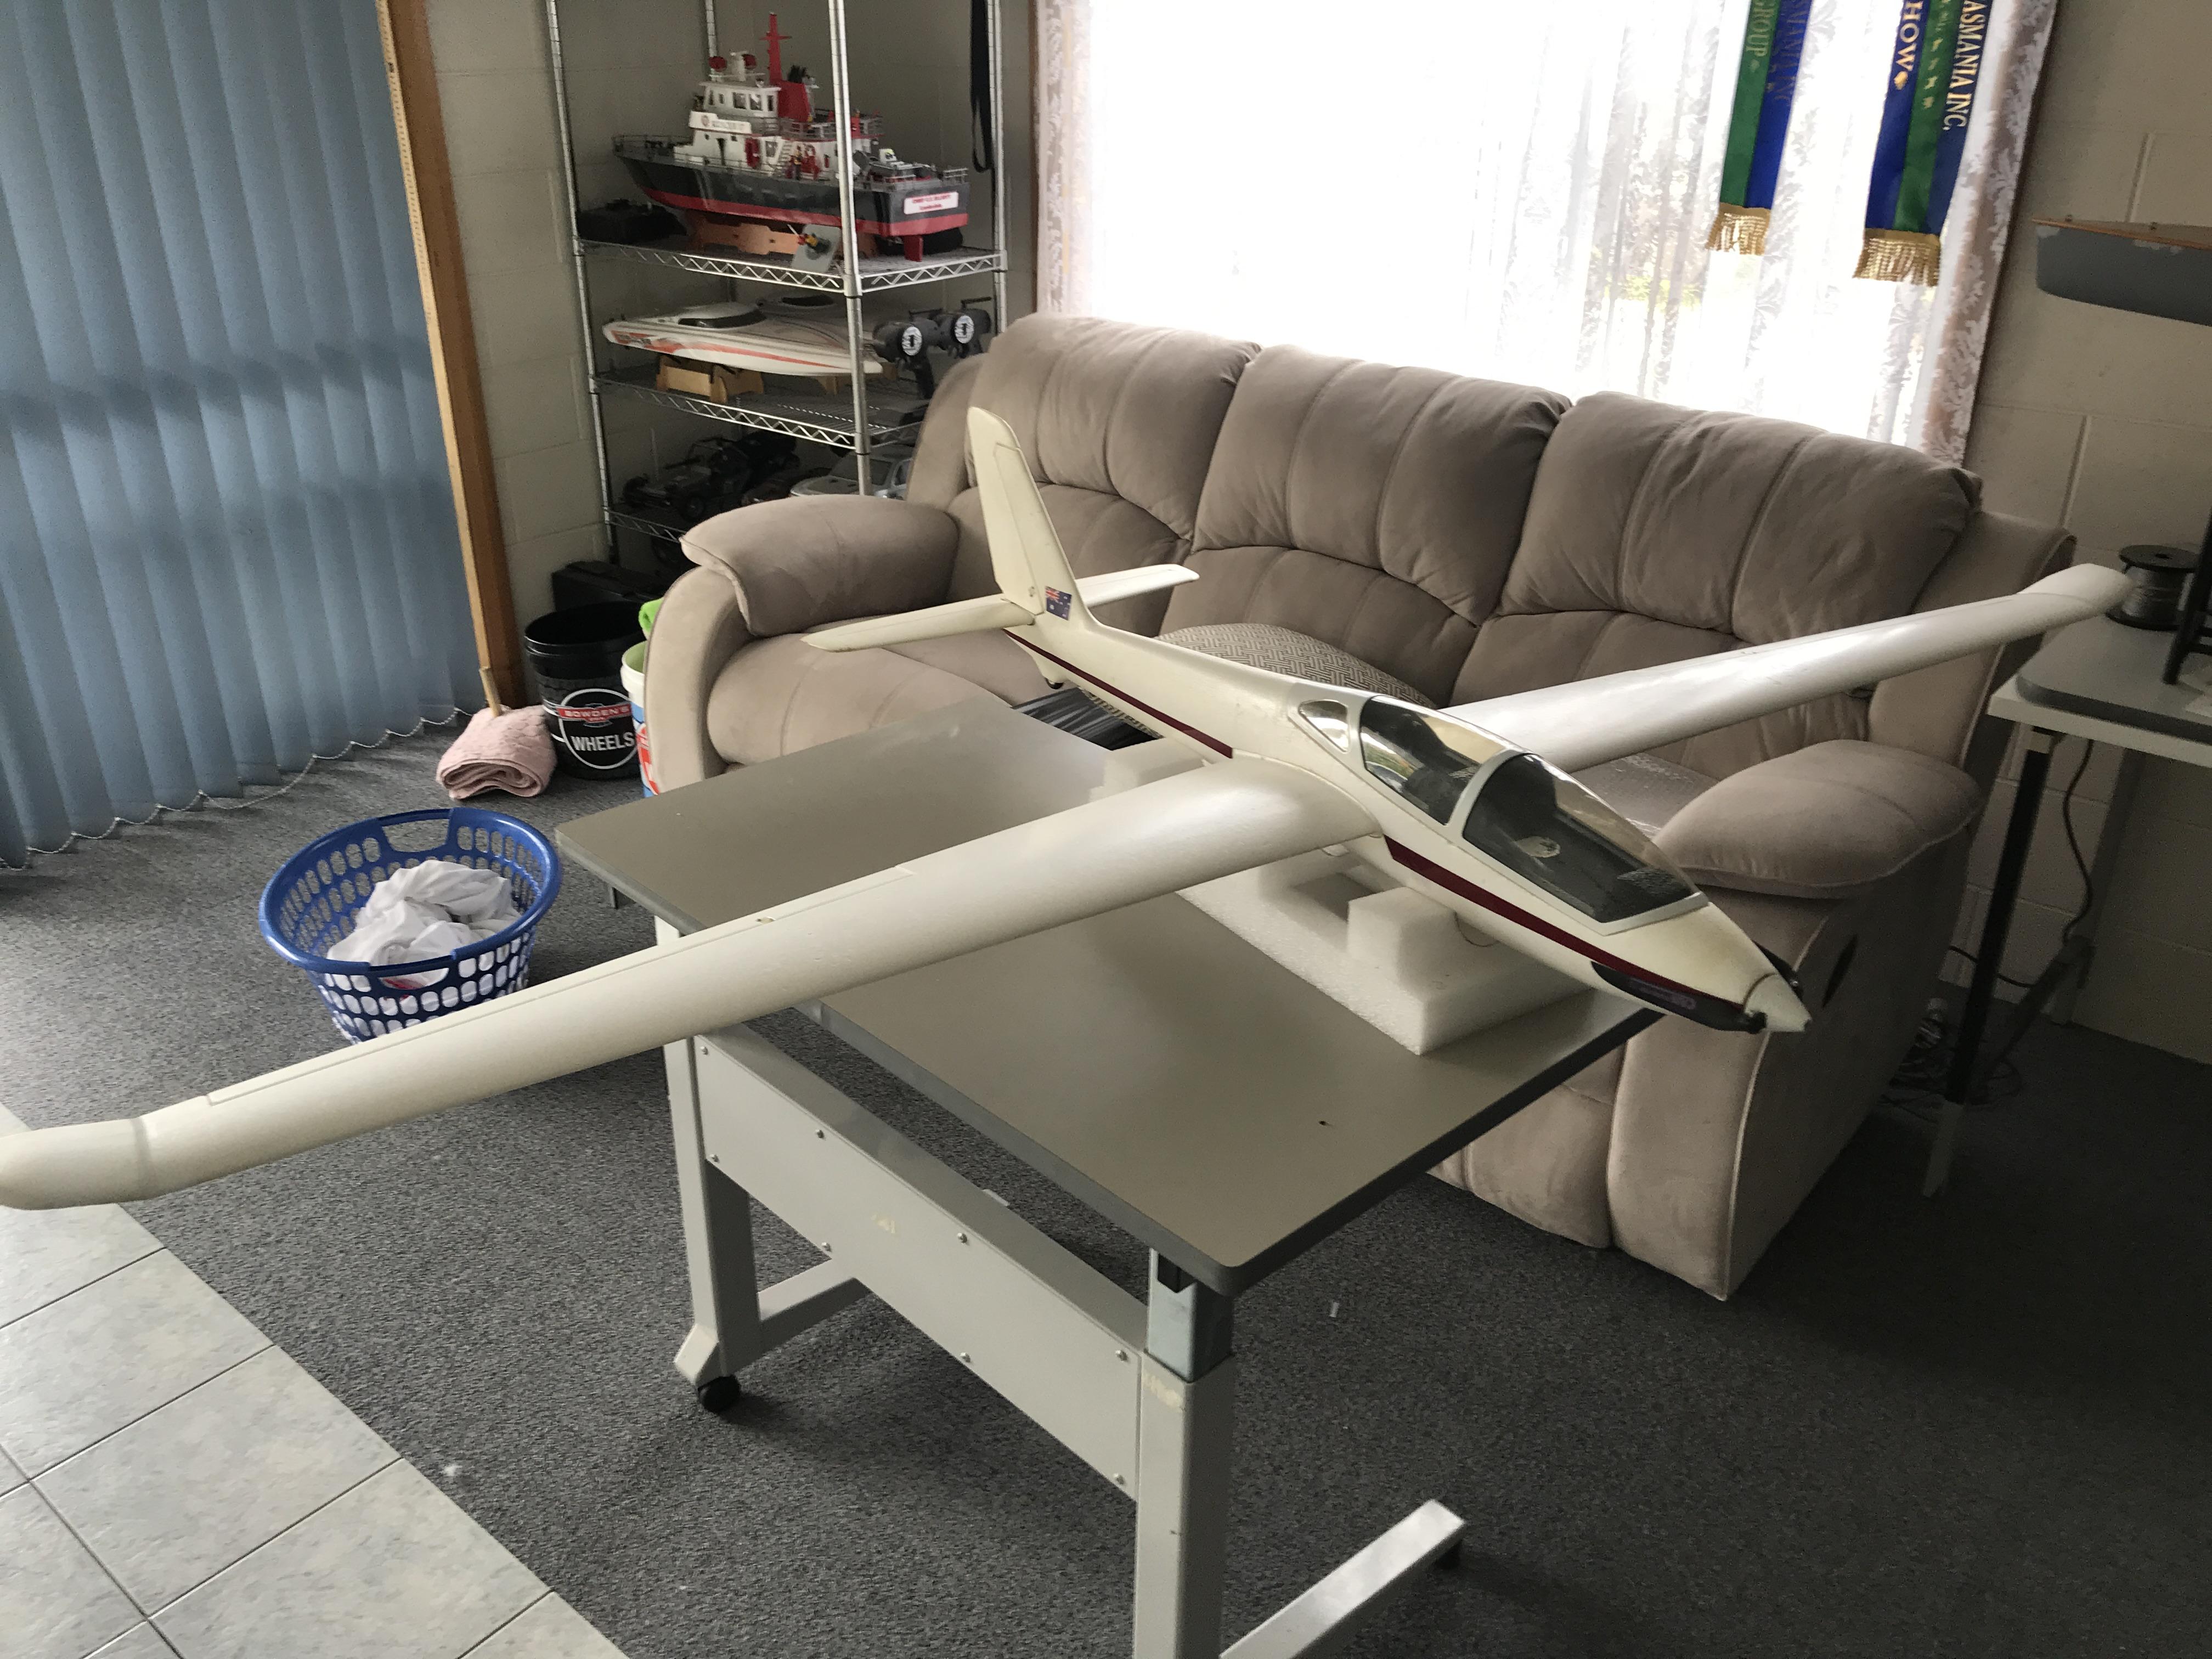
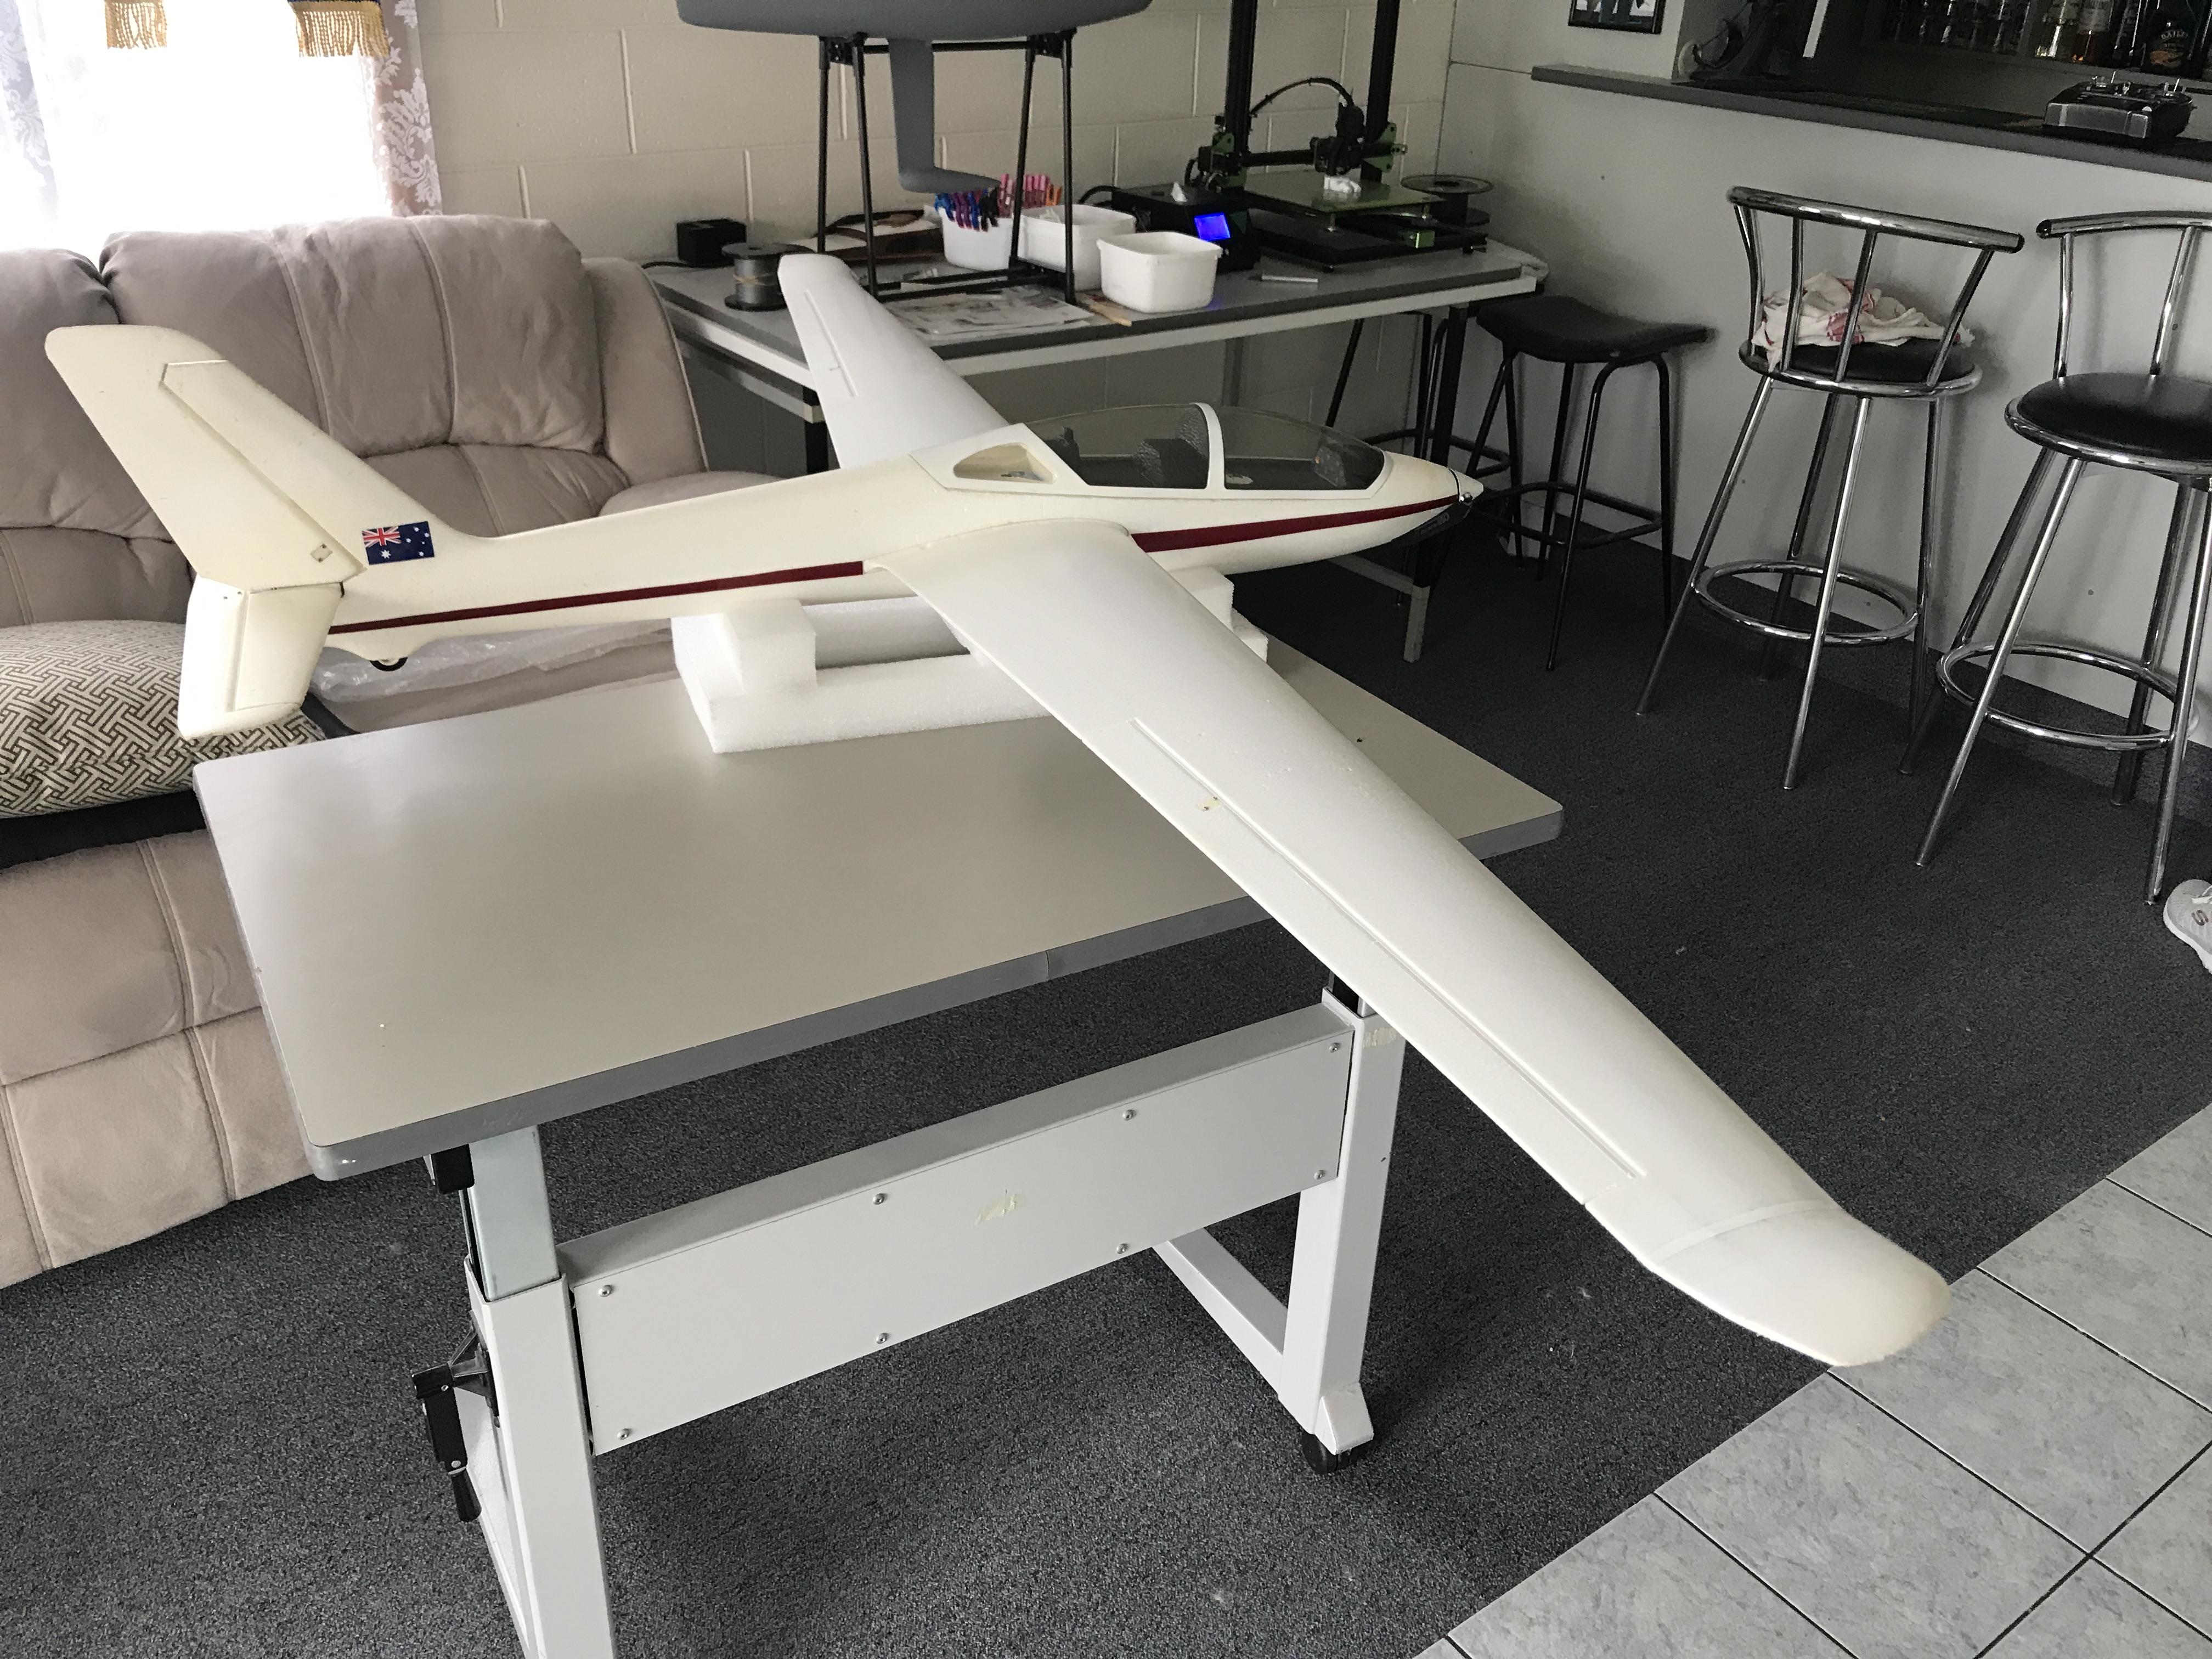
I’ll need to add some colour to the wing tips as all white is not the easiest to see at a distance.
Just in the process of 3D printing a pilot seeing as how the canopy had to be removed from the hatch cover to repair the paint inside the cockpit.
Before I glue it back on it may be a good time to look at installing an access hatch to allow for the camera to go inside the cockpit as well.
I’ll see how the pilot turns out first though.
-
18 December 2019 at 18:11 #4126
Looking good!
-
18 December 2019 at 22:00 #4127
Yes Gerald, looking OK, hopefully it will also fly OK. Just finishing off the pilot & passenger to add to the scale look.
I’ve installed an A3 V2 stabiliser just to see how it flies but if it goes well I’ll install the FY-41AP so I have full Auto Pilot capabilities before any long range FPV flights.
-
25 March 2020 at 19:30 #4657
Been flying the MDM-1 Fox glider for a while now on and off and with the installed Hobby Eagle A3 V2 Stabiliser it flies beautifully, and thermals great.
Due to its good thermalling ability I thought it prudent to install a RTH (Return to Home) feature and to that end today I installed a ZOHD Kopilot stabiliser/RTH. I’ve had one on order for quite a while & at present it’s somewhere between China & Australia and with all the lock downs due to the current Covid-19 virus when it will get here is anyone’s guess.
Luckily Gerald had one in stock to do a bit of testing on so he has loaned me his till mine arrives.
The ZOHD Kopilot was very simple to set up (hopefully I’ve got it right) and seems to be doing all that it should. Virtually the same as Kermit’s Sparrow AP.
The only real hassle I had was getting the Motive-RC R8SB receiver into Mode 4 (SBUS Mode).
The supplied instructions are wrong but after heaps of searching on the net I found one note from someone that had sorted it out. Works fine now.
The trick when changing receiver modes on the R8SB is DON’T short press to lock in (as instructions say), just select the mode you want, leave the lights flashing then bind it to the Transmitter, that then locks the mode.
Hopefully test flying soon.
-
26 March 2020 at 07:55 #4658
Kopilot on special and in stock in the AUS warehouse at the moment. (4 days only)
-
31 March 2020 at 19:20 #4702
Thanks Gerald, they are a good buy if you want a simple stabiliser with RTH/circle mode and definitely a lot easier to set up than the FY-41AP’s
-
-
31 March 2020 at 19:24 #4703
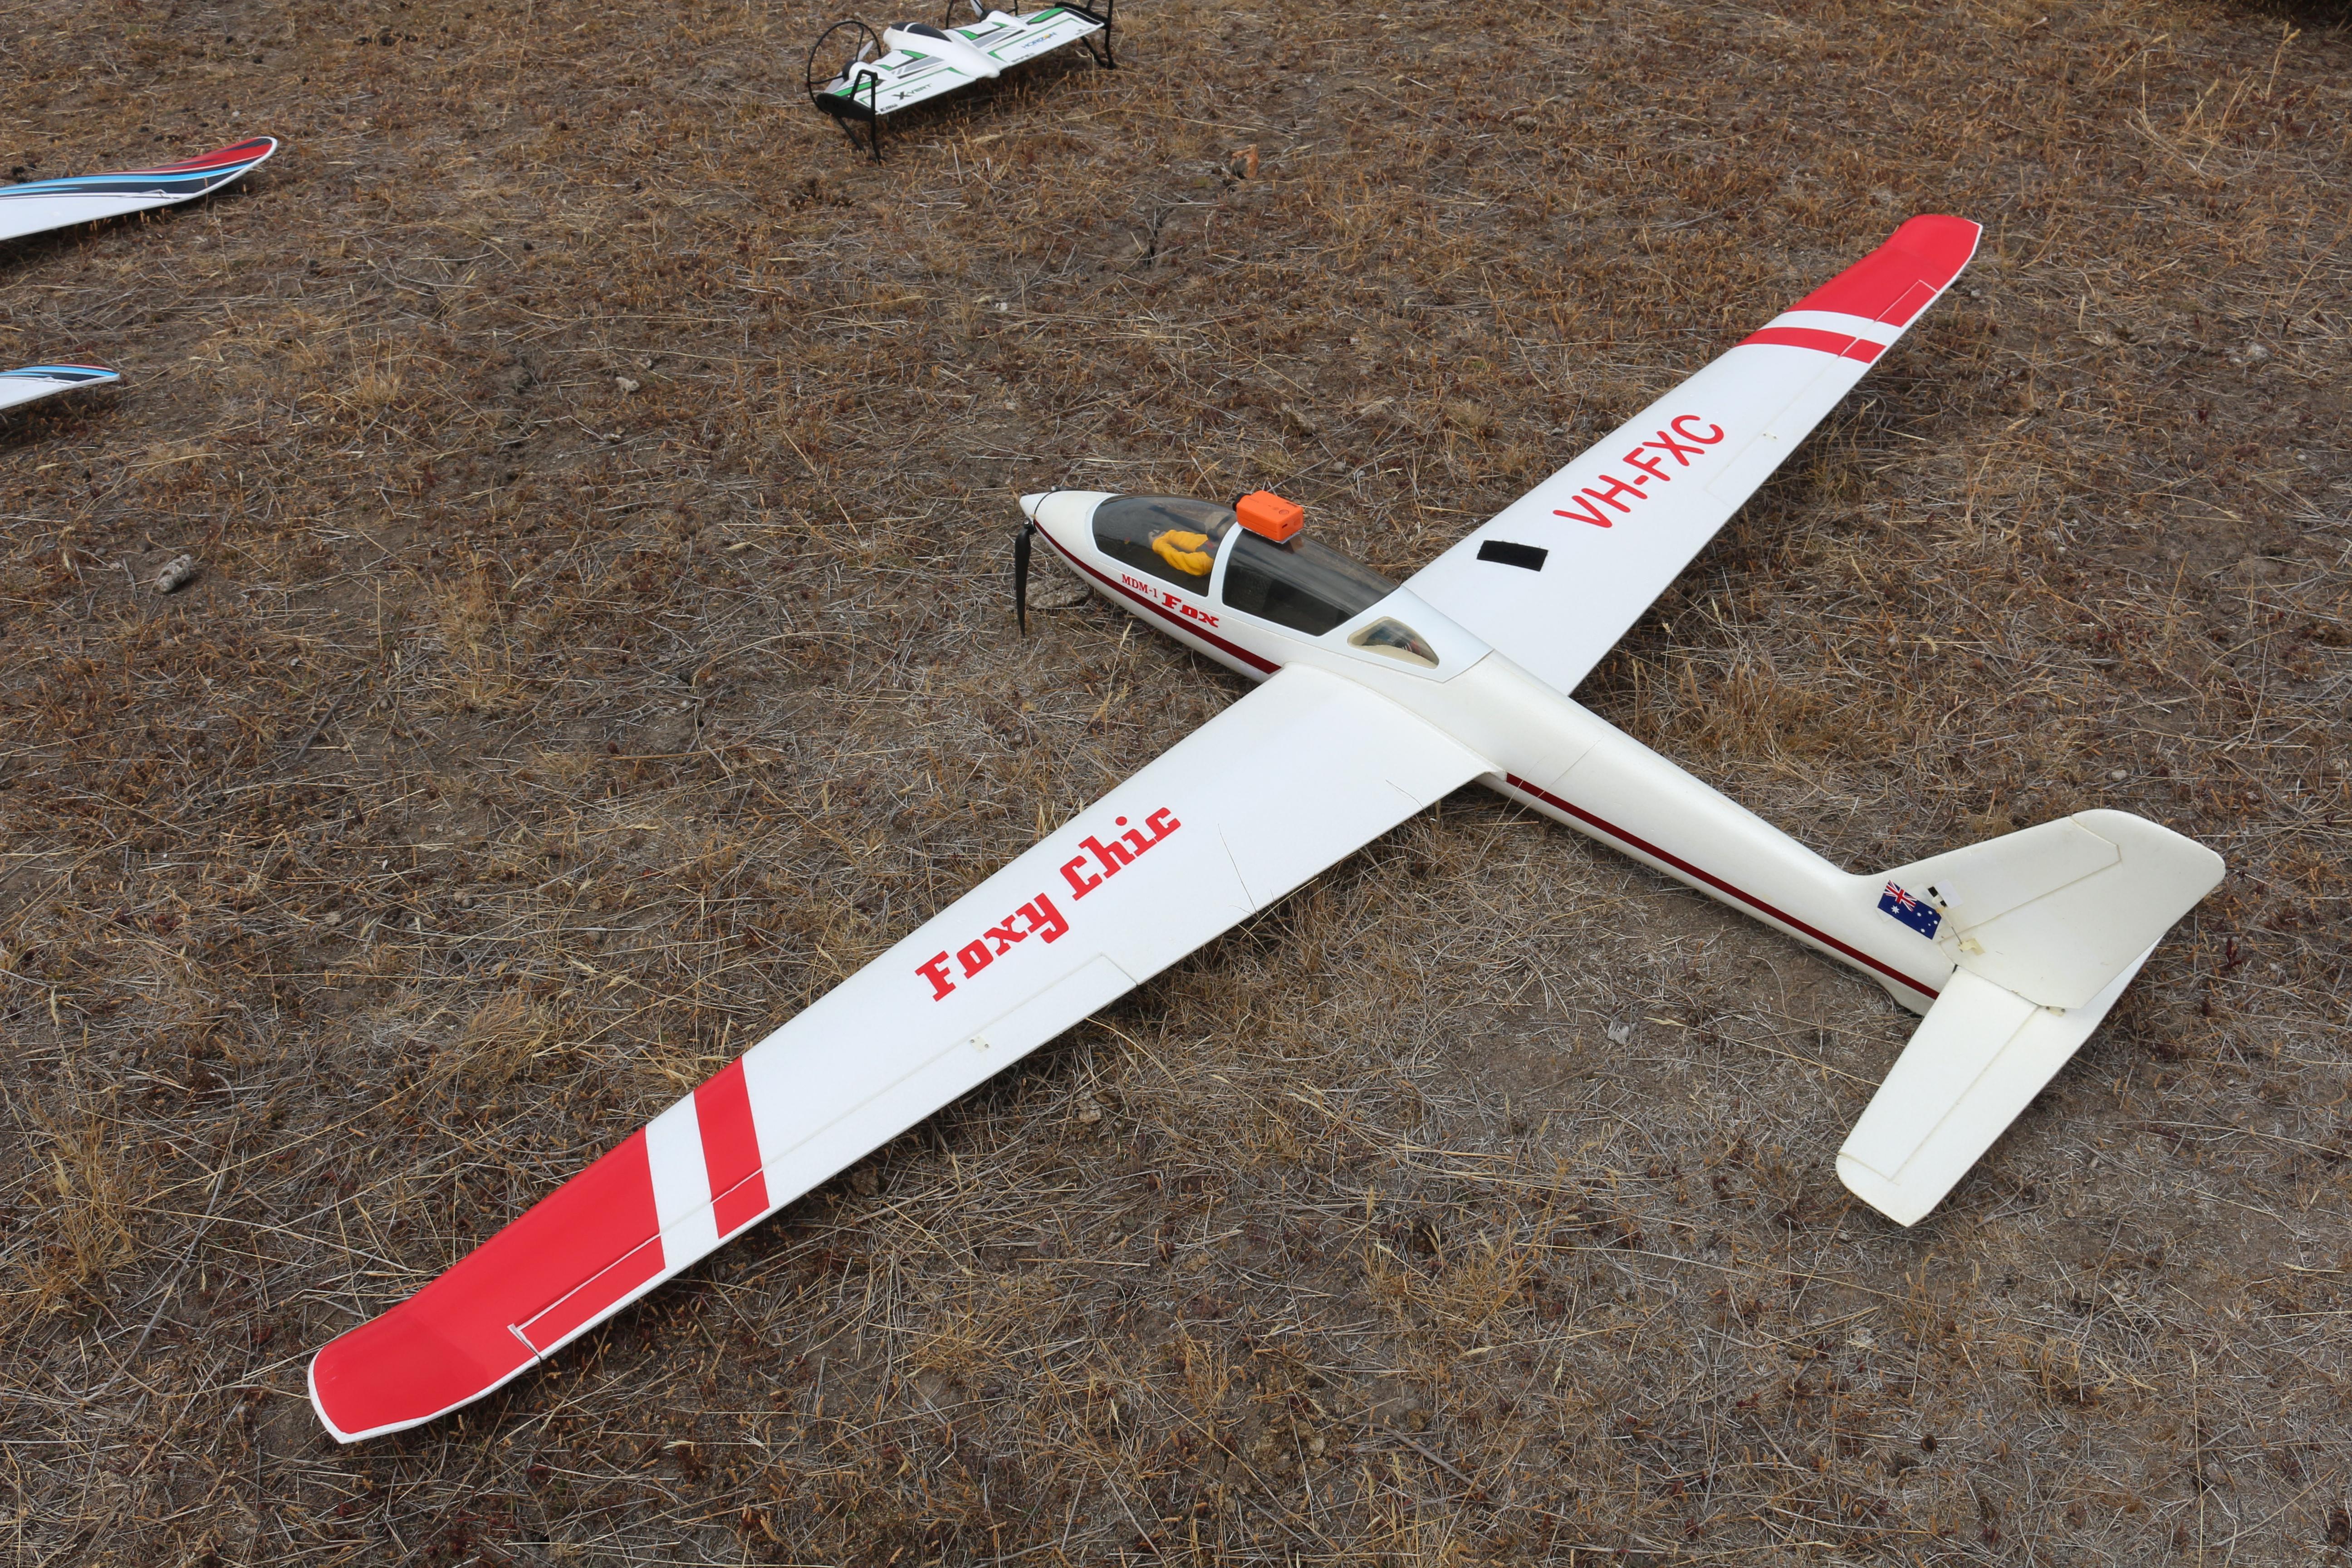
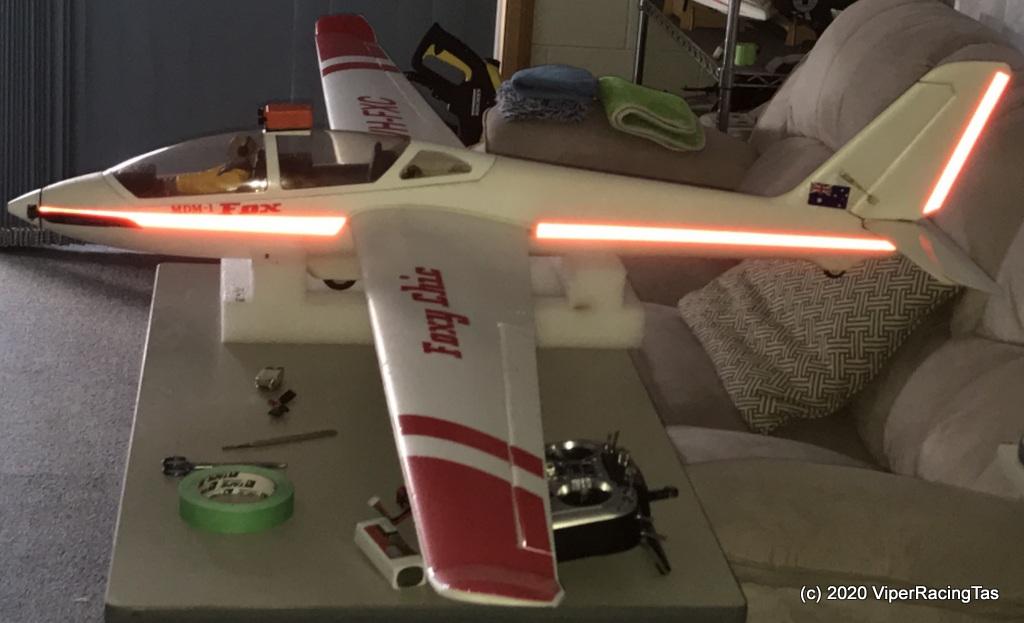
Been doing a bit of tidying up on a few of my planes.
Removed the old crimson stripe from the Fox glider and replaced it with some SOLAS rated red reflective tape. Figured it may be a lot easier to see at a distance especially when the sun catches it.
Now we just need to get out of isolation and back to the Great Outdoors for some flying.
-
3 April 2020 at 13:20 #4719
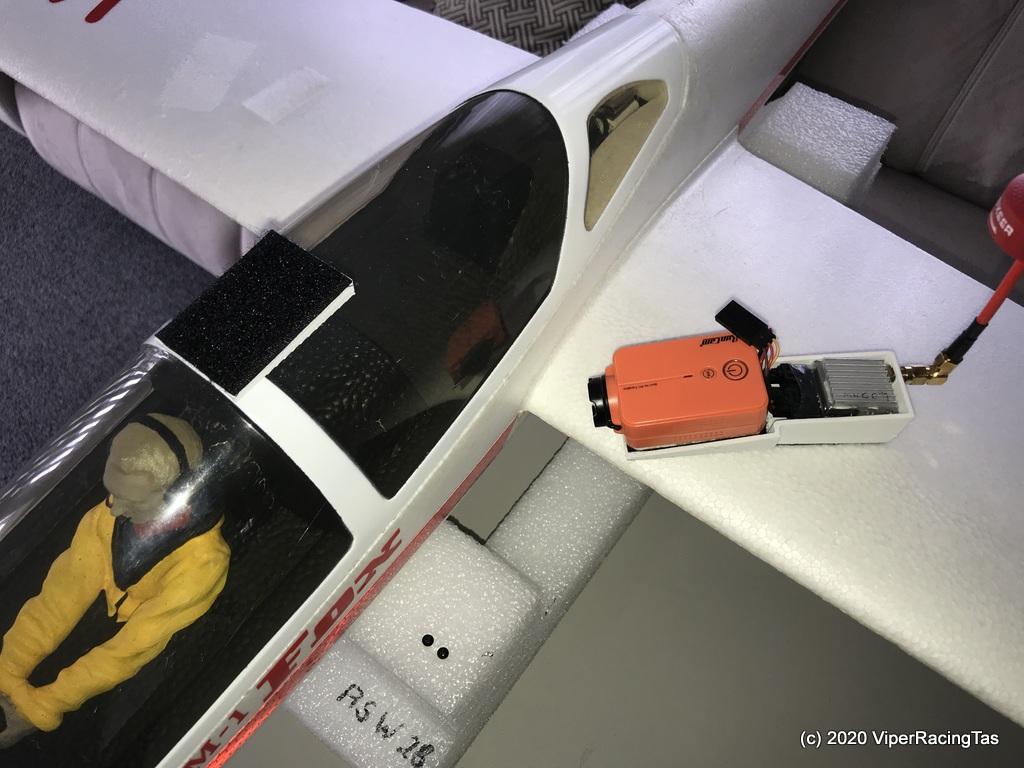
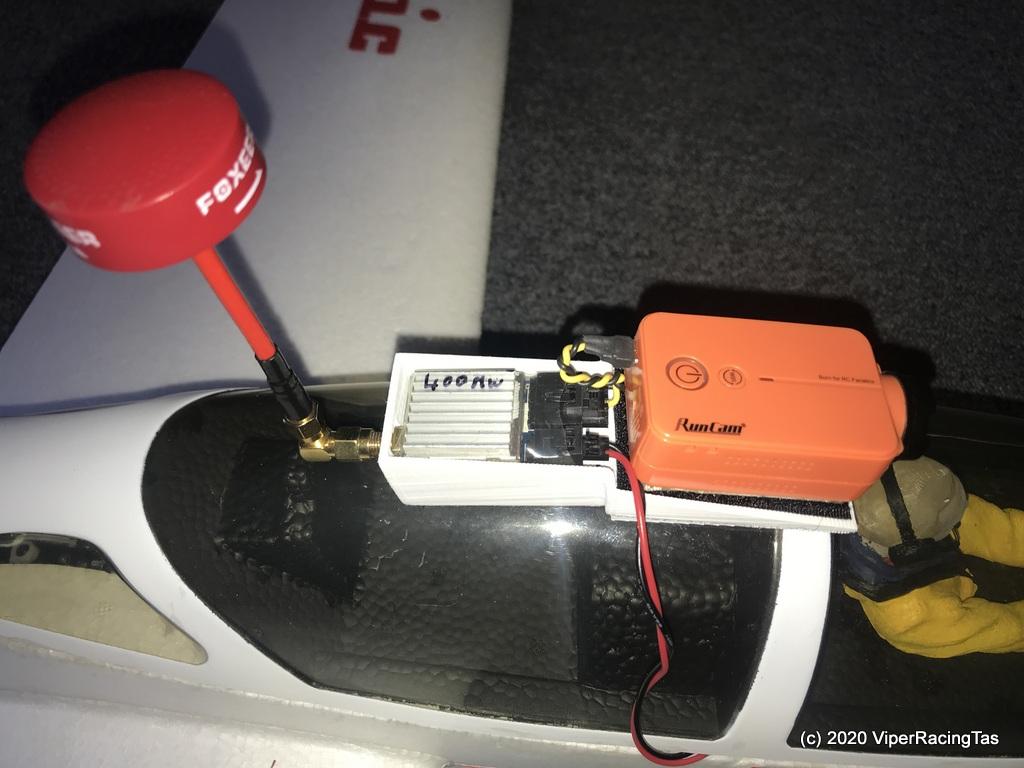
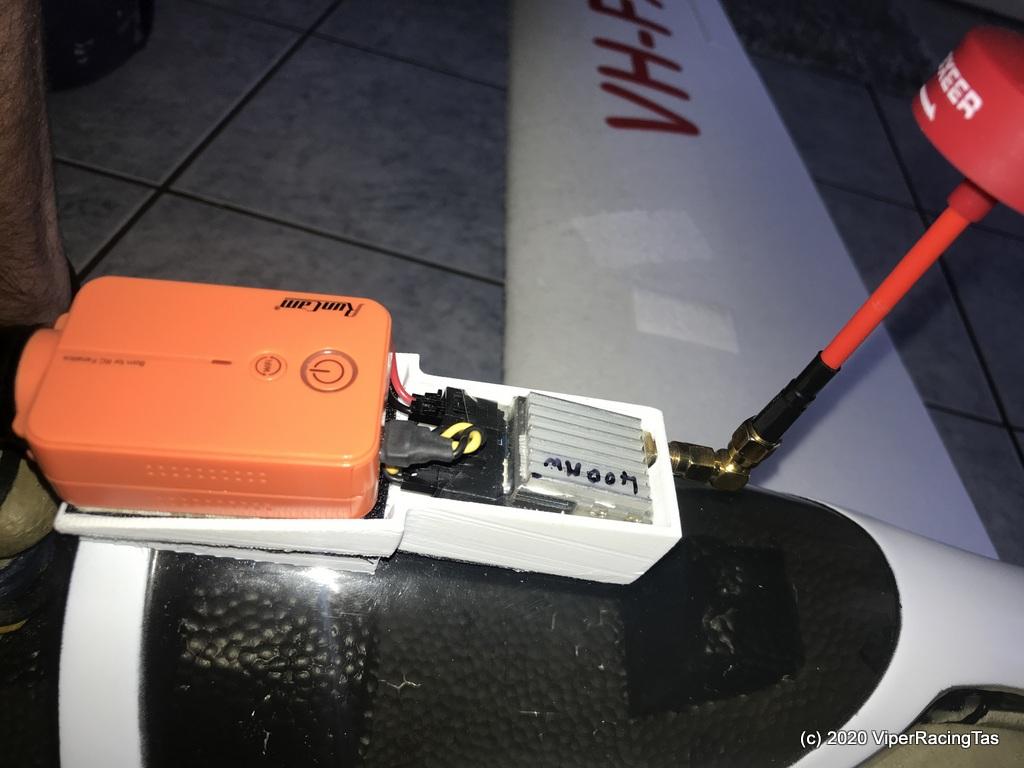
In anticipation of the new FPV goggles arriving & of eventually the Stay @ Home directive being lifted I decided to set the Fox glider up for FPV.
I have made a stand alone 3D printed module that will hold the RunCam 2 camera & a 400mw VTX.
This is the 3D design ready for printing
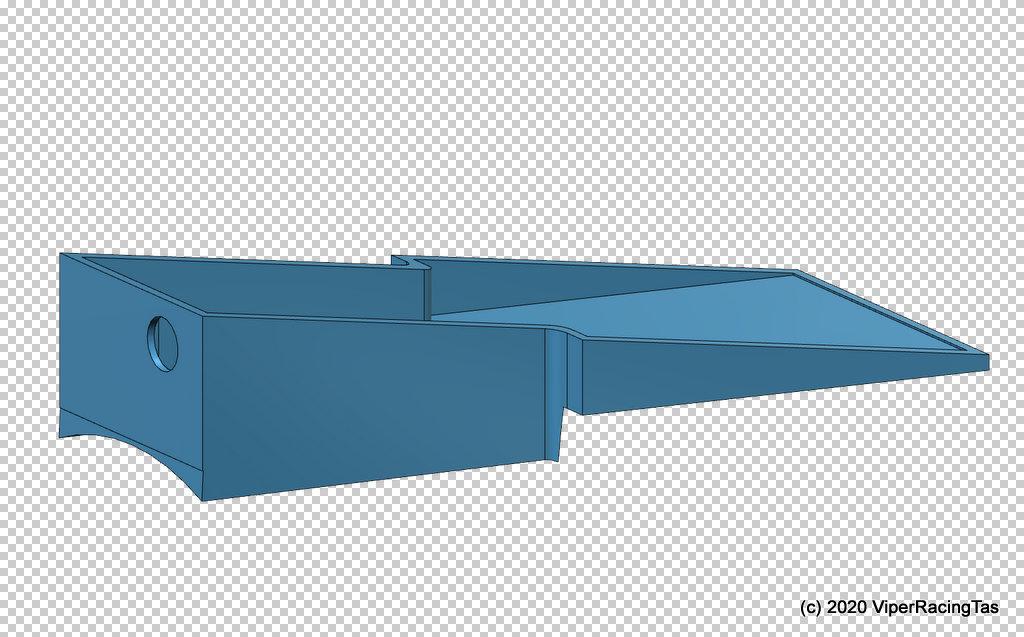
After printing it was heated with my Solder Reflow Station and bent in the middle slightly to match the curve of the cockpit canopy.
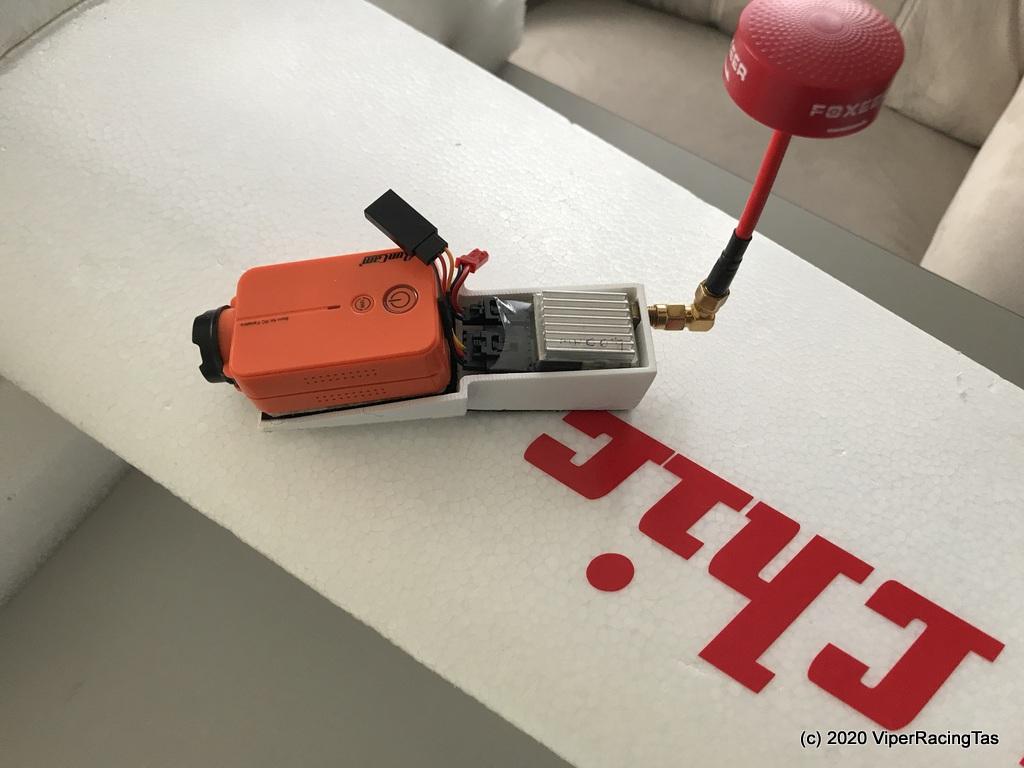
The section under the camera mounts with Velcro to the original camera mount I had printed & fitted previously to the Fox canopy.
The rear part under the VTX is fitted with Velcro loop (opposite to the hook) to protect the canopy but all fixing is at the front.

The camera can still be Velcro mounted direct to the canopy for non fpv flights or in the FPV module when required.
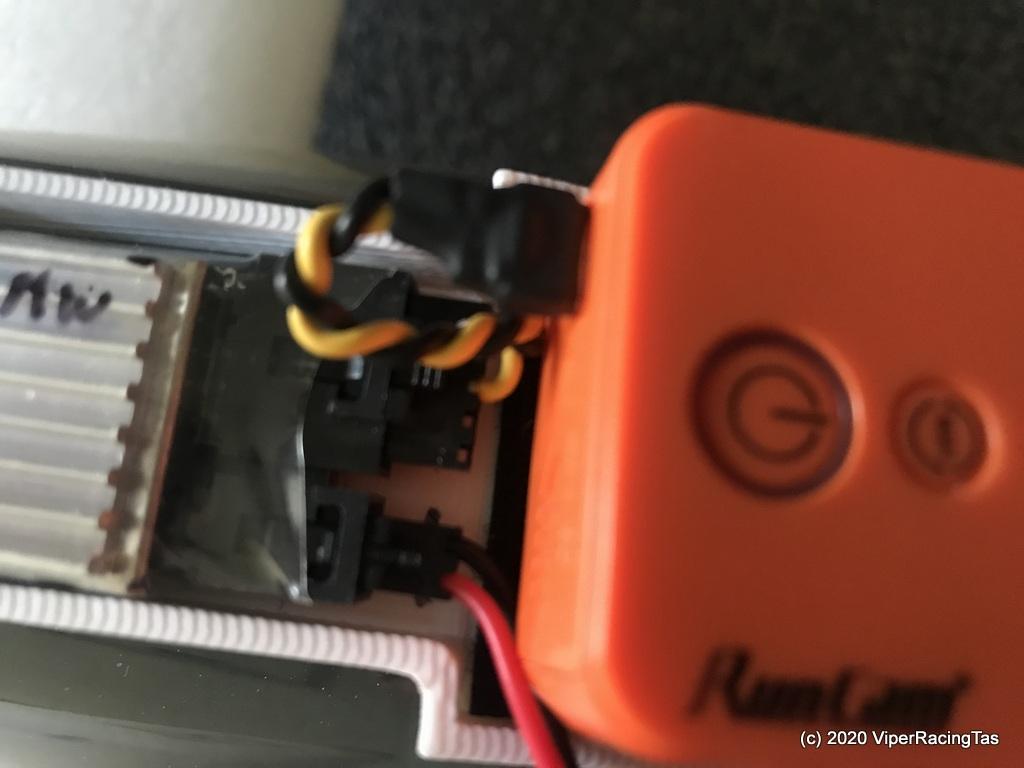
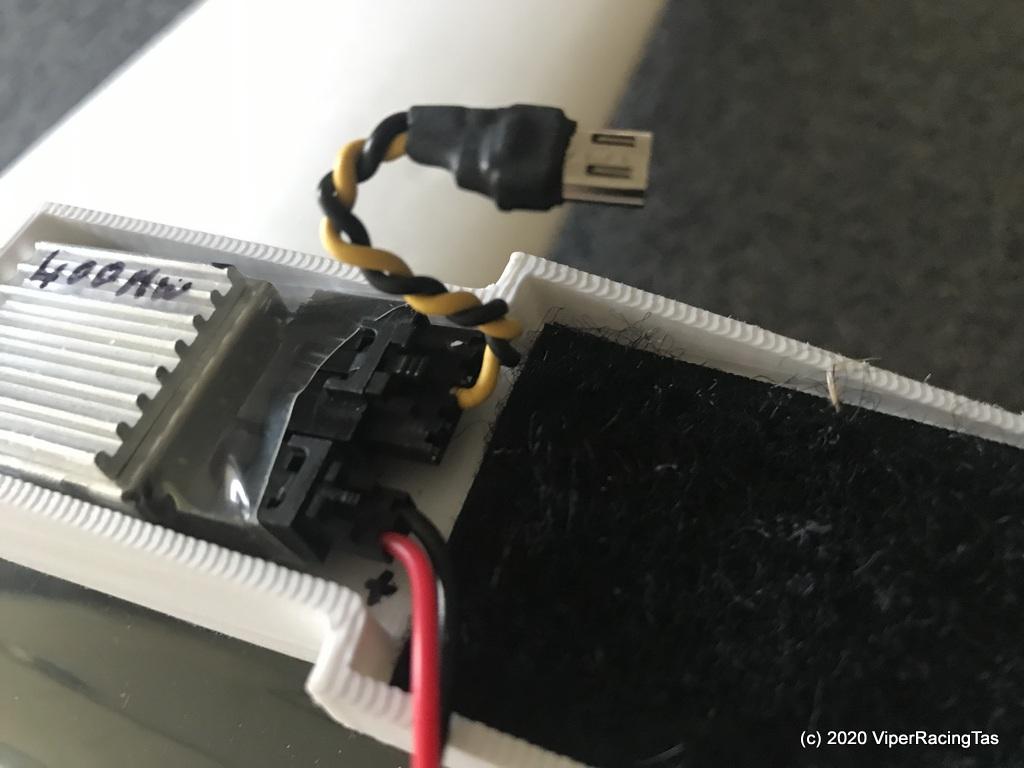
I have ordered some solderable USB Micro-B plugs rather than cutting up my last long camera video lead so will need to wait till they arrive before testing.
Oh well its a lovely day outside so I think Ill go for a fly.
-
3 April 2020 at 13:51 #4720
That’s cheating, heating it up to get the correct shape.
But a good idea!
-
3 April 2020 at 14:41 #4723
The first time I saw it done was not long after I got my printer & some guy was printing working prosthetic hands for kids. The section that attached to the arm was printed flat then warmed up and bent round the recipients arm for a perfect fit.
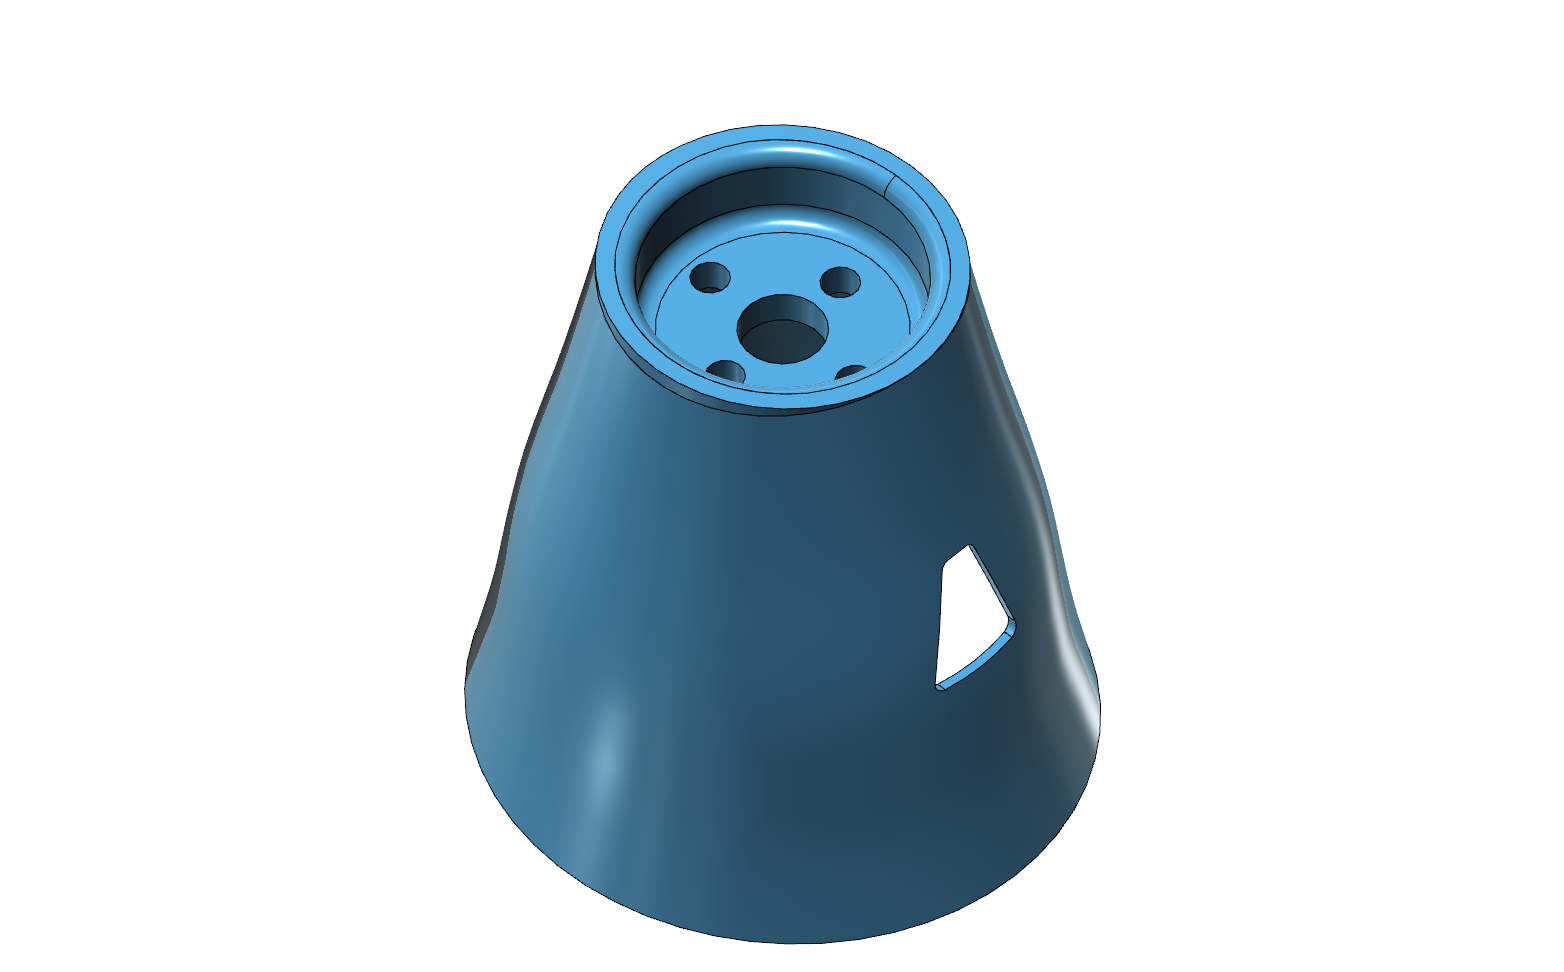
Sometimes it is much easier to print flat or level then bend later, I also used this method when printing a new nose cone for the Aure BA1 glider, the fuselage was a rather odd elliptical shape & it was the only way I could think of to get the correct fit after printing it round.
-
-
4 April 2020 at 11:55 #4724
Just the way I would have done it Anyone if you have problems like this again don’t hesitate to call for friendly advice
TOP GUN ONLINE FREE ADVICE SERVICE SCHOOL
-
11 April 2020 at 18:14 #4766
The Mini USB-B connectors (for the RunCam 2) arrived on Thursday so the FPV setup on the Fox is now complete & ready to fly (once we get out of this bloody Covid-19 induced LockDown that is).
-
18 April 2020 at 13:01 #4773
With everyone under “The Great LockDown” I’d have thought there would have been a bit more activity on here but I guess everyone is busy building new projects (and just not telling anyone about them)!!
As it’s a high probability that the current restrictions will slowly start to be rolled back in around another 4 weeks it may not (hopefully) be too long before we are back taking to the skies once again.
Equipment orders ex China are once again slowly starting to filter through & the FrSKY Hi Precision Variometer that has been on order for quite a while finally arrived a couple of days ago.
It took a little while to suss out how to connect it to the Motive-RC R8SB receiver as this Rx comes with an SBus connection but not a Smart Port. After a bit of research it appeared as if connecting it to the Digital Data-Stream port should be the way to go. It worked first go so that was a win.

Also took a little while to program the Jumper T16 Tx to read & display the data and also to sound out (switchable) either variable beeps (rising or falling height) or a voice readout of the altitude.
Needed to create some new voice files for the Vario switch functions but my usual on line text to voice converter “Nicole” soon sorted them out as MP3 files & Audacity quickly converted them to 256kps wave files which is what the OpenTX os requires.
Jumper telemetry screens
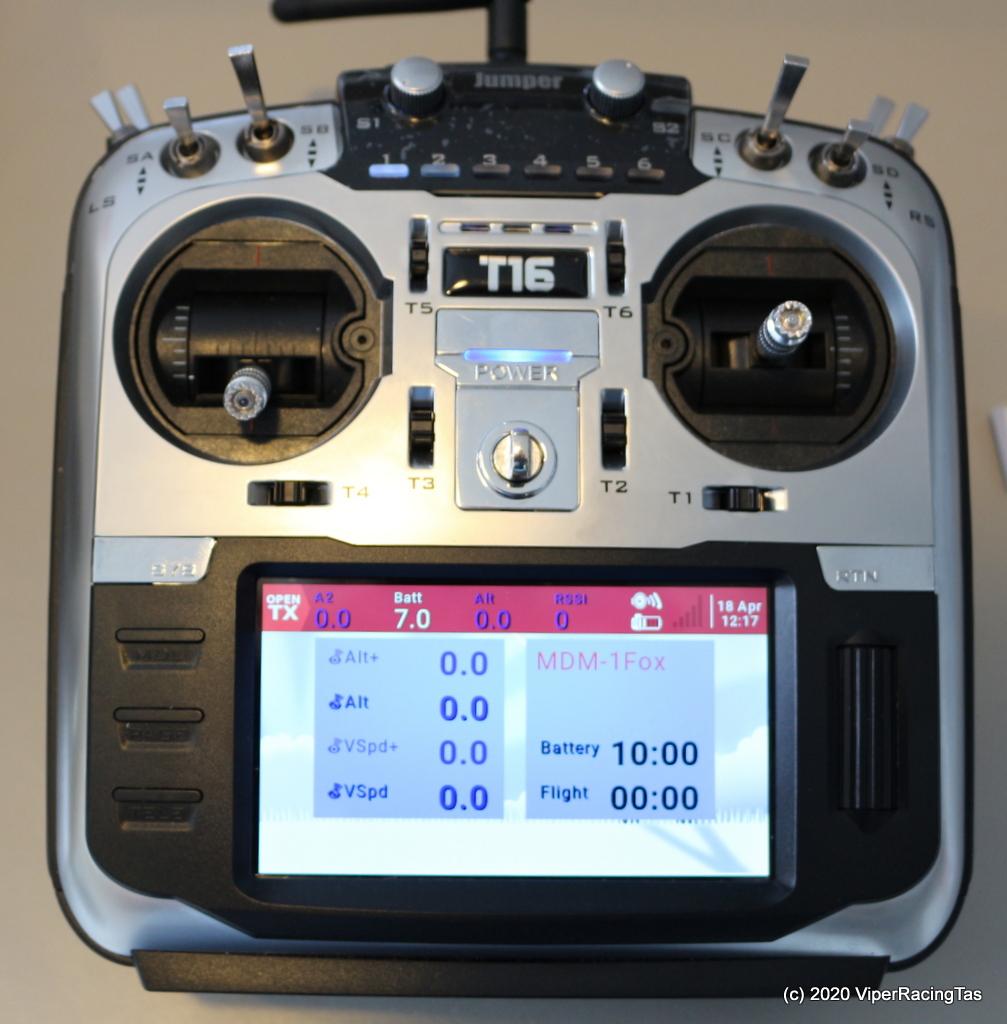
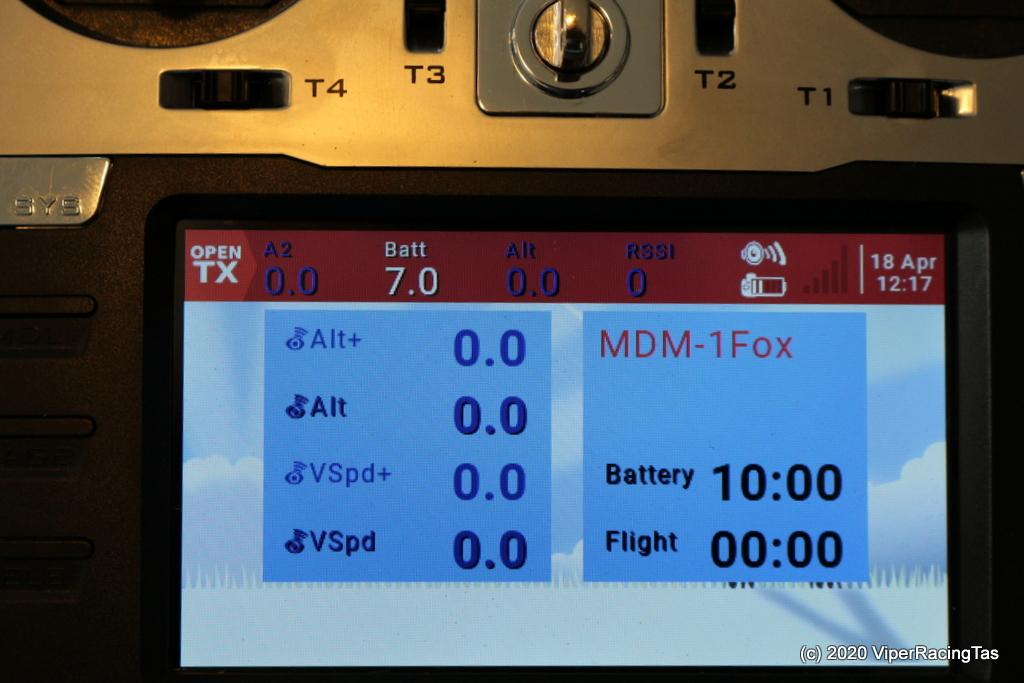

What it all means
Alt+ = Maximum Altitude reached
Alt = Current Altitude
VSpd+ = Maximum Climb/Sink speed
VSpd = Current Climb/Sink speed
Battery = Powered Flight time (count down to 0)
Flight = Total Flight time
Other Top Line telemetry readings
A2 = Flight Battery voltage (also triggers Low Battery Alarm)
Batt = Tx internal battery voltage
Alt = Current Altitude
RSSI = Rx Signal Strength
Now all we need is reduced restrictions so groups of 10 or less are again permissible (with appropriate social distancing) & we can get back to our favourite pass time @ our favourite flying field.
-
18 April 2020 at 13:57 #4774
That is sooooo technical predator but fortunately I understand this sort of lingo………. just a quick question on behalf of Mr moose ” whats a receiver ” as far as flying at the field how long would it take for the freshly turned ground to be flattened because as you know its been turned disk’d maybe if we ask Mrs horsey could we fly in her paddock while the strip gets settled ….. your thoughts
-
18 April 2020 at 20:17 #4776
You have been busy Mike
-
18 April 2020 at 23:00 #4778
Yes Ricky but not busy enough, still haven’t finished the Mt Gay 30 yet.
-
-
-
AuthorPosts
- You must be logged in to reply to this topic.