Forum Replies Created
-
AuthorPosts
-
Another fine video Mr Kermit, capturing all the happenings around the field that we miss when busy flying.
All done finally.
I’m a bit busy preparing a roast for the family so won’t get my videos sorted till tomorrow.
It was certainly a good day well picked by Hoppy.
Today we were back flying at the Shearing Shed so a bit different scenery from the onboard cameras when I finally get them edited & posted.
Great video, thanks Dave.
Another fine video Hoppy, I guess Kermit’s training courses are paying off eh?
Yes it was another fine day of flying.
Given you are only here for a couple more weeks I guess you better keep a lookout for the next flying day.
That’s it. All done
Another fine video from the house of Kermit Le Frog (Toad Hall Productions).
Definitely caught all the action from the day & another fine “Road Kill” BBQ to boot.
If there is enough interest we can do it all again on Saturday 4th April.
Yes, it certainly was another great flying day, we had 10 pilots today, a couple left early, however all enjoyed the fantastic conditions.
After a false start last week due to faulty FPV goggles I did finally manage to get the first FPV flight with the Kobuz today.Everything went smoothly & I’m now looking forward to changing from analog to digital FPV in the near future.
Finally got the second video finished.
Another fine video production there Mr Kermit.
Definitely captured the essence of the day.
Well done as usual.
Could be an interesting day.
Got in plenty of flying today with the Altus, the Zero & the Bixler 2 Sport but only had the camera attached for one flight so only 1 video today.
Sorry but I won’t make it today, gardening duties.
Have Fun.
All things being equal Iwill be there with the little Victoria and the big Wizzle Wozzle and a snag in hand for the Roadkill bbq.
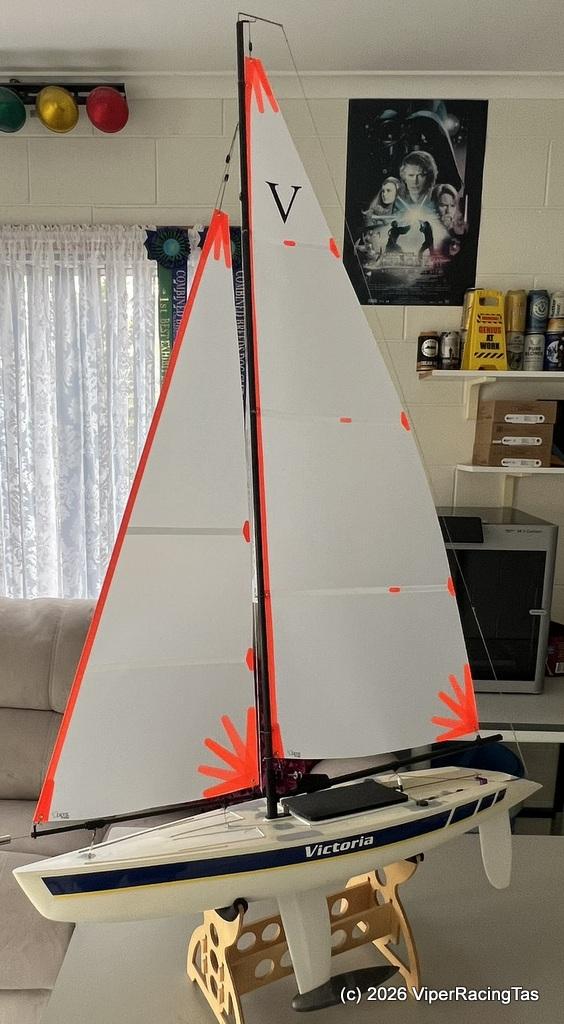
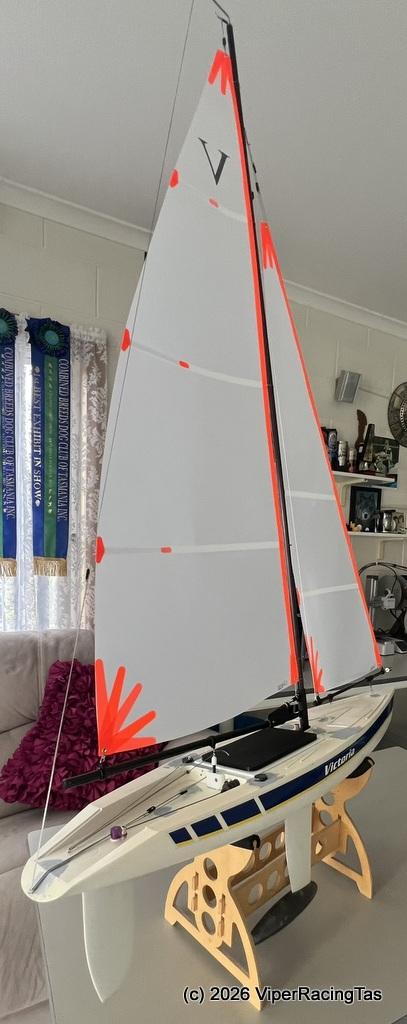
I caught up with Kyle around Christmas and arranged for him to make me a set of compliant Victoria (One Design) sails when he had time in the new year.
He delivered them about a week ago so I thought I’d better get them fitted & tested.
I ended up re doing most of the rigging & up ending the boom vang to allow the new sails to fit correctly with the new CF mast & booms.
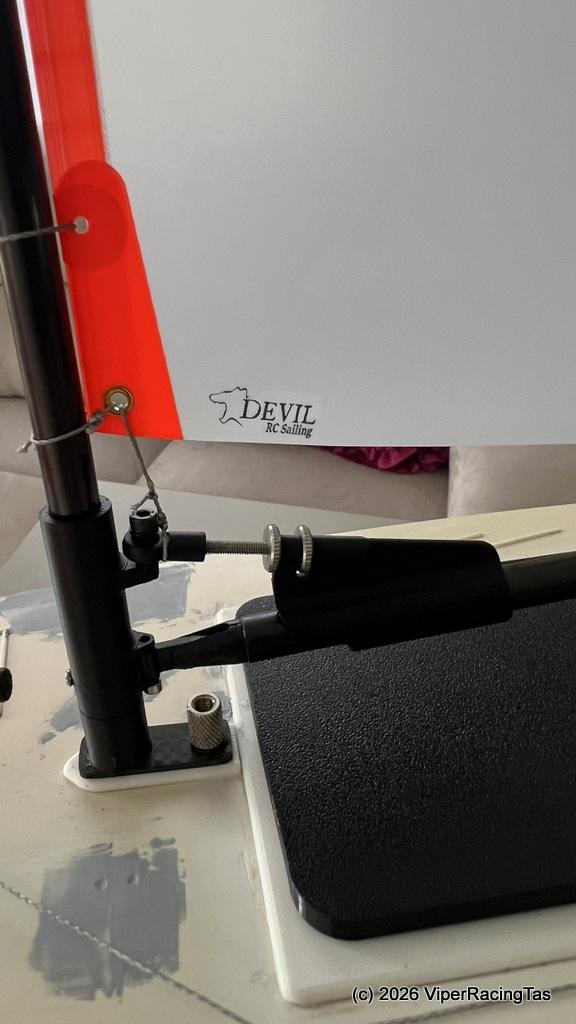
Was quite a bit of stuffing around & I needed to reprint several of the parts but I’m now happy with the results.
Hopefully I’ll get to sail this Saturday and if all goes well with the new setup I’ll just need to strip it all down again & paint the hull and “Victoria’s Secret” will be like a new boat.
I reckon its about time to get back to basics @ the Canal.
A bit of real big boat (A Class) racing followed by the customary BBQ lunch.
I am currently in the process of fitting the new sails (Tas Devil of course) to the Victoria that I have been modding for several months so it should be ready to go by the weekend & if anyone else is going to sail big boats I can put the Wizzle Wozzle (RA) or the Battle Axe (10R) in as well.
Just need a decent day.
By the way, no update as yet on the Flying Field access.
-
AuthorPosts