› RC BOATING › YACHTING › Builds › Predators A Class – Wizzle Wozzle build (a very, very long process)
Tagged: A Class - Wizzle Wozzle
- This topic has 16 replies, 3 voices, and was last updated July 17, 2022 at 2:23 pm by
 Predator.
-
AuthorPosts
-
-
9 June 2022 at 16:26 #11295
9/06/2022
Just checking back and it was November 2017 that I last worked on the Wizzle Wozzle. It was around then I ended up in hospital to have a few feet of my innards removed and over the recuperating period I just lost interest.
In fact the previous work was so long ago that all the postings of it have gone the way of the Dodo with the demise of our old website.
Anyway, after checking today there is not a huge amount left to do other than install the sail winch, relocate the rudder servo for easier maintenance, install some reinforcing blocks & epoxy on the deck.
I have the sails, mast & rigging sorted (used, but will still work OK and will suit the 1990’s design of the boat) as well as the RMG Sail Winch and have today ordered the required deck fittings from the Radio Sailing Shop.
Those that remember the original build posts know that I purchased the hull & keel and an old set of plans + a few bits and pieces from Alan Furmage a short while before his passing. He had it in his possession for probably over 20 years and other than making a mould from it did not actually start the build, so I’m not the only one dragging their heels on this one.
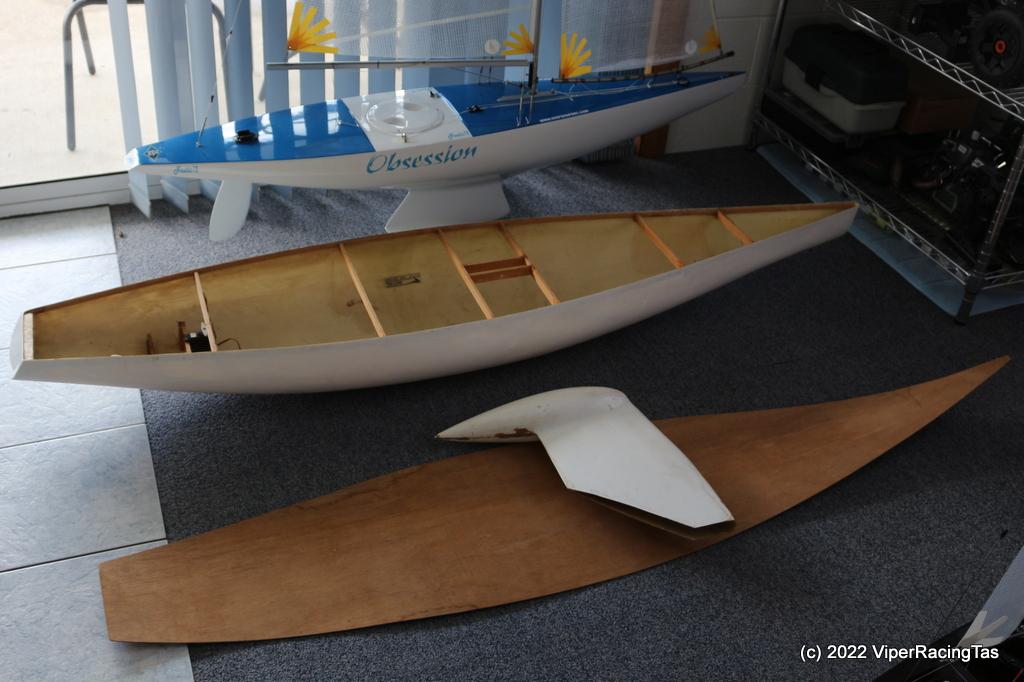
Anyway just to bring you up to date, I first made a timber stand for it to make it easier to work on & store when completed.
I then removed all the timber from inside the hull, coated it all for waterproofing then re epoxied it back in place

Next was to fit & epoxy the keel in place, not an easy job given that the keel already weighs around 10kg and still needs another 4 or 5kg (approx) to bring the boat to correct weight when complete.

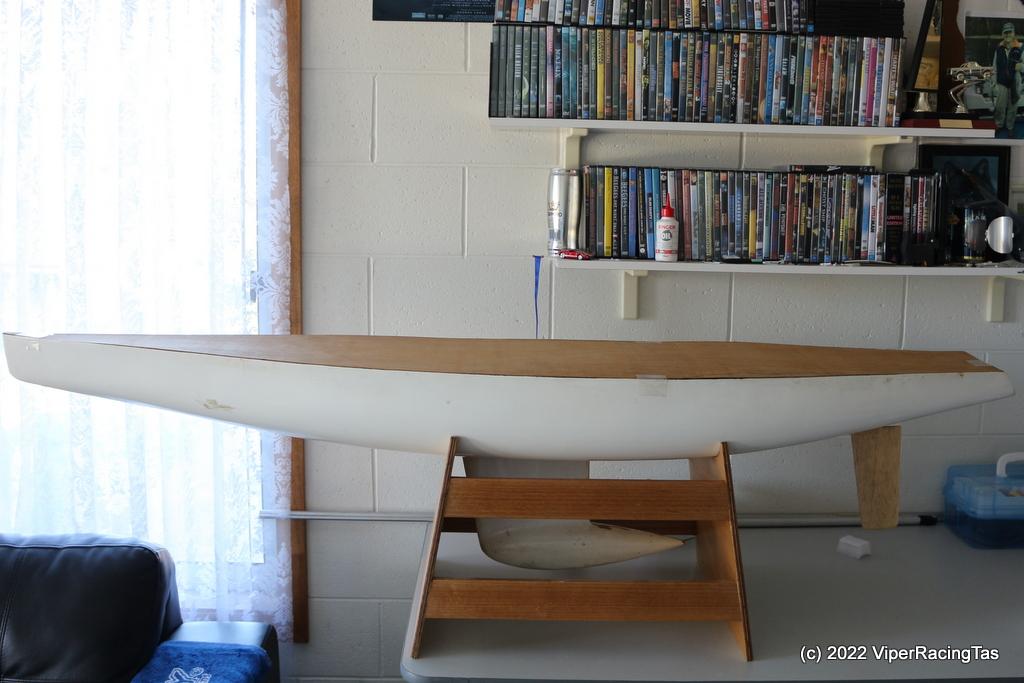
How it looks with the deck in place (but not fixed)
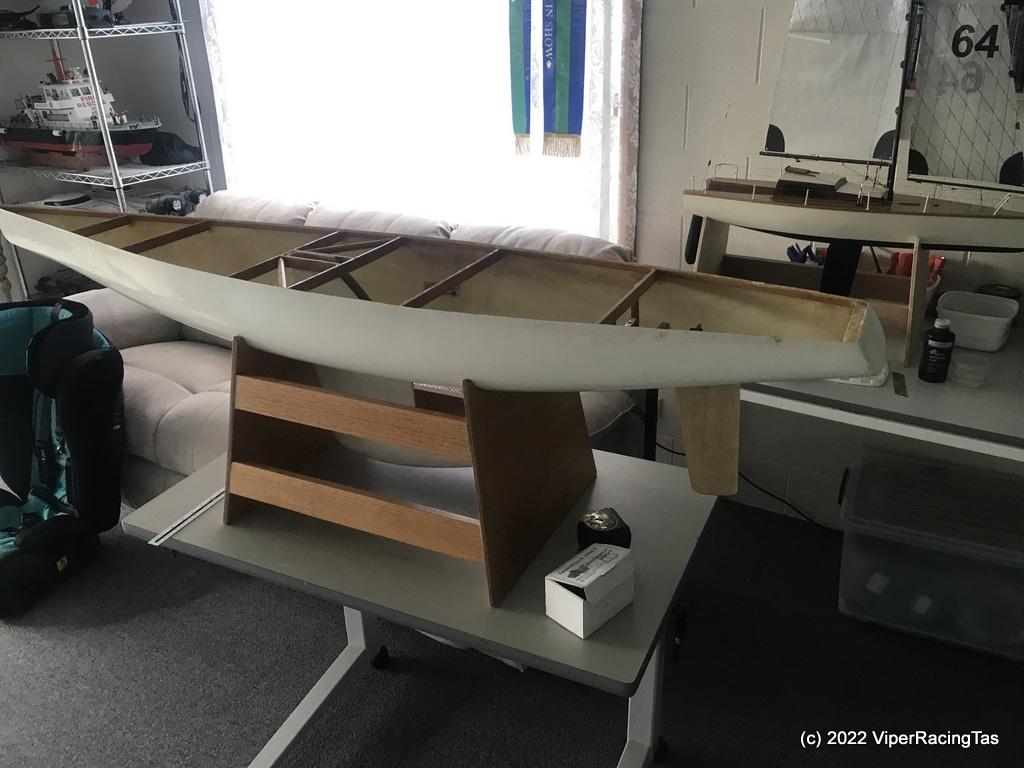
So back to today’s restart
The deck is off (yet again) ready to fit the sail winch & relocate the rudder servo as well as install all the reinforcing for the deck fittings etc.
The sail set
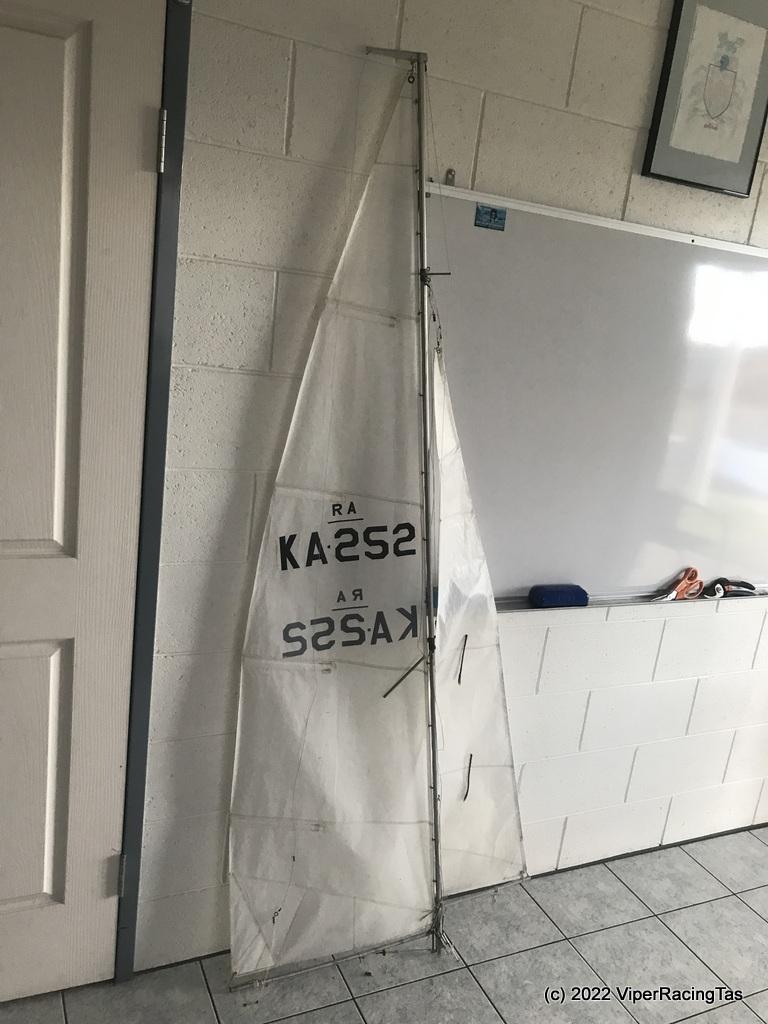
Now back to it.
10/06/2022
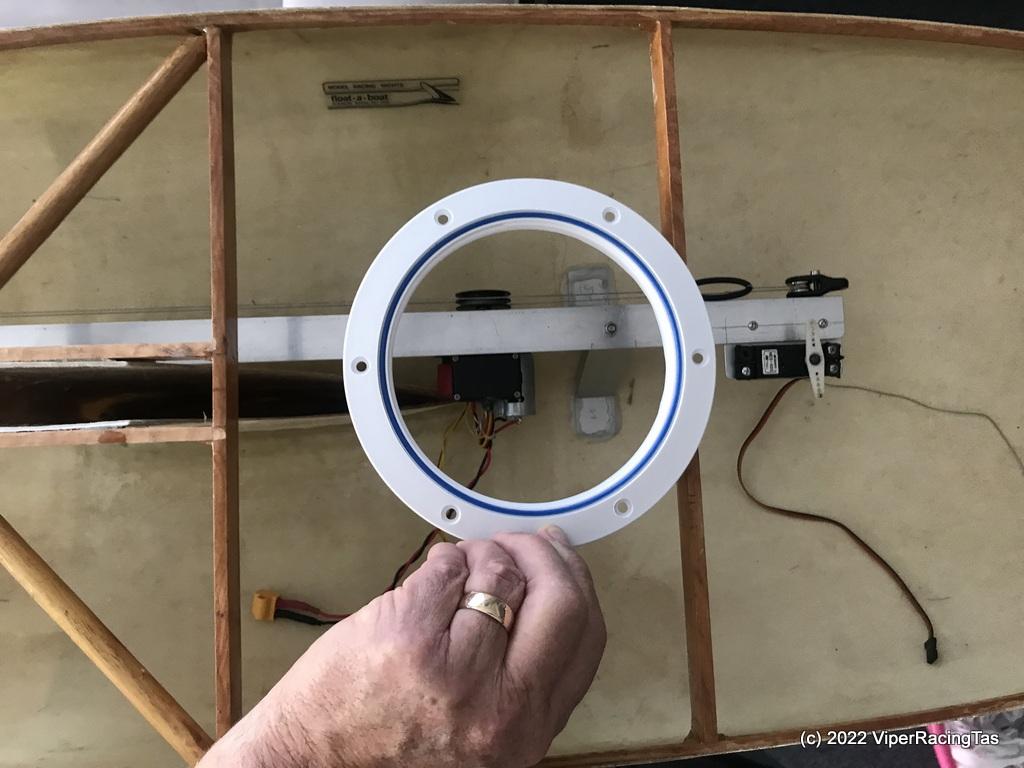
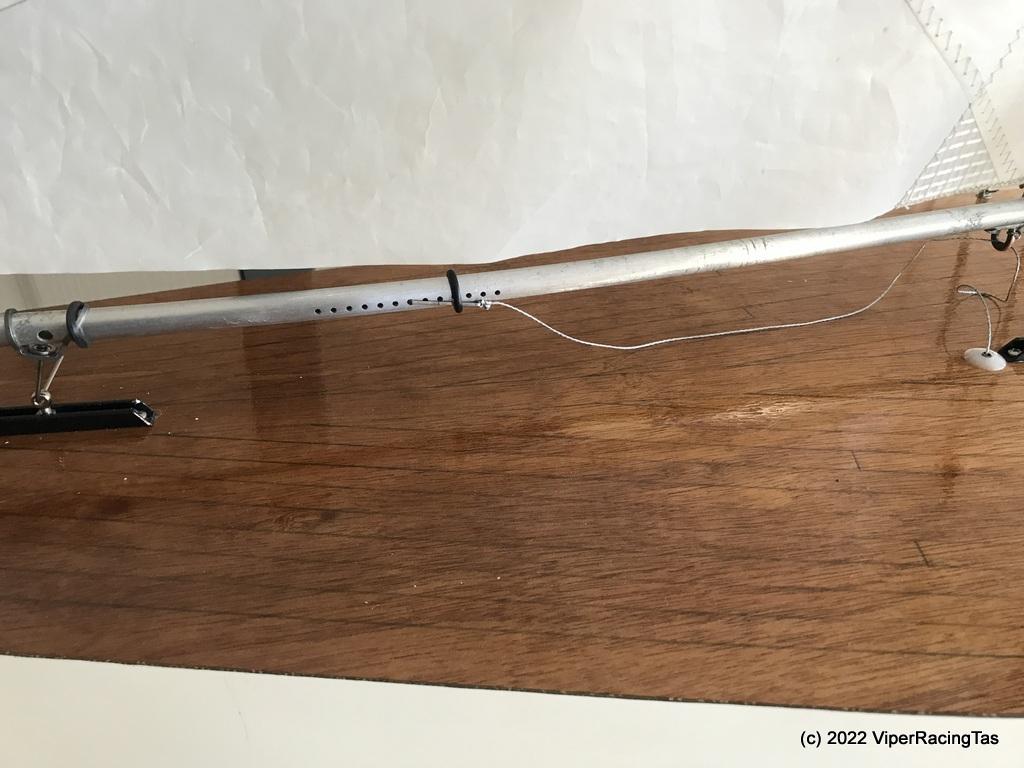
Another inside day today weather wise so it was time to get stuck into the under deck closed loop sail winch system.
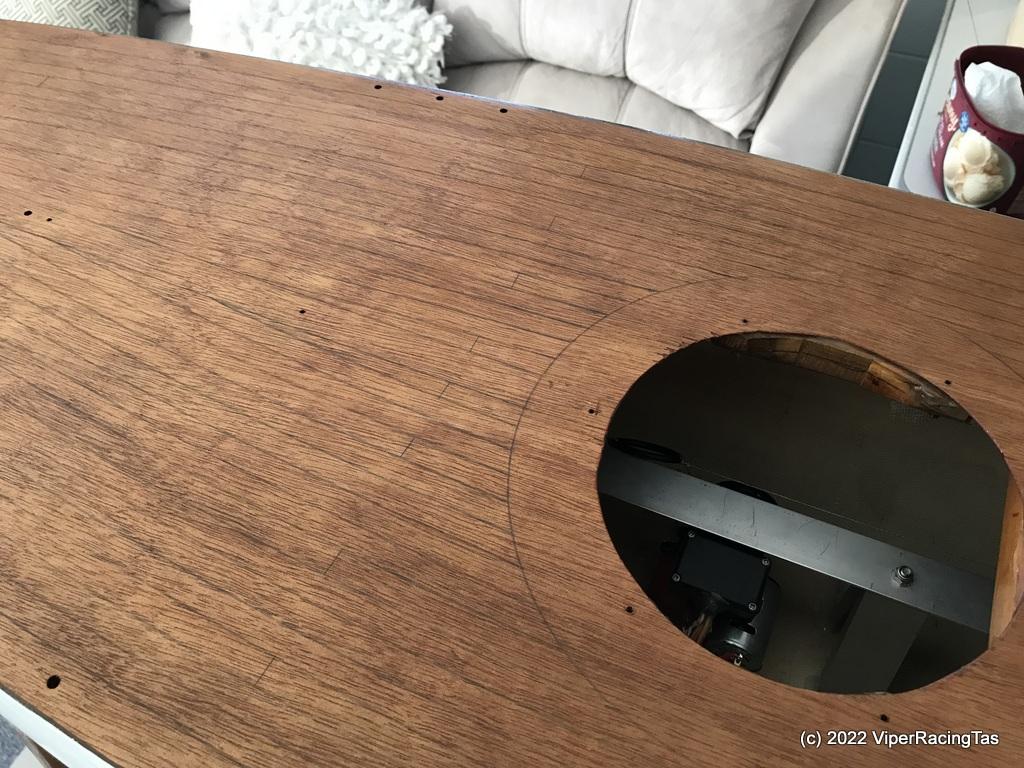
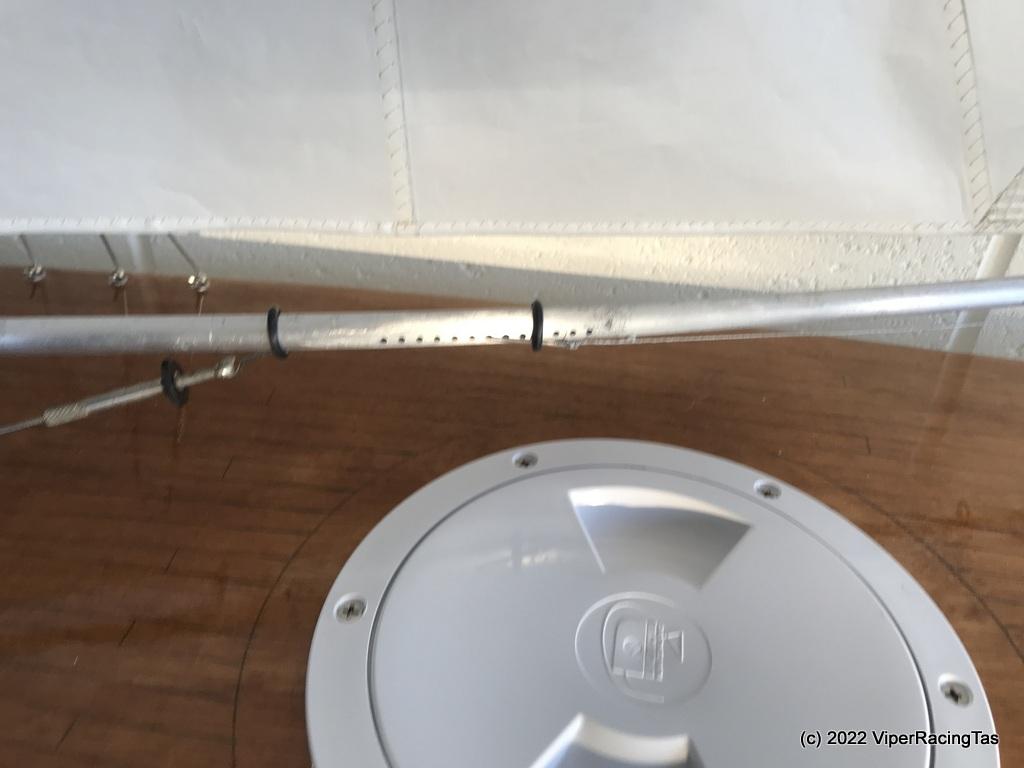
Making the alloy support bar so that there was enough travel for full sail movement BUT was still removable through the proposed deck hatch (round 155mm boat inspection port – 130mm opening) was a bit of a challenge. I surmised that it needed to be 700mm long to allow for the end pulleys & the tensioning “O” ring and still give around 500mm sheet travel. This is likely more than needed but the support bar can be easily shortened if too long whereas increasing the length would mean starting over again.
I’m short a pulley or it would have been finished but hopefully one can be picked up tonight on the way to the local for tea, that way it can be finished & programmed tomorrow then continue with installing the reinforcing for when the deck hardware arrives.
Some pics of the closed loop system will be added when it is finished & working (hopefully tomorrow).
12/06/2022
Thought I’d do an update while waiting for the epoxy to harden on the sail winch mounts.
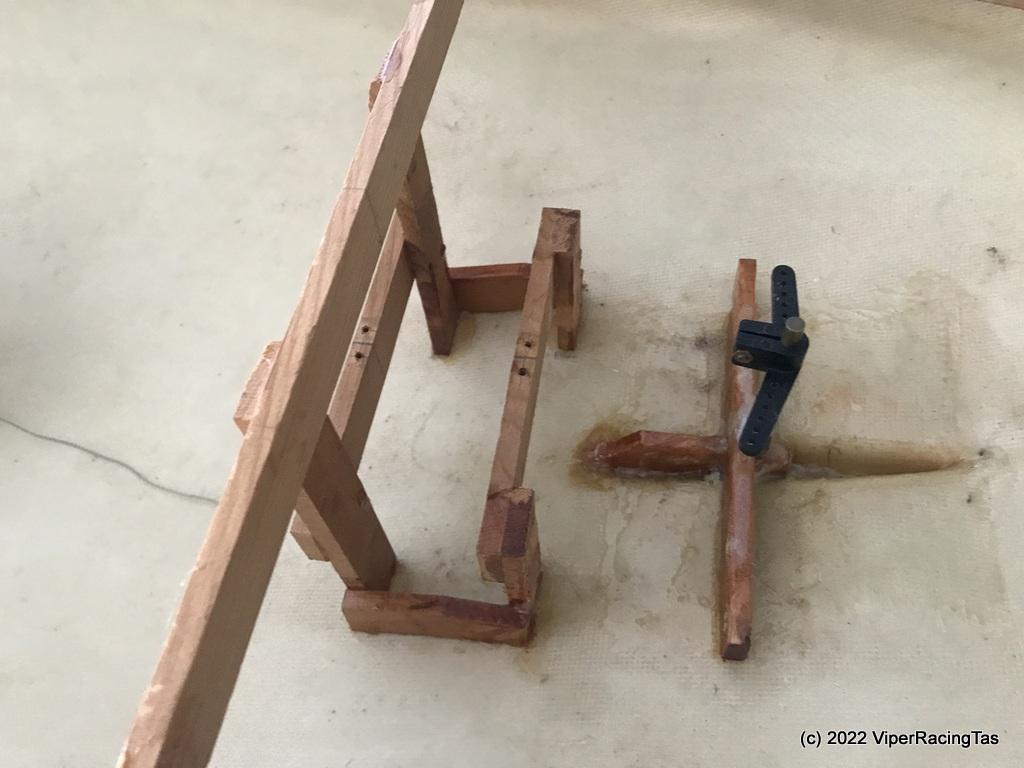
This was the original rudder servo location, right near the rudder itself, which would have necessitated another hatch to do any maintenance on it.

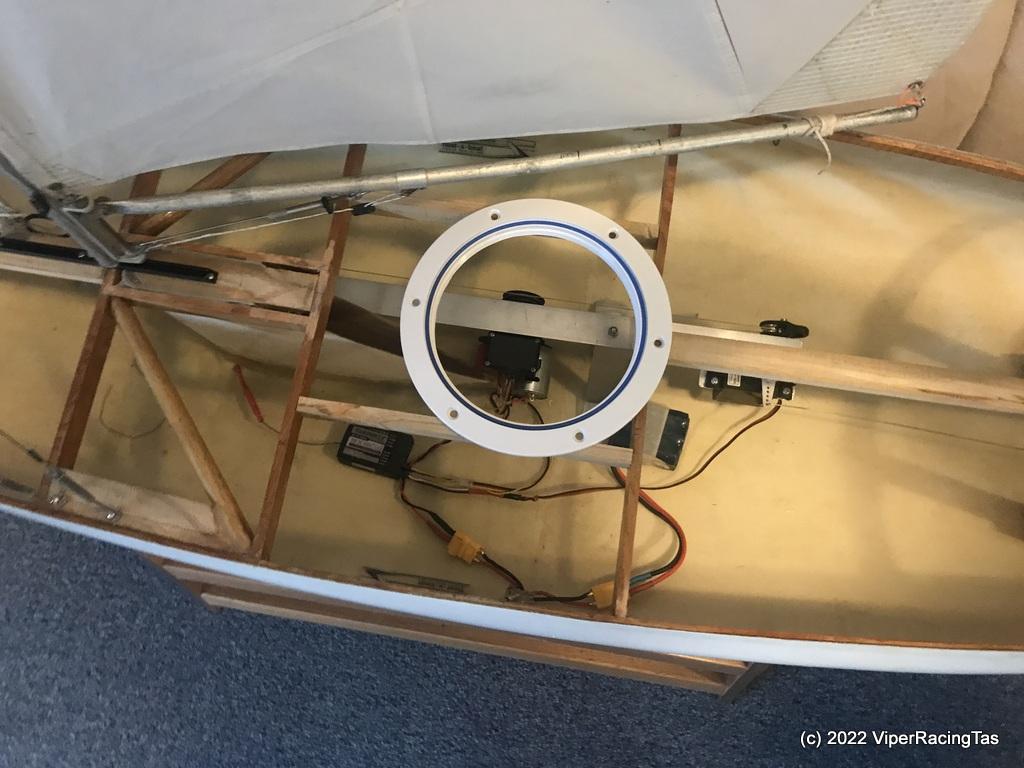
This is the new location mounted on the rear end of the Sail Winch bar.

The sail winch setup complete & now the rudder servo can all easily be removed via a single central hatch, all that is required is to remove one nylock nut directly below the hatch opening and the entire assembly can be wangled (highly technical term) out (well that is the theory any way).
Later today I will remove the redundant framework that used to hold the rudder servo just to give easier access to the rudder proper.
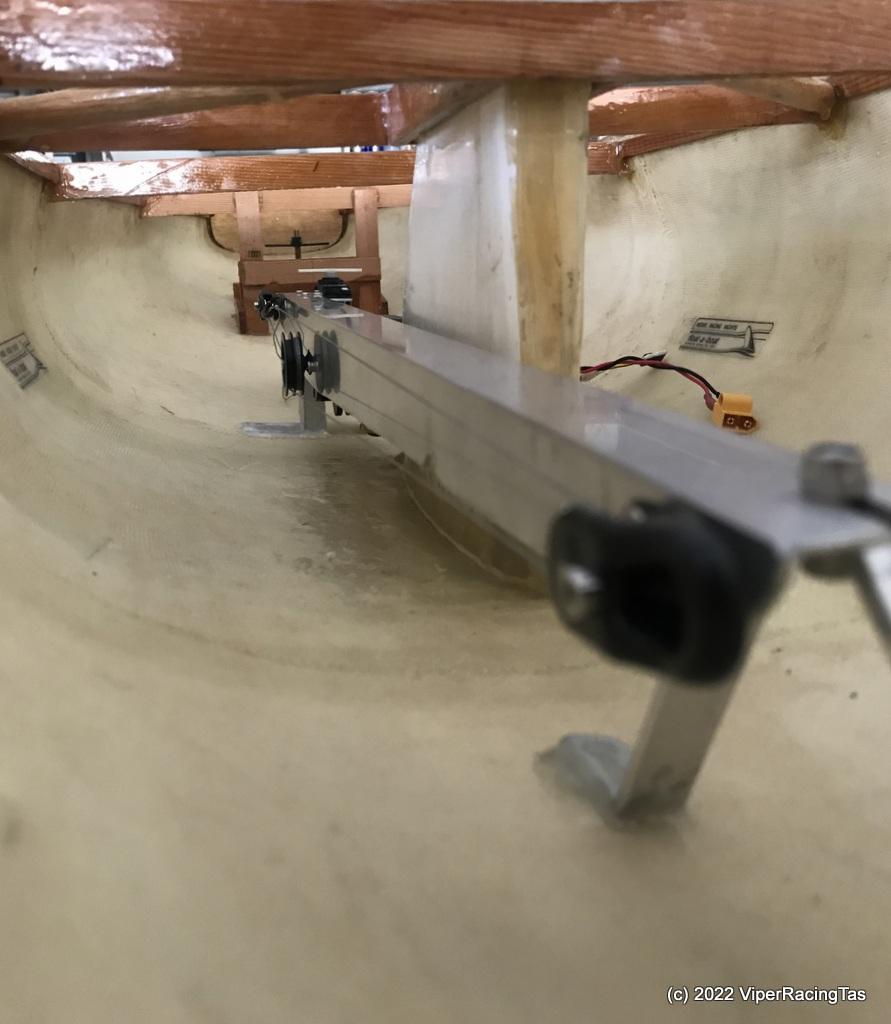
To finish off here is an internal hull shot looking back along the winch setup.
-
10 June 2022 at 17:47 #11297
Just noticed comment about Alan Furmage. He was my neighbor untill his passing
-
10 June 2022 at 19:42 #11298
Well there you go, I knew Alan for many years, he was in charge of the Hydro Depot at Sorell when I worked for them in Head Office (long long time ago).
Alan also used to sail with us @ Lauderdale and got us started sailing DF65’s @ Risdon Dam when they first came out.
-
-
10 June 2022 at 20:49 #11299
Small world
-
12 June 2022 at 13:47 #11301
Mike, from experience those clamp type rudder arms you have on the rudder shaft tend to slip, especially on a large “A” class rudder.
You really need something with a grub screw and a flat on the shaft. (Like the 65 & 95’s use)
-
12 June 2022 at 13:55 #11302
I agree Gerald, they are similar to the twin rudders on “Double Trouble” and they also slipped as you know..
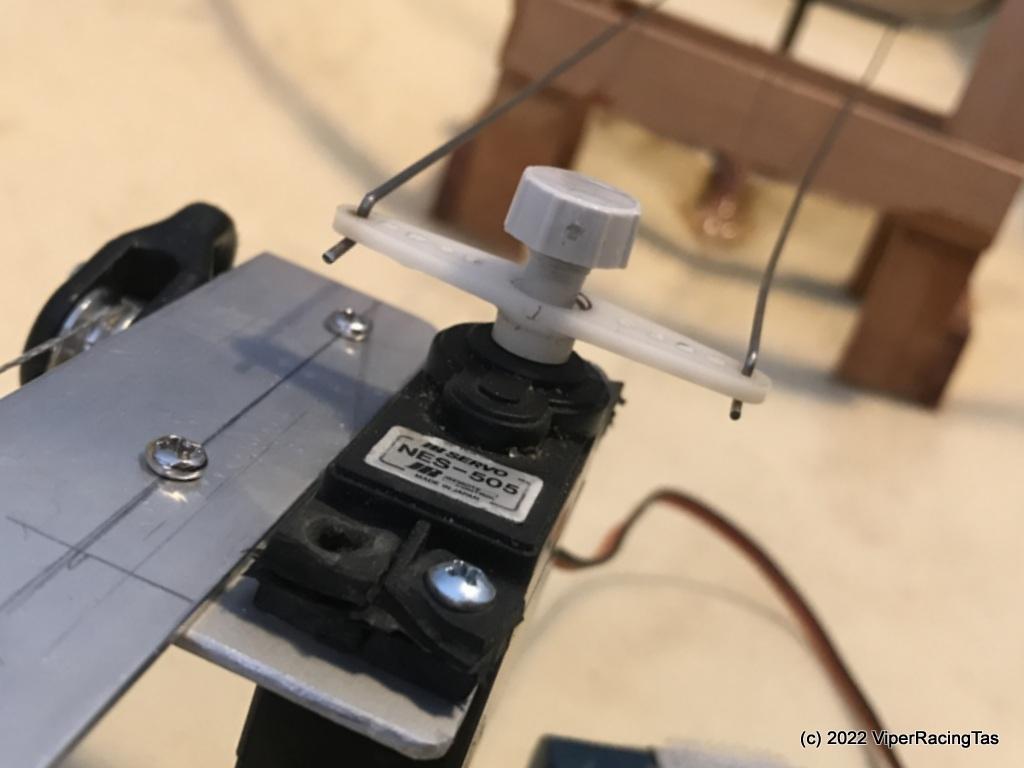
I will find something better before installing the deck but it will need to be double sided as I need a “push-pull” arrangement as the servo is now 320mm away from the rudder & I don’t want the control rods flexing. Also just realised that I need to fit a knurled knob to secure the servo arm so it can be removed without tools.
The arm needs to come off to remove the sail winch system.
It’s a work in progress & hopefully all bugs will be ironed out before the deck goes on.
-
12 June 2022 at 16:41 #11303
I got the knob sorted for removing the servo arm without tools
and I’ve ordered a double ended alloy rudder arm with allen key locking
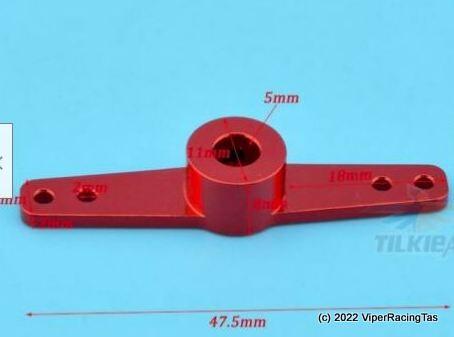
I think that is about all that can be done till the parts on order turn up.
-
-
-
12 June 2022 at 16:56 #11305
That should do the trick!
-
24 June 2022 at 19:53 #11420
It’s getting close now !!
All the deck fittings have turned up from the Radio Sailing shop and even the new alloy rudder arm arrived today from downtown China.
Just as well I have high ceilings in the Rumpus Room because even so, fully rigged, I only have 50mm clearance from the mast crane to the ceiling.
With a bit of luck & a stiff breeze the deck should go on this weekend (hopefully).
I got some 24 hr epoxy with a 1 hour pot life to epoxy the deck in place, figured it was never going to work out well if I tried with the 5 minute epoxy that I’ve been using to date for the build.
-
29 June 2022 at 13:34 #11479
Finally, with some grateful assistance of Gerald who suggested using a disposable cake piping kit to lay the epoxy where it was needed to join the deck to the hull, the deck is now epoxied in place.
I couldn’t find a disposable piping kit but a re usable one was under $10.00 and by fitting a freezer bag inside it to hold the epoxy it has survived to pipe another day.
The epoxy was quite thick so all the weights & bars etc are to press the deck firmly in place while curing occurs.
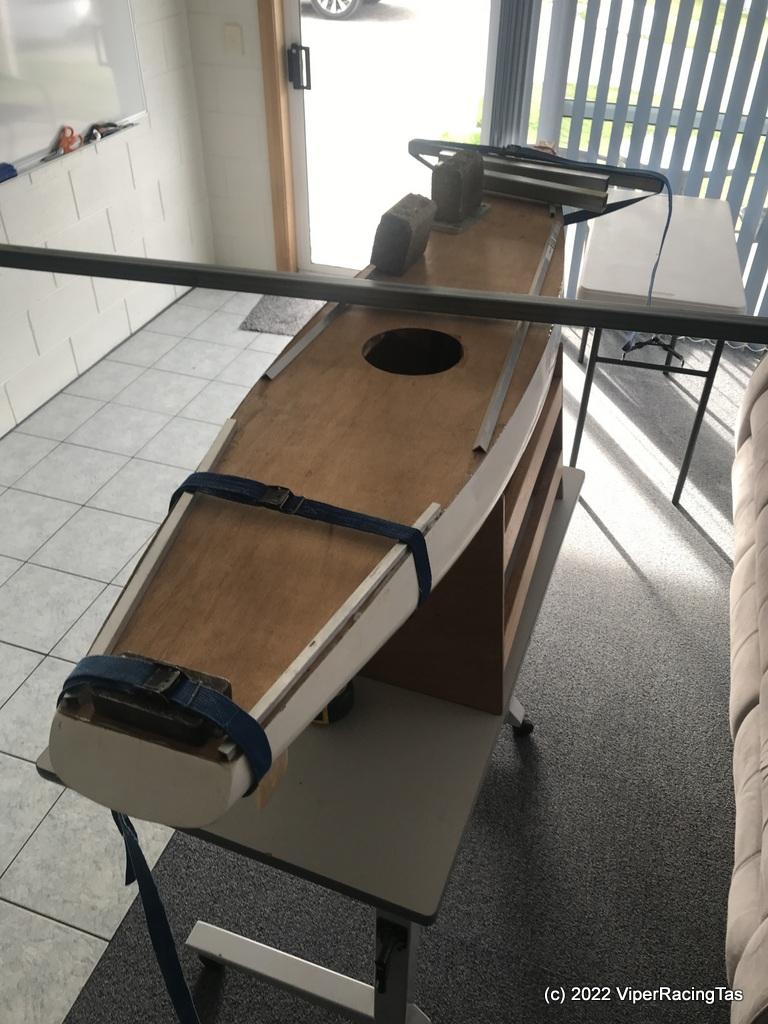
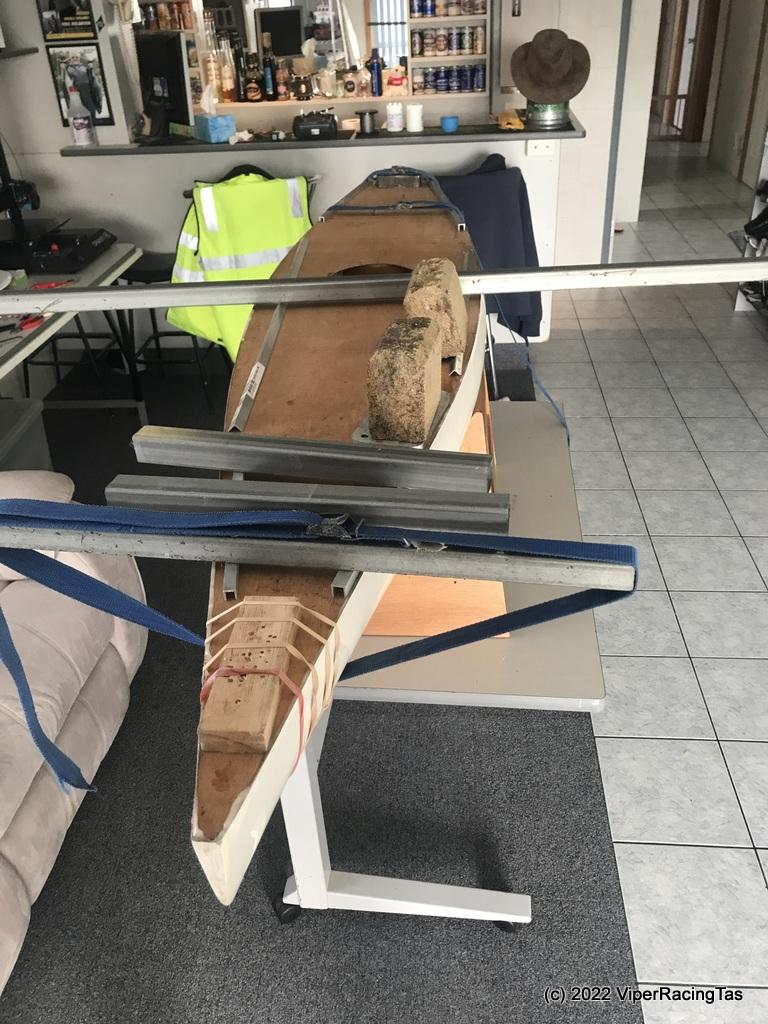
Now just need to wait for the epoxy to set (18 to 48 hrs) and then get back on with finishing the build.
-
29 June 2022 at 20:07 #11482
Good to hear that the piping bag worked Mike.
Will soon be in the water!
-
-
1 July 2022 at 14:36 #11499
The deck is almost finished, it has been sanded & had the planking lines added as well as the first coat of Spar Varnish. Like the Mt Gay 30 before it I’m sure it will take several coats to build up a decent high gloss finish. The first coat has all but disappeared into the timber grain.
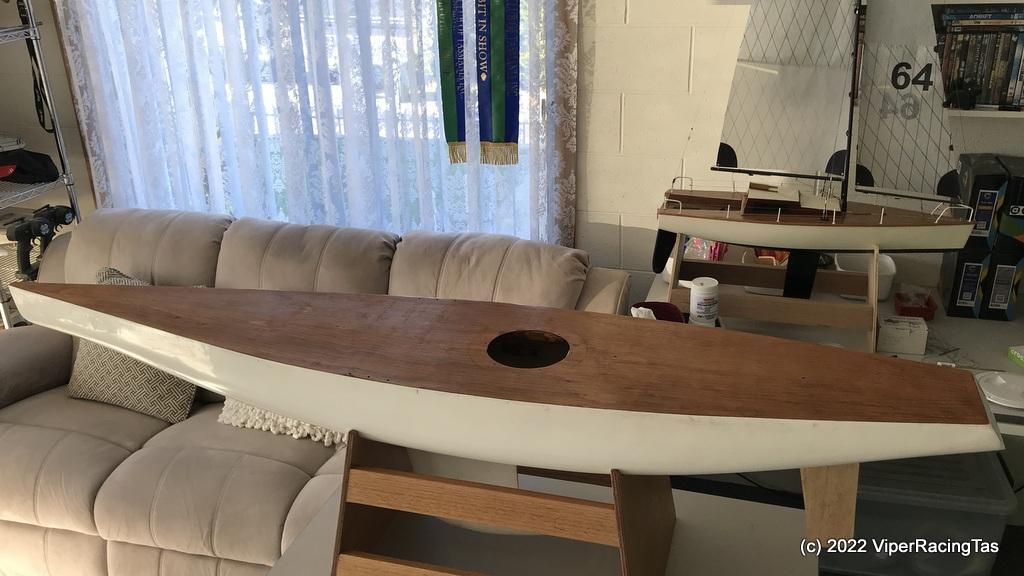
Hopefully she will be ready for water trials very soon.
-
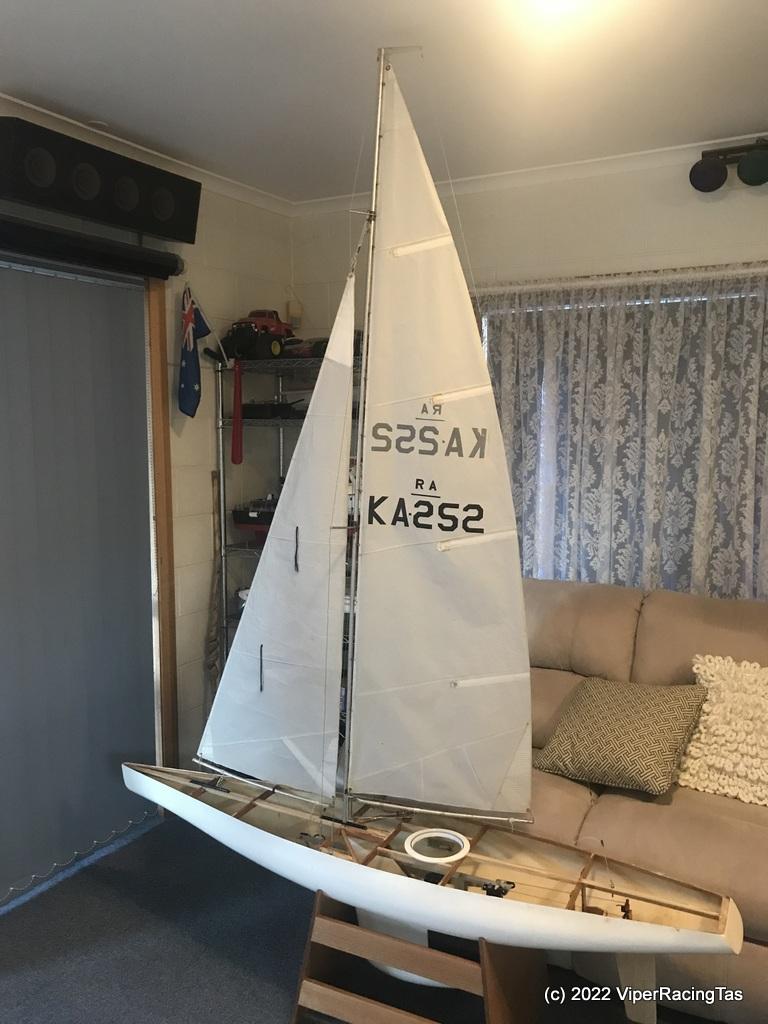
6 July 2022 at 17:16 #11553
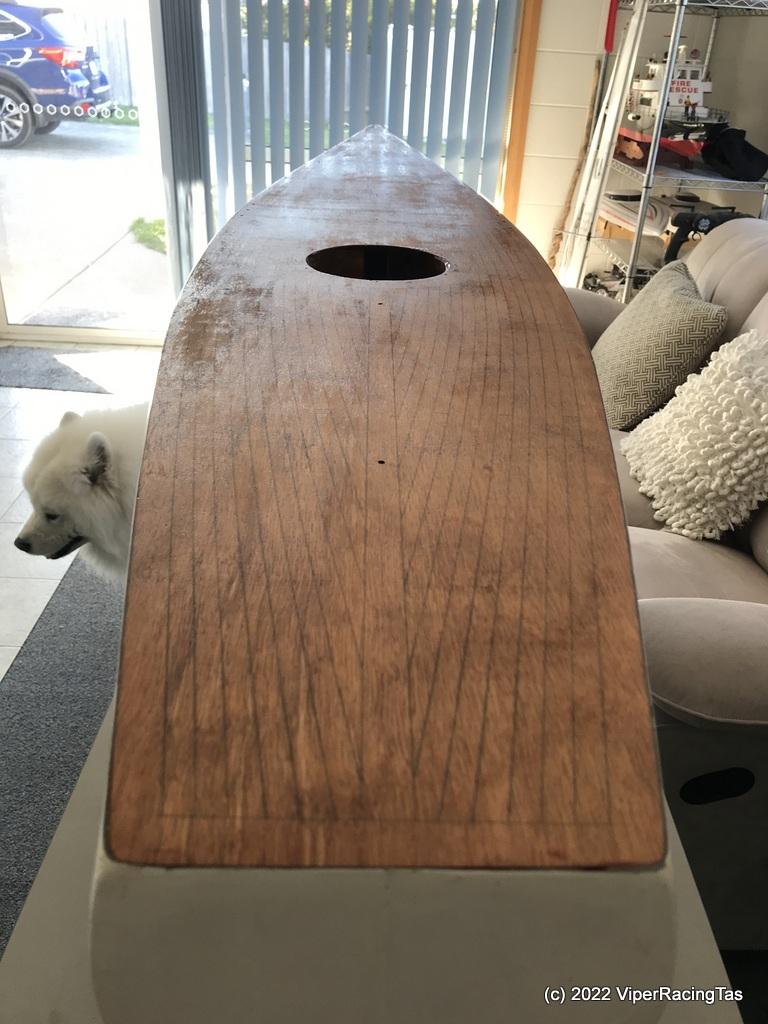
After 6 coats of Spar Varnish the deck is now looking good.
Got all the fittings reinstalled today so apart from painting the hull (not until the warmer weather) the hull is now finished.
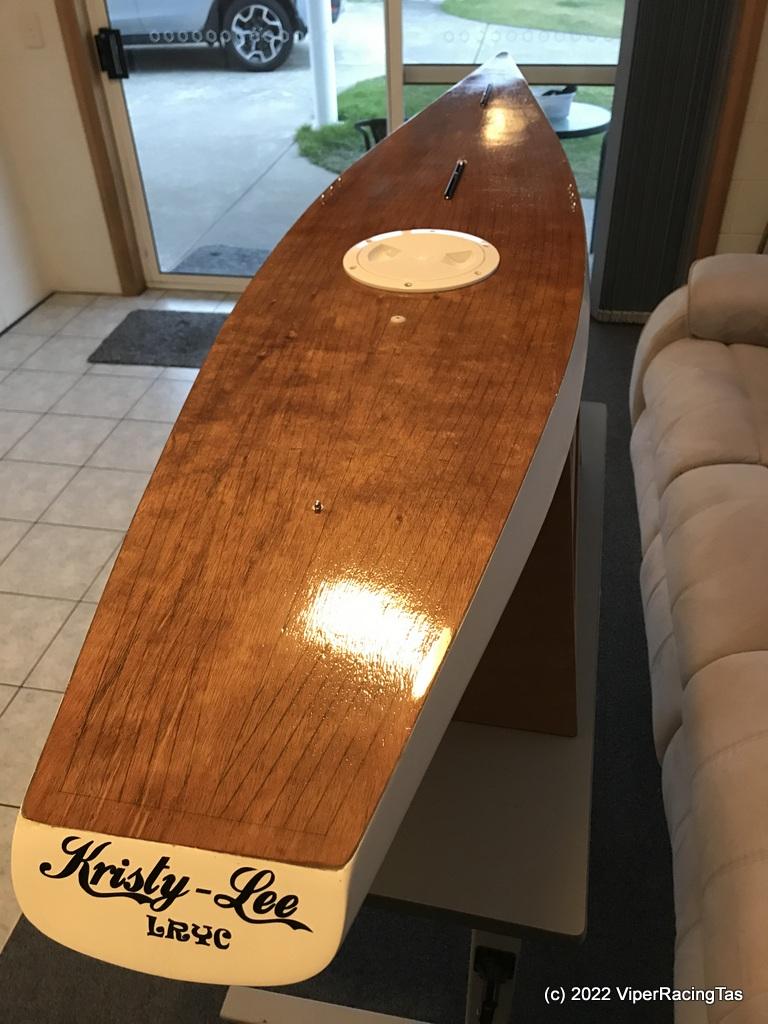
Signage is only temporary & will need to be done properly after the hull is finally painted so at the moment I’m just playing around with how I want it to look. Easier now than risk damaging the paint when new.
According to my records (and photos) it was the end of Feb 2016 when I started this project, it was worked on up until November 2017 and then deserted until 6th June 2022 but now on the 6th July the hull is finished and with a bit of luck and a lot of jury rigging (waiting for another order from the Radio Sailing Shop to update the rigging) and of course a decent day, the Kristy-Lee (RA Class Wizzle Wozzle design from the early 2000’s) should finally be in the water this Saturday.
-
6 July 2022 at 17:49 #11554
Looking good Mike!
-
7 July 2022 at 12:30 #11573
Lucky me, the second order from the Radio Sailing Shop arrived today ( only two days since I ordered) so the rigging can now be completed without jury rigging to get in the water this weekend
Just hope I ordered all that’s needed -
10 July 2022 at 15:56 #11581
The Wizzle Wozzle did not get its maiden on Saturday, the weather was crap so I stayed home and finished off a few more bits & pieces on the boat.
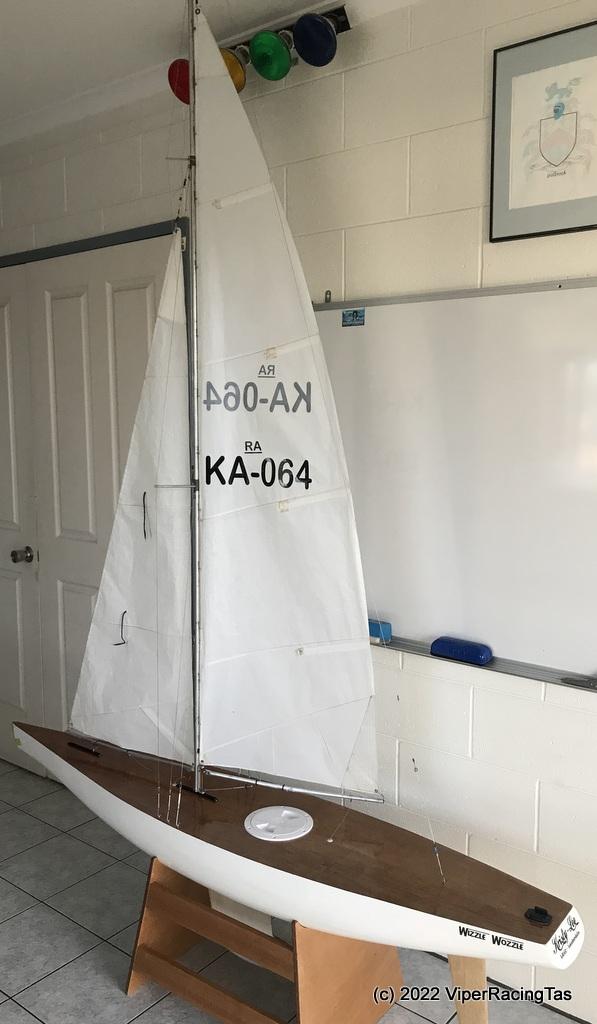
Spent a fair bit of time cleaning up the old sails & getting the old numbers off. They didn’t turn out too bad & now have my personal sailing number displayed.
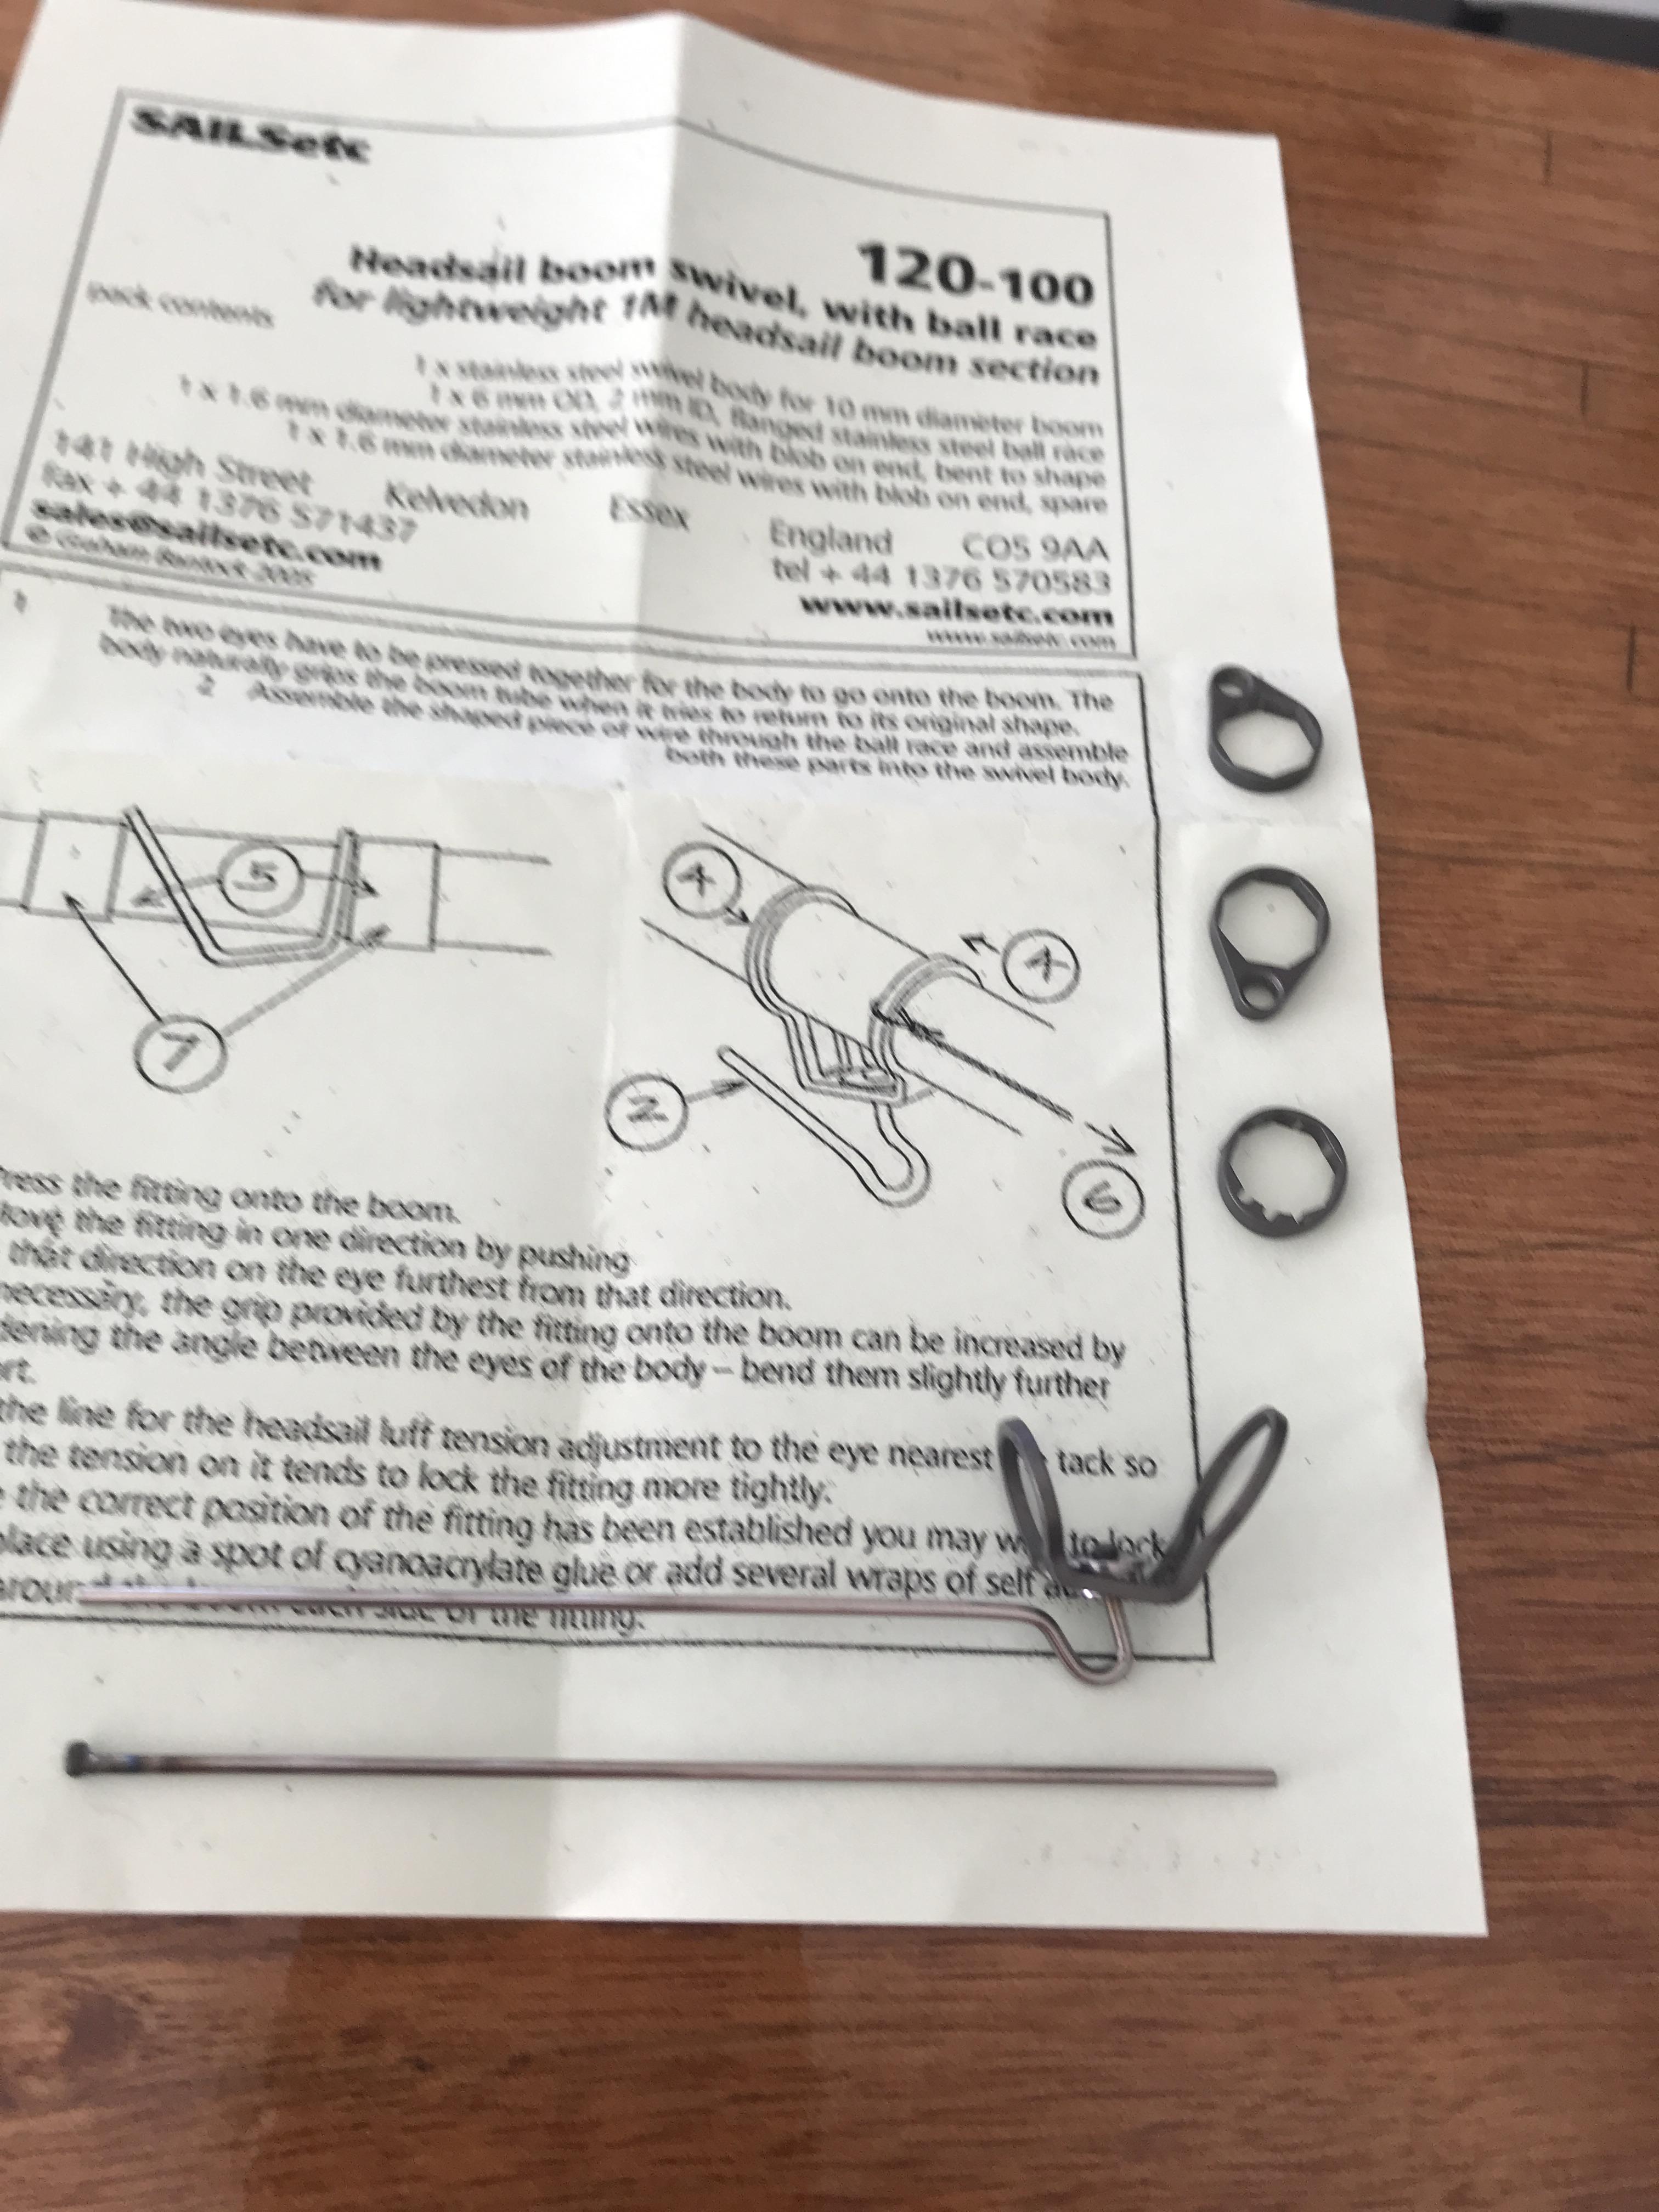
Also drilled both the booms & fitted adjusters for the sheets, this system is the same as my N12 and makes it very easy to rig & derig the boat, also remembered to seal the hatch ring to the deck.
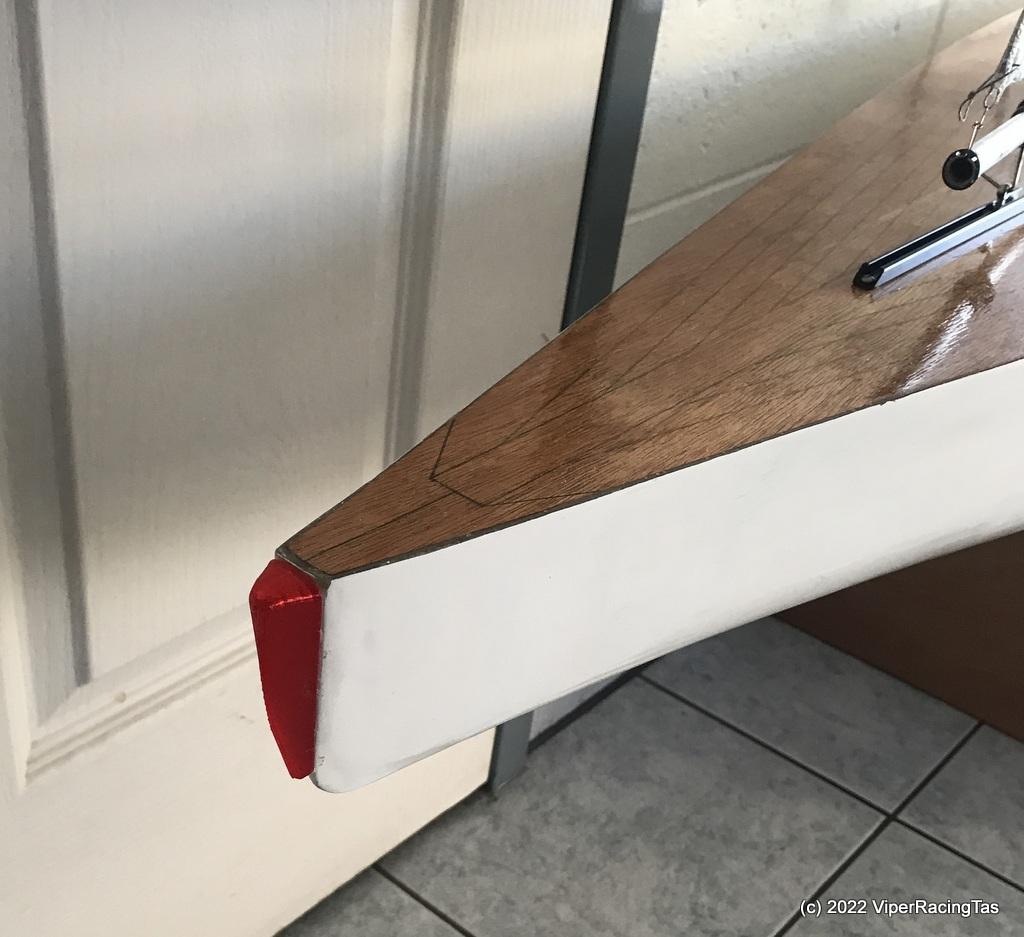
Thought I better install a bow bumper as well.
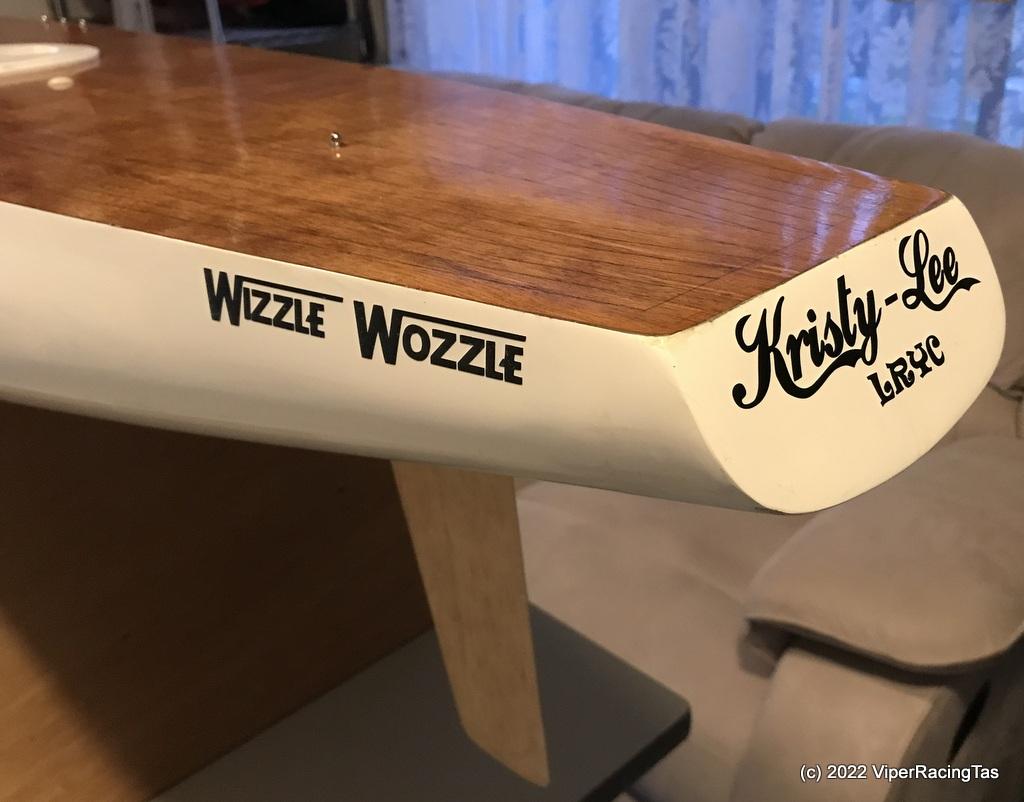
Also changed the stern labelling again (3rd time), its all got to come off again this summer when I spray the hull but at least I now have the templates the way I want them.
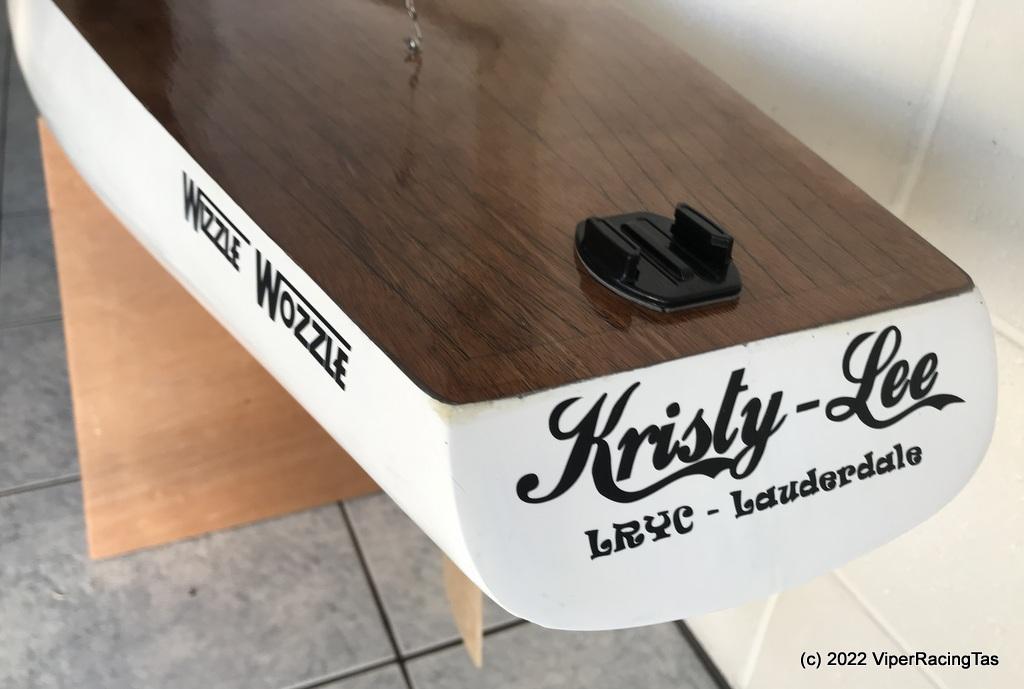
GoPro camera mount is on and the “Kristy-Lee” is ready to hit the water.
Note to self: don’t forget to weigh everything and make up the ballast weight (probably needs around another 4 kg for compliance).
-
17 July 2022 at 14:23 #11603
-
-
AuthorPosts
- You must be logged in to reply to this topic.