Forum Replies Created
-
AuthorPosts
-
No problems, thanks Gerald. I’ll grab some tomorrow before I start painting the stripes on the Wolf.
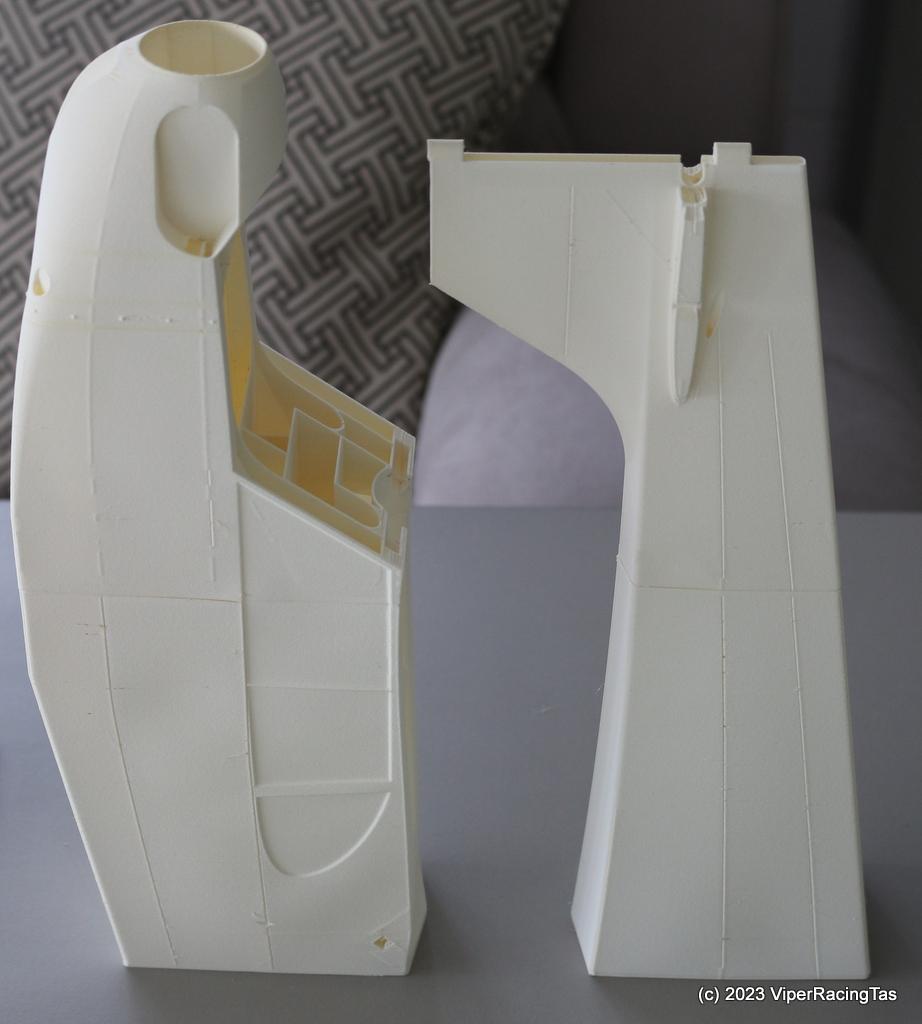
Prefit & then glue is a good idea, amazing what you find when you read the supplied notes. Certainly should be easier as they lock together quite well.
What clearcoat do you use before painting?
I painted straight onto the printed parts but it’s a bit hit & miss. Looks ok from a few feet away though !!
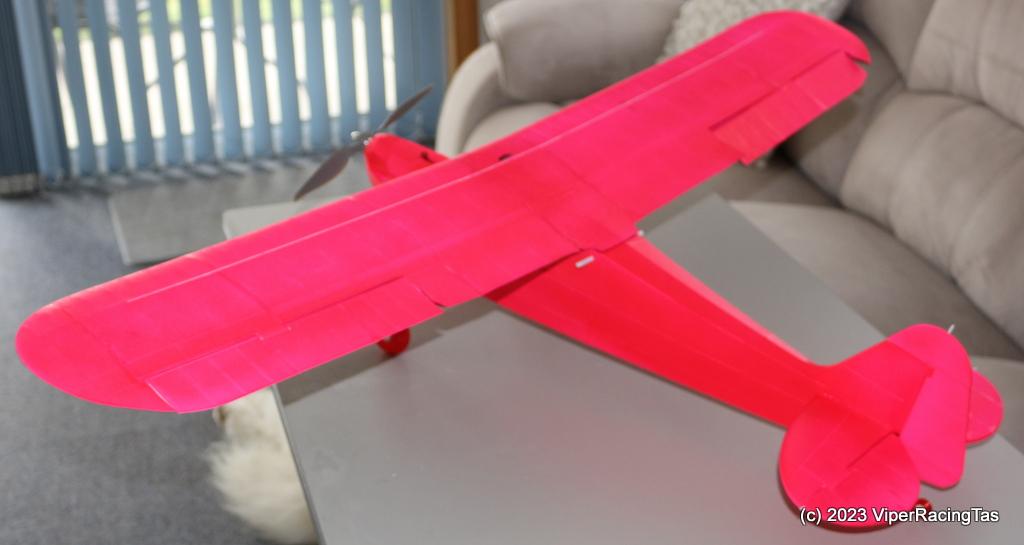
Well then, the build for the Piper Mini Cub “Pink Panther” is almost complete
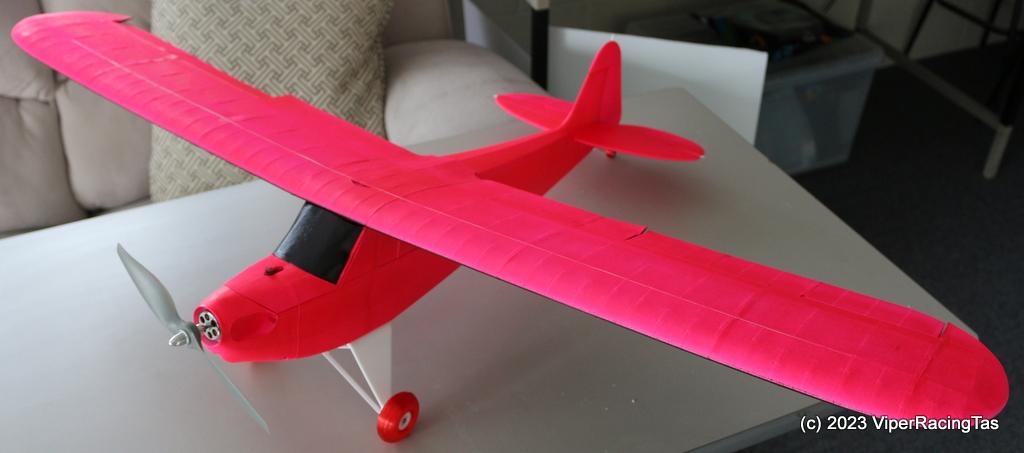
Just need to add the 4 x 9gm servos & the receiver + glue in the dummy motor, radiator & exhausts & she will be ready for her maiden.
Already started on the Eclipson Gö 1 Wolf 1935 vintage RC Glider
I took Andrew’s advice & visited McCanns Hobby Shop today and got some medium CA & kicker (once you factor in postage cost it’s actually cheaper to buy local – I’ll know next time).
Finished assembling the fuselage & also the ailerons so while waiting for the wings to print I set up a Bixler 2 motor (down-propped from 8 x 6 to 8 x 4). It has a slightly higher KV than the specified motor but is slightly smaller and lighter as well. With the smaller prop WOT is only 14 amps so I fitted a 25A ESC (smallest one I had) and that is now all good to go.
Should have the wings completed tomorrow, then to paint it all & install the servo’s etc.
 Starting to look like a plane now !!
Very nice Gerald, definitely can’t beat the digital quality.
28 May 2023 at 16:34 in reply to: 3D Printed RC Planes – Plans available For Free if you want to try. #13932Another freeby in LW PLA that looks rather nice
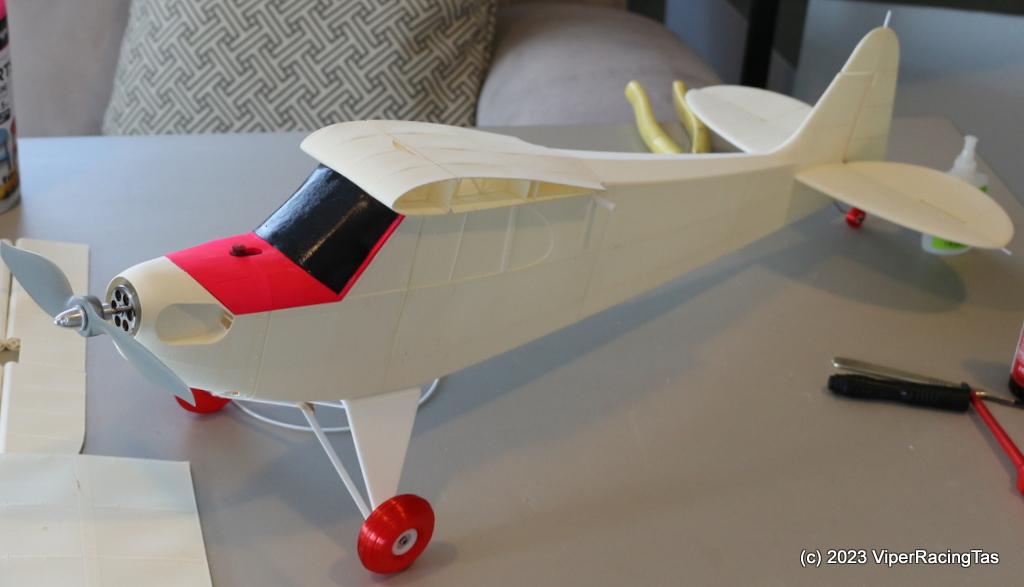
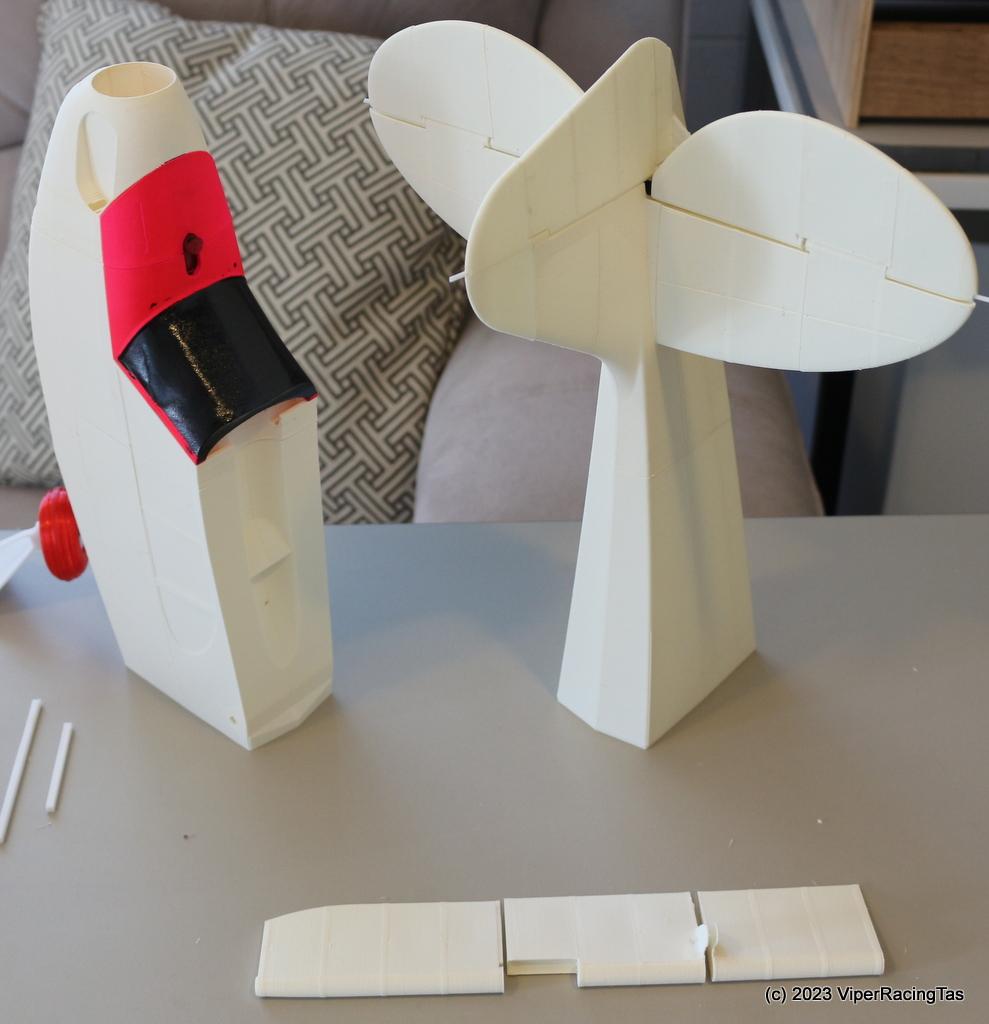
The Tail & Rudder are now assembled & temporarily fitted along with the completed hatch cover (apart from a bit of cosmetic tidy up).
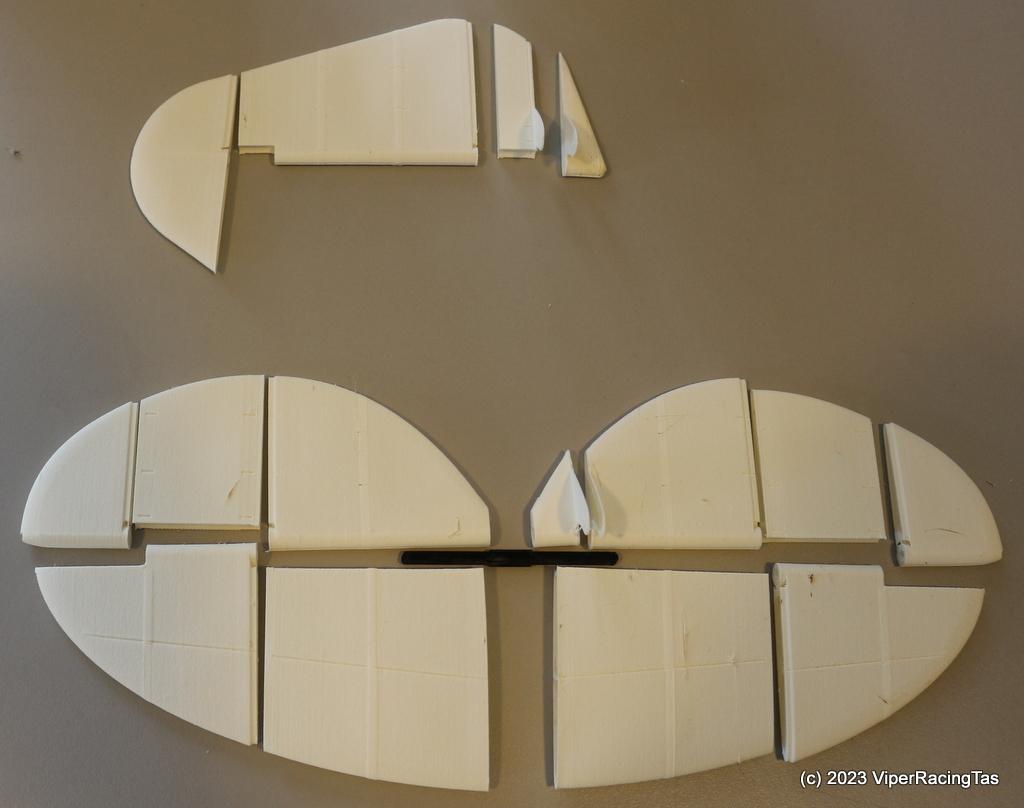
2/3 of one main flap now printed & hopefully will get the remaining 5 bits printed today leaving only the main wing (8 pieces)
 28 May 2023 at 10:56 in reply to: 3D Printed RC Planes – Plans available For Free if you want to try. #13928
Correct Ron, plenty of free plans available but even the ones you need to purchase are mainly around $20.00 so still very cheap for what you get.
If my mini Cub turns out OK I may have a go at the Go 1 Wolf glider, looks pretty nice for a vintage (1930’s) design.
Sunday morning update.
I started the print on Thursday so 2 1/2 days later everything is printed except for the main wing.
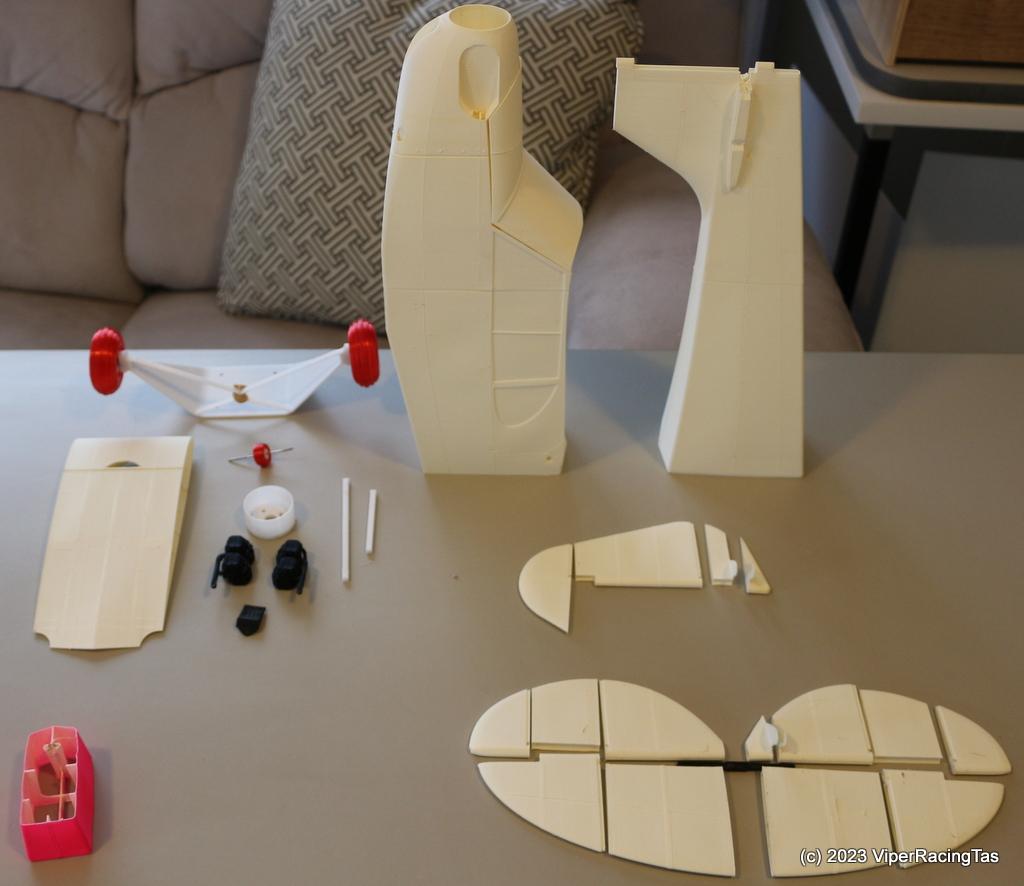
Closeup of the tail & rudder parts
I missed one PLA part, the main hatch locking lever, so printing that now then I’ll see if I can assemble the Tail & Rudder & the main hatch with the super glue I have here. It has a bit of a delay (10 seconds) before going off but if that causes assembly issues I’ll get some slow CA tomorrow.
Would be nice to get some bits together & painted before I start on the main wing.
Thanks Andrew, I’ll have a look Monday morning as my online order won’t be here till Thursday or Friday.
27 May 2023 at 15:33 in reply to: 3D Printed RC Planes – Plans available For Free if you want to try. #13920Here is another freeby that looks very much like our ESky Eyas’
Even before I had started the mini Cub build I had pretty much decided that rather than a “Plain Jane” yellow Cub I would have a flouro pink version called the “Panther” Cub – “Pink Panther” that is !!.

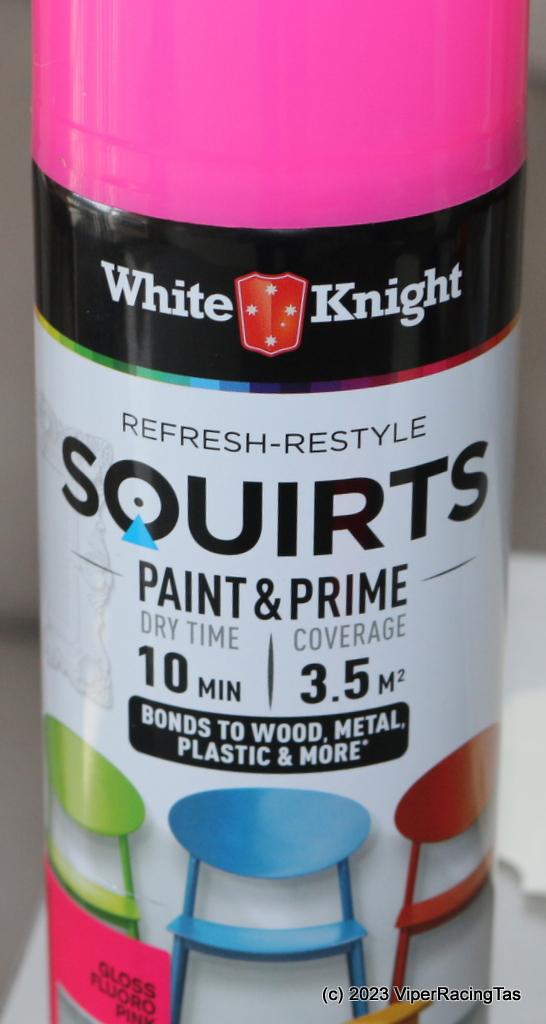
Found just the right colour today & tested it on one of the two failed to print parts that I kept for just such an occasion.
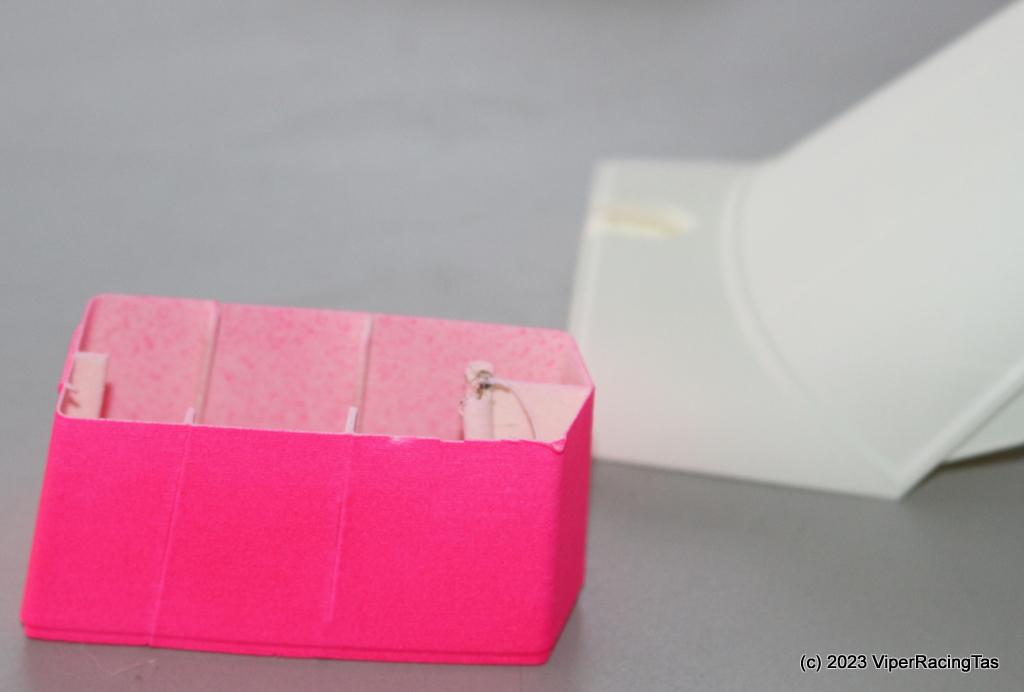
That’s only one coat so it covers well & seems to stick OK to the LW PLA.
The paint
Anyway I’ll need to wait till the CA & kicker arrives and assemble most parts before painting so it’s back to printing.
Currently printing the Rudder (4 parts) then the rear wing & elevator and perhaps start on the main wings tomorrow.
Starting to look like a plane now !!
Just printing the two parts for the canopy then it will be time to start on the wings.
Thanks Gerald, as you may have guessed I hadn’t really looked into the nitty gritty of the Corsair, just liked the look of it.
I’m guessing it WONT be my next build after all. I’ll find another LW PLA build that takes my fancy instead but only after the mini Cub is completed & flying.
Yes Ron, the prints need very little cleanup after printing. There are one or two spots (like in the rear of the dummy engine mount recess) that look to be a bit too thin but I’ll boost them with some CA and kicker when it arrives, other than that so far so good.
-
AuthorPosts