Forum Replies Created
-
AuthorPosts
-
Fixed
G’day Bodge, just checked your calendar entry. Are you sure you mean what you wrote, I would have thought it would be Reg numbers less than 1100 not more than.
Thanks Chris, interesting video.
As usual, the Frog’s camera managed to capture all the action (and misadventures) @ the field today.
Well done Mr Kermit.
No Ron, that was my original RunCam2, not the new 4K version. Recorded @ 1080P at 50fps and edited & published at the same resolution. The higher framerate smoothes out the video a lot but the image is still not as sharp as the new 4K RunCam. Just thought the old camera needed a run for a change.
Looking pretty spiffy !!
The repaired fuselage is completed & painted (even remembered the exhausts this time Gerald !!) and the electronics installed & tested.
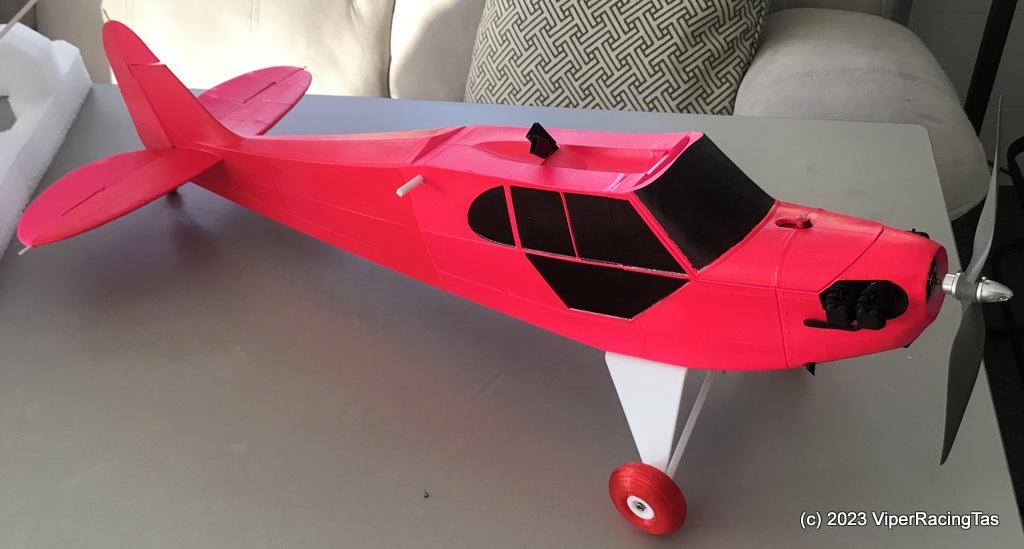
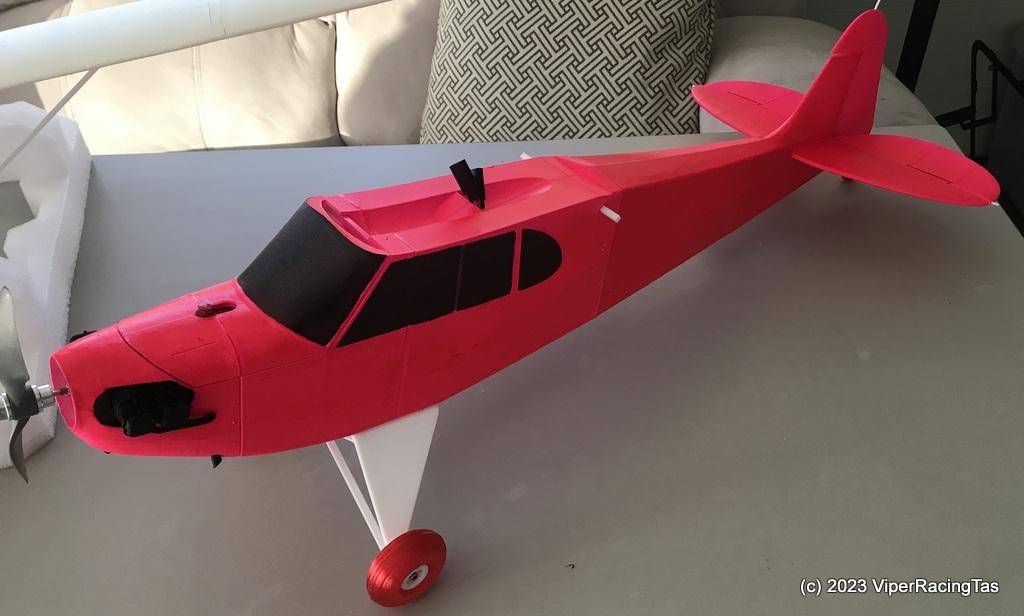
Now all I need to do is print the new wing.
Yes Gadget, apart from the time printing the new bits the repairs are fairly easy to carry out, probably easier than foam or balsa.
As anyone that was either at our flying day last Wednesday or have viewed the day’s videos will know, I pushed Pink Panther way past its flight envelope and managed to snap one of the wings off.
This resulted in a heavy contact with Terra Firma and to add insult to injury the poor little pink thing ended up impaled on a fence picket that was laying on the ground. (see Kermits video from Wednesday).
The result
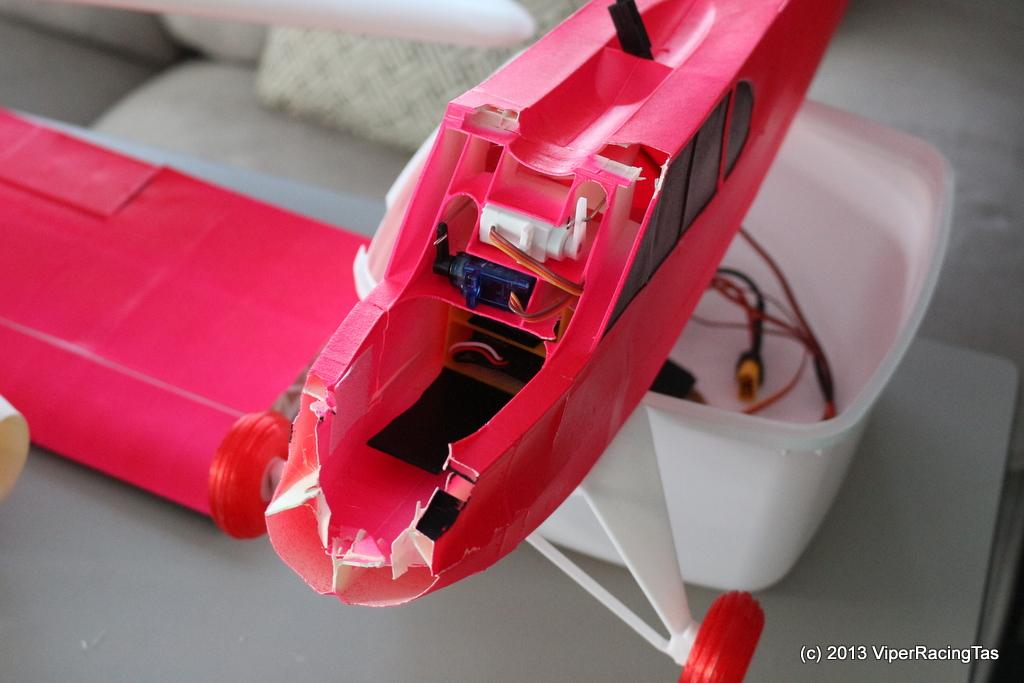
Given that it was almost impossible to just remove the damaged front module #1 due to internal fittings etc all glued together, I opted to reprint module #1 & #2 and cut the fuselage further back.
New module 1 & 2
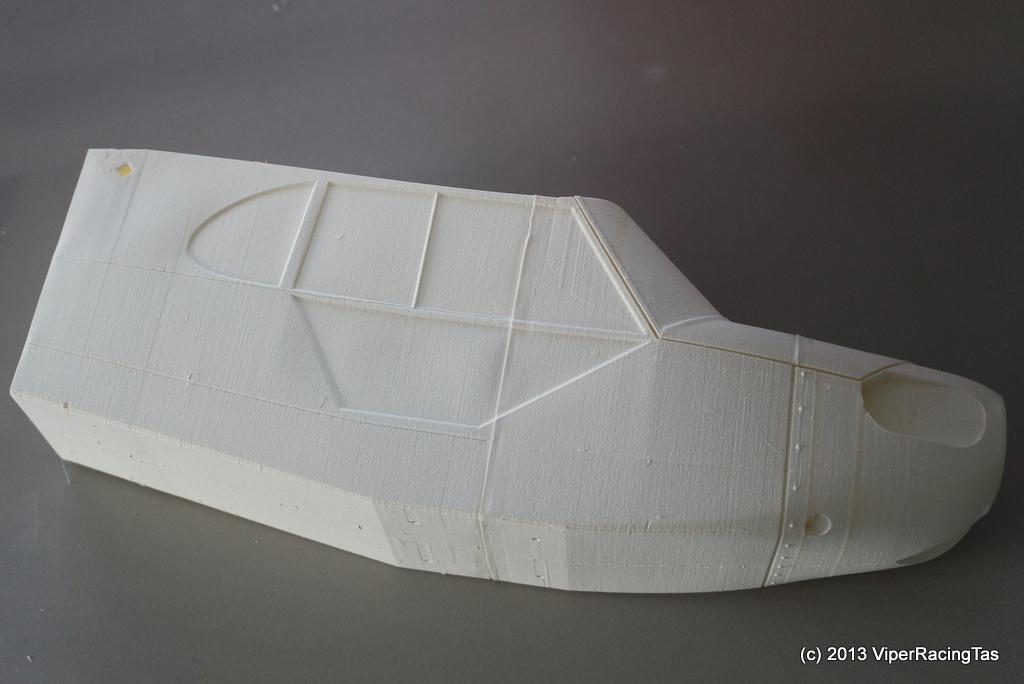
New front sections primed & glued into place

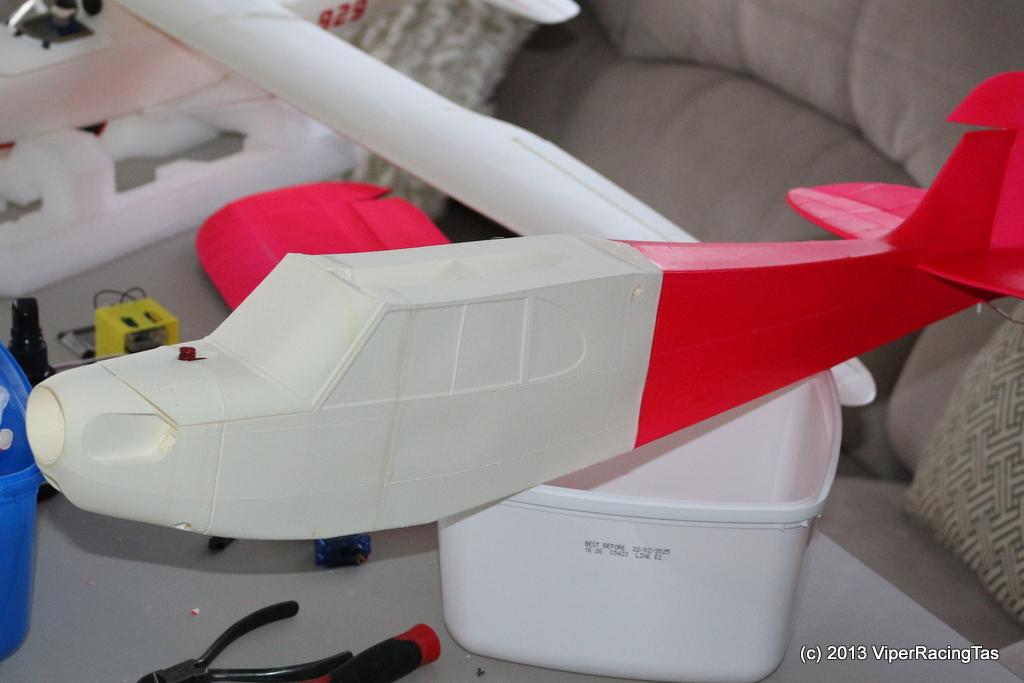
Now to repaint the front to match & reinstall the electrics and the fuselage repair is finished. Then time to reprint the damaged wing (5 sections + ailerons)
Another fine video production Mr Kermit, definitely worth the wait.
Your problem with posting probably relates to the fact that the file is around 4 1/2 minutes longer than the actual video. YT doesn’t like blank video.
No problem, I’ll try to email it to you
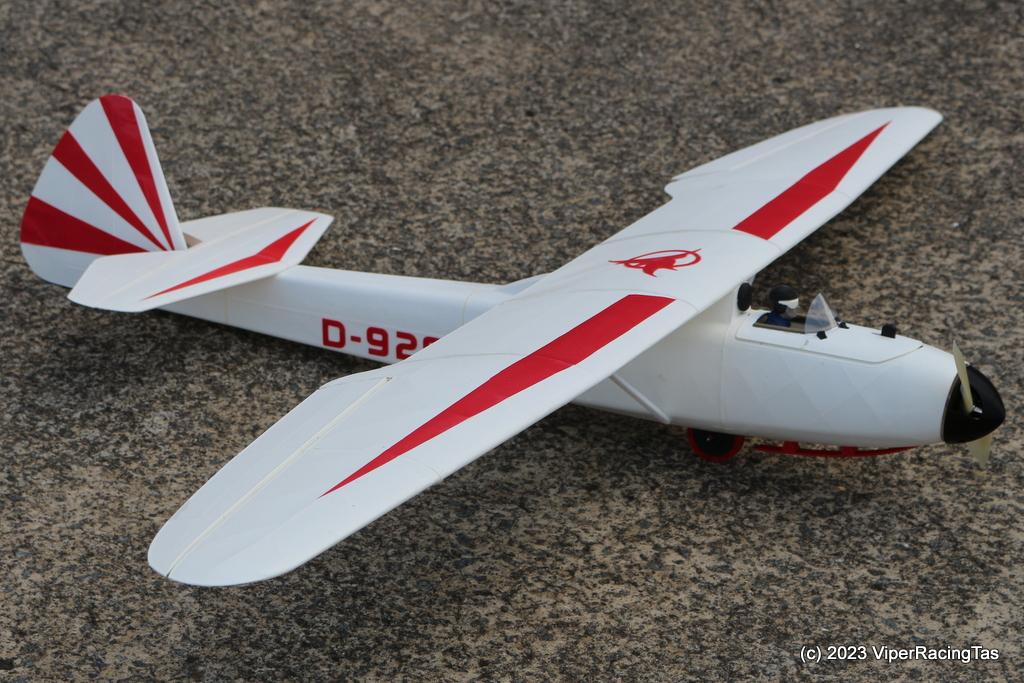
Thanks Chris, if I repair the Cub I will fit a CF spar in the wing and fit struts (similar to the Wolf glider). I know the Cub is light weight but personally I think it’s too flimsy if you start to push it a bit.
The Wolf glider weighs in at 620gm but feels far stronger with the dual CF wing spars & struts. I think I have some 8 x 4 & 7 x 4 props so I’ll give them a try. I think I’ll get rid of the 3D printed spinner (doesn’t balance well) and just print a nosecone to come up behind the prop as I did with the Bumblebee. The spinner looks good but creates a lot of vibration once you power up a bit.
Now you have planes of your own I guess we’ll start to see some new flight videos soon ?
No new President as Ian was elected (according to him) President for Life & Beyond so we’ll just leave it that way.
Yes Gerald, not too bad for the second week of winter, if this keeps up we could be flying right through till spring.
Another fine video production from Tas RC, thanks.
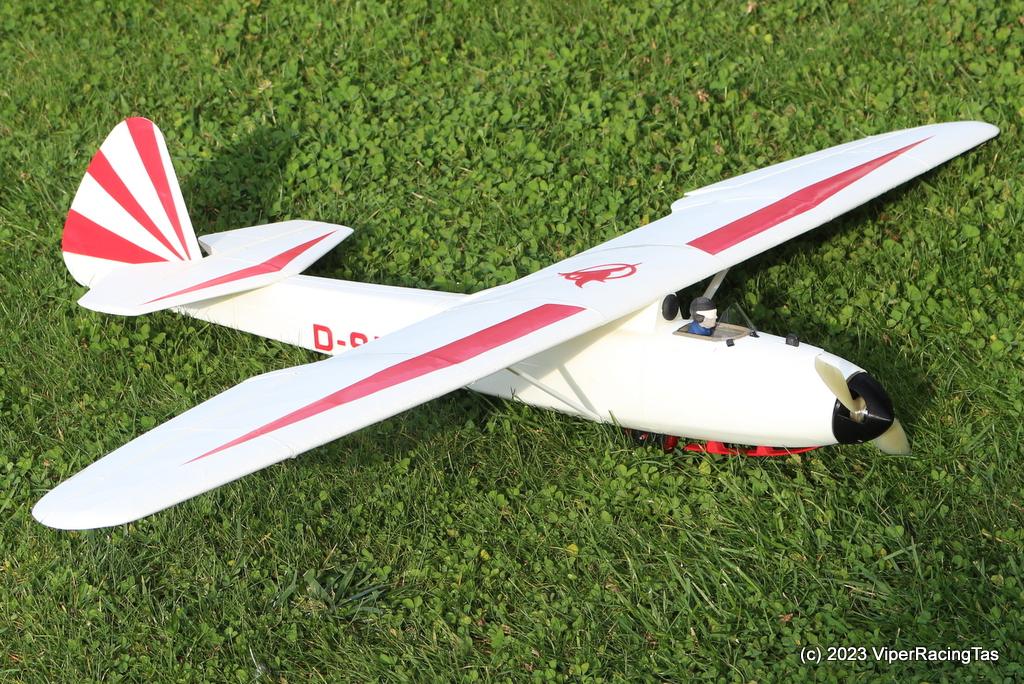
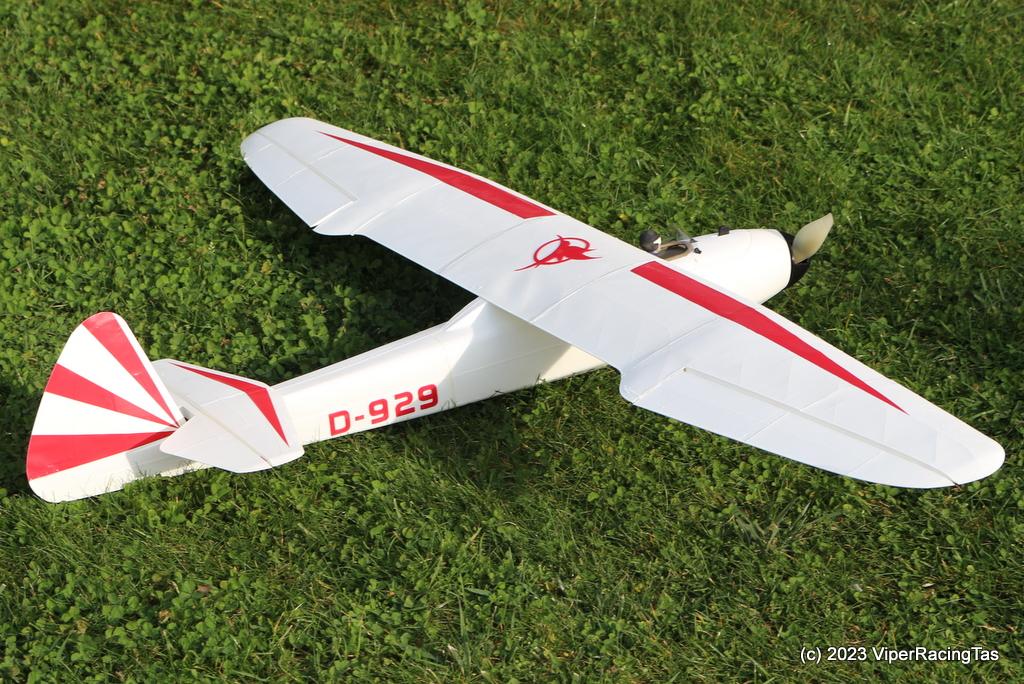
Thanks Ron, I am pretty happy with it the way it came out. If it flies OK I’ll print the cockpit hatch again as that came out a bit rough first time round. I’m also trying a thinwall print using std PLA for the spinner as the original is quite heavy and if it prints lighter it may correct the COG.
Finally finished, fitted out, tuned & ready to fly.
Build Specs
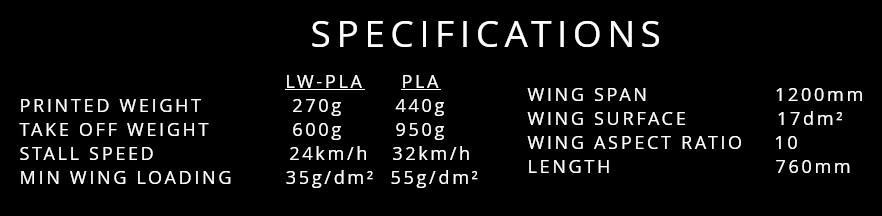
I’ve fitted an 1100KV Bixler 2 motor (because I had several), with an 8×6 prop drawing 16A WOT and producing 177W
I’ve also tried a 7×6 prop which drops the current to 11A WOT and produces 126W. Just a matter to see which flies best!!
It is very slightly nose heavy (around 1-2mm forward of recommended) which should be good for its maiden flight.
All up weight 620g (including 1300mAh 70C 3S LiPo flight battery) which according to the Build specs is 20g overweight for LW-PLA but they use a 1000mAh LiPo battery. Probably means the stall speed will go up to around 25-26 kph.
Hopefully Maiden will happen on Wednesday 14/06/2023
-
AuthorPosts