Forum Replies Created
-
AuthorPosts
-
19 April 2019 at 12:59 in reply to: This is how the Flight line Gang do their AGM… in style I must say, an oldie #2835
Yes BA, it truly was a great night and yes it’s about time you organised another one.
You have been a busy little BA haven’t you.
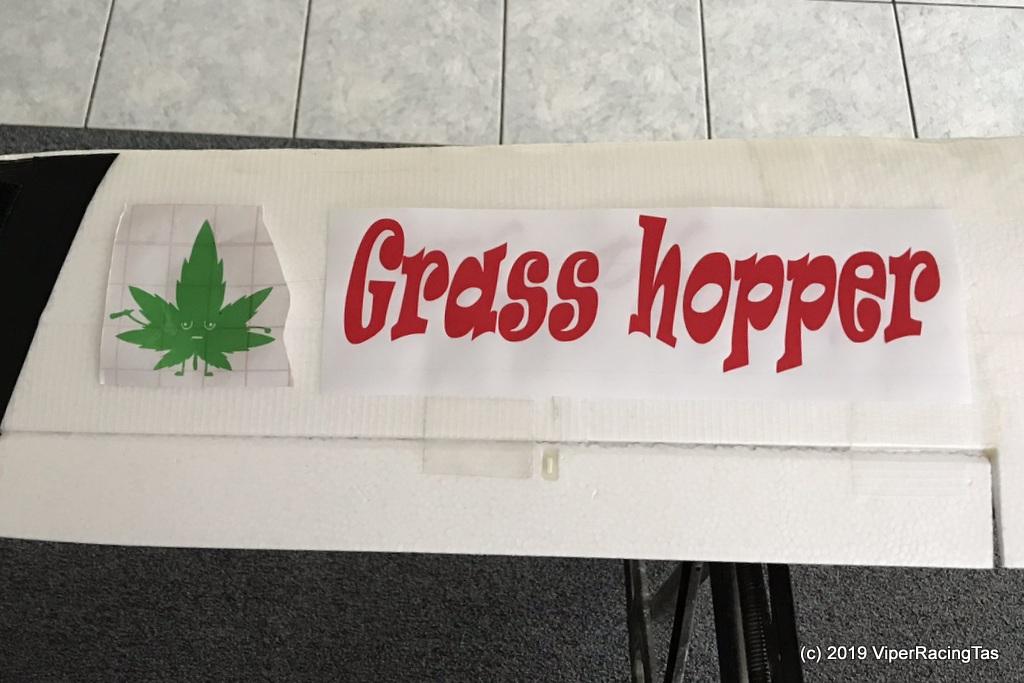
People ask why the spelling on Kermit’s Tundra is Grass hopper rather than the traditional Grasshopper, his new wing art is self explanatory methinks!!
Yet another great flying day you organised there BA and another quality video production.
I guess Uncle G will be maidening his Bix 3 and perhaps his paraglider as well on our next outing.
No wind at all today but I guess them’s the breaks eh.
Yes Col, we did indeed. We were also down a couple of regulars due in part to the short notice but the four that were there all had great flights & enjoyed our customary BBQ lunch.
Ill have a report & some video up later.
Thanks for the post Col, looks like everyone enjoyed another great day @ the duck.
It’s just unfortunate that this time of year is also the best for flying but we will all be back to the Duck soon enough.
This should be interesting
You can NEVER be too safe, Early warning radar & refuelling capabilities are a must these days, along with the Gattling gun under the nose!!
On to Glider No. 2
The “Phoenix” – Rising from the ashes.
Well it looks like another of my big gliders has been resurrected, the ex Moose SkyClimber that I managed to write off in Feb last year is finally ready to take to the skies again. This was one of my favourite FPV planes to fly and although I have a spare complete SkyClimber (ex Mike (Flat Battery – VK7FB) I was determined to at least try and get the wreck flying again, just like a Phoenix rising from the ashes.
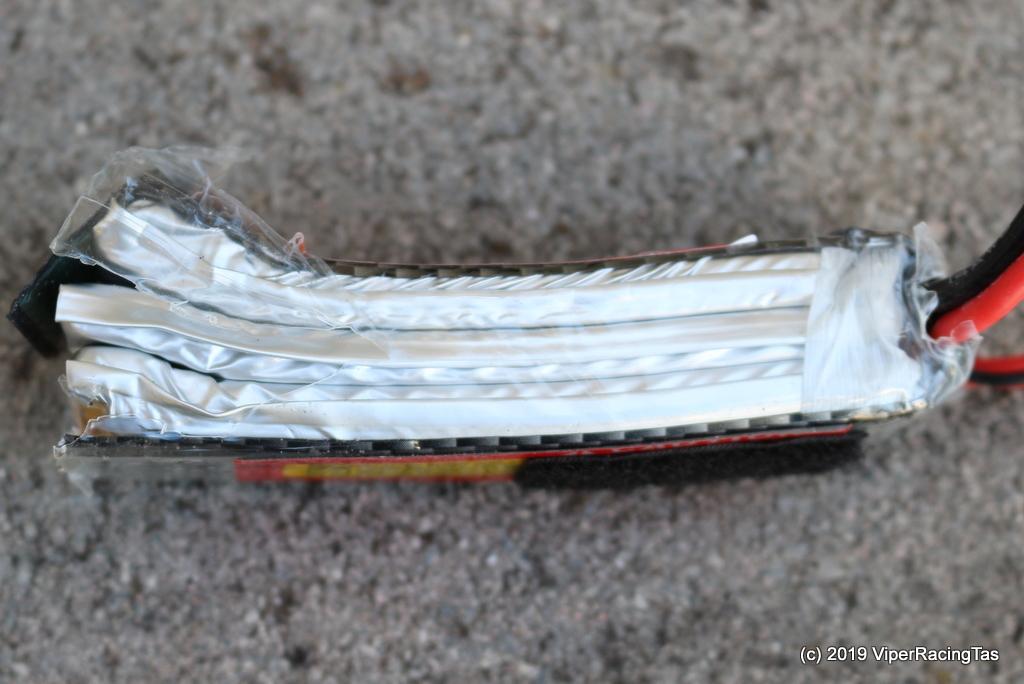
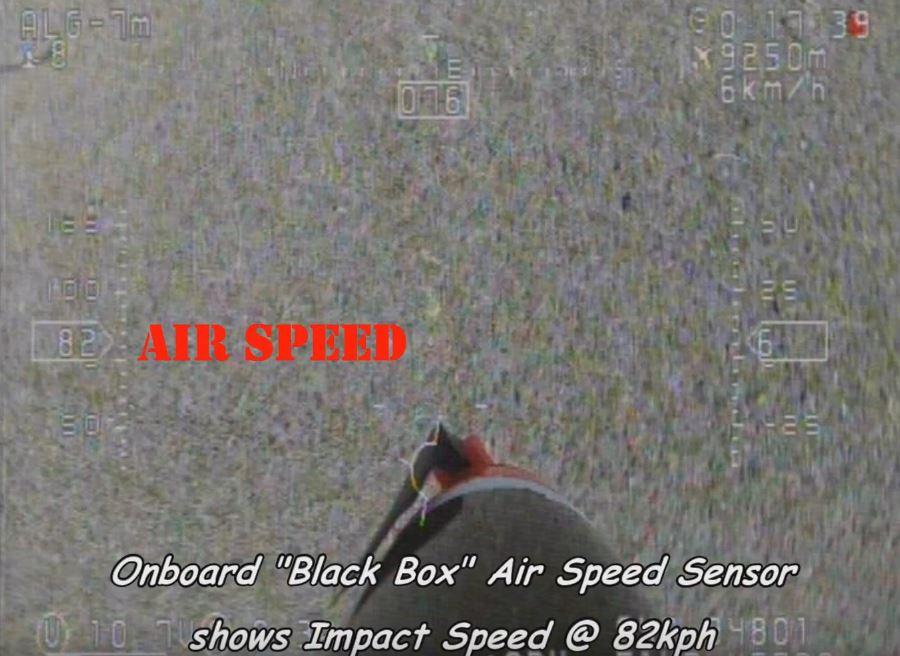
In fact, given the condition of the LiPo battery when the plane impacted Terra Firma at 82kph, it was very lucky the whole thing wasn’t reduced to a smouldering wreck
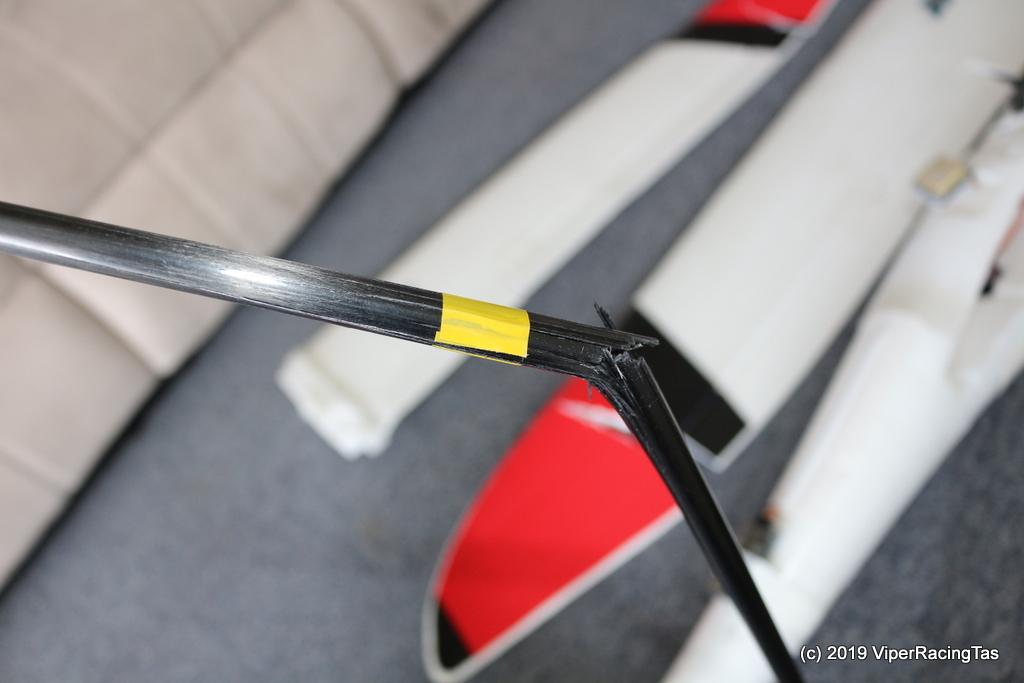
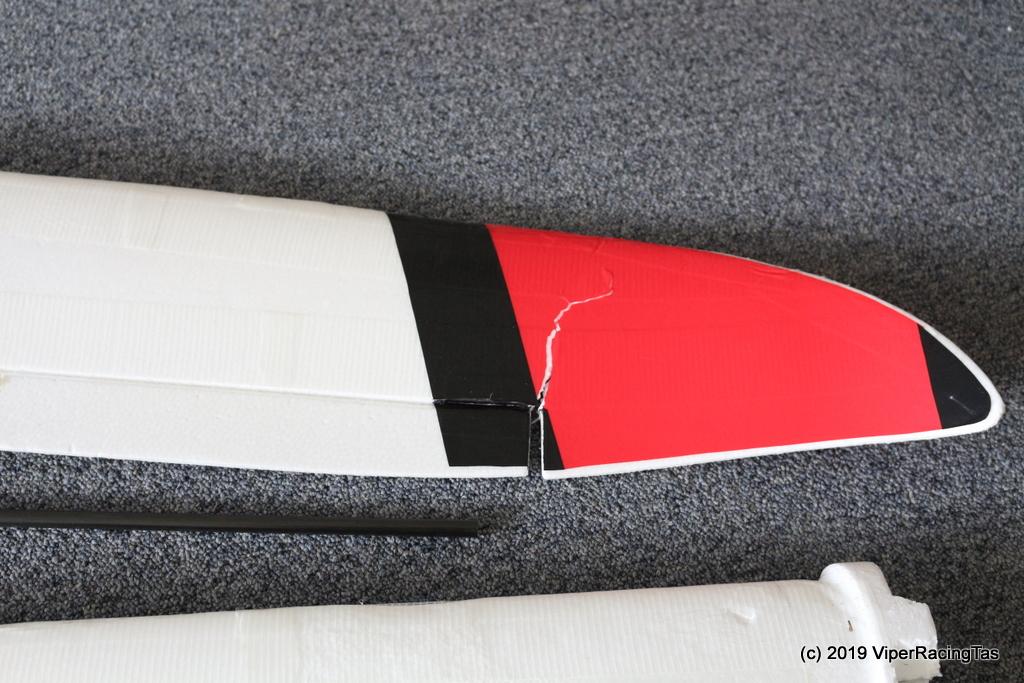
The crash was caused by a failed CF main wing spar that allowed the wings to fold in half, looked quite spectacular coming down, just a pity the only video was from the onboard camera.
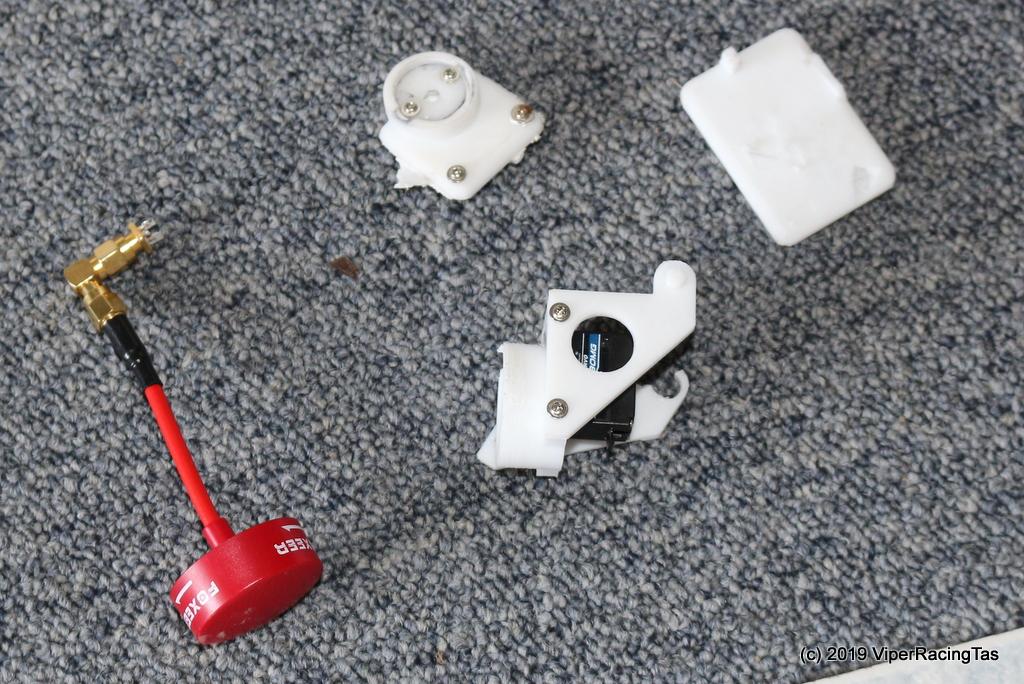
The rest of the wreckage

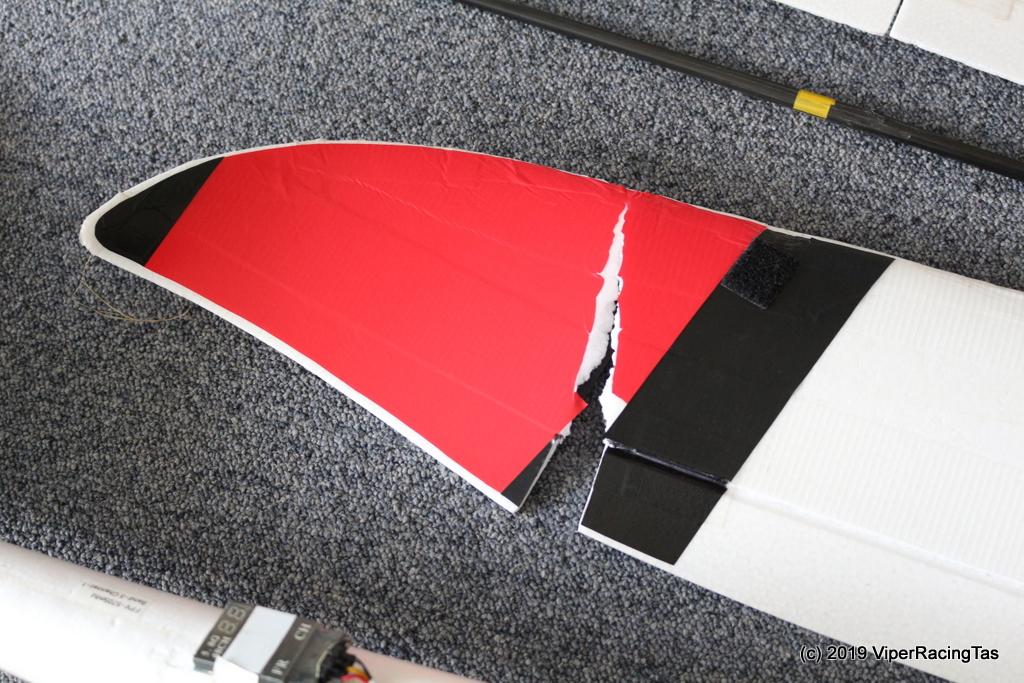
Even destroyed the FPV pan/tilt & Video Transmitter, lucky the camera survived
Anyway, that is how it was on that fateful day in February 2018 (Video of final flight & crash below)
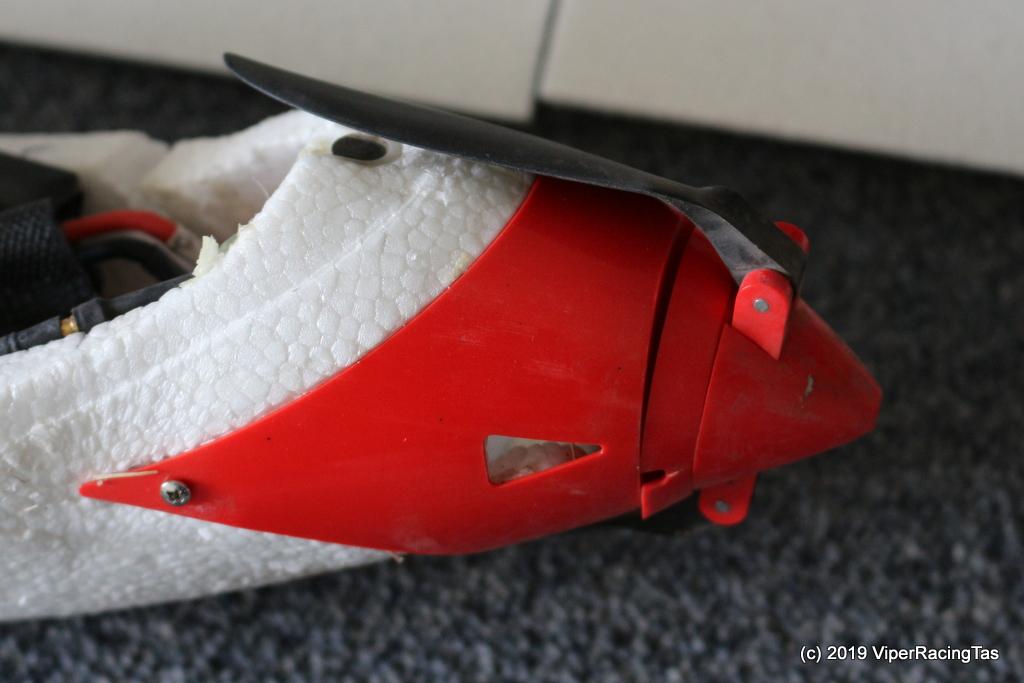
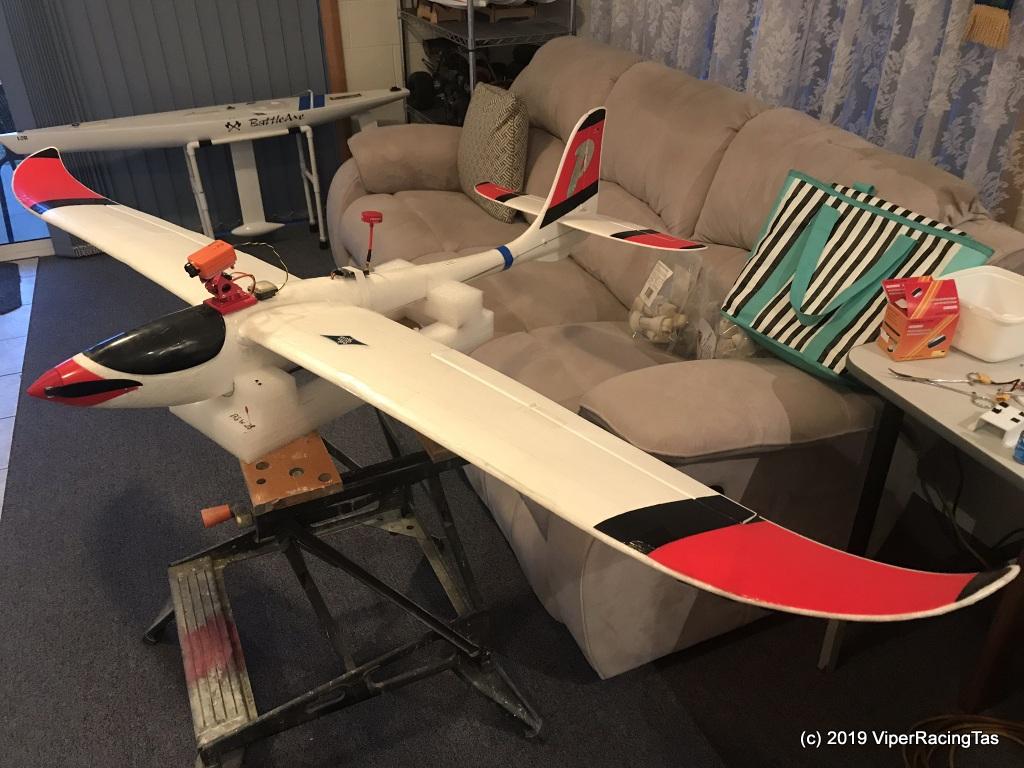
Back to today and the “Phoenix” is ready to fly again, after a lot of hot glue, reinforcing tape & a few 3d printed spare parts

Won’t have to wait long as it looks like we will be flying tomorrow.
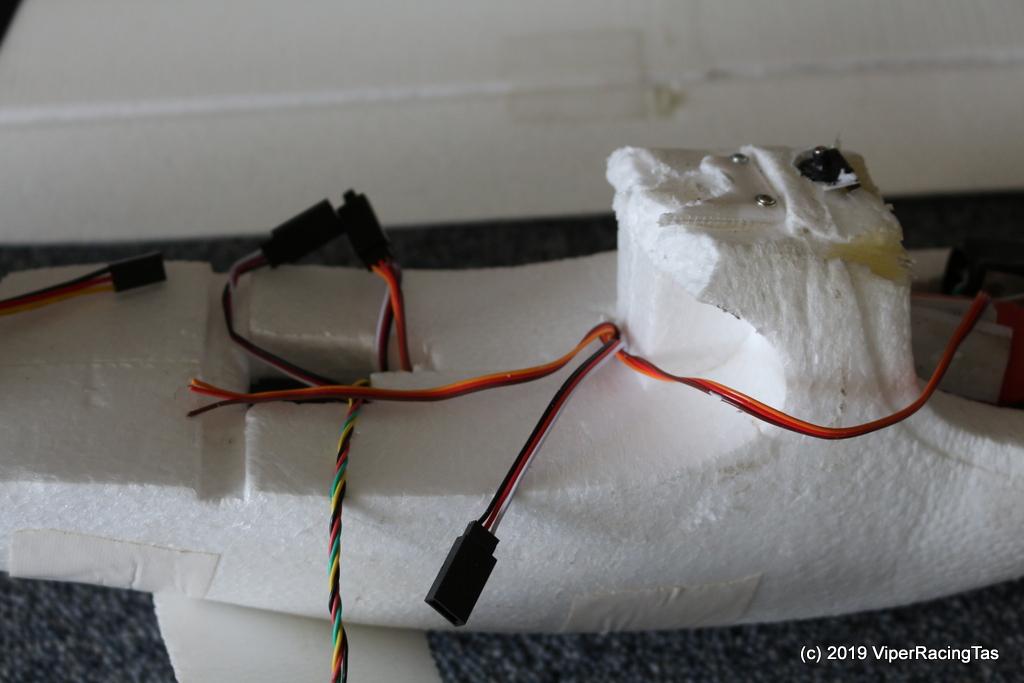
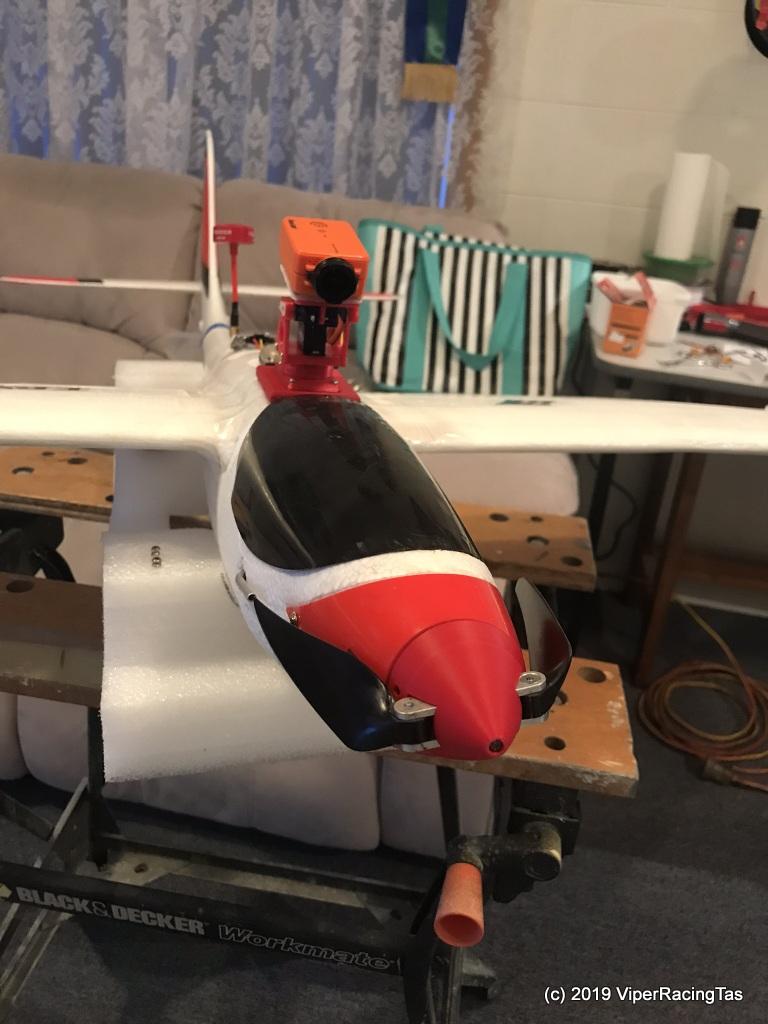
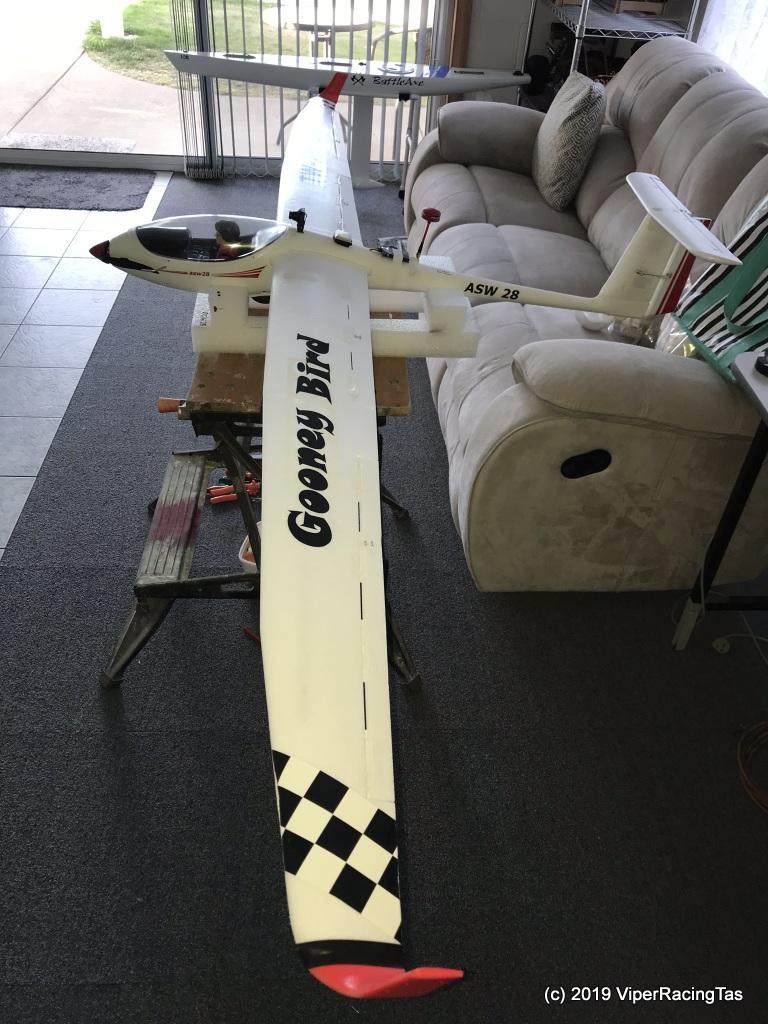
The Gooney Bird alterations were finally completed today and she is all back together, programmed & tested ready to go chasing Thermals.
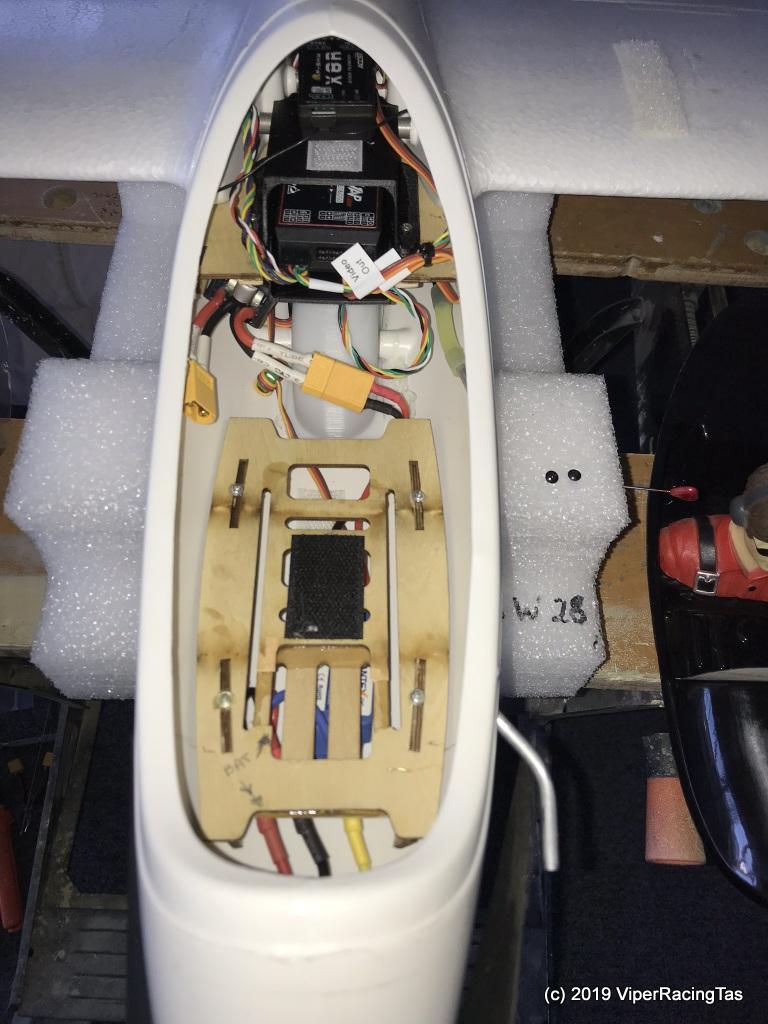
By Version 4 of the gear tray I had everything fitting just the way I wanted and now there is plenty of scope to move the battery back & forward to set up the COG just right so hopefully no more nose heavy flights or having to add lead to the tail to balance.
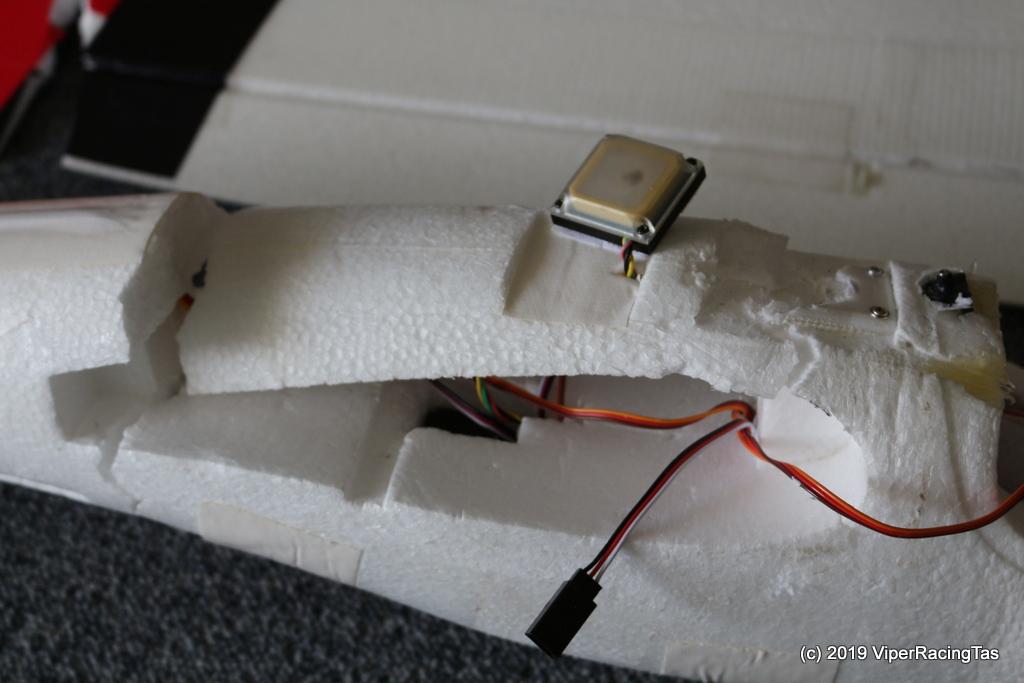
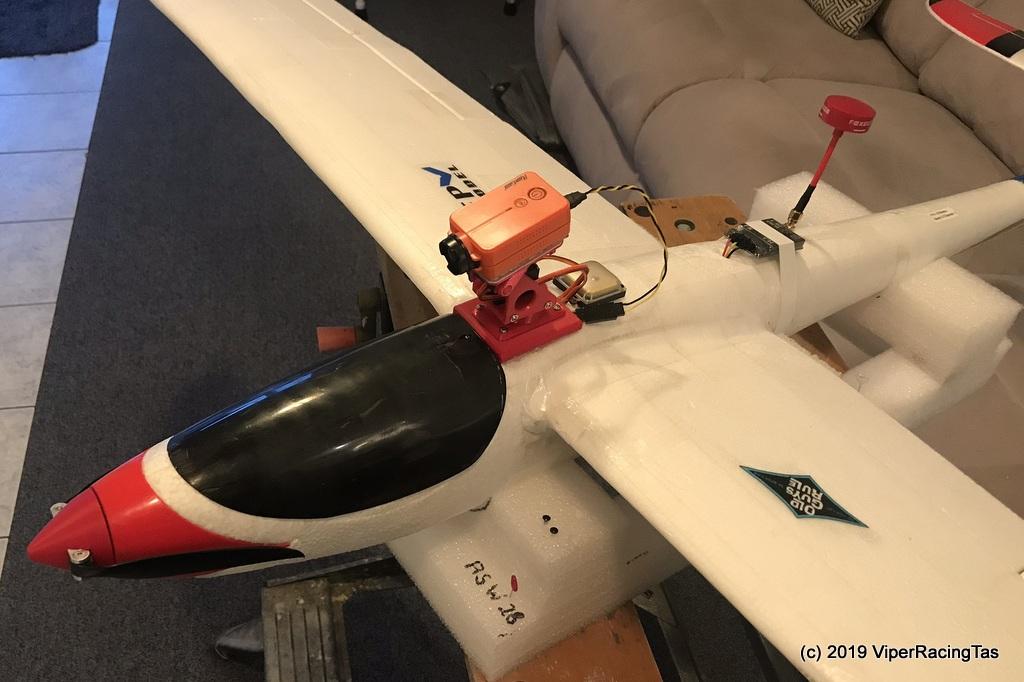
The New setup, Rx on top & Auto Pilot underneath
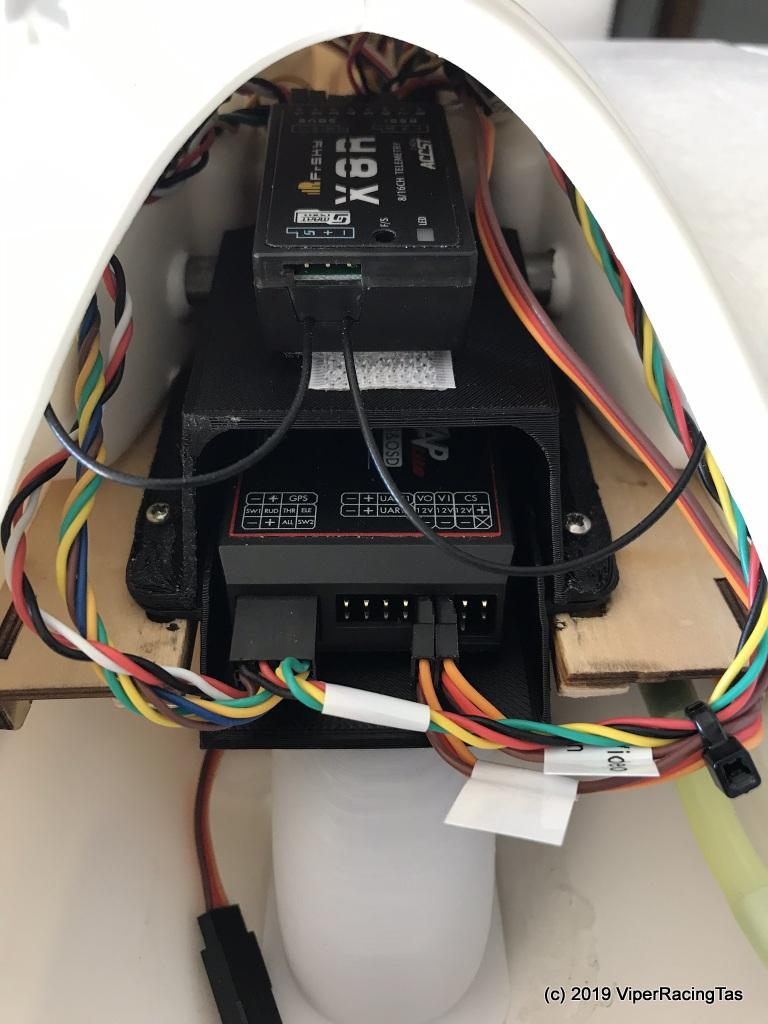
FPV Camera, AutoPilot GPS module & FPV 600mw Video Transmitter

Plenty of battery room now
Finished & ready to soar
Thanks for the report Col.
Sounds like a good morning was had by all.
Hopefully, with a few other projects nearing completion, I will make it next Tuesday.
Always the way, I know Nicks Hobby Shop have several sizes but they are a bit pricey.
Just a thought but I reckon the Bush Mule wheels may be the right size.
I’ve added a short video to Kermit’s post, nothing great just some footage from the mobile phone just to show that Kermit DID actually fly Solo.
You may be able to use Tundra wheels but they are quite a bit bigger than Ian’s and his seem to work fine. You would need to check with him or John for the actual size they used. Ross also has replaced his wheels bit I think he used smaller than Ian.
-
AuthorPosts