Forum Replies Created
-
AuthorPosts
-
Yeah, a couple of glimpses of his plane isn’t enough. you should’ve taken him out with you tonight for a meal.
Doing housework then?
Kermit, you taught me everything that I know about video editing.
Have you been naughty, not allowed out today?
Another un-eventful fun day for me.
My little video from today,
Congratulations Kermit. but I’m a bit disappointed that you missed getting the main event on camera?
Kermit, Great video of a dark night with no moon
Nothing exciting happened to me today unlike some others,
4K next week?
You should have been there at 7.00am, high tide no weed, beautiful sunrise – best part of the day!
But really, a couple of our lot had other things on and had to leave early and everyone else sort of followed.
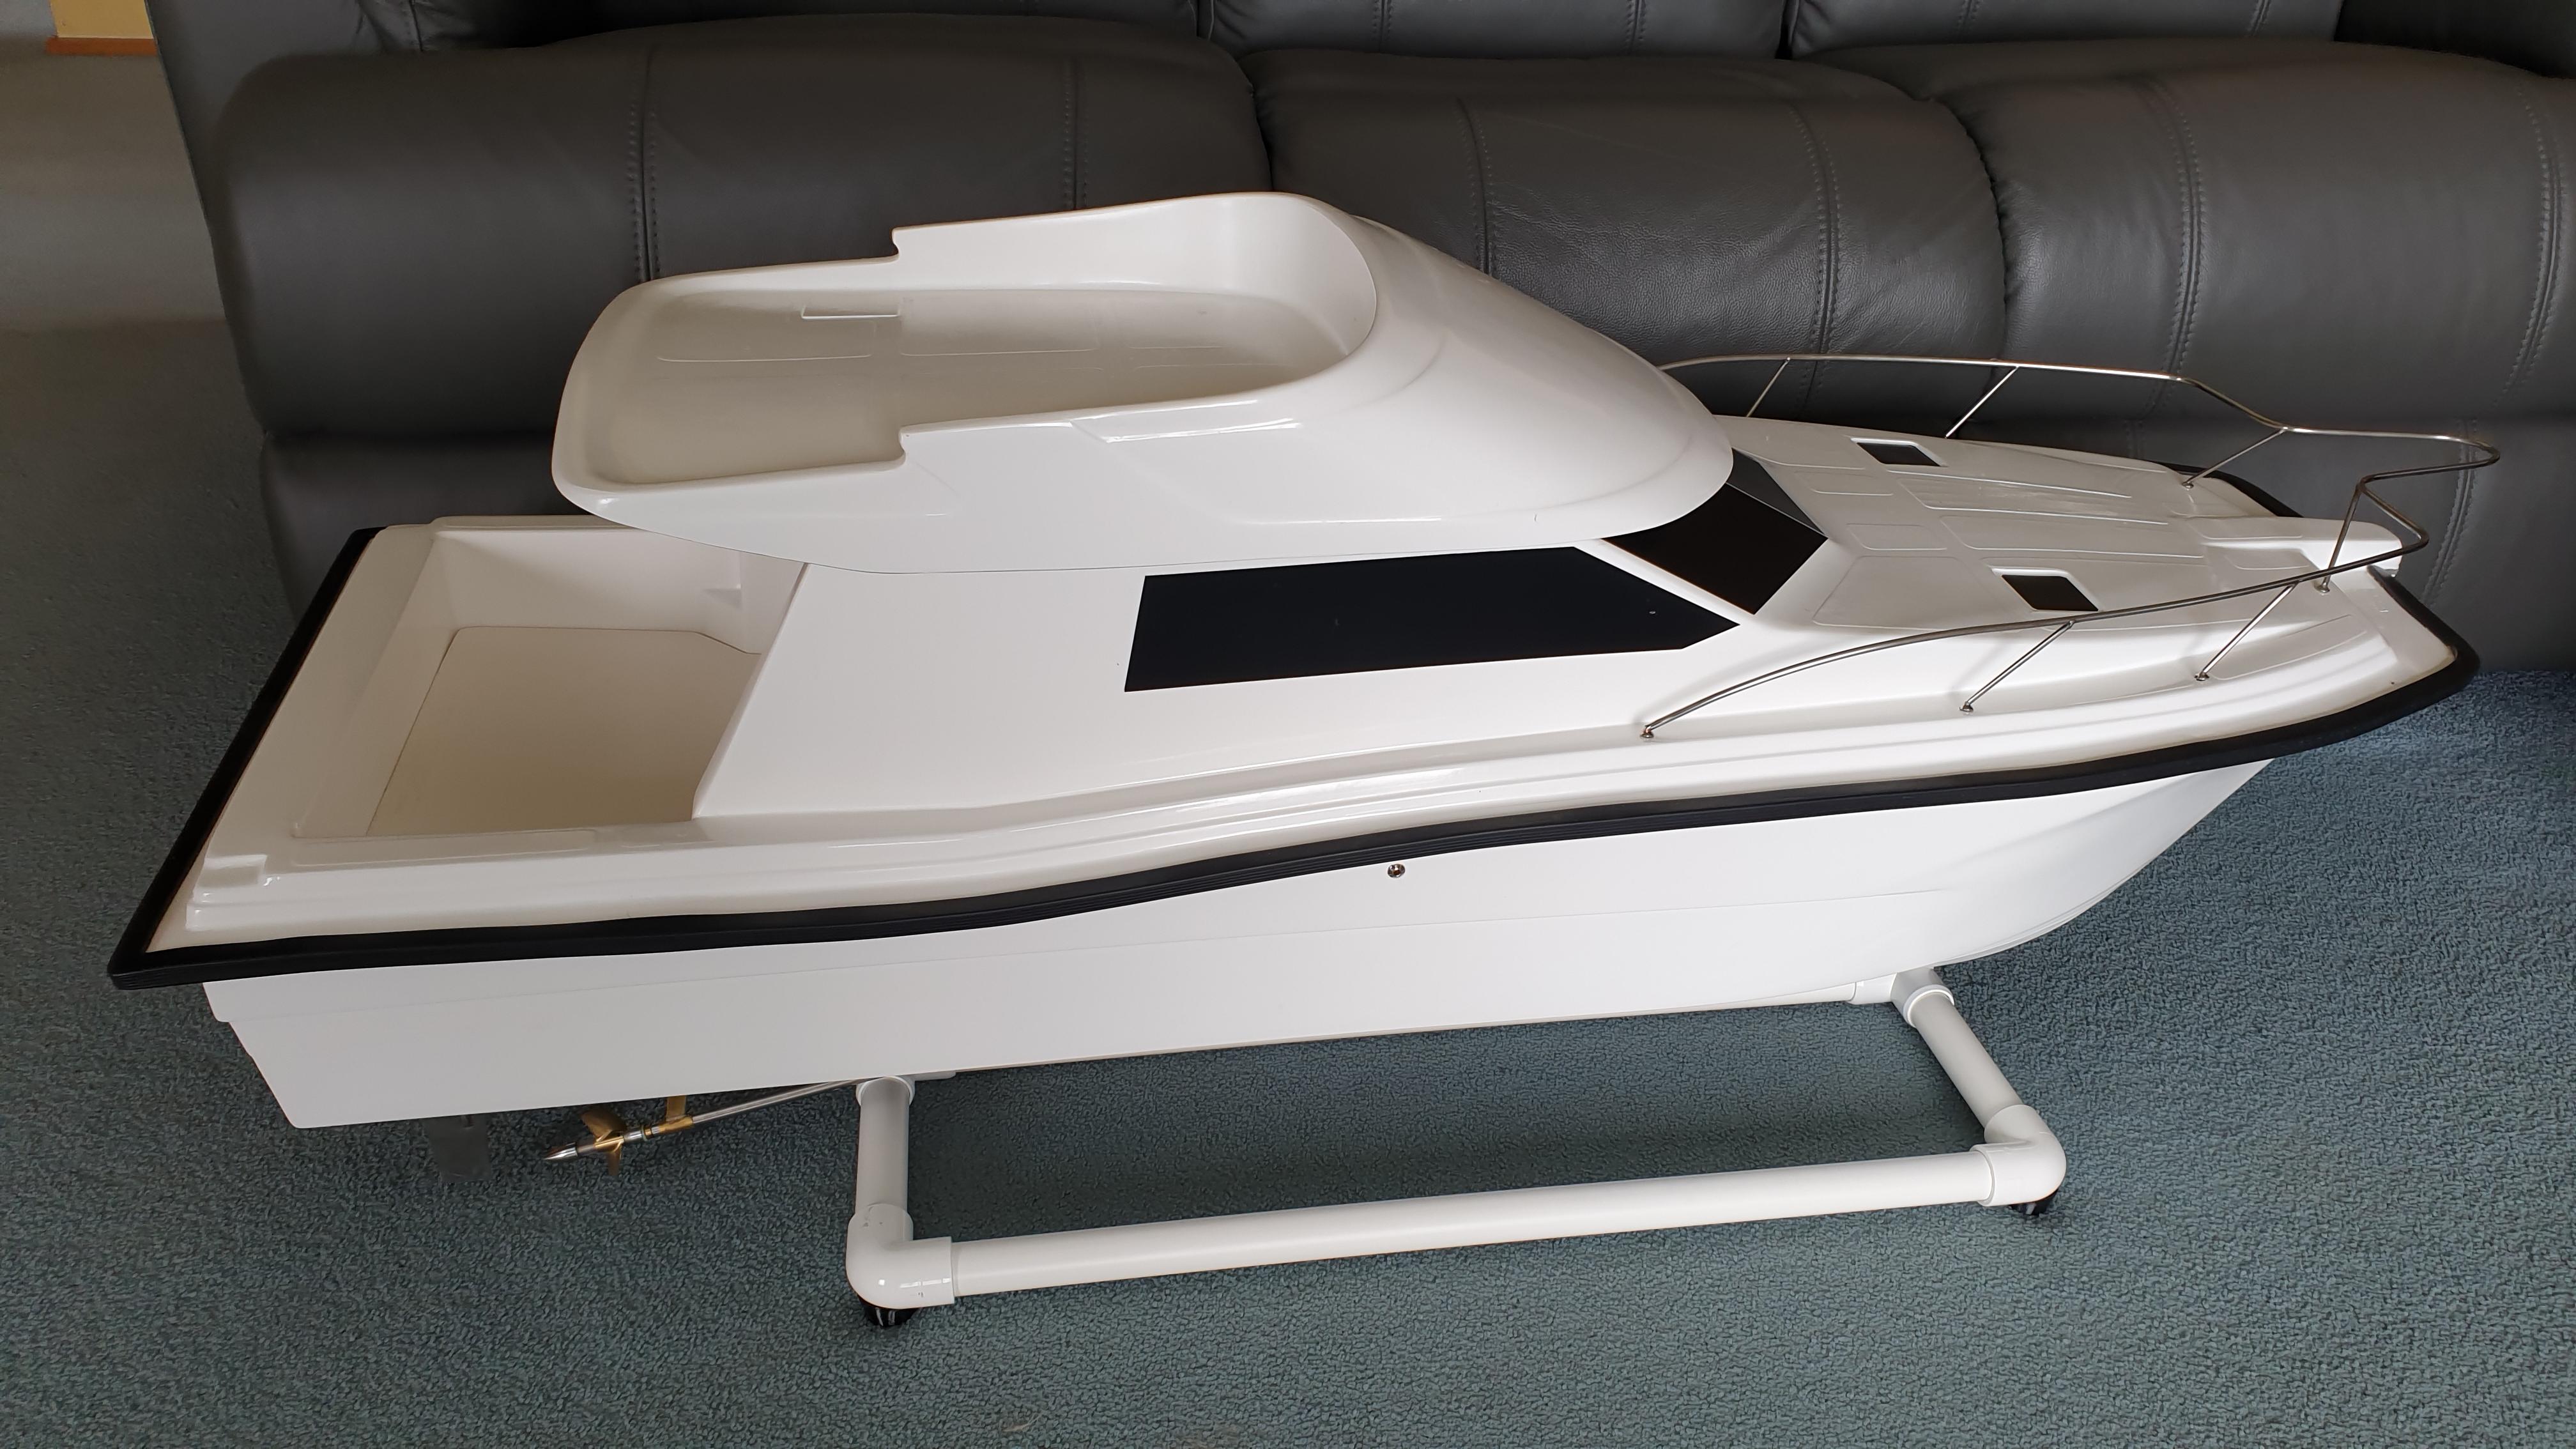
A bit more done.
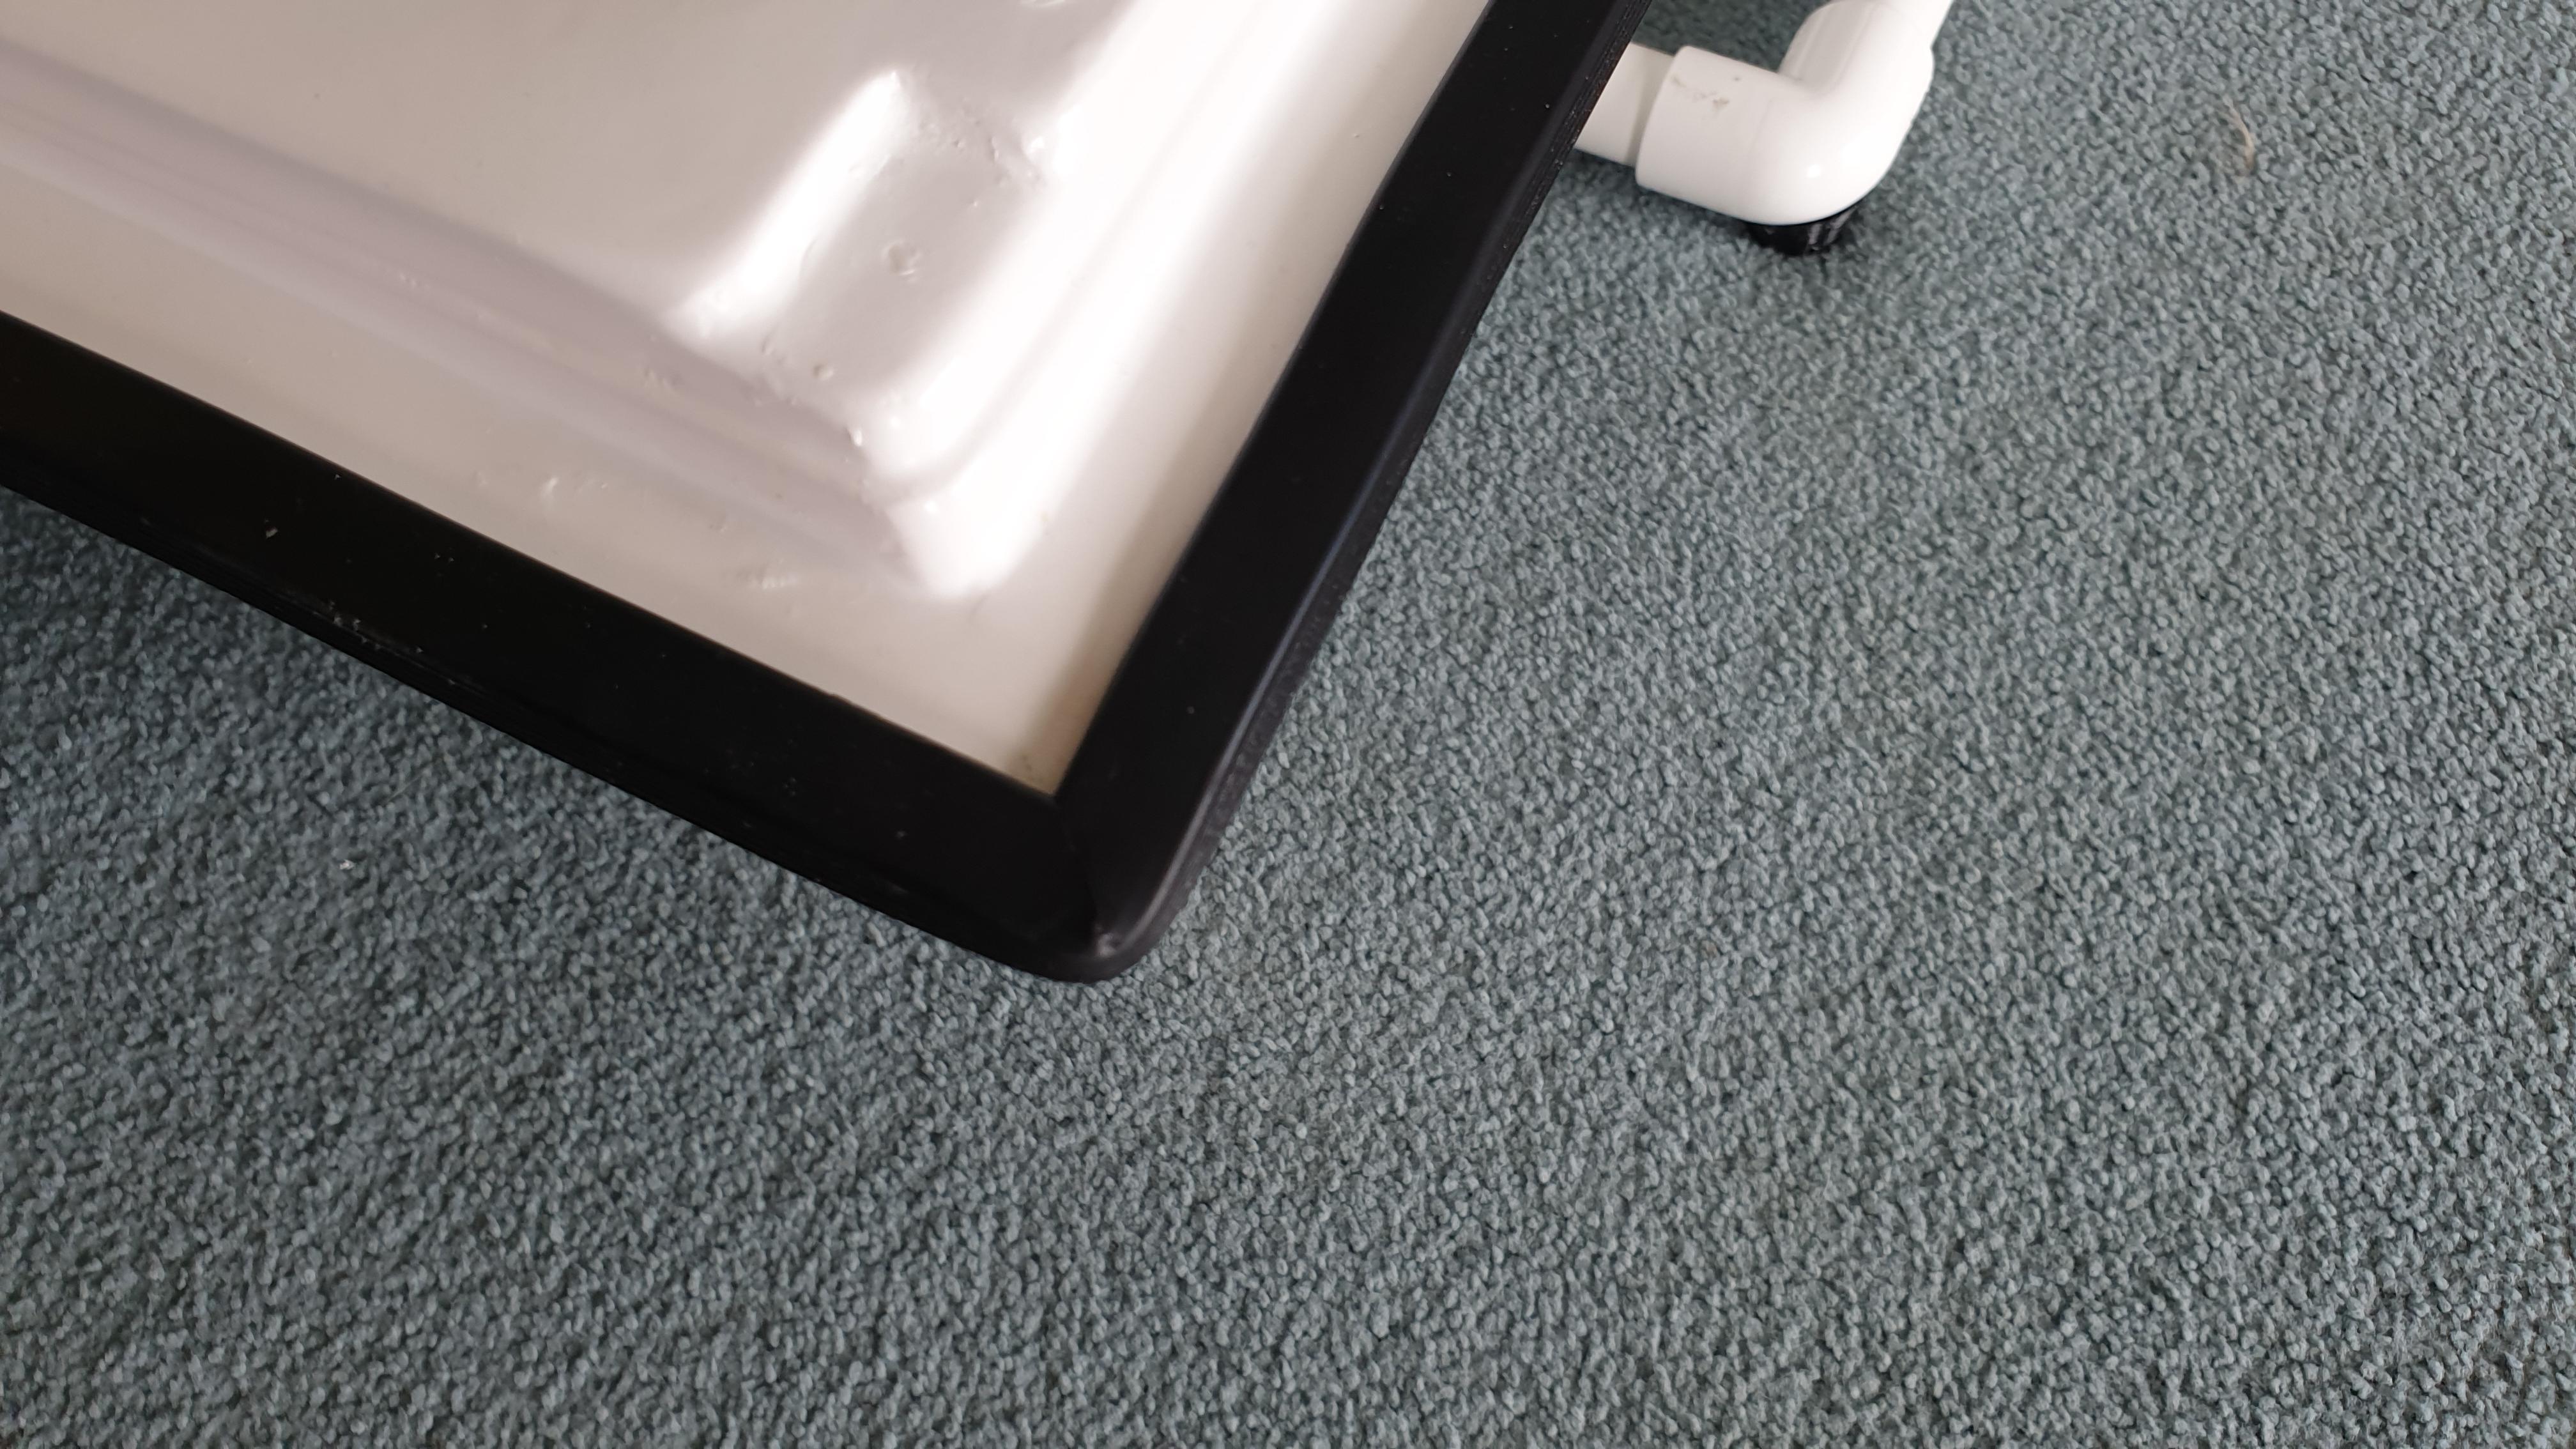
The rubber strip installed around the gunwales.

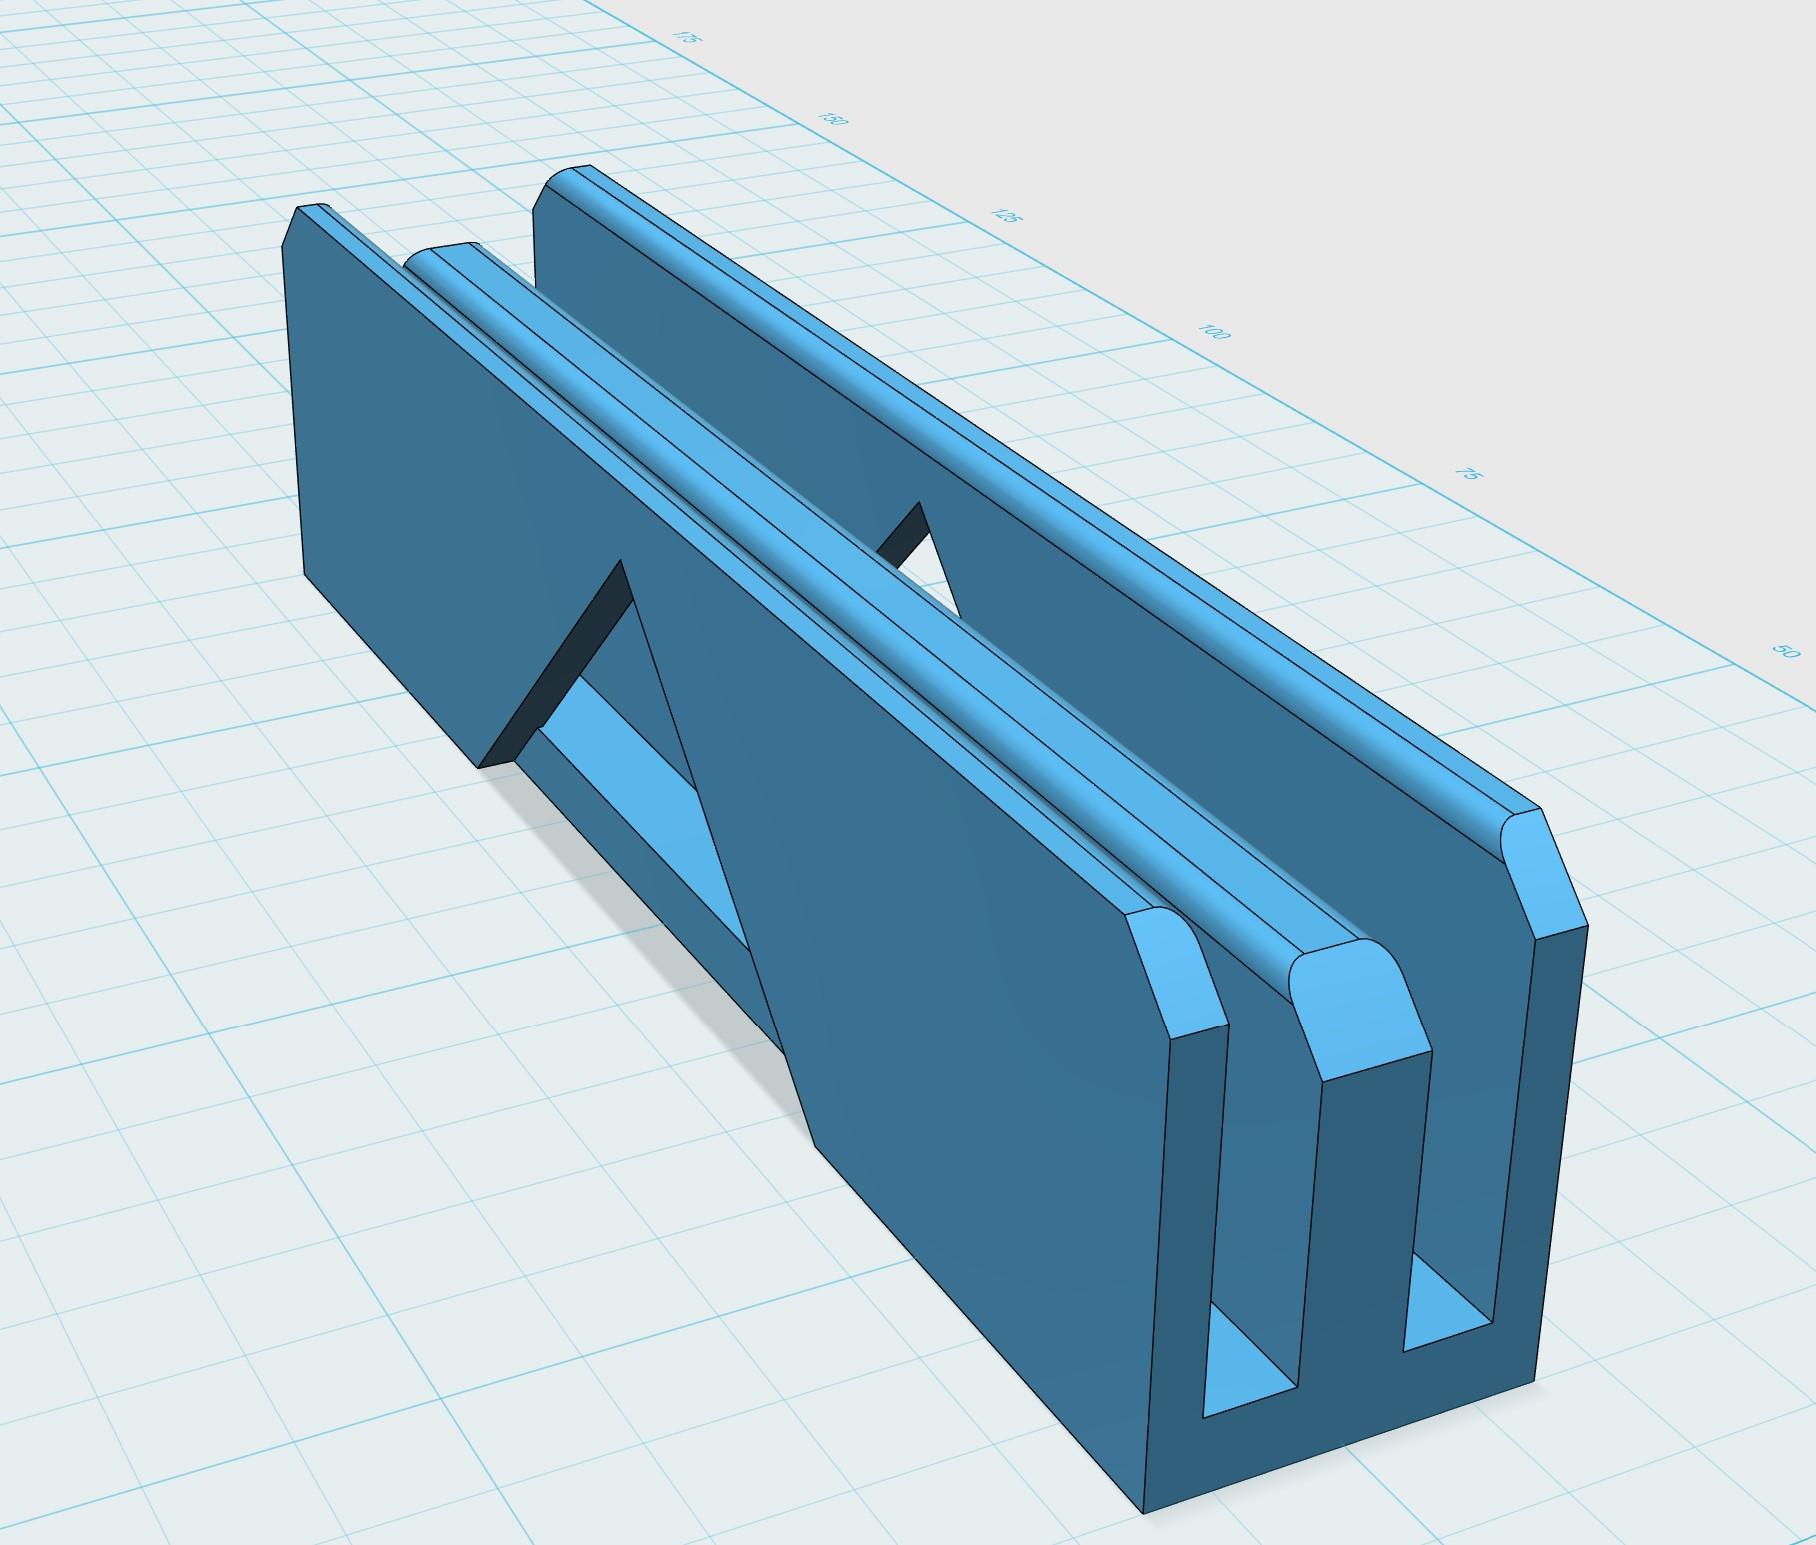
Again using another 3D printed jig to cut the 90 deg. corners.


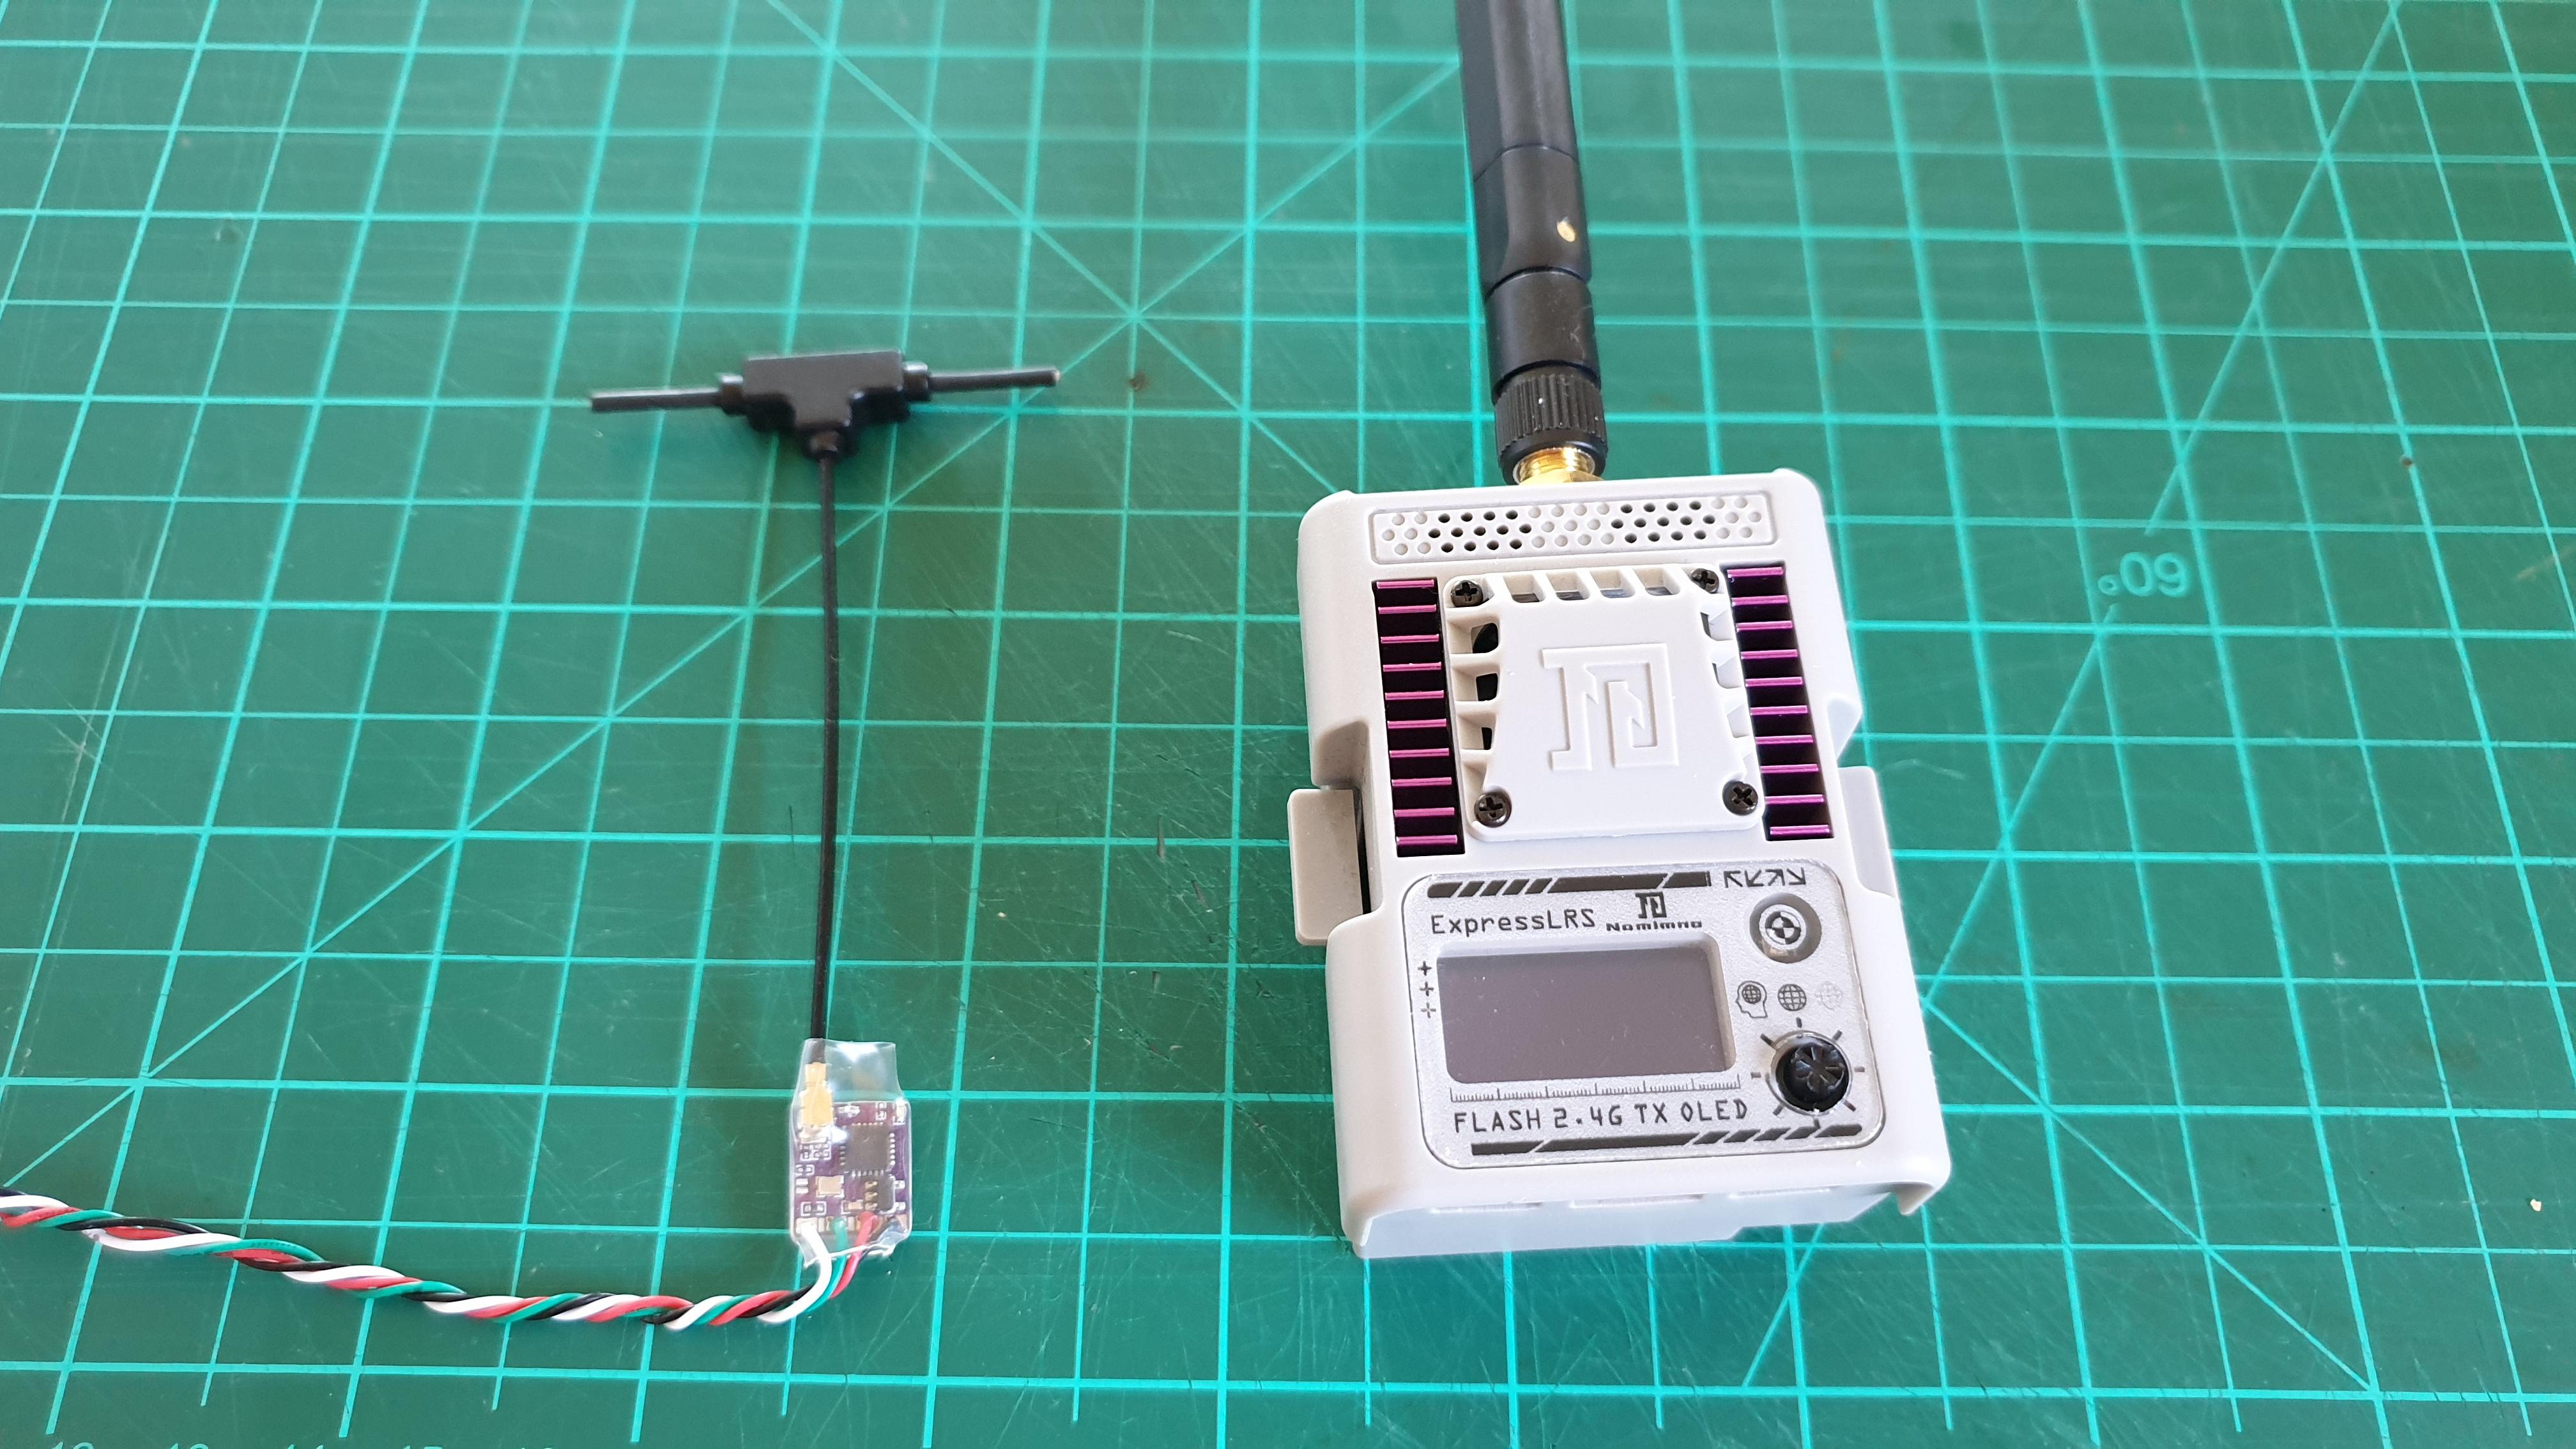
In the old boat I used to have radio issues if I went down to restaurant past the jetty, so I have fitted one of the new ExpressLRS radio systems to try out.

The receivers are tiny, use the same protocol as TBS Crossfire but the software is opensource, as in Open TX, there are a few different manufactures making the hardware.
They say up to 40Km is possible in ideal conditions. (in the air)
The Tx and Rx’s have Wi-Fi on them so you can flash / update them without removing them from the model.
I won so many last year, I thought I would give you a chance, even down to lending you my battery so I couldn’t take any video.
Some tips for next time, charge up the camera batteries and don’t film to much sky and be nice to the judge.
Well deserved Pred!
Nice video Kermit.
It was good of you to give us a lesson on what could go wrong.
From the words of another polly, PLEASE EXPLAIN”
When you did your walk of shame to the other side of the canal, in your video, you showed poor Dave’s boat on the shore and laughed at his misfortunes after he had tried to rescue you. but you didn’t show your boat in the same position that was there for most of the morning. – FALSE NEWS
P.S. But there was a lot of laughter down our end when someone yelled out – the green boat ashore again! (not me)
I was thinking a nice fluro slimy green colour.
-
AuthorPosts