Forum Replies Created
-
AuthorPosts
-
Port side deck strip now fitted & I’ve started to tidy up the deck ready for refitting.
All the safety rails & posts have been removed along with the majority of the deck rigging fittings. A quick sand down & tidy up and the deck should be ready to go back on (and hopefully not leak!!).

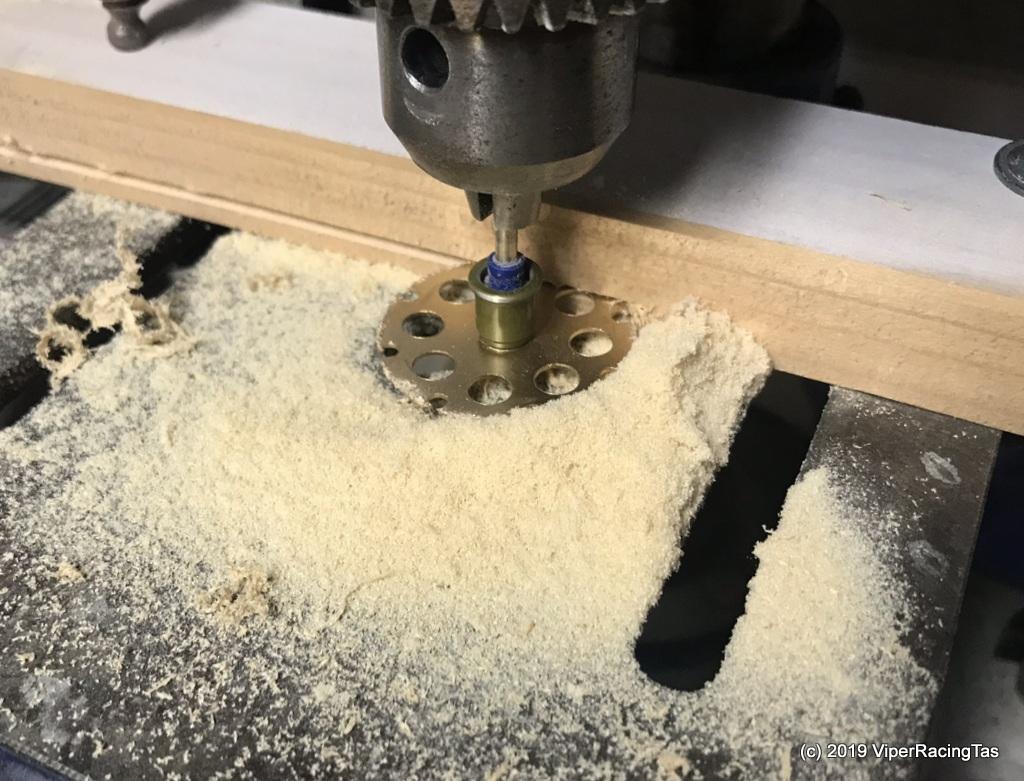
Got the Plank Strip cutter up and running today. Ended up with a Dremel timber cutting blade fitted to a Dremel Ez Lock quick release mandrel.
Mounted it in a drill press rather than the Dremel and then just a matter of setting the plank thickness as the gap between the blade & drill plate and using a pine block to keep the timber pressed against the blade while cutting.
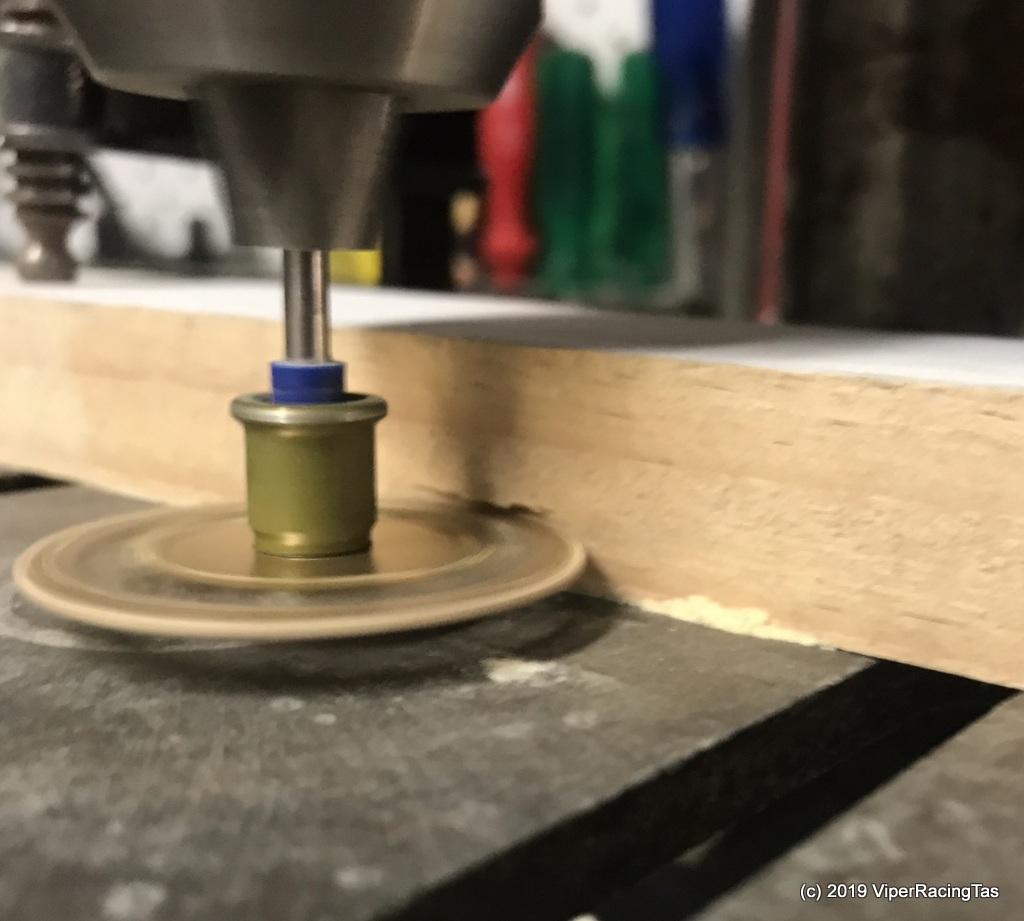
4mm x 4mm strips are required to mount the deck as there is not much clearance between the hull & the safety rail posts. As long as its well epoxied & sealed all should work out OK.
Starboard strip has been fitted & epoxied, now for the Port side & the stern
Thanks for the excellent video Gerald.
Certainly a fine turnout by the Marine Modellers Group of superbly detailed models at the Western end of the canal today, must agree that we were a bit light on at the Eastern end but fun was had none the less.
Apart from the at times very lazy wind it wasn’t a bad morning for mid winter in Southern Tas.
Man, what a beast, you will blow all the topsoil away when that takes to the air.
Continuing right along with the build,
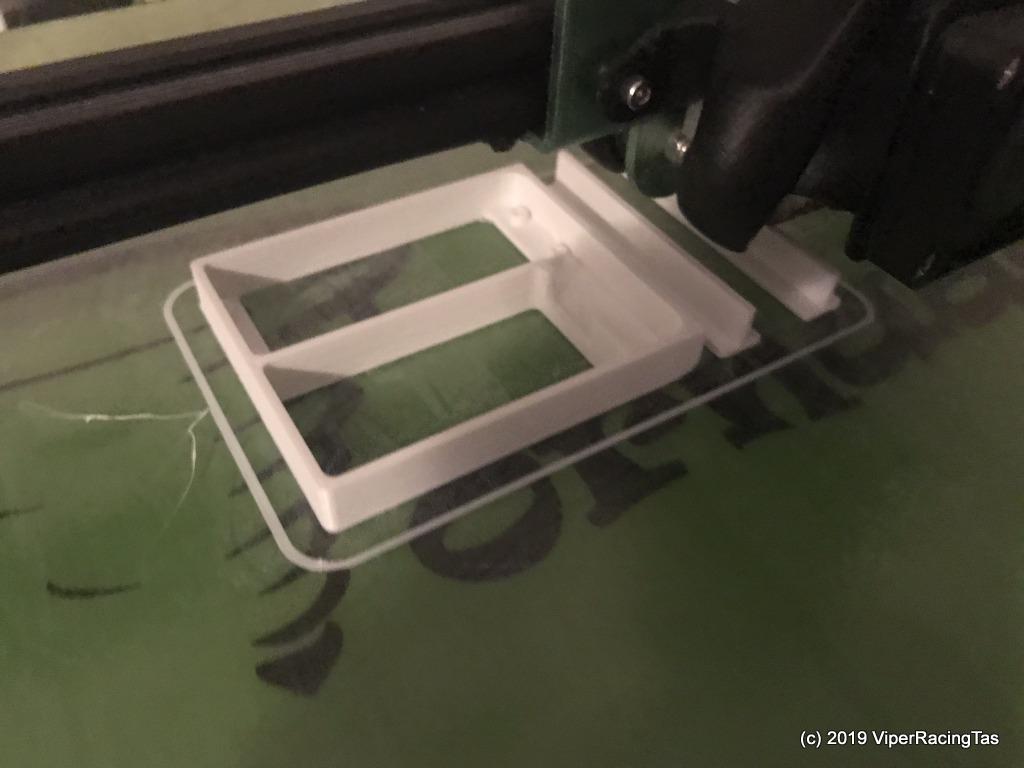
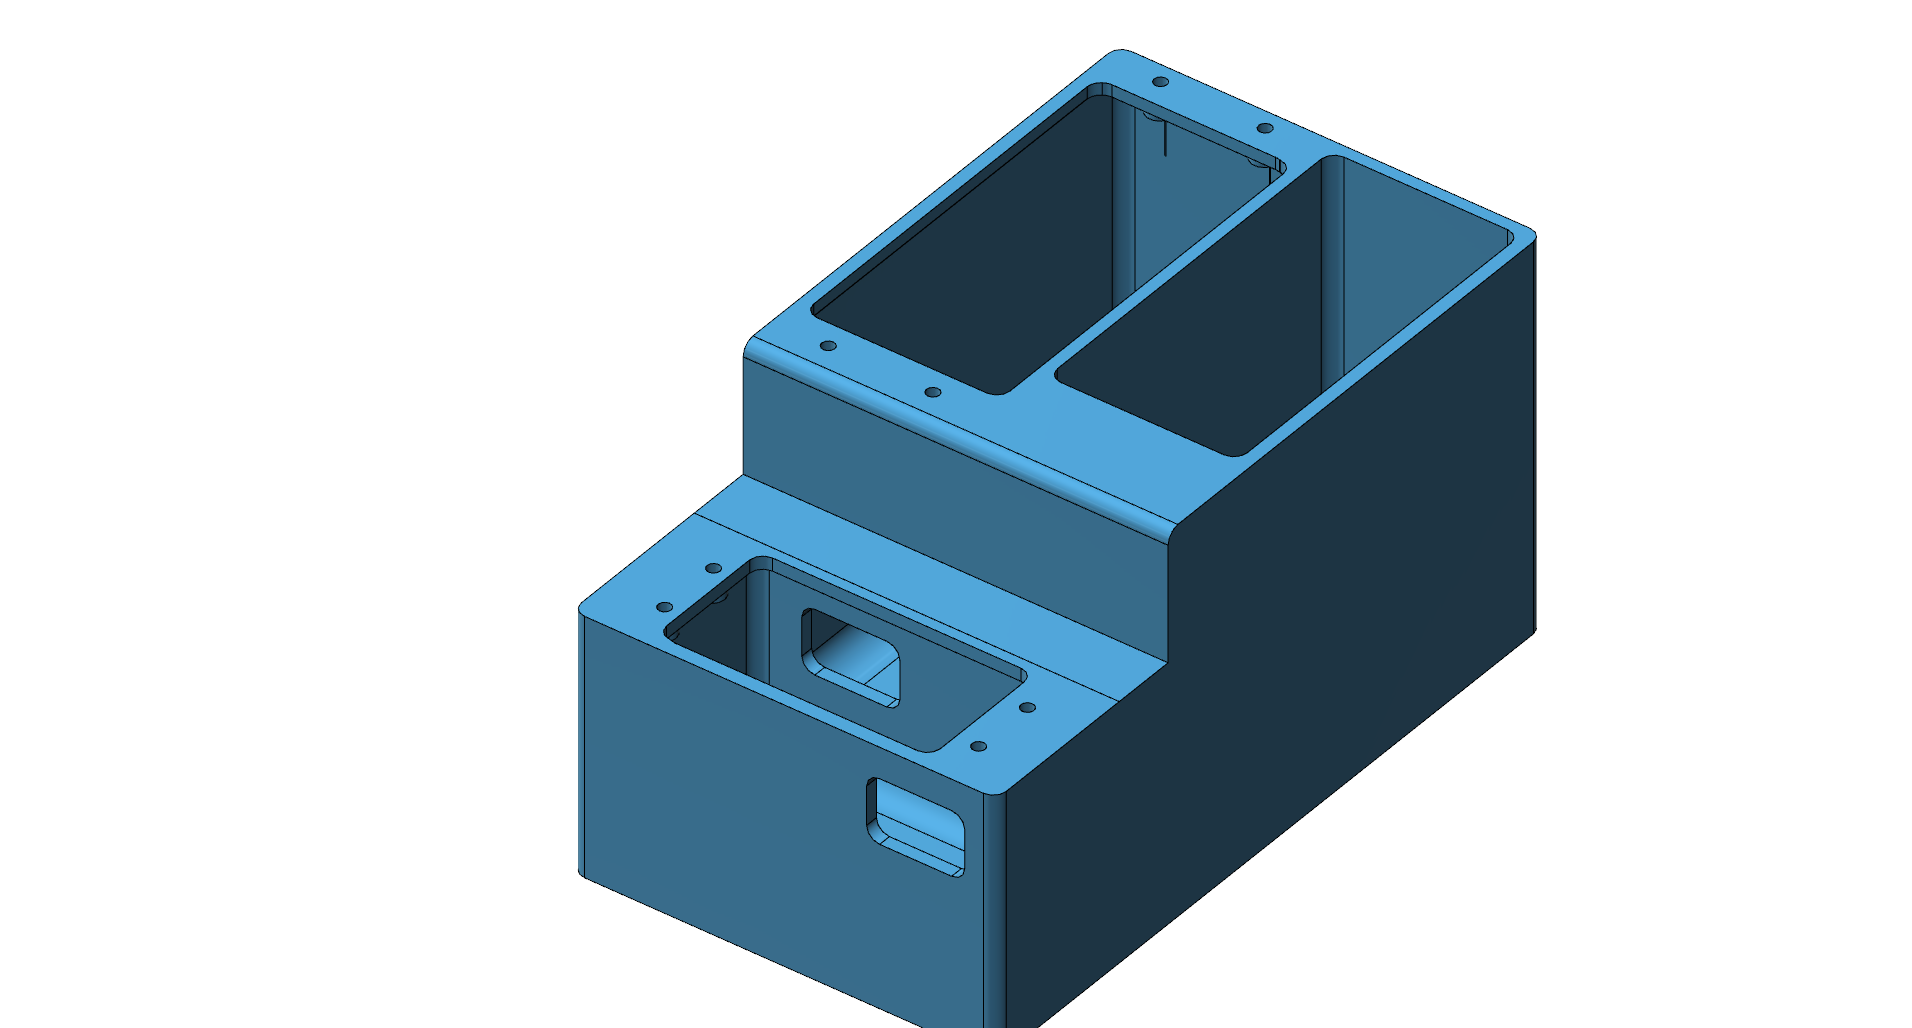
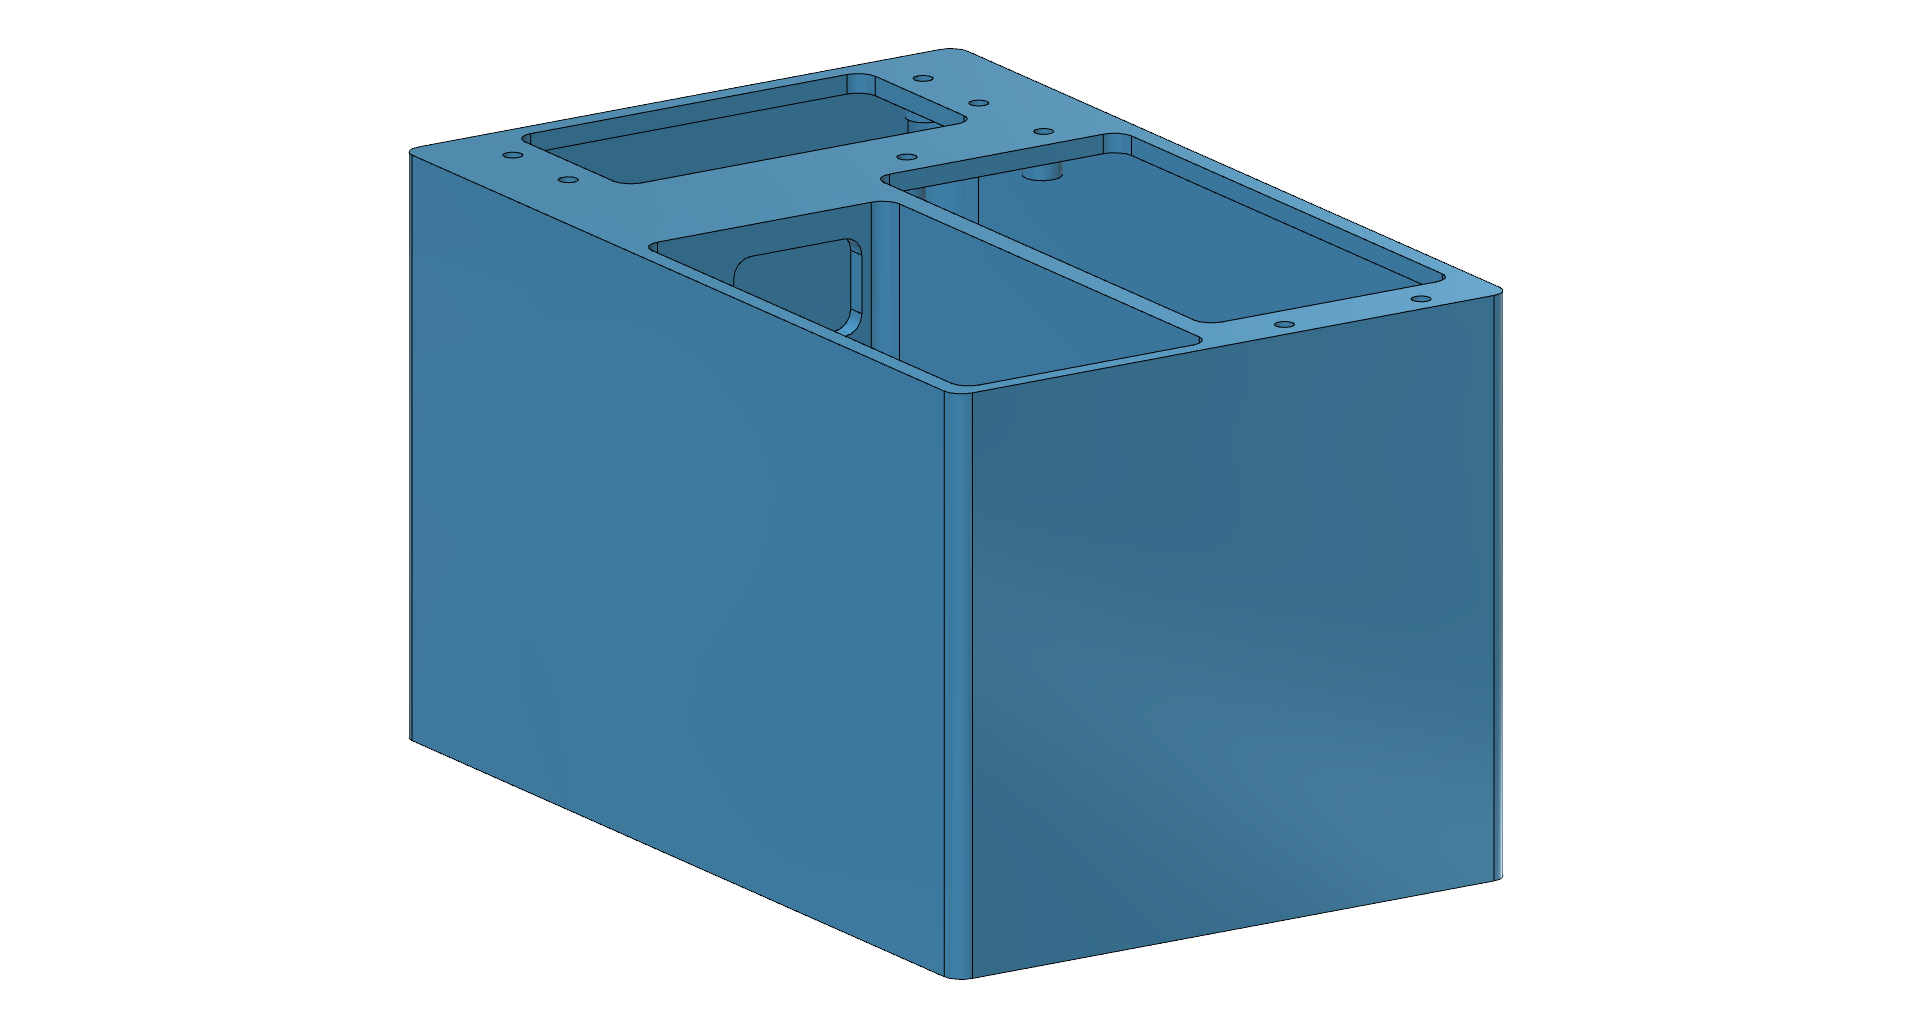
Servo Box in the midst of printing
Note the two support bars for the stepped rudder servo section.
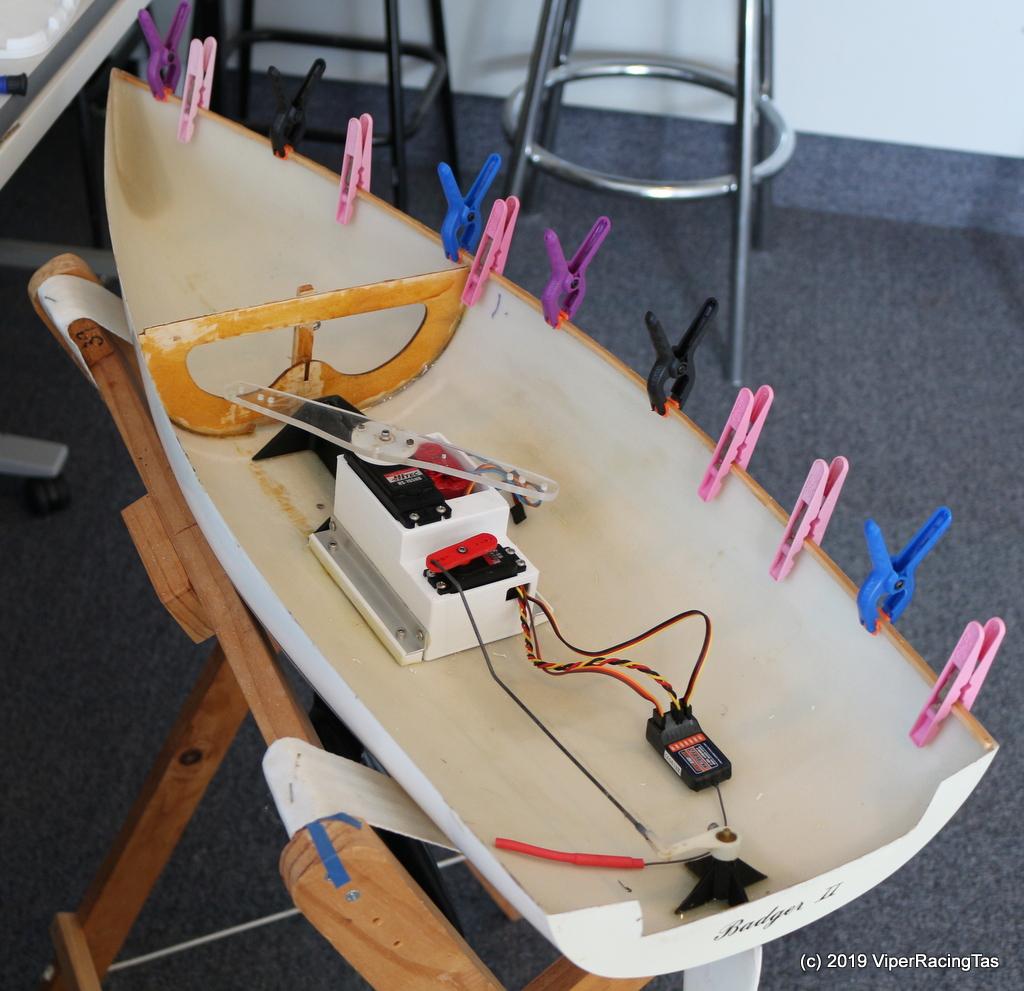
Servo box & mounts installed, just sorting out the timber to re-attach the deck
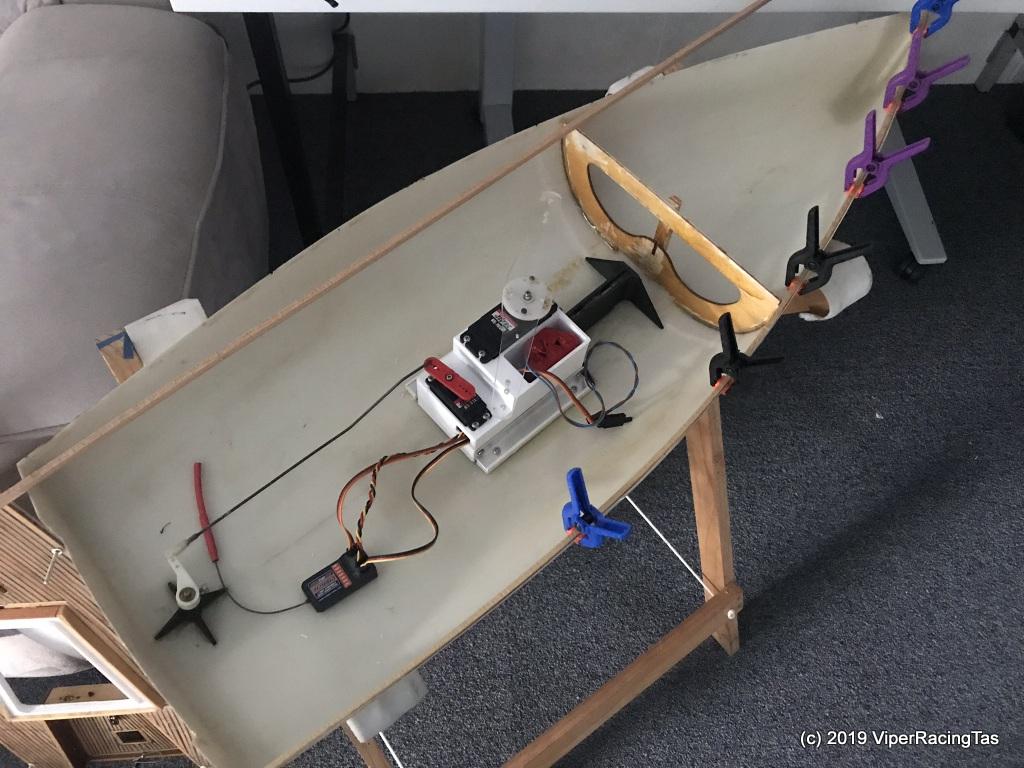
Once the deck is reinstalled the RC receiver will be relocated under the centre of the rear deck well out of the way of any water that may splash in.
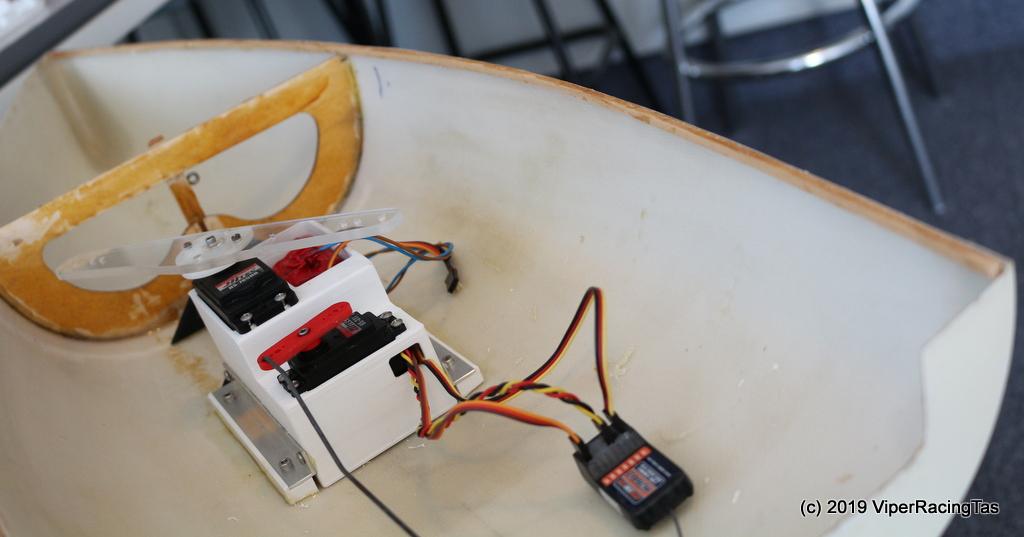
Close up of Servo Box & Mounts.
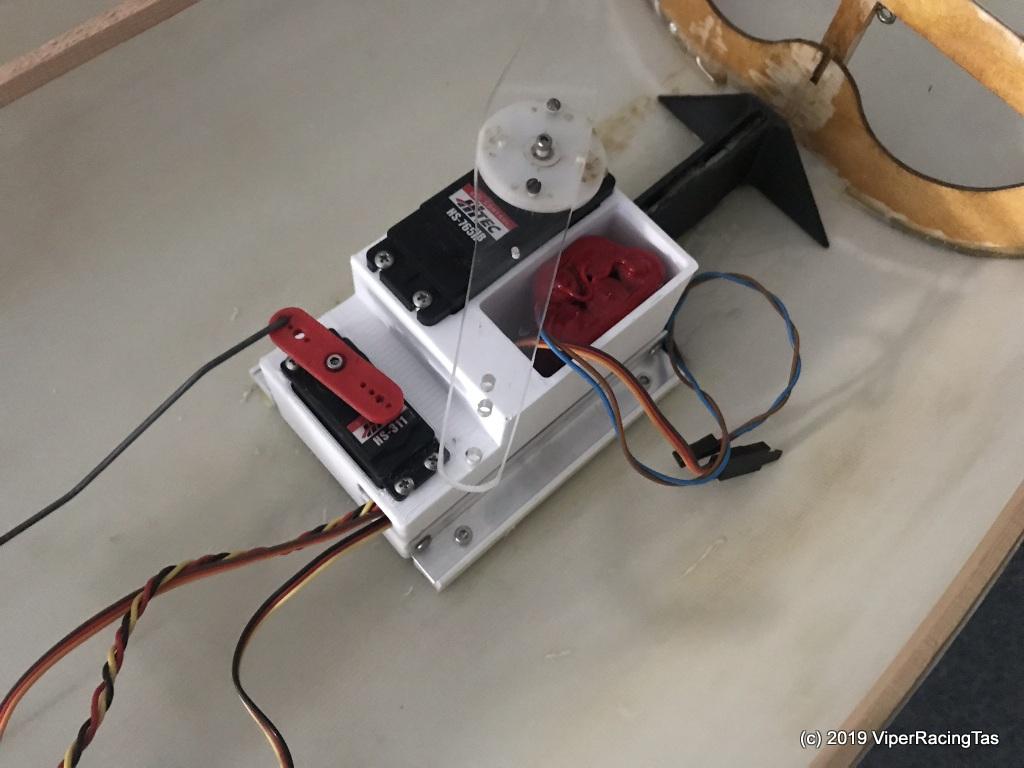
The Servo Box mounts are 12mm x 6mm x 110mm 3Dprinted rails with 3mm Nyloc nuts moulded into the bottom. These are then epoxied into the hull.
The 12mm x 12mm x 110mm aluminium angle is epoxied & screwed to the Servo box & then screwed to the mounting rails with 4 only 3mm x 10mm Stainless Steel Cap Screws.
This makes for easy removal of the entire servo tray with everything intact by just removing the 4 mounting caps screws.
Need to make up a timber strip cutter in the morning to rip the deck mount strips down to the correct size then the deck refit can start.
Can’t answer the question about my hair as even then I couldn’t see the top of my head however way back then (2014) the onboard video was rather rudimentary and the actual video recording was all done on the Ground Station.
That camera is still working and is currently the auto switch reversing camera on the Axial SCX10 Rock Crawler.
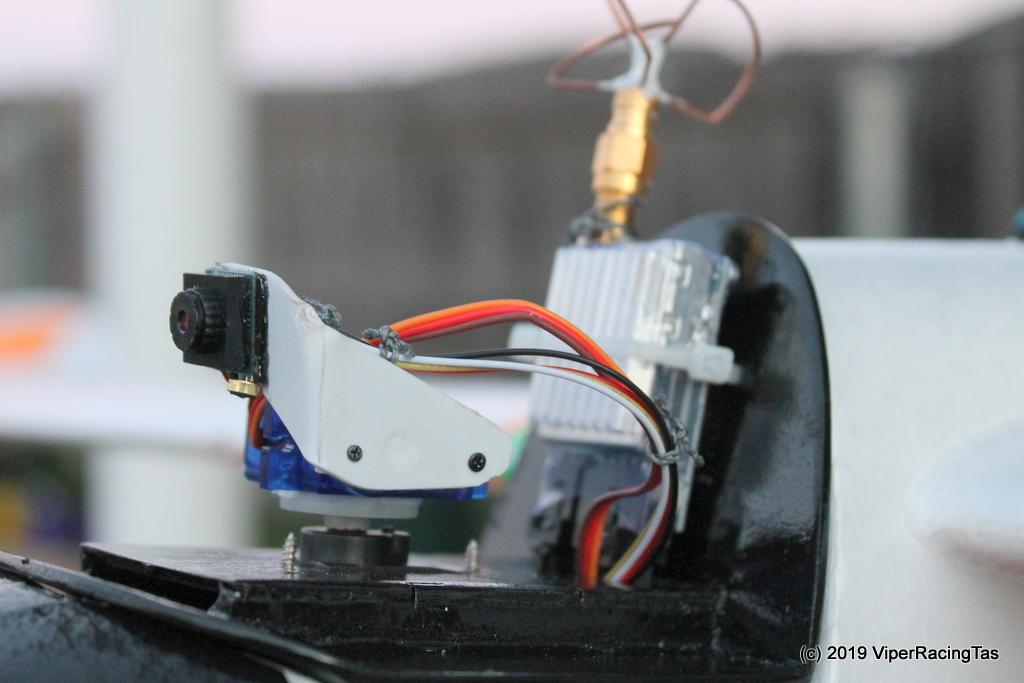
I did manage to get the Bix 2 airborne on a couple of occasions with a GoPro 2 installed on a great big CF Pan Tilt (which I still have). Will try and find a pic or two & maybe an old GoPro video. This was one of our early attempts at in air recording rather than using the Ground Station.
Things have changed a lot since, but even way back there I had Pan/Tilt control on the camera.


There were trees (that Chris was always flying around, through, over, under etc.), just that they were further up the hill, there were heaps of fences but the paddocks were much larger and the landing strip was flat for sure but very bumpy so ALL take-offs were hand launch (you learnt how to do it or stayed grounded) and it was generally very windy (but at least it was constant in speed and direction).
And of course there were cows, lots of cows much like The Farm, and not to forget the model Helicopter flying field only a couple of paddocks over.
Yes, an ideal place to learn to fly.
The ways of the world (according to the frog) are strange and wondrous things, just a shame how the truth of it all gets lost in the telling!!
I think his avatar may explain a lot, but we love him just the same.
No worries Tug & welcome to the forum.
I made a slight stuff up with the servo tray so am just in the process of printing another (hopefully correct this time) one.
This time I remembered the step down for the rudder servo.
I had Ron B (of Ron’s Reef fame) over this morning with his V2 Mt Gay 30 that he is also in the process of rebuilding. Have supplied some ideas & printed a couple of bits for him so hopefully we will have 3 on the water before not too much longer.
Ah yes, Bad Angel & his drone attacks, too much spare time on his hands methinks.
Great day by the sound of it, thanks for the report Col.
Got the servo box designed & printed (10 hr print) yesterday so hopefully get the servos fitted & all reinstalled today.
If I got the measurements correct there should be room for both the sail winch & Rudder servo, as well as a 5 cell AA NiMh battery pack.
Keelbox & support bracing is next on the list for 3D printing.
Design is complete & printing now underway.
Keelbox & bracing to go over & secure the alloy keel fin to the hull
Once this is epoxied in place the Servo tray can be completed & installed then I can think about refitting the deck and making sure it is sealed this time, which is where the job started
Update:
Keel box now installed.
The keel fin has now been fibre-glassed into the hull & reinforced with woven glass mat and the forward bulkhead (in fact the ONLY bulkhead) that sits under the mast has been reinstalled & epoxied into place.
Keel fin & forward bulkhead
Next job is to finish off the design of the new 3D printed Servo Tray and get that fitted so I can see where the keel fin bracing needs to be installed.
Yes Kermit, the 3D printer certainly makes modelling a whole lot easier & quicker.
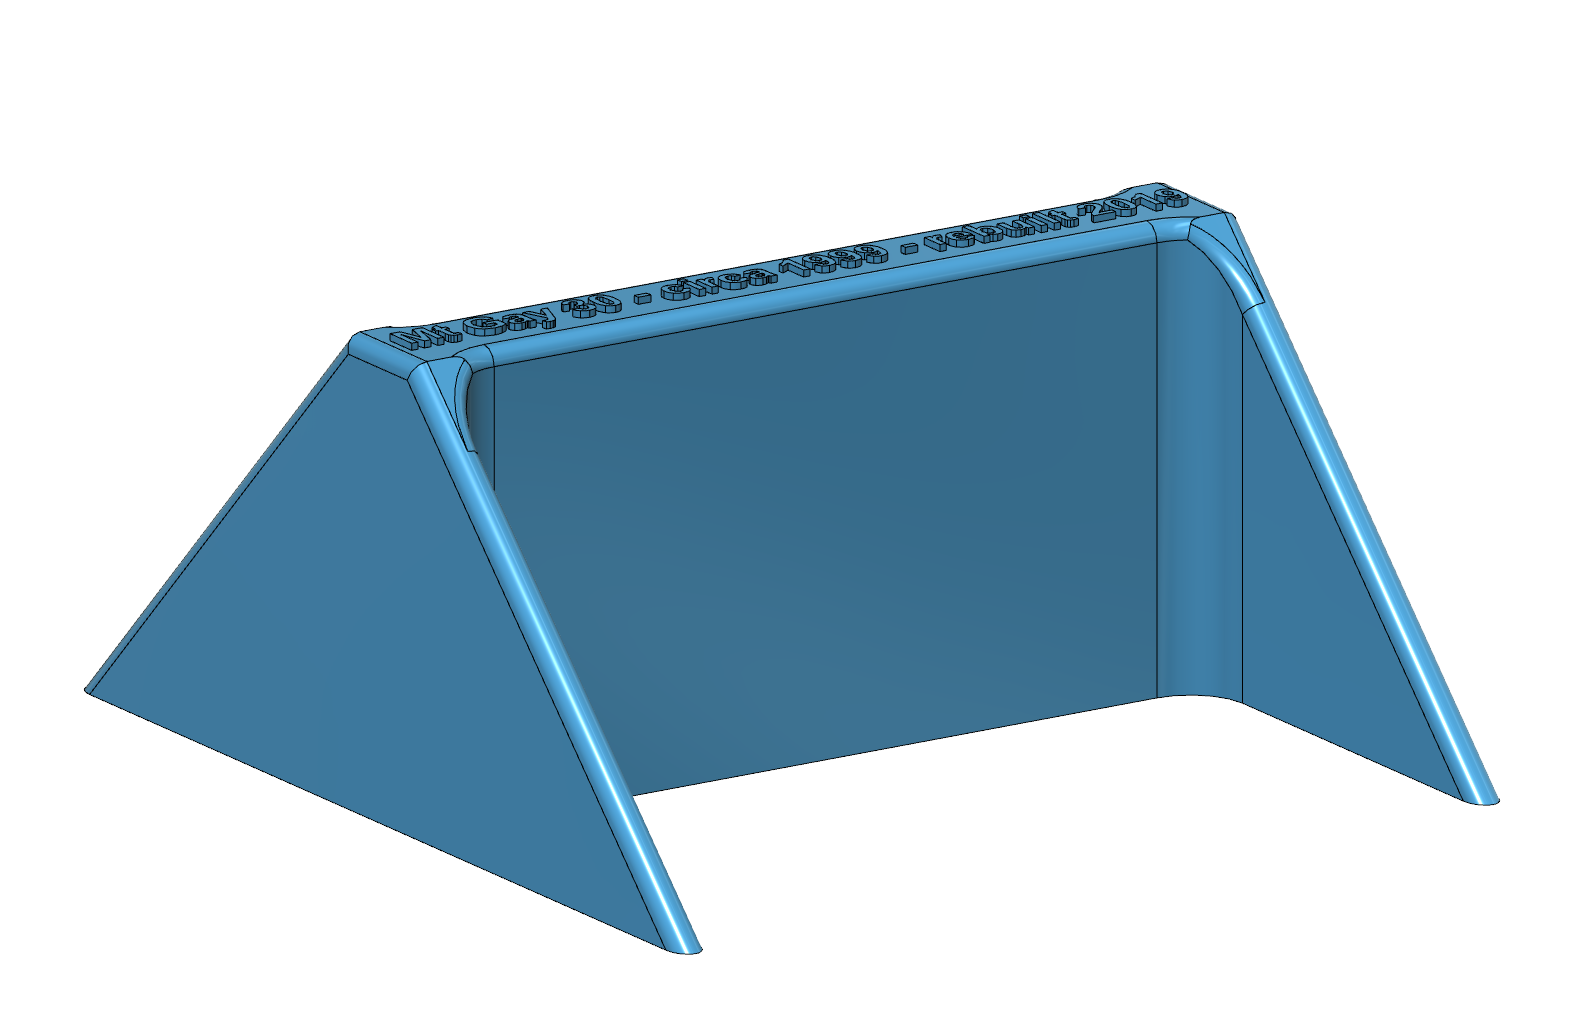
Seeing as I’m stuck inside on this cold, wet & windy day its a good time to get things done so moving right along with the repairs the new rudder support post has been designed, printed & fitted to the Badger II.
The 3D design ready for printing
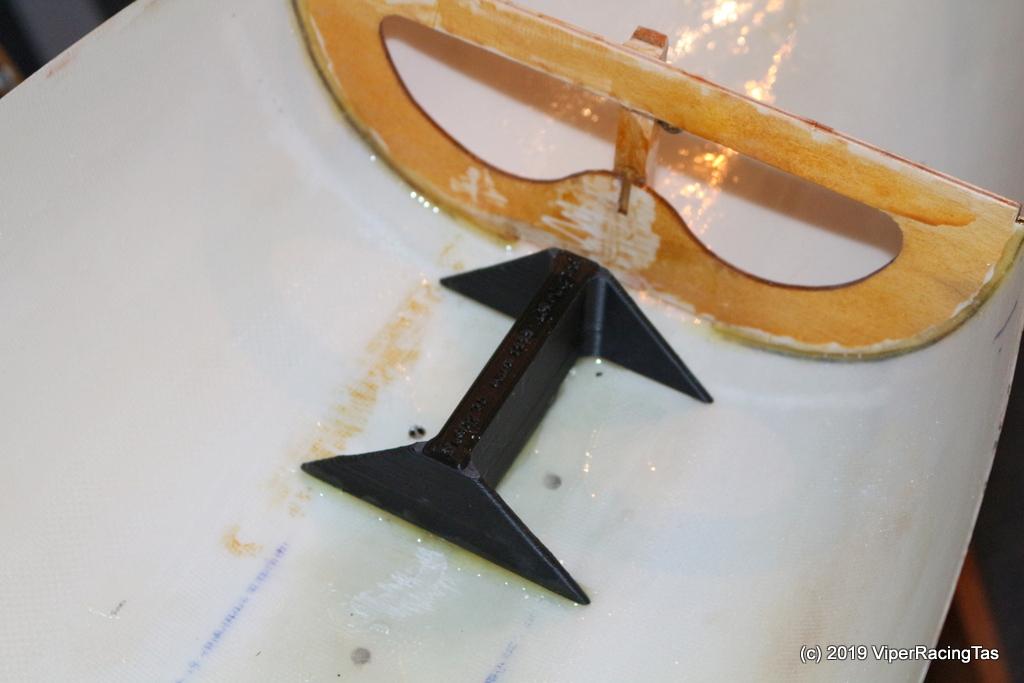
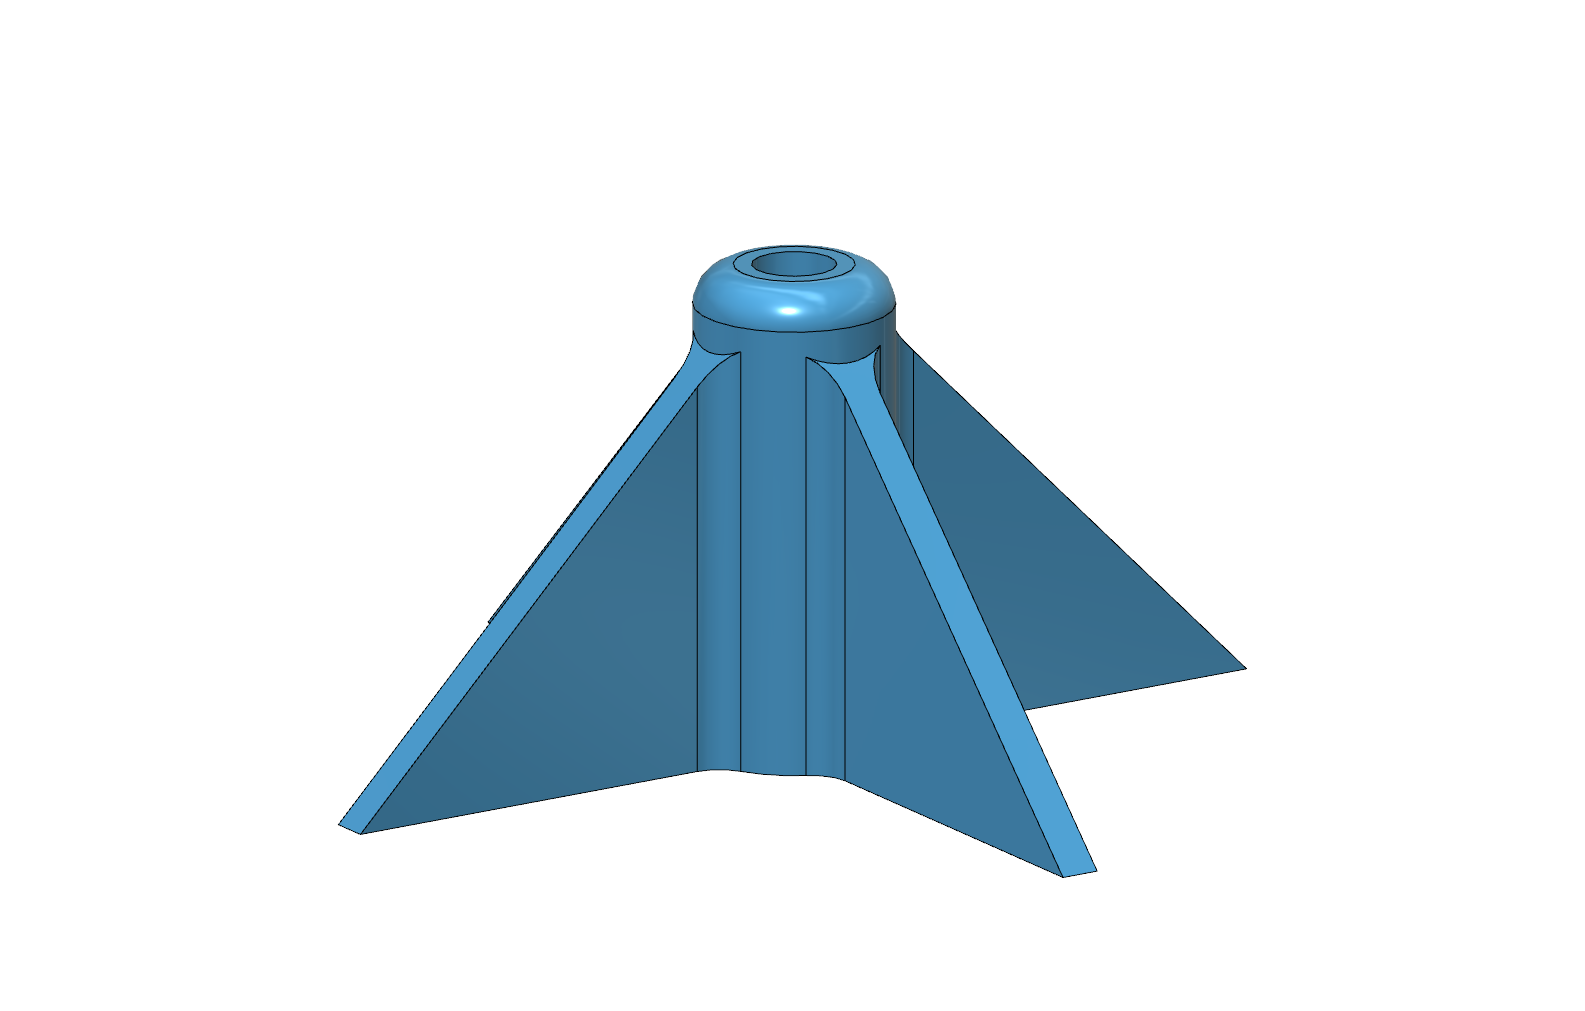 New Rudder Support Post- Printed & epoxied into place
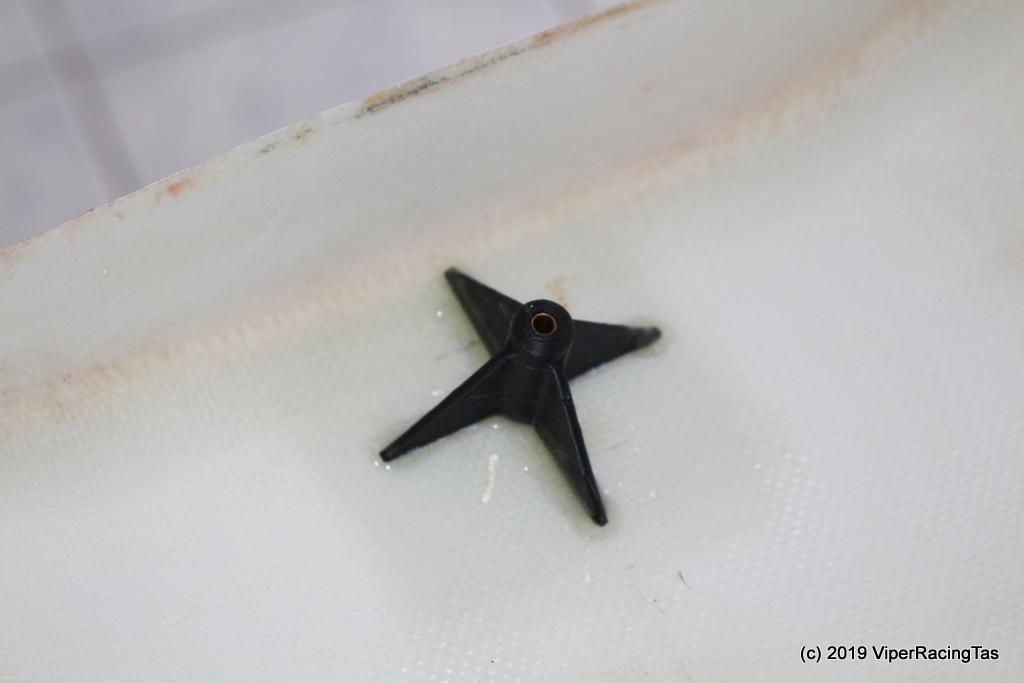
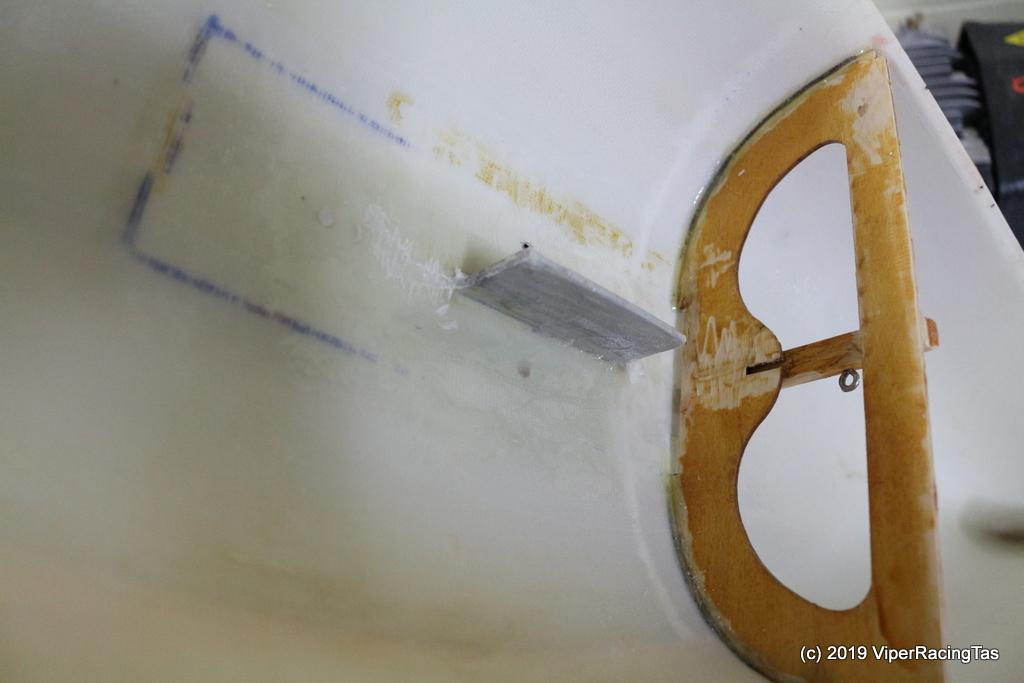
The original Rudder mounting block that had come unstuck from the hull

-
AuthorPosts