Forum Replies Created
-
AuthorPosts
-
Kermit, I didn’t vote for you because I didn’t get my Sunday roast last weekend.
But congratulations anyway!
Yes Kermit, you showed plenty of talent today?
The Weed DIDN’T Beat Us!
What a great day it turned out to be considering the weather forecast.
Light winds, plenty of sunshine early with only a small bit of weed floating around.
A good turn-out of Marine Modellers but looked like only three “Bloaters” in attendance. (Only saw two yachts on the water)
Scotty had his new mono nitro boat, had a few teething problems early, but Scotty soon sorted them out. (Sort of)
There was plenty of slower boats to keep us occupied and we all had a good laugh at Kermit and Co. running aground again.
Firstly, Happy birthday Mike. Good to see you running around today with your stick in hand?
And no Mike not covid, just Man Flu, feeling much better just got to get rid of the cough!
Next, What a great accurate (Except the part about me) and informative report by our new publicity officer Scott. (Some photos would have been nice?)
Lastly, Kermit, a much better video today, better length and no ducks! Only fell asleep twice.
Also, thanks for the soup the other day, but I was expecting something a bit more homemade and warmer.
Don’t forget tomorrow is Sunday so I am expecting a Sunday roast delivered by airmail.
Thanks Col.
Kermit, thank you and your dragon, I just found the soup!
Your aim is getting better, it just missed hitting the roof this time.
I’m sure I will recover a lot faster now.
So now we know the truth of where the brick in my back yard came from.
Sorry cobber mate pal, I wasn’t there today. Feeling unwell so I stayed home away from everyone.
As for your video, you were right, nothing interesting, to many ducks, not enough boats, blurry picture in picture shots and soft focus.
A five-minute video stretched out to 25 minutes??? (Fell asleep 3 times) The only good part was my Ranger 1800 flying overhead.
As for Predators – GREAT videos, good close-ups, plenty of action shots, short and sweet, no soft focus, no ducks – If there was a GMA it would get my vote!
It beats using the pencil and ruler!
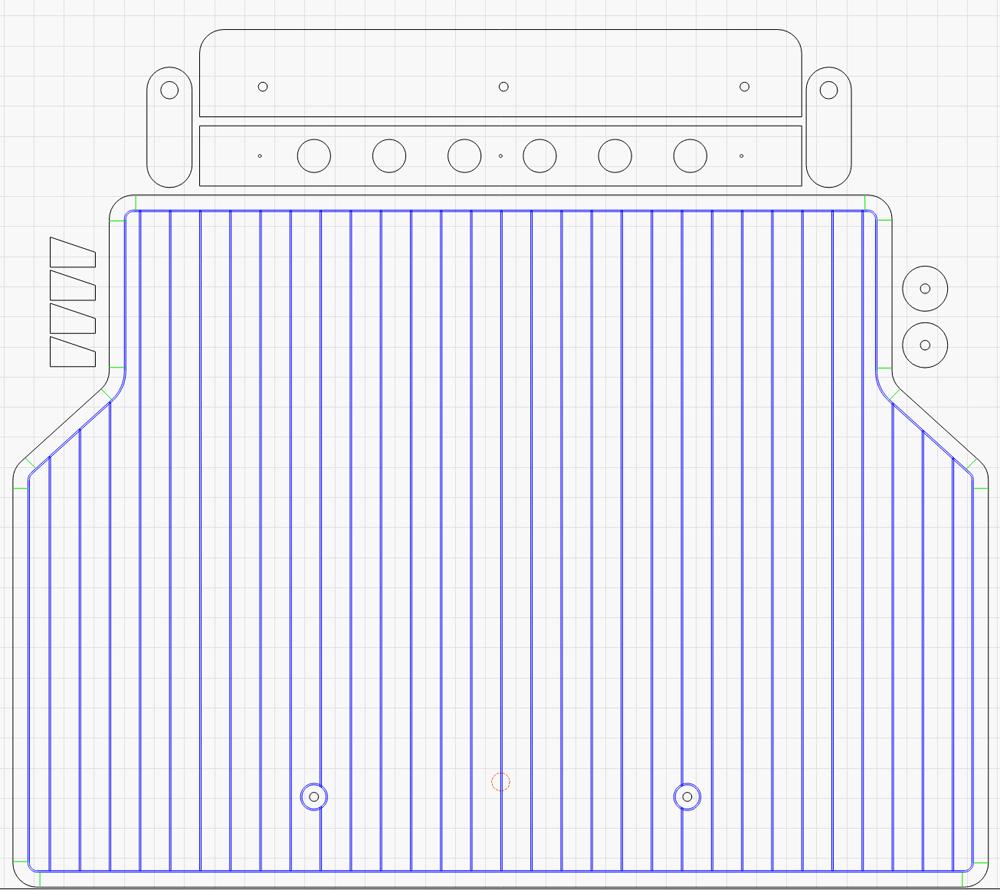
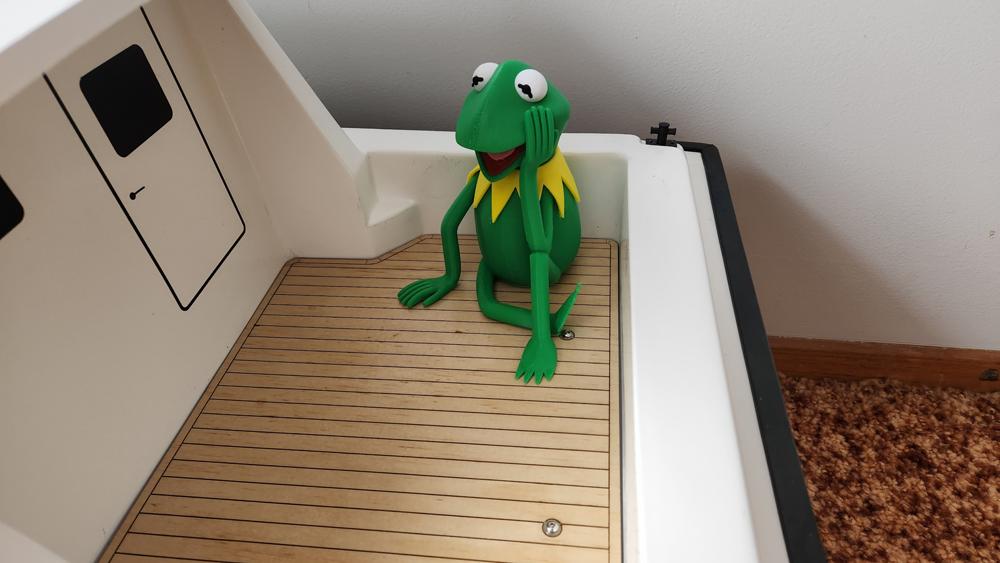
HOW TO LAY A PLANKED DECK – The easy way
The rear deck on the Cougar Cat was a piece of white plastic board.
So, onto the computer, draw a few lines on the screen.
Then a short time later, out of the laser engraver / cutter I had a nice wooden deck.
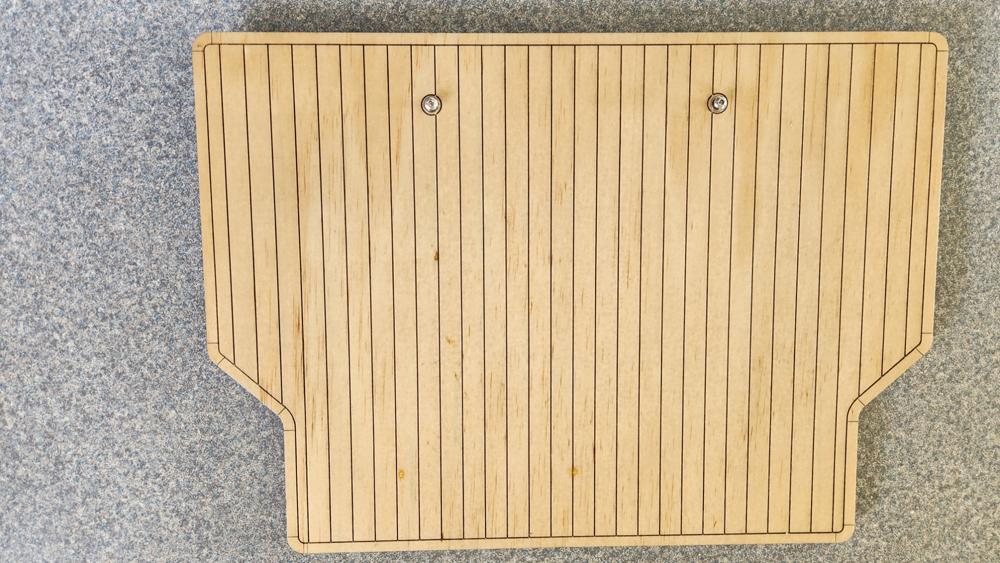
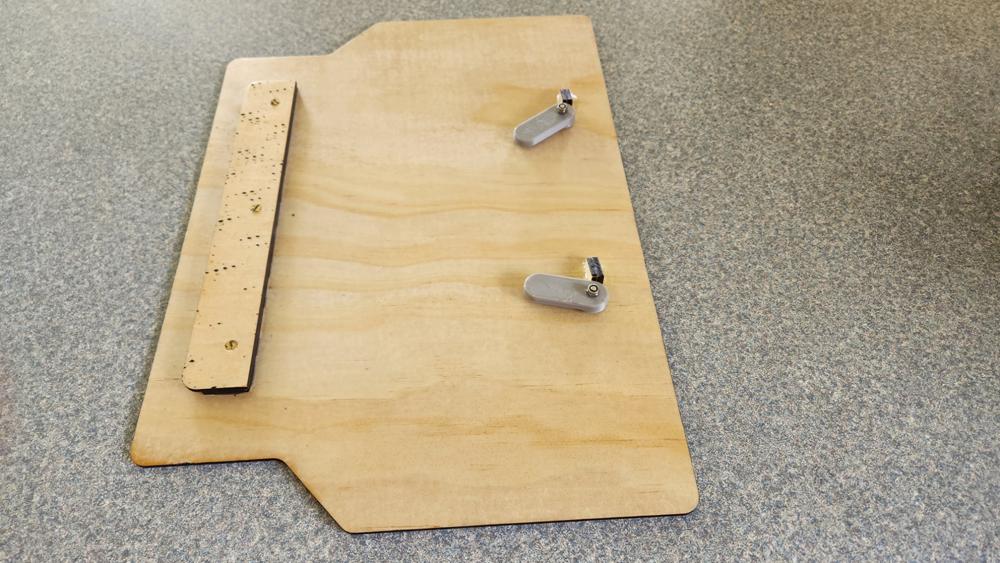
Sprayed a few coats of matt varnish on it and it’s done. (Even Kermit likes it)
You agreed with me???
Thats a bit better on the eyes.
How long did YouTube take to process it?
Interesting result Mike, but I only have two eyes and trying to watch four videos at once just doesn’t work?
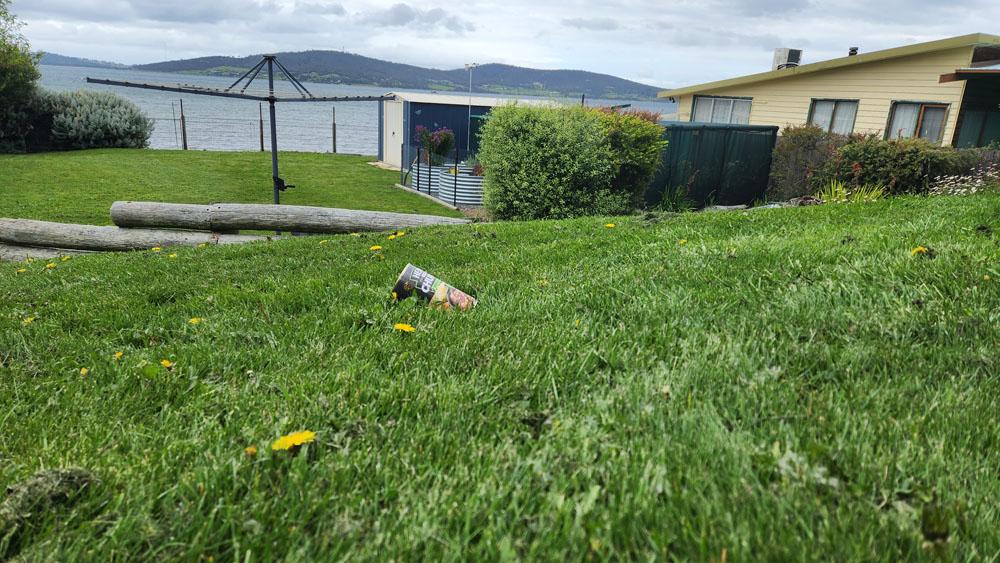
What a great day at the canal, high tide, sunshine, light winds with the only downer being the floating weed.
This stayed close to the shore, so everyone got to play with their boats. A total of 12 boats on the water.
After the boating we headed up to the end of the canal for our monthly barbecue with the “Bloaters”, but they didn’t show, we had the barbecue cleaned and warmed up ready for them.
I suppose they might have been a bit intimidated by the large numbers of Marine Modellers in attendance, but we would welcome anyone (even Kermit)!
Also, I noticed on Kermit’s video he was trying to film our boats more than the yachts (we know yachts are a bit boring). You are welcome to come down to our end anytime and film Kermit, we won’t stir you too much.
My video,
Congratulations Kermit, well deserved.
-
AuthorPosts