Forum Replies Created
-
AuthorPosts
-
Tug, for some reason (that I haven’t managed to track down yet) your post went into an Approval Pending box. I Approved it and its now posted. Kermit was having a similar problem at times and I suspect it is when you do a post with multiple LARGE photo files.
I always use Picasa to crop & resize my pics to 1024 x ?? and never have a problem. Since Kermit has started resizing his pics his problem seems to have gone away. Not sure but MAYBE.
Last night was the biennial AGM (or should that be BGM) for the Flight-line crew, well actually just an excuse for a pre Christmas party.
It was held at the abode of the Bad Angel (Ross) and his lovely wife Inger. Apart from a couple of regular flyers that unfortunately could not make it the rest of the crew (and partners) all turned up to a great night of frivolity. BA fired up his rather large woodfired Pizza oven and treated everyone to all manner of fare while Bro (John) did the honours on the BBQ cooking up a storm with everything the members had brought along.
The great food was washed down with copious amounts of various liquids (we’ll leave that there) and then followed up with sumptuous deserts of many styles that the dear ladies had brought along. I’m sure BA will post a video (he had the camera working overtime) once he gets the editing sorted.
Around 11:00pm we had the customary Fly-In with the quads and although I don’t think we broke the 2017 record we did have multiple quads in the air. Just as well they were well lit up as the night was pitch black AND blowing a gale. It’s amazing just what those DJI Phantom’s & Mavic’s can handle. Doubt if there was much useful video obtained, it was suggested that we may need an Infrared camera next time but I think perhaps we should just fly a tad earlier at least while there is still some twilight about.
Kermit (who everyone knows loves to play Dress-up) made an appearance as Santa (not sure how much of that will make it into the video though) and set about charming all the ladies (and a few gents).
Kermit also supplied some artwork (just another of his talents) to brighten the evening. I’m sure it will end up adorning the wall of our Humpy @ the flying field.
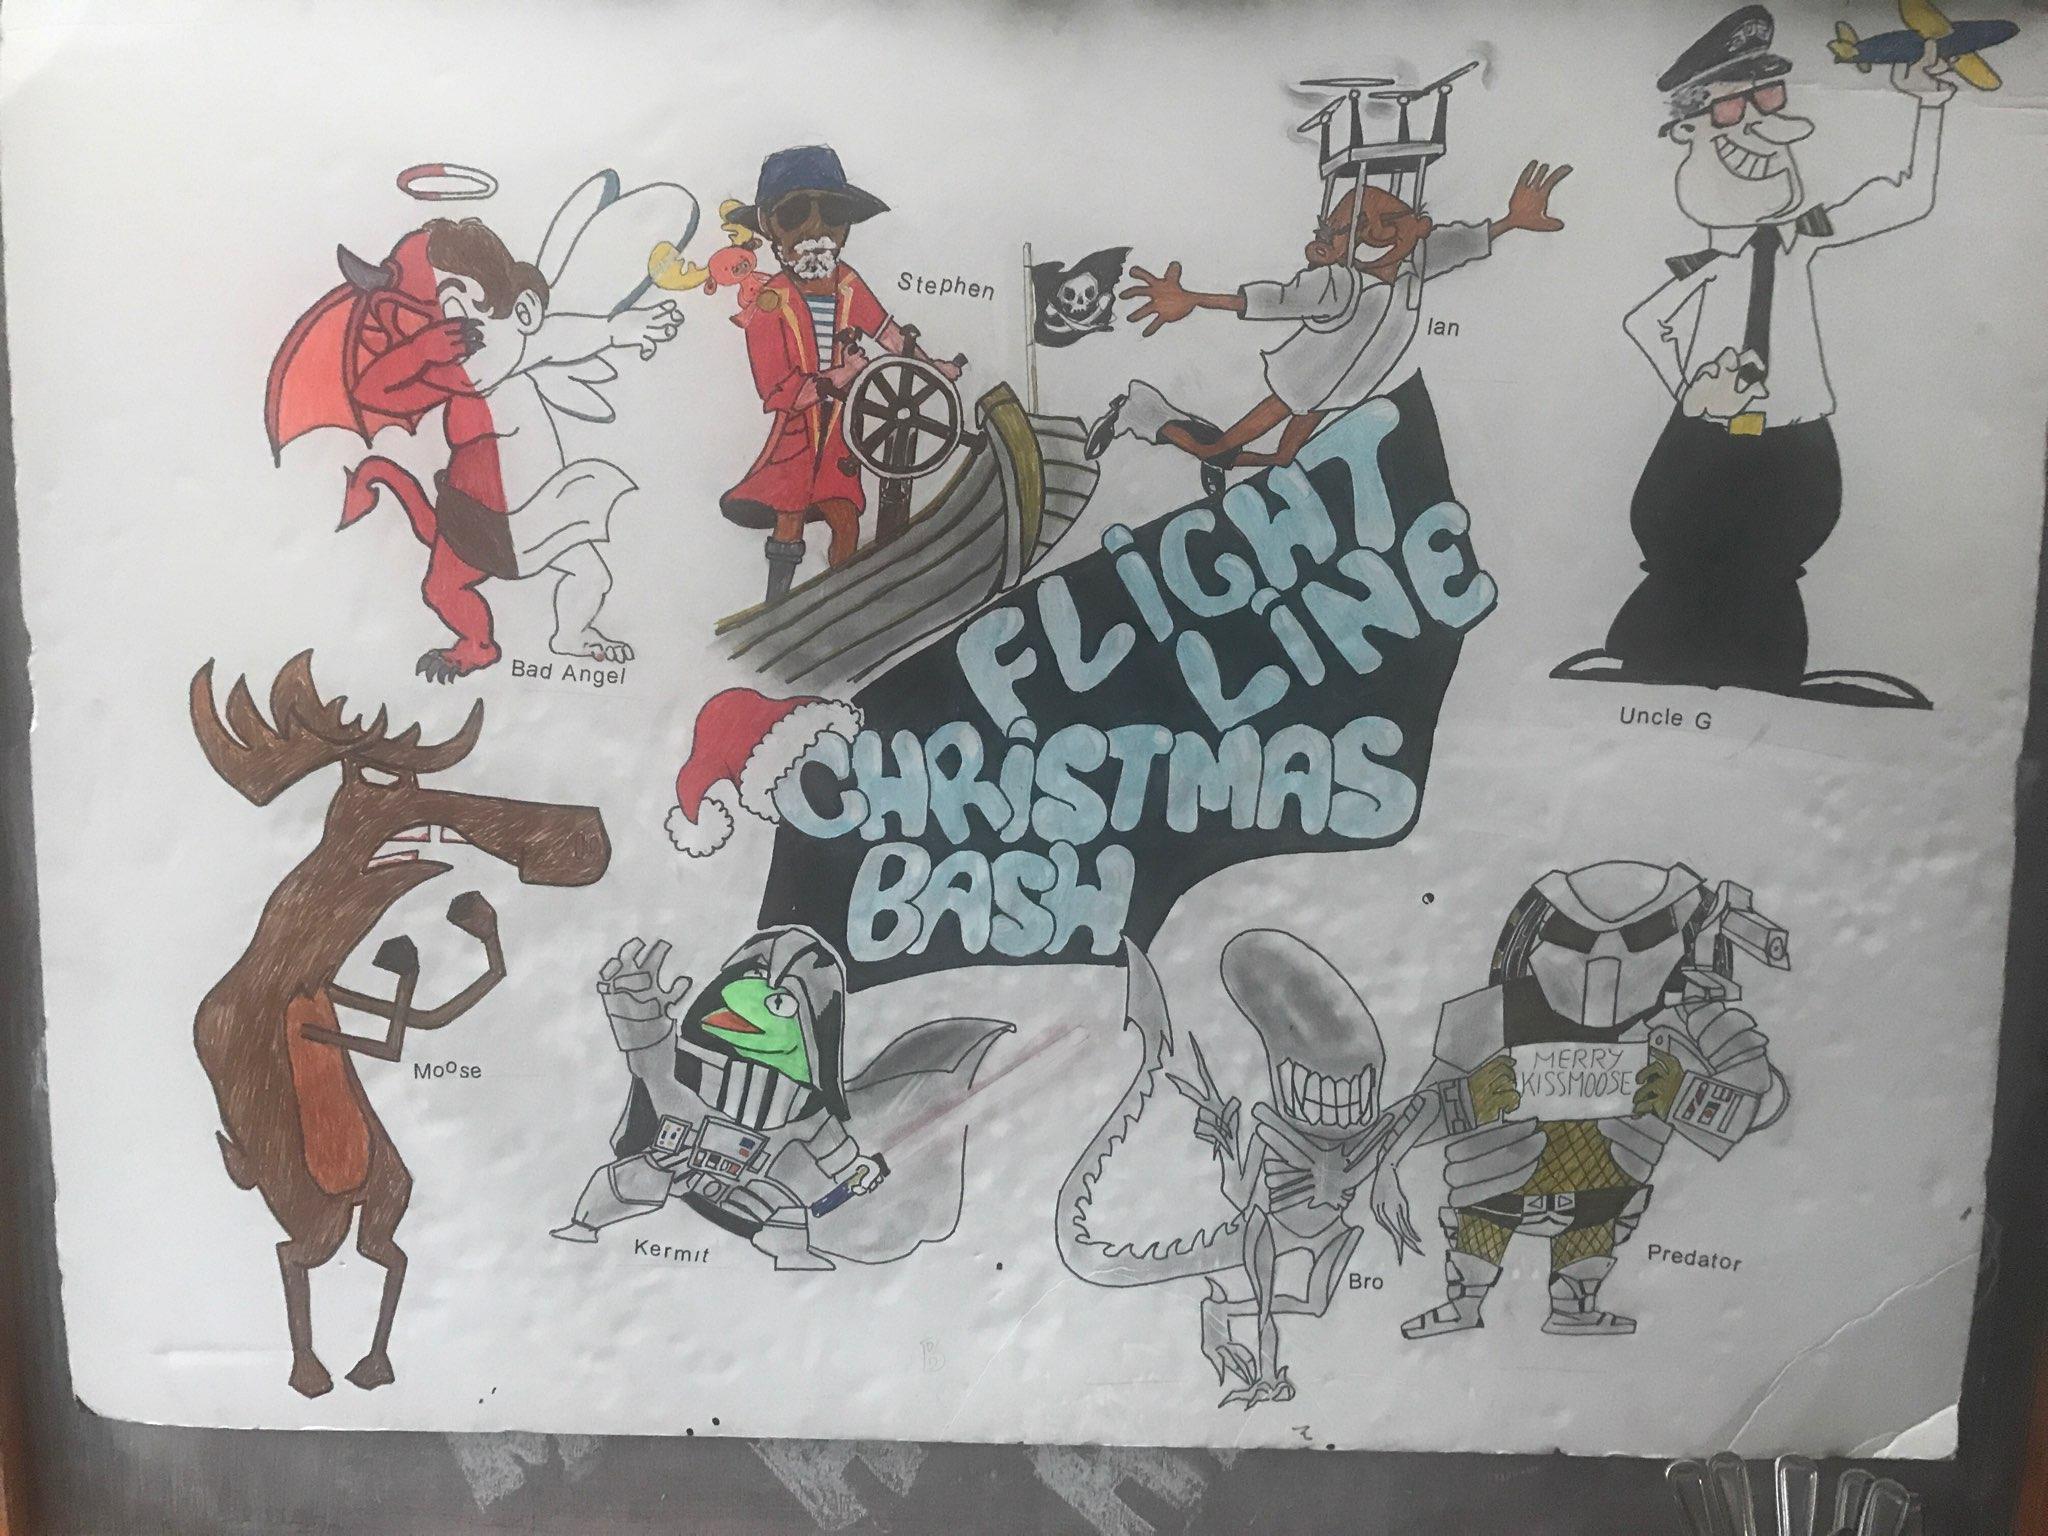
I guess I better have a look at my quad video and see if any of it is useful but like I said earlier I’m sure the Bad Angel will supply a suitably edited video of the evening for everyone’s entertainment.
Footnote, no video worth publishing from the DJI Mavic Pro Platinum, they work well in low light but not well in NO light!!
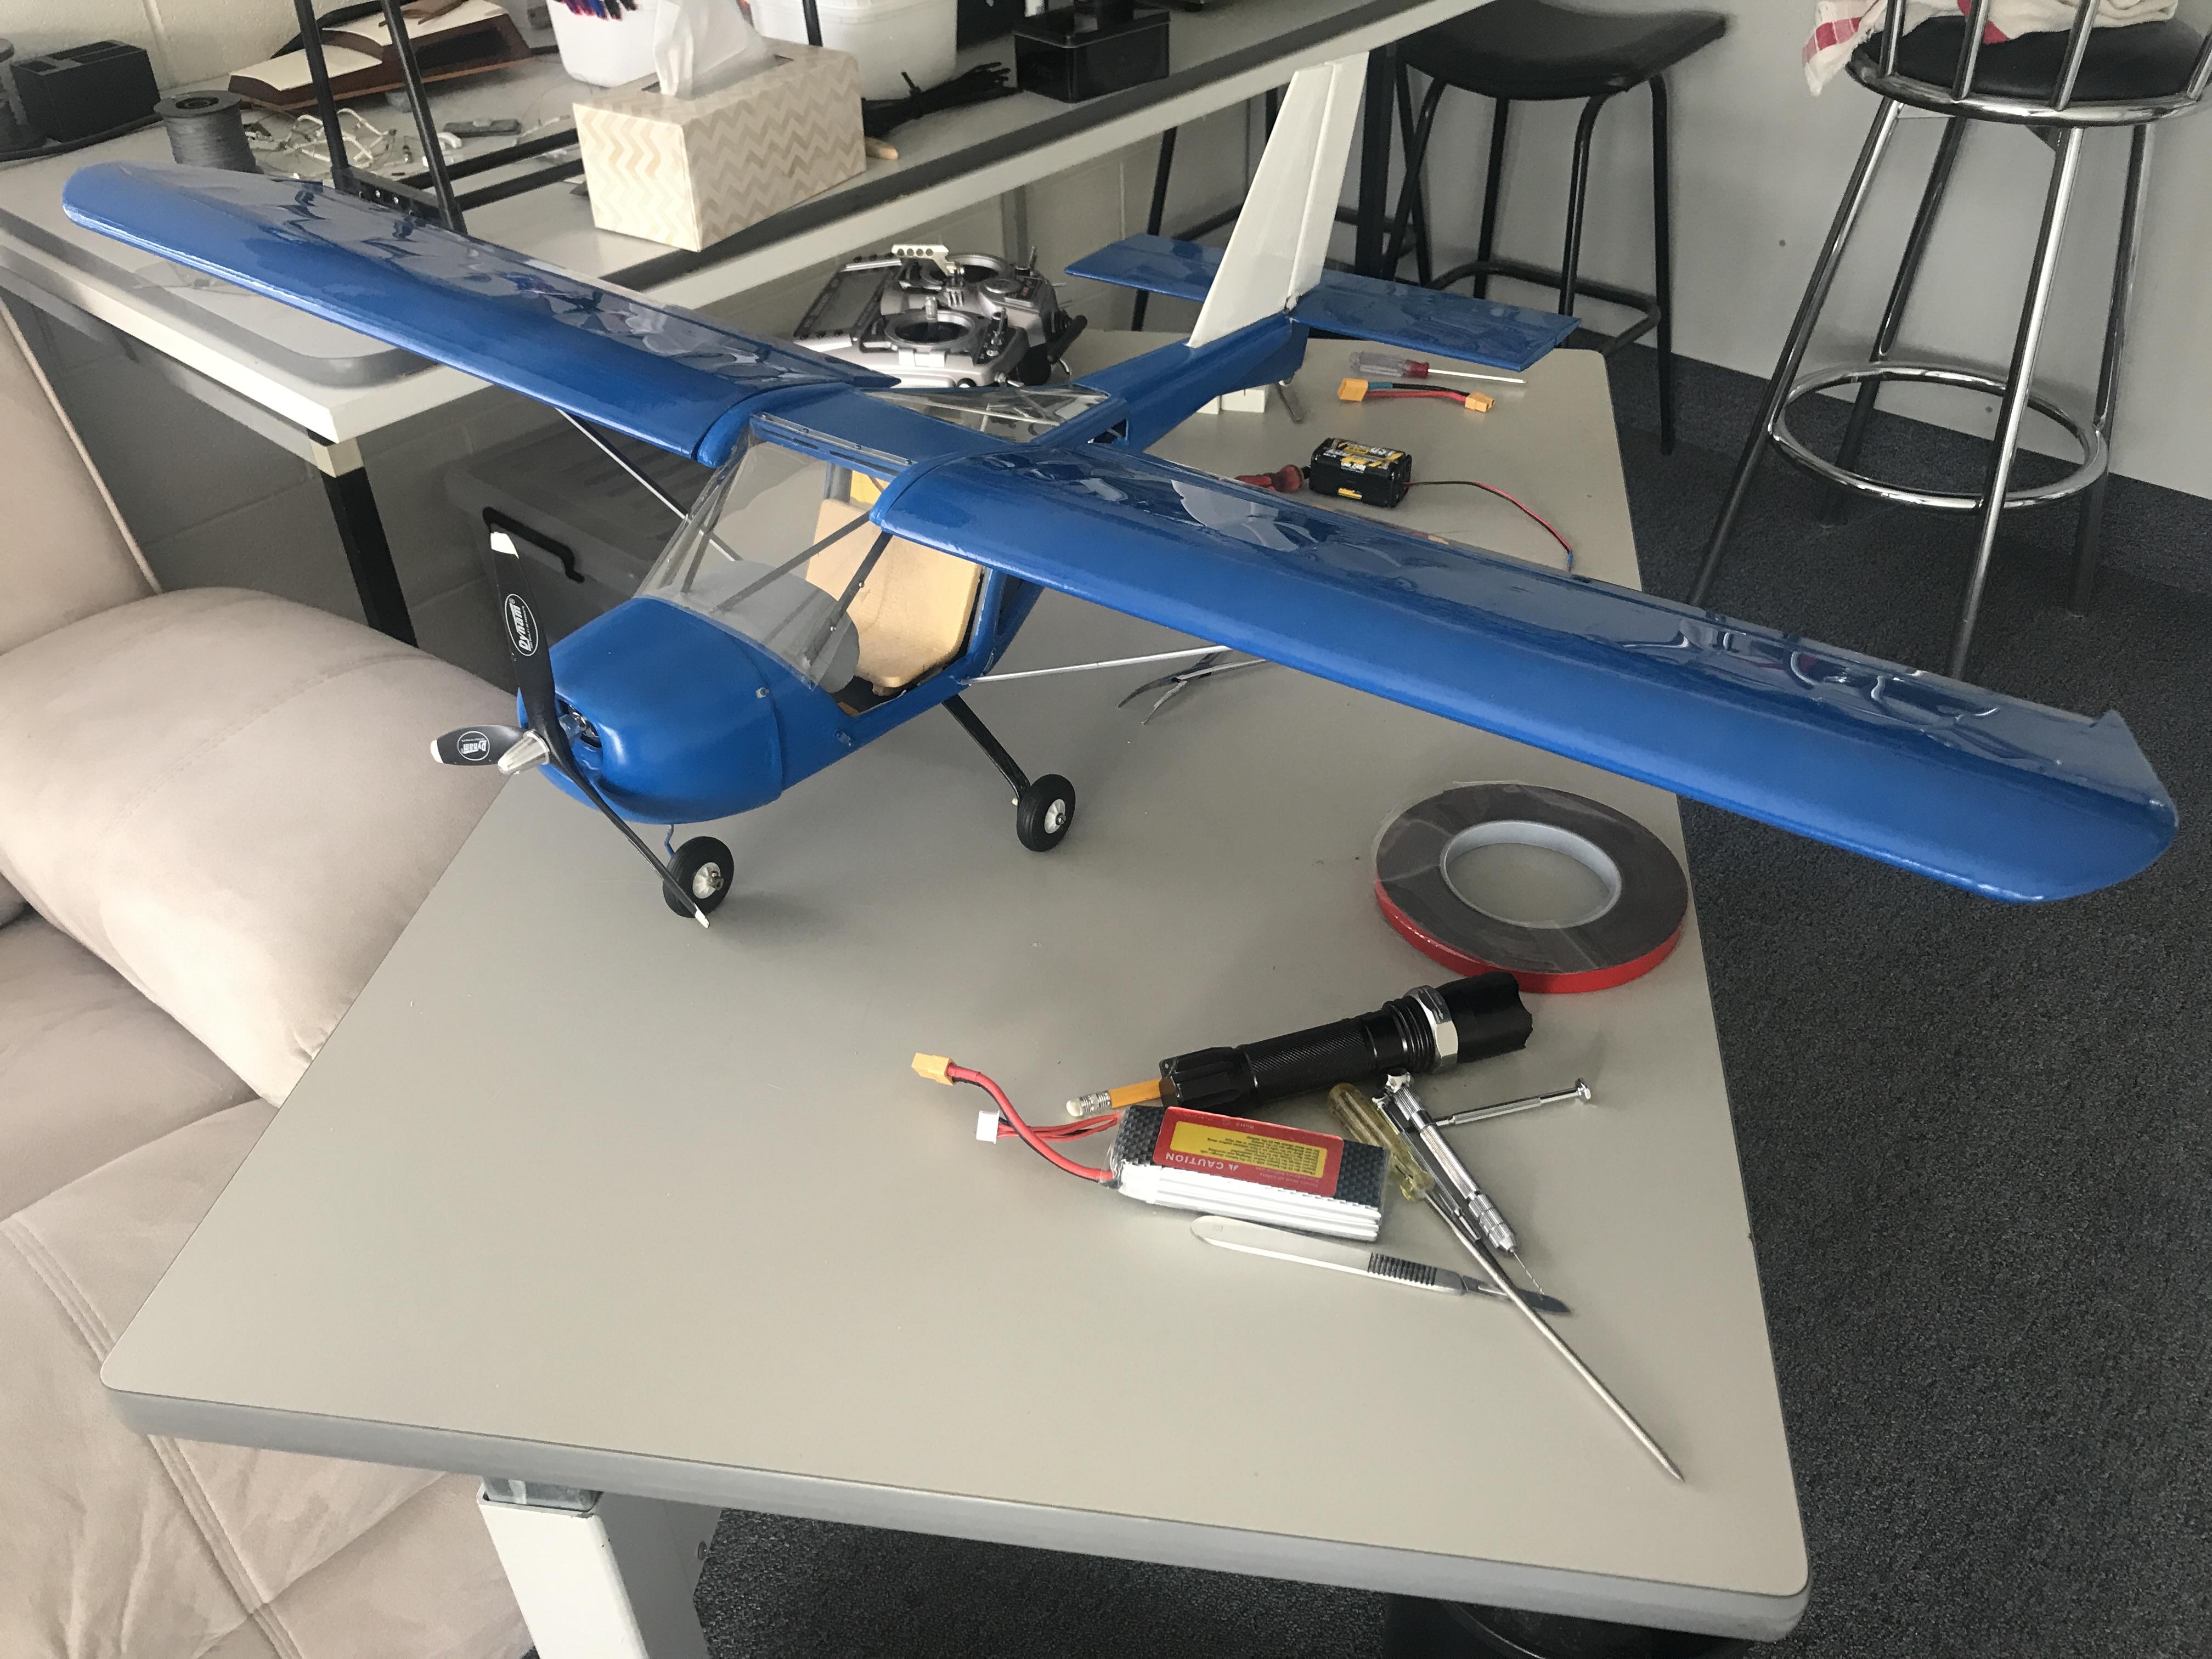
Well then, apart from installing the removable clears the Foxbat is finished, including radio programming & should be OK to fly.
Sounds like a fun day was had by all, pity I missed it but unfortunately it’s a busy time of the year.
Ill do my best to make it to the rest of the years racing.
Score sheet is up in original post.
As usual there have been some changes.
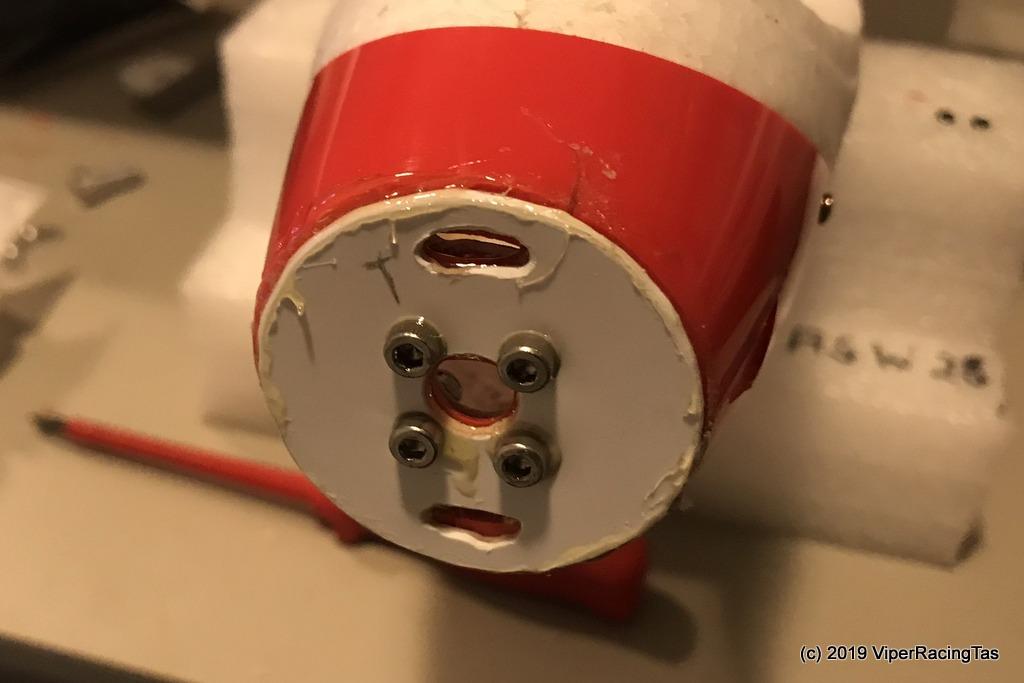
By the time you shape it you will probably be looking at under well 3kg anyway so I’d just give it a try, you cant go too heavy or the boat wont sail on its correct waterline.
I just checked back through some old photos of when I built my Monsoon in 2012 and the keel weight was only 1.65 kg and the Phoenix is only slightly larger so 2kg should actually work.
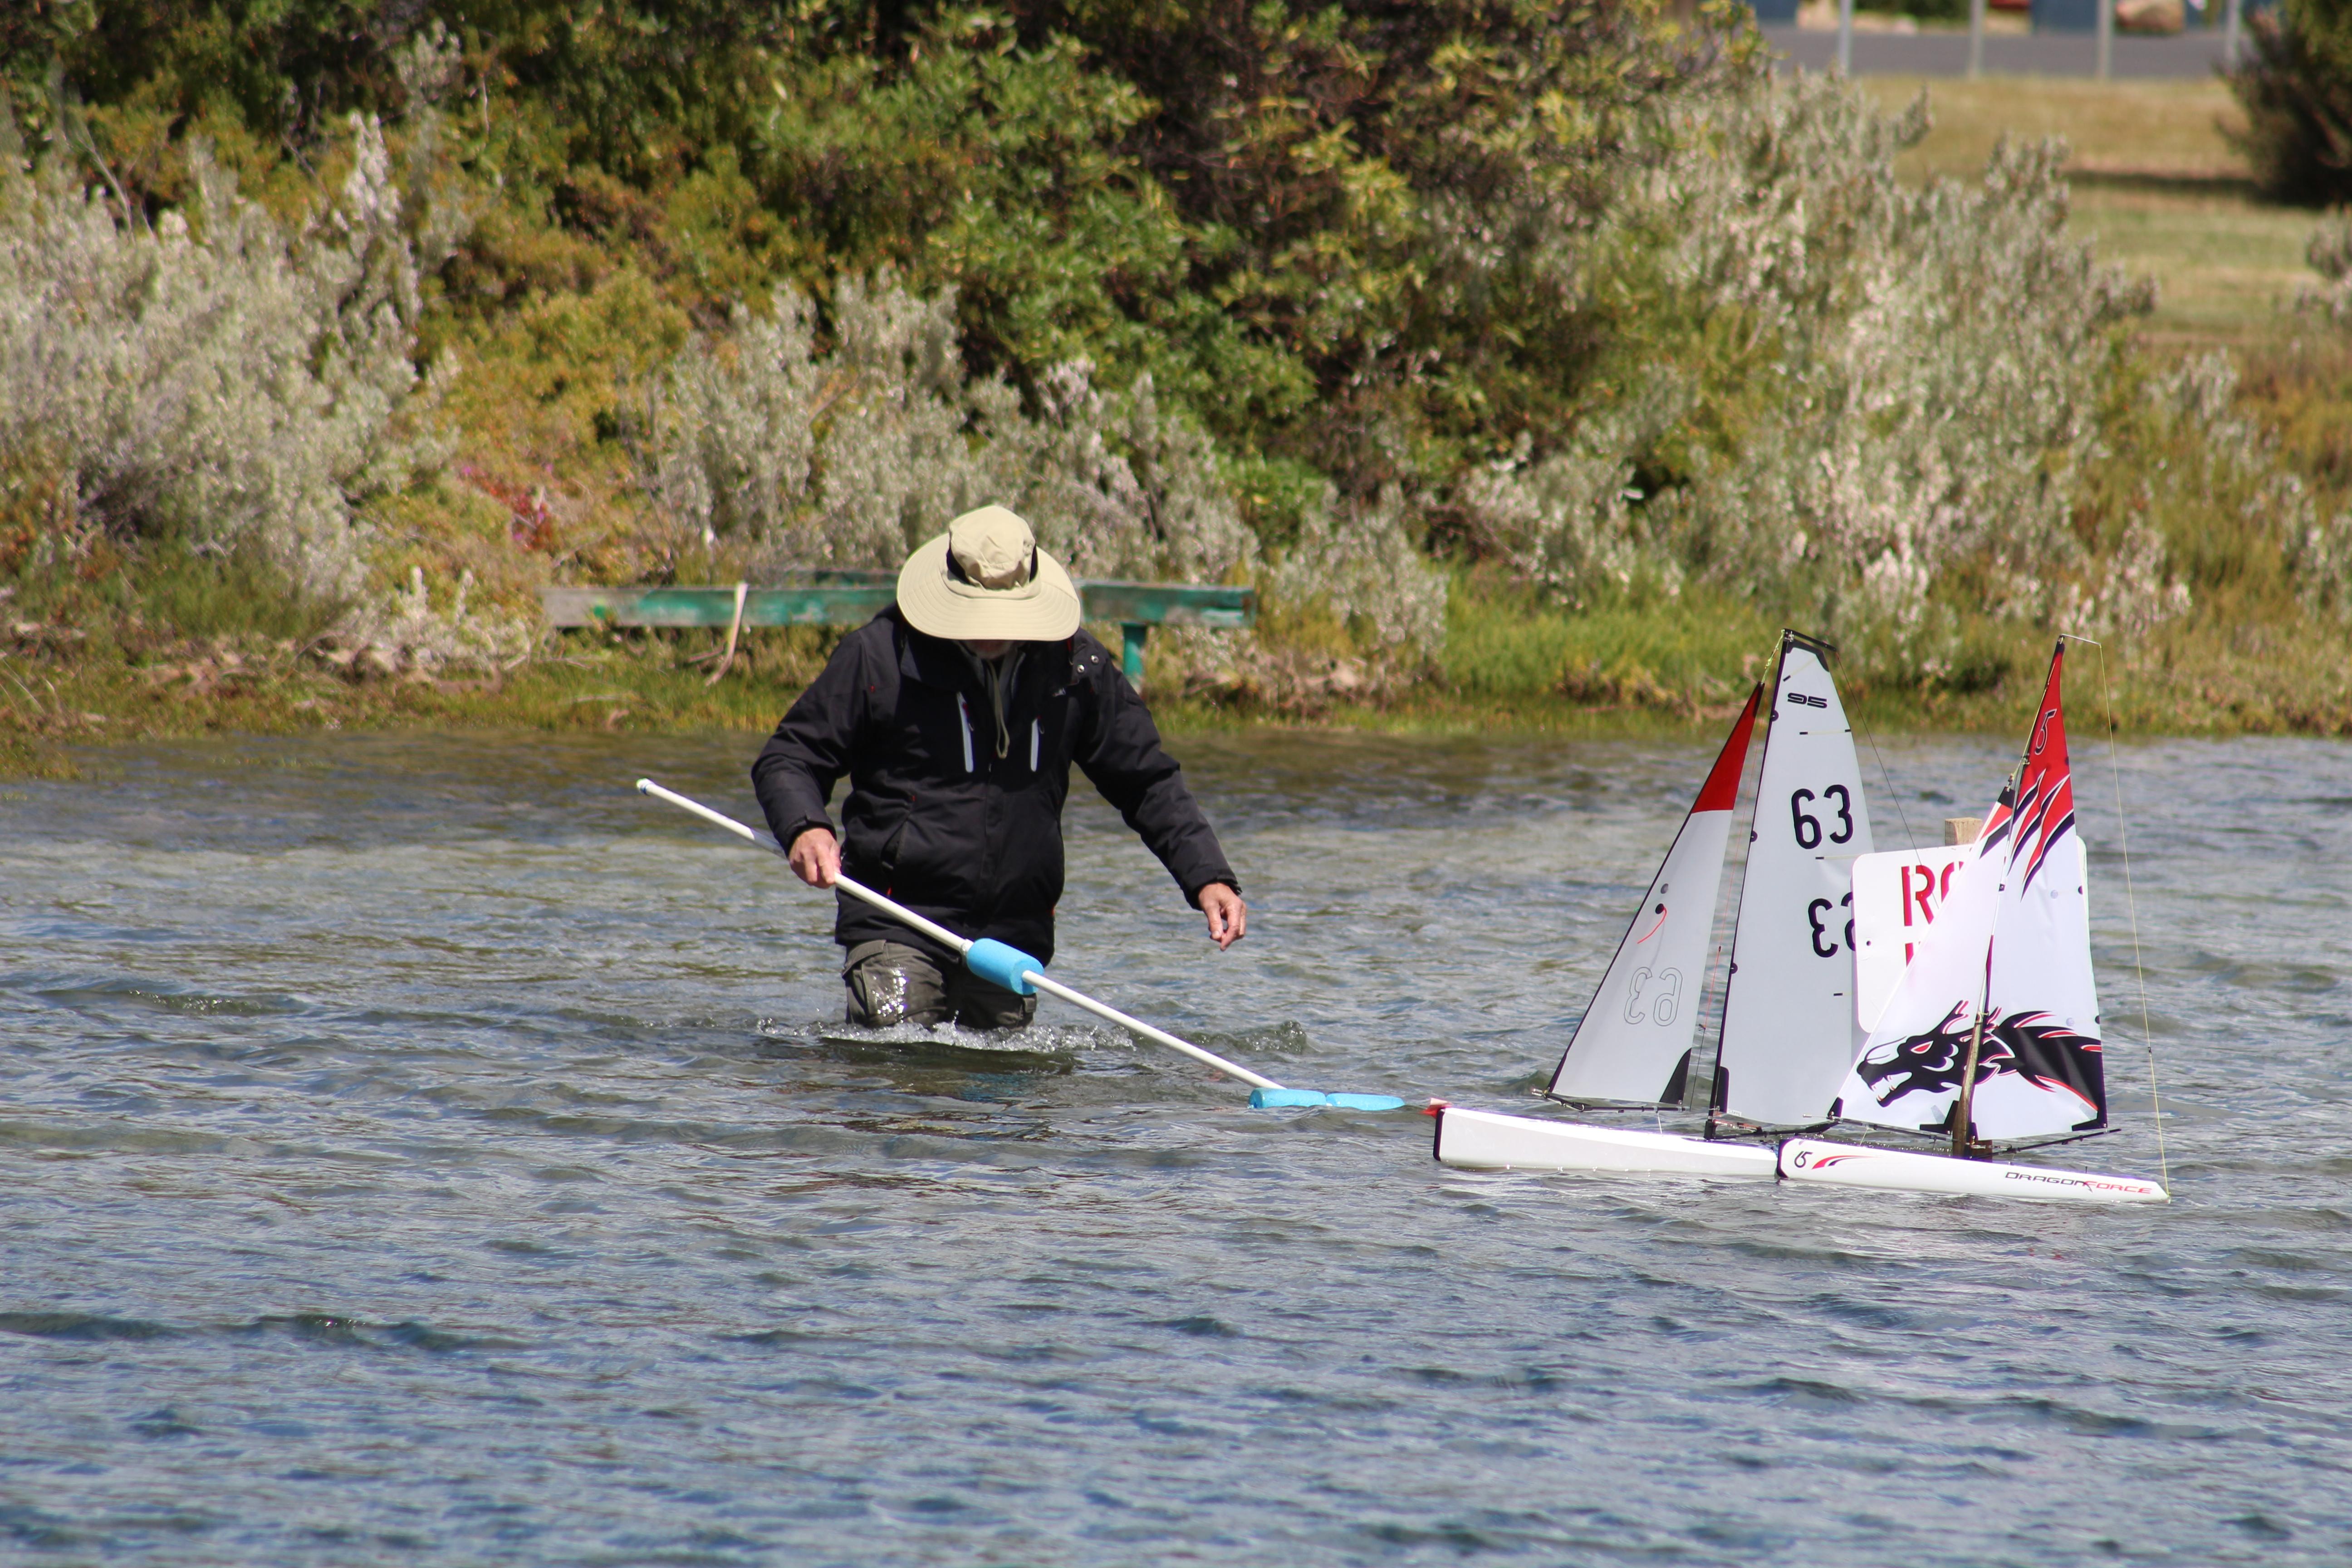
Oh well someone had to run aground, at least I picked the closest side (and didn’t get wet), not like someone else who shall remain nameless !!
Score sheet now up, Correct Weight declared.
There you go Kermit, all working now & your ongoing problem solved.
Another quality bit of video there BA, well worth the wait.
Like they say Kermit, practice makes perfect.
I’m sure the mighty Tundra will go back together again with a bit of glue & patience.
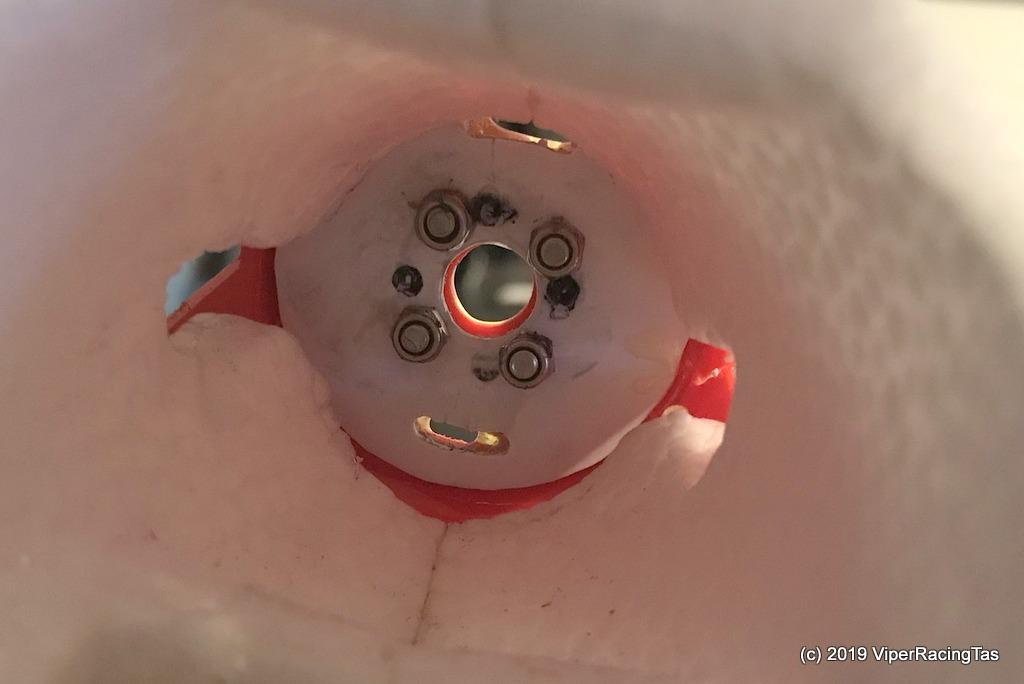
I got the repairs done to the Prowler today, epoxied the original nose cone/motor mount back together then fitted & epoxied a 1.5mm styrene sheet to the inside & outside of engine mounting area & bolted it all together till the epoxy set. I’ll let it cure fully overnight before cleaning it up and refitting the motor. Hopefully there will now be no vibration.
Thanks for posting Jammy, I will add it to our calendar of events for those that don’t read the forum posts.
Yes Ben, no real time feedback when sailing RC yachts.
Its amazing what you see differently when watching the races on video playback. Kermit did a good job capturing all the action today.
It will be different next week when all the yachts are the same as yours, makes a lot of difference to the tactics.
Pics, videos & Score sheet now posted
Did the tail livery today so the Prowler is finished.
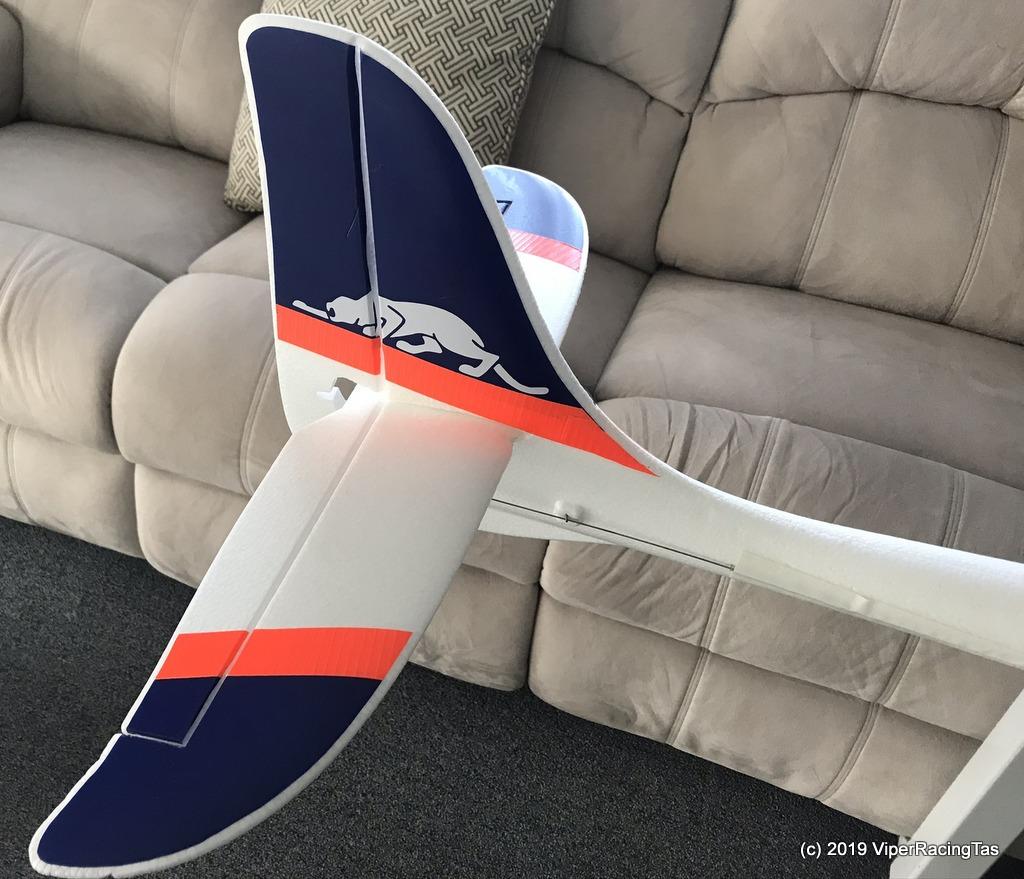
Also added a Sky Climber Custom logo just to show its parentage
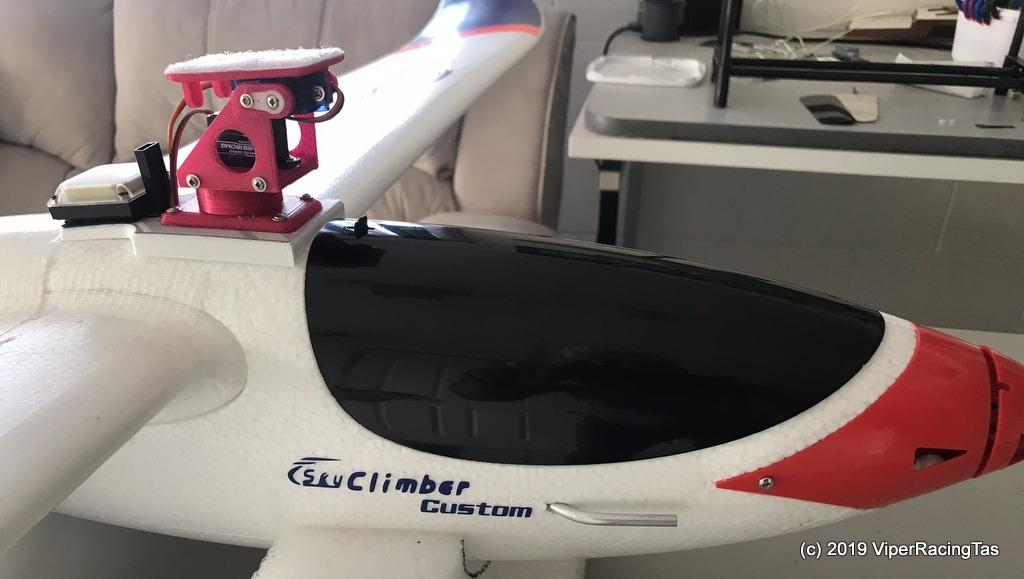
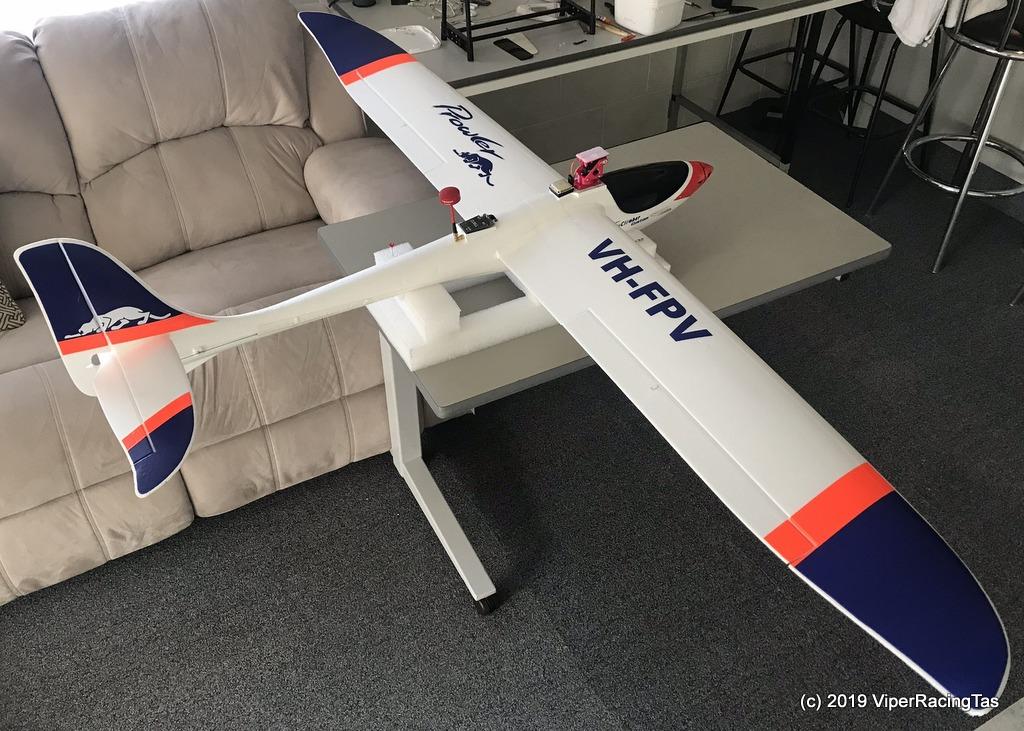
So the Nine Eagles Sky Climber (Custom) “Prowler” build (or rebuild actually) is now completed & ready for our next Fly In @ The Field
END..
-
AuthorPosts