Forum Replies Created
-
AuthorPosts
-
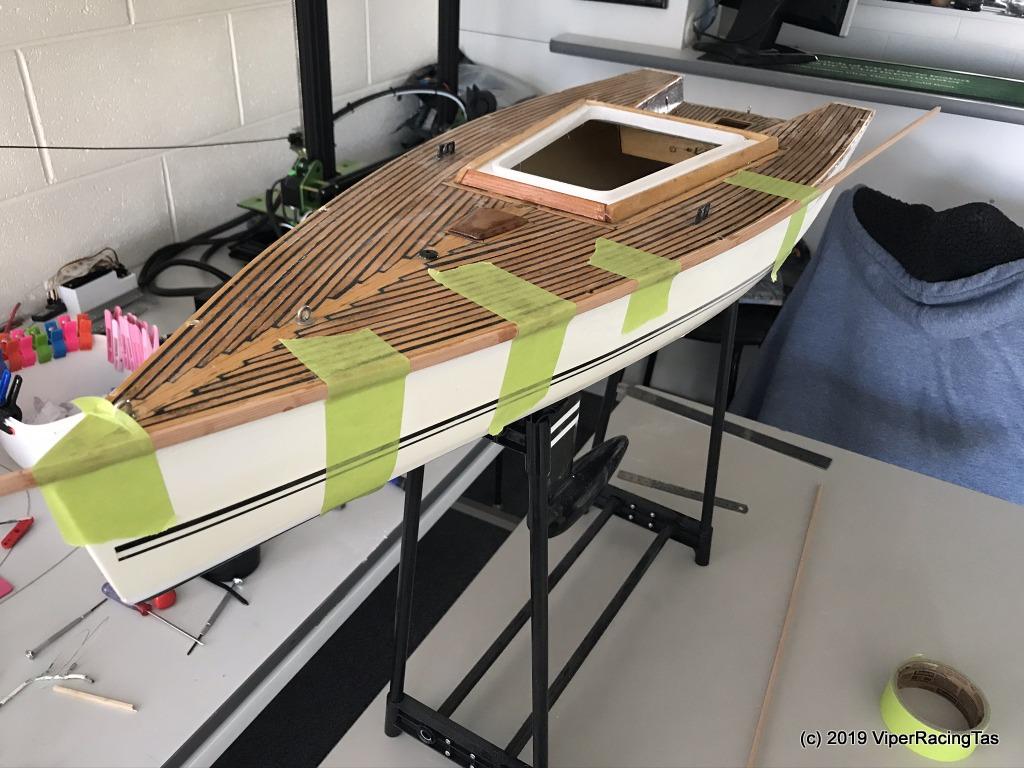
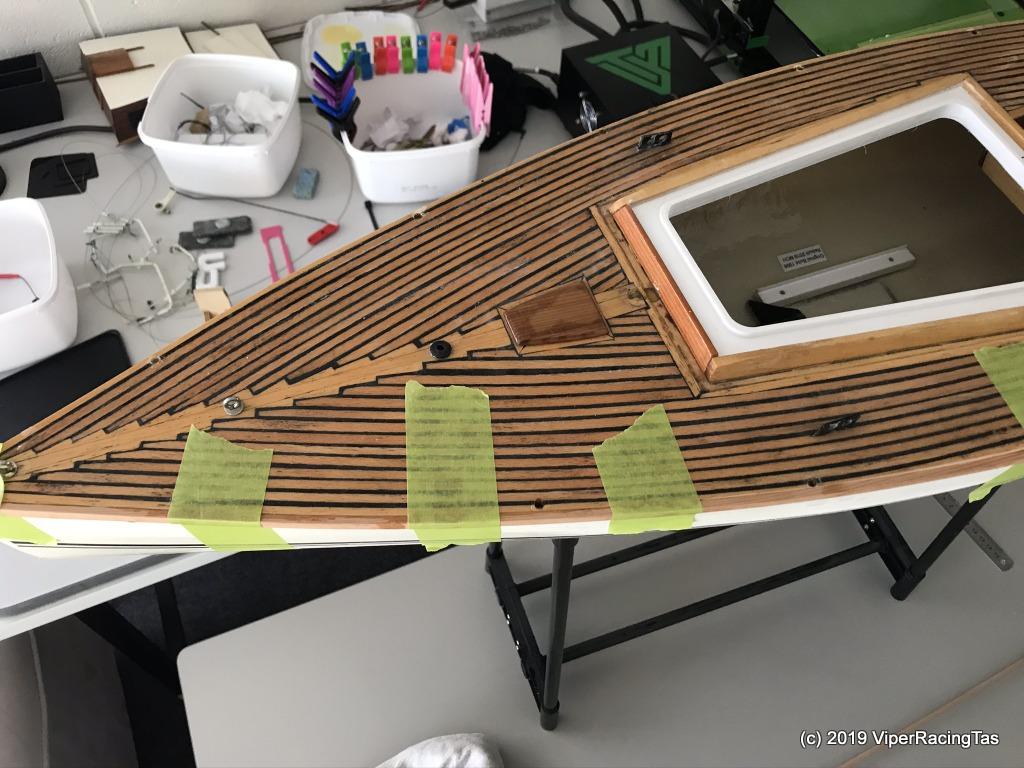
Green Masking Tape, well actually its Painters Tape but it is a lot easier to remove than the standard variety.
Got a bit more done today filling in the missing/damaged deck planks and have started to sand all the new work back into the correct shape & thickness. Will post some updated pics tomorrow.
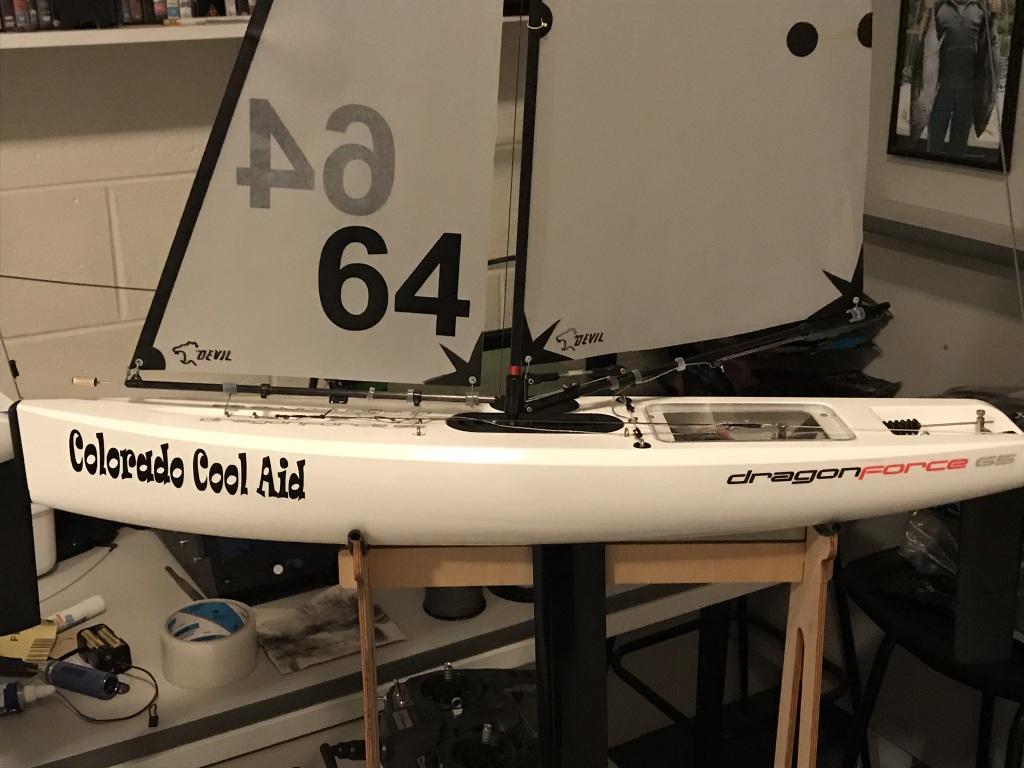
24 September 2019 at 18:55 in reply to: Puddleduck Vineyard Racing 24th September 2019 (DF95's) #3417I see that Paul has his DF65 #159 up for sale on Facebook due to loosing interest, guess the RC sailing fad didn’t last very long for him!!
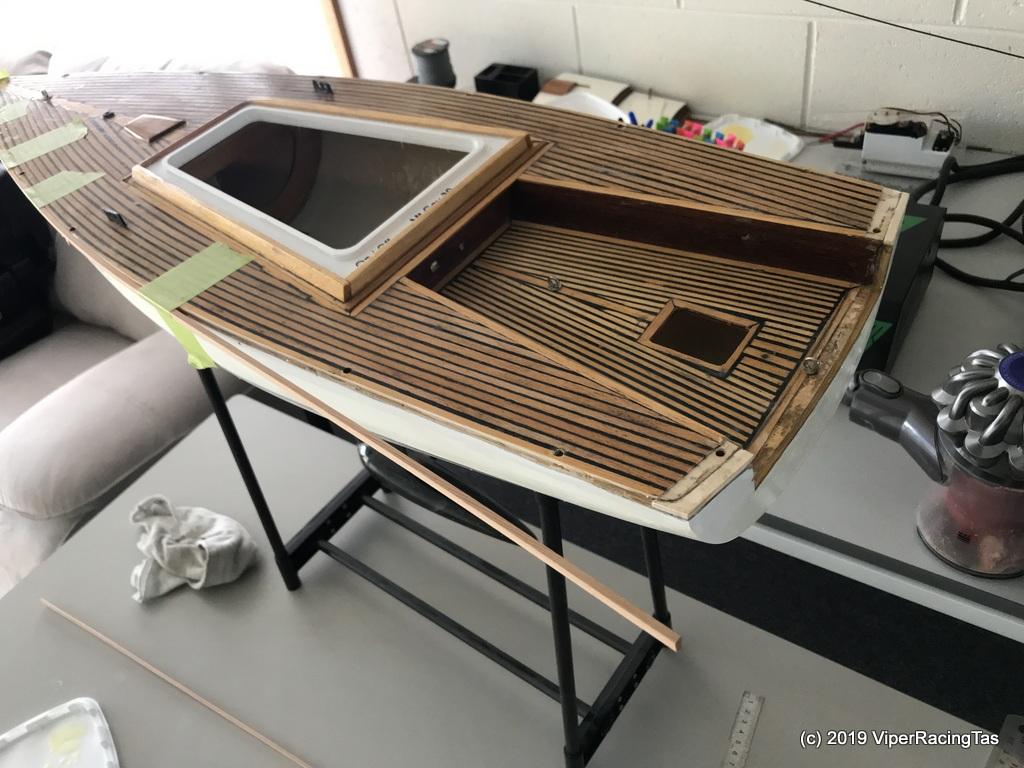
My how time flies, it is almost 2 months since I refitted the deck to the Badger II and NOTHING has been done to it since.
Been distracted for the last couple of weeks rebuilding a DF65 (ex Hoppy)
 but now that is finished, except for a set of A+ sails, it’s time to get back to the Badger.
Today, after sanding the edges of the deck to better match the hull it was time to manufacture & install the rubbing strips to hide the deck/hull join.
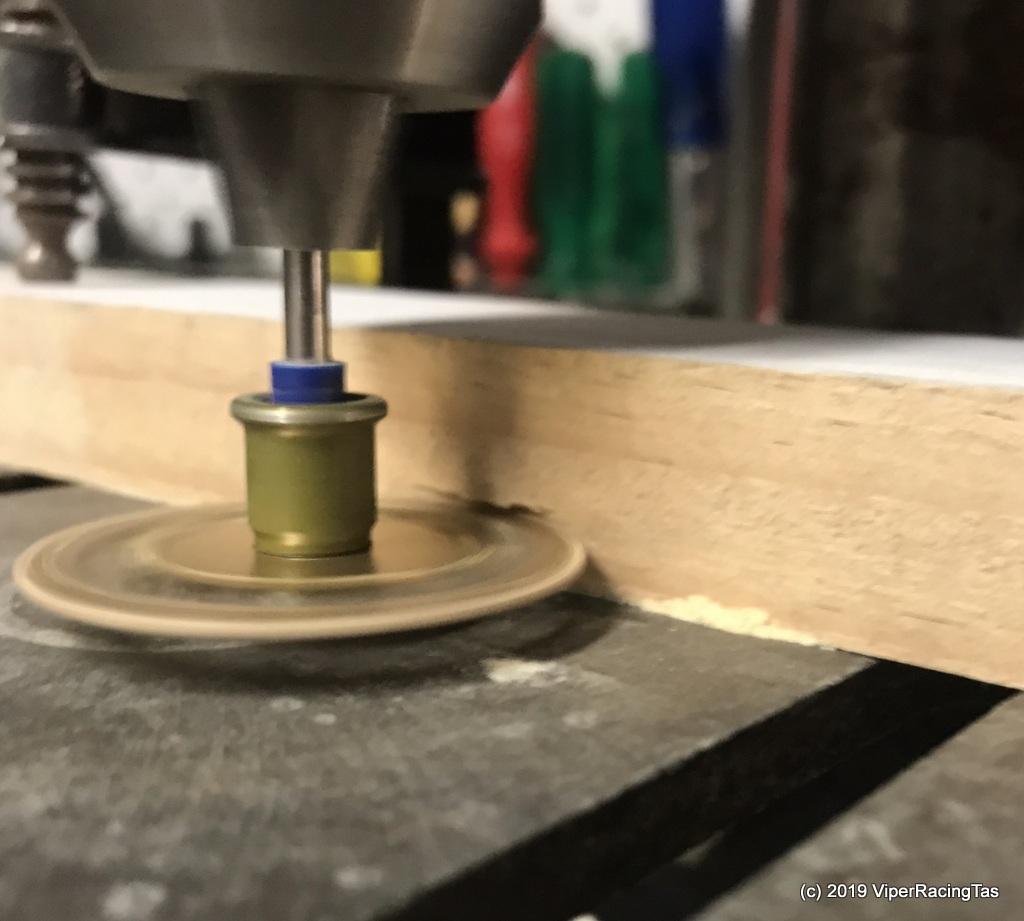
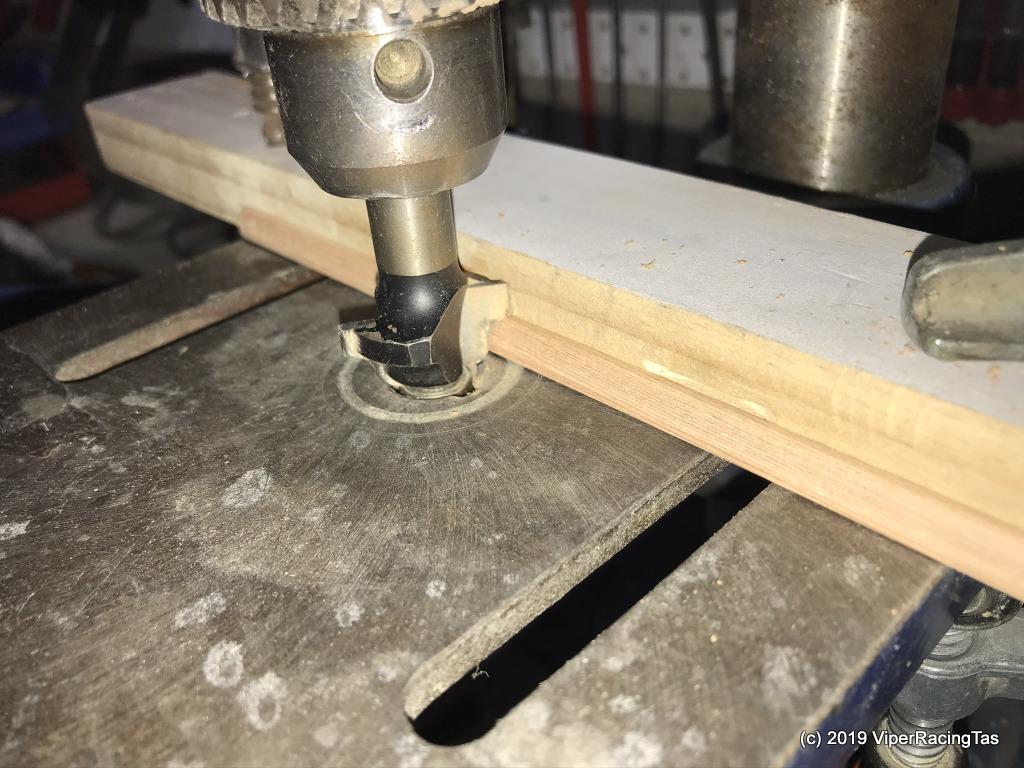
Cut some thin strips of timber with the previously built strip cutter then changed to a curved router cutter to round over the bottom edge of the strip.
Started epoxying the first strip into place by attaching the bow end then once set epoxying the rest into place. I think once finished it should look pretty good.
Time to get back to the gluing!!
Another mighty fine report there Kermit, albeit a bit short on facts as usual !!.
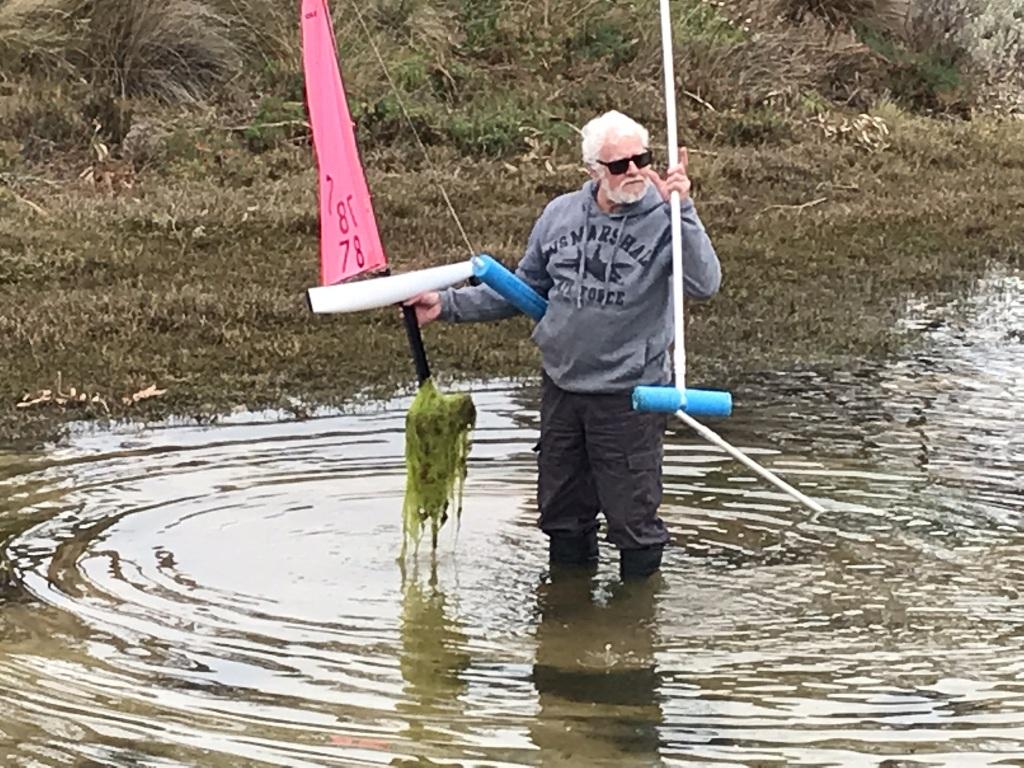
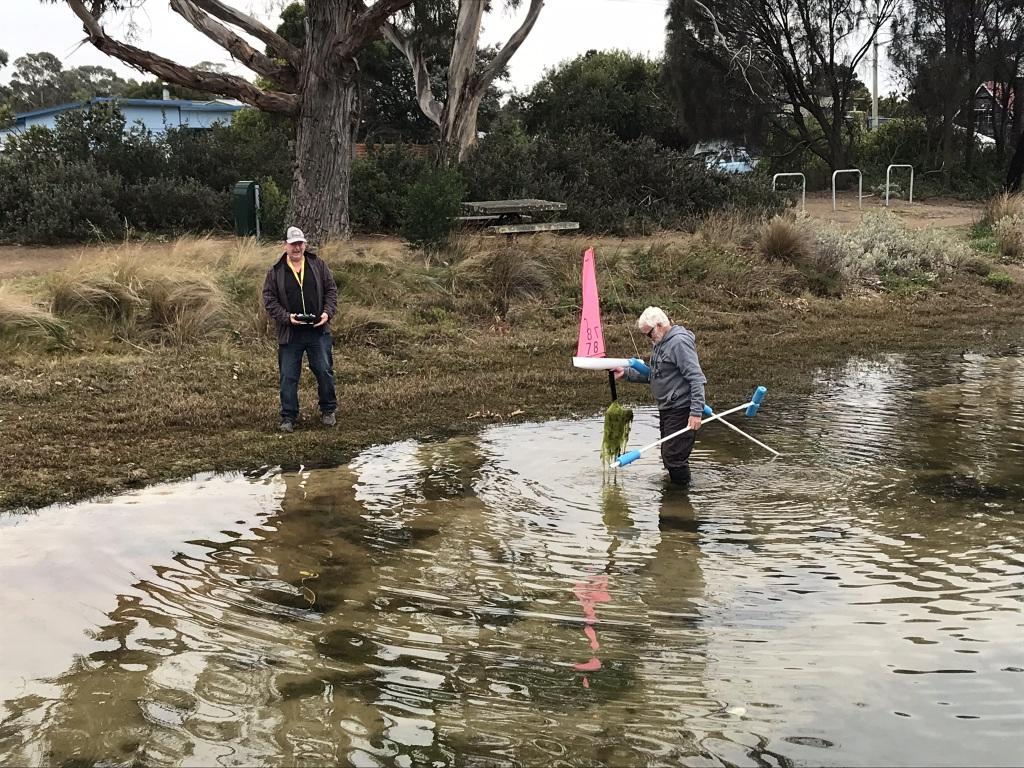
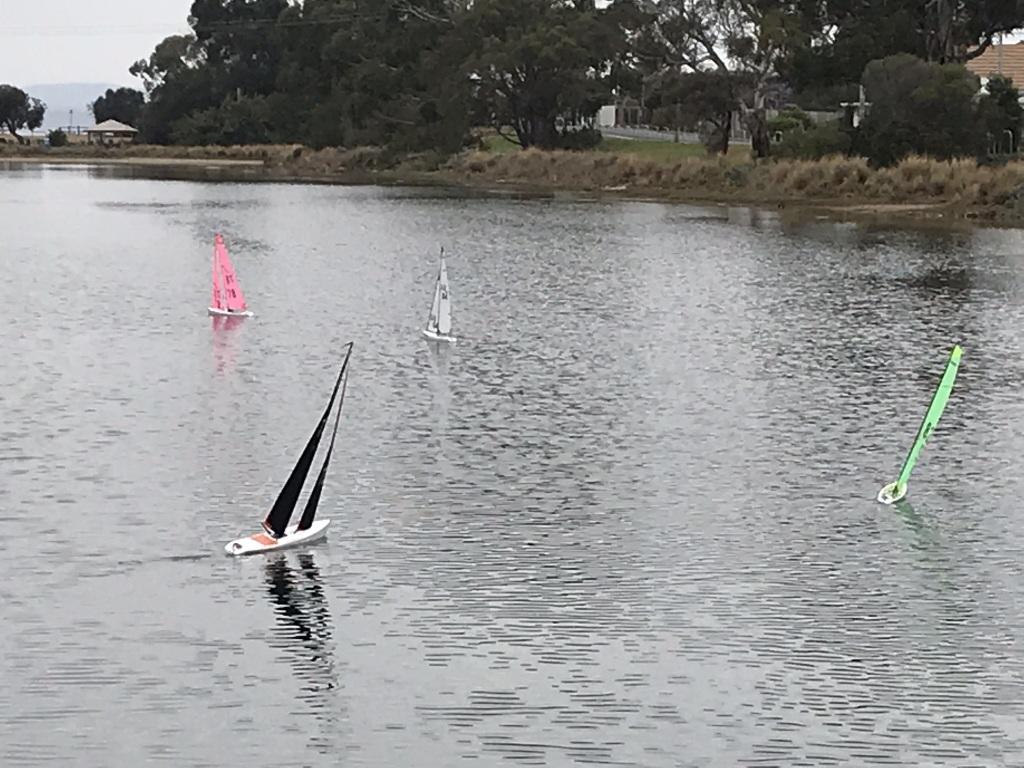
Here are a few more pics from todays sailing.


Thanks for the fine & factual report “Admiral”, no doubt the Frog’s take on the day will also follow shortly although he may have been too engrossed in his own racing to take note of what the others were up to. Yes, definitely a great sailing day (albeit a bit chilly at times) and thoroughly enjoyed by all.
Extra laps of the shorter course certainly made for some interesting & close quarters racing. Just a shame that several of the regulars were missing today.
Also worth a note was that Ron seems to have finally rid his DF65 of all the gremlins of late. I believe he was on the water for all races today and apart from the mishap with the missing bung (not the first, nor the last to do that) no other issues were seen.
Yet another classically fine report there Mr Frog, and great pics to boot. Well done as always.
Yes races were run but the bragging rights only lasted till the next race.
The Duck is quite well suited for the larger IOM’s but it does get a bit crowded on the start line & some of the marks but the everchanging conditions made for some great (and very close) racing. I’ll be back next month.
Multitasking, its called.
Thanks Pete,
I’d have rather been sailing but it does make the video & photography work much easier when you are not trying to sail @ the same time.
Videos are now added to Col’s post
My issue today was not an insurmountable rigging issue, it was operator error pure & simple. In the rush to get to The Duck on time, I picked up the transmitter for the DF95 instead of the 65.
Oh well at least not sailing today meant for a bit of race video & some better pics.
The story from Kermit La Frog almost (and I do stress almost) has a ring of truth today, anyway the media boat was in action today and all was caught on video so you the viewer be the judge.
Was nice to see Grant Y there today with his Monsoon (and have him joining in the lunchtime BBQ).
His Monny still needs a bit more work but at least it’s on the water & sailing, now if we can just get his Dad (Anthony) out there sailing the Ragazza he purchased from me a few months ago it will be a real family affair.
Careful there Mr Frog, you are digging a very big hole, could end up being your grave !!
Col, don’t forget to edit the scores in as you missed them.
Hopefully next outing for the 95’s Abigail will perform far better, today towards the end of the day I think I finally got the tuning right.
All in all another great day only marred by the very lazy & cold wind.
True (well Green & Gold), but don’t tell the frog or we’ll never hear the end of it.
Next you hear will be that he is trying to convince all & sundry that his sails were actually gold & not yellow.
Well actually its “Blue & Green should never be seen….” but Yellow & Green is not much better.
The Fashion Police may well take to your pecker with blunt objects!!!
At least “Pink Bits” was dressed appropriately & resplendent in all her glory.
-
AuthorPosts